Recovering a wallet with Multi-share Backup
In addition to Trezor, Multi-share Backup is supported by software wallets such as Rabby, Electrum, Sparrow, BlueWallet, and Wasabi, as well as the Keystone hardware wallet.
This article aims to provide a simple step-by-step manual for recovering an existing wallet utilizing the (also known as Shamir backup) feature.
- "Recovery" refers to the process of using recovery shares to restore and enable access to already existing accounts.
- "Staggered recovery" refers to the process of recovering a wallet while turning the Trezor device on and off between the entry of different shares.
- For detailed information about the method of splitting the backup into multiple shares, see the Shamir Backup article.
Multi-share Backup is currently available for Trezor Safe 7, Trezor Safe 5, Trezor Safe 3, and the Trezor Model T
Preparing your Trezor for recovery
My Trezor is new and/or empty
Your Trezor is ready for you to restore your wallet.
My Trezor is initialized
If you lost your PIN and need access to your accounts, or if you wish to load a different seed onto your device, you will need to wipe the memory of your Trezor. See the following articles for detailed instructions:
- Wiping your Trezor Safe 7 in Trezor Suite
- Wiping your Trezor Safe 5 in Trezor Suite
- Wiping your Trezor Safe 3 in Trezor Suite
- Wiping your Trezor Model T in Trezor Suite
Important remarks before you start:
The entire recovery process is done directly on your Trezor, which you can operate using the touchscreen (Model T and Safe 5) or physical buttons (Safe 3).
Never type your recovery shares into a computer. If you find a website asking for the words of your backup in a straight sequence, it is probably a scam.
Your Trezor device will enter the recovery mode when you initiate the process. Once in recovery mode, the device will remember where you left it if you unplug the cable from your Trezor.
You can enter each recovery share one at a time, move geographically, and then continue the process after you plug your Trezor device into a power source (it can be a powerbank, mobile phone, or even just a plain electrical socket).
Things you need to perform the recovery of a wallet using Multi-share Backup
- Trezor Model T, Safe 3, Safe 5 or Safe 7
- Compatible supported operating system and configuration
- Internet connection for initiating the recovery process
- Required number of recovery shares to reach the threshold (determined while generating the wallet)
Recovering your wallet
The recovery process is demonstrated here using a Trezor Model T:
- Start Trezor Suite and connect your Trezor
- After checking / updating device firmware, in the "Wallet" window click on "Recover wallet"
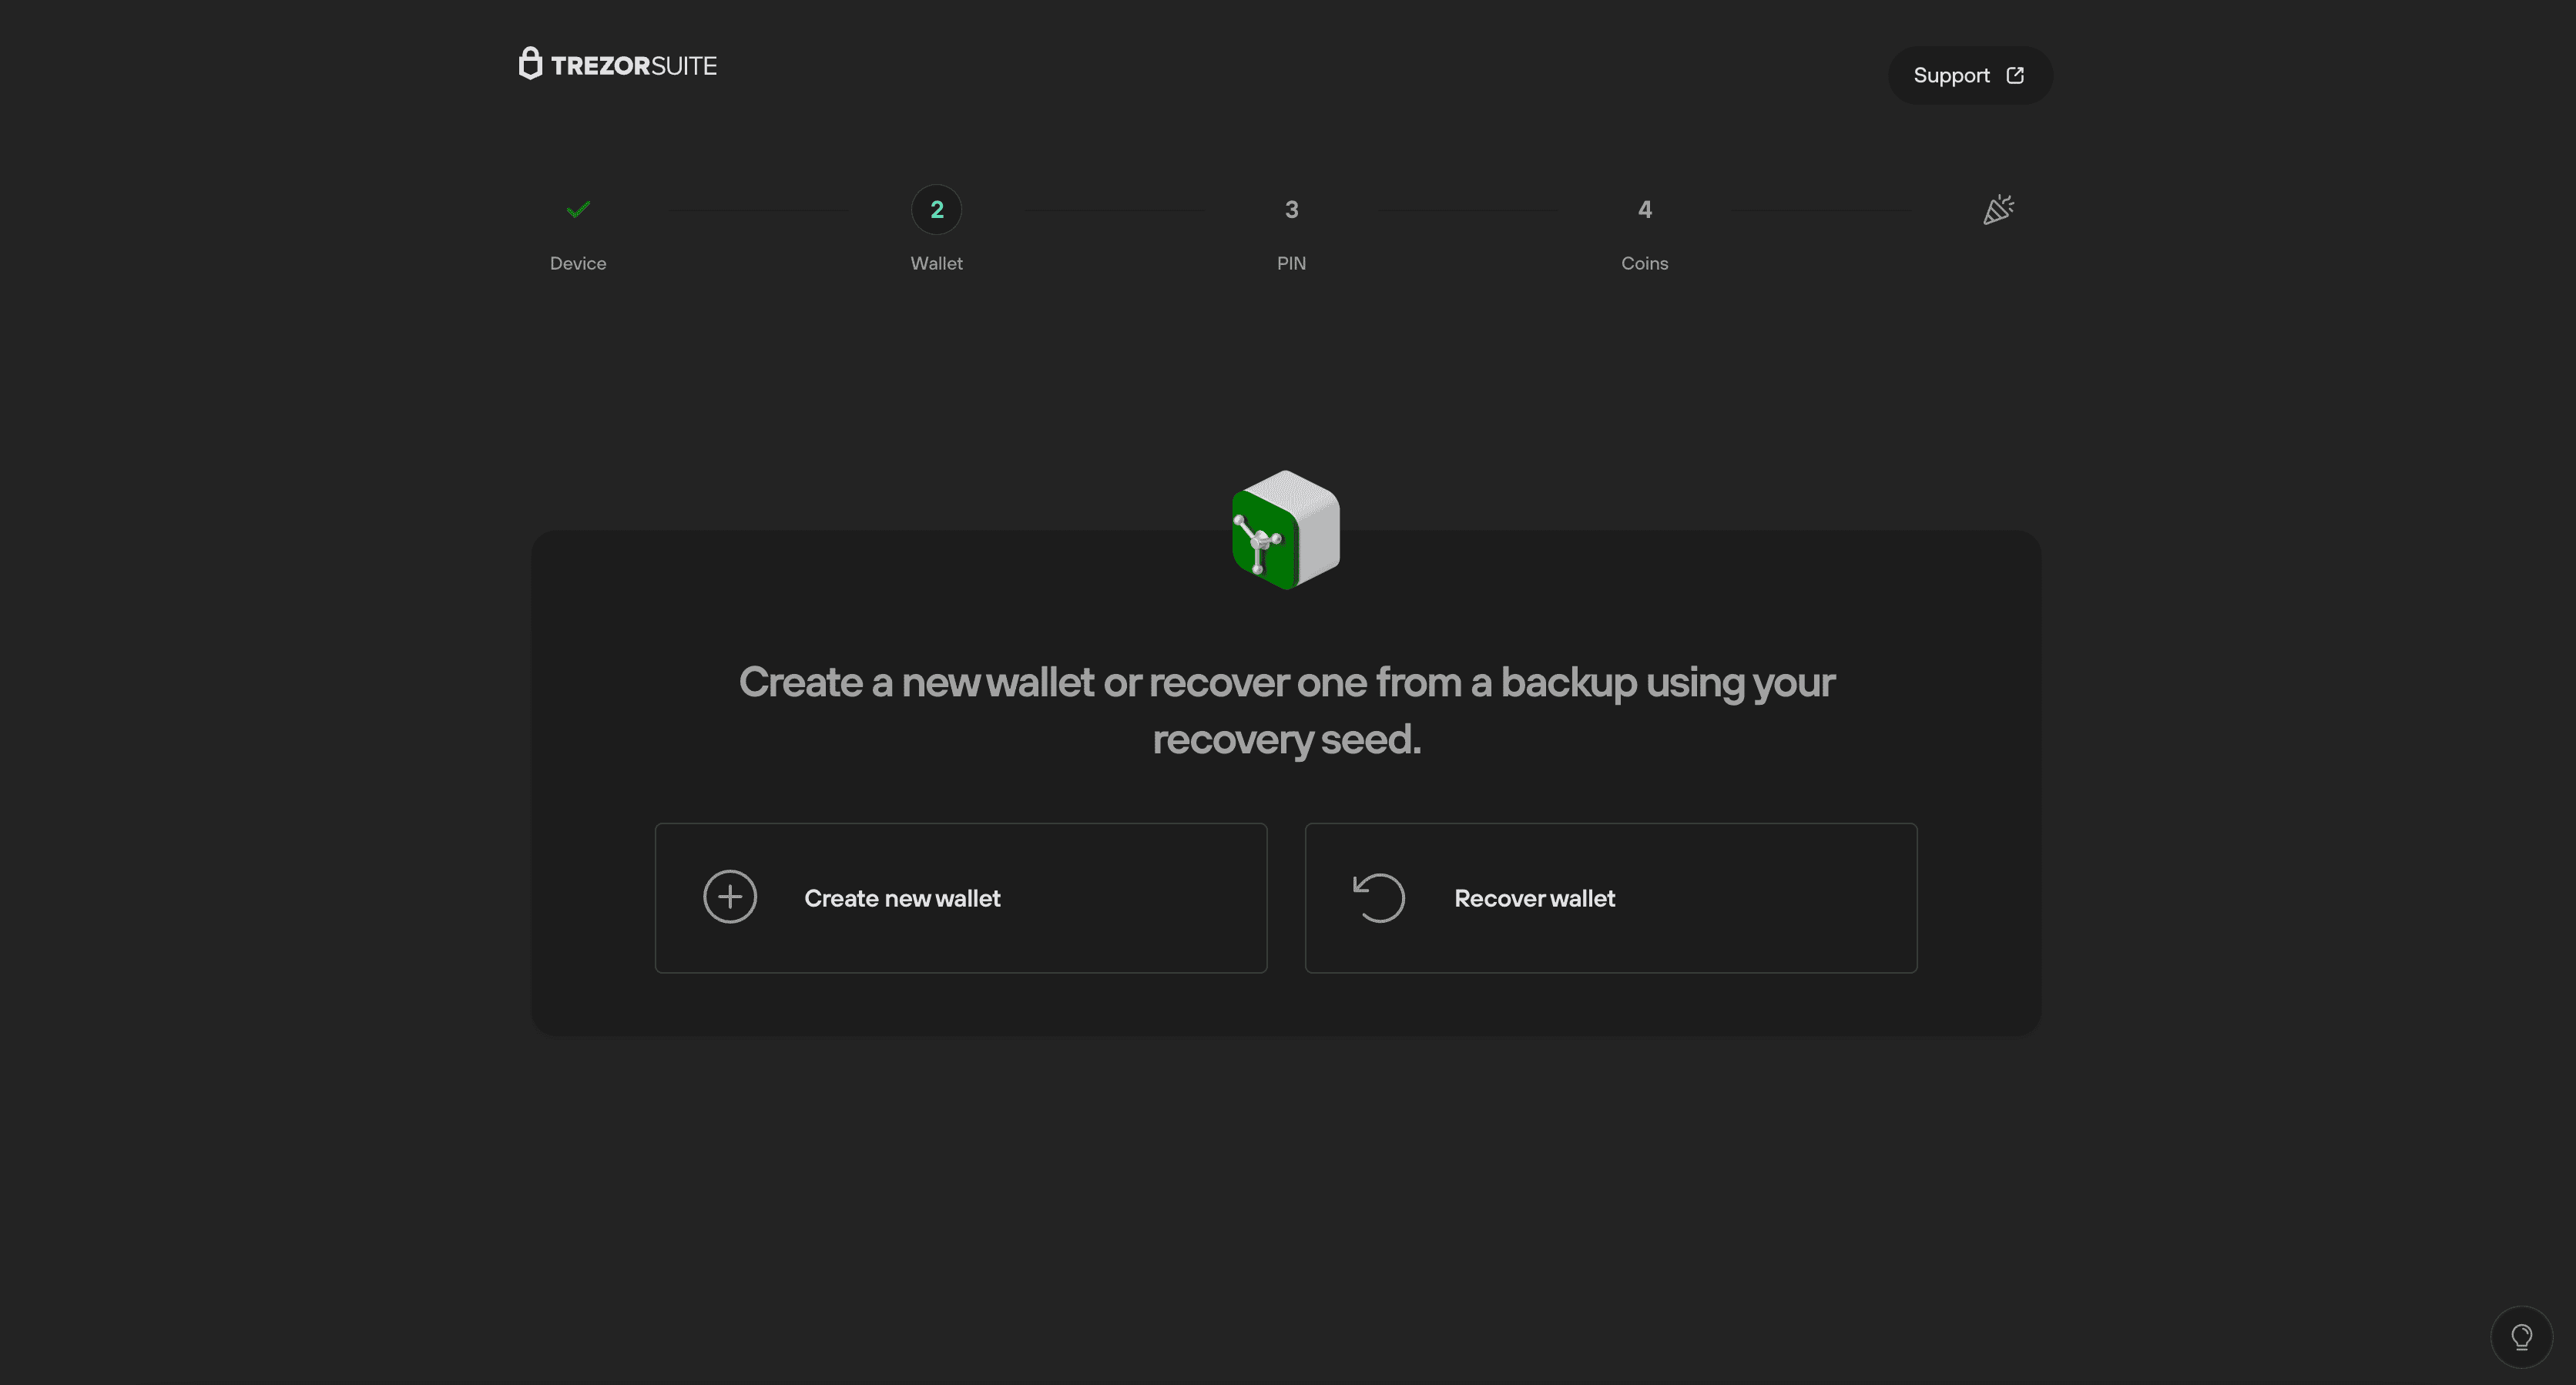
- Then click Start recovery:
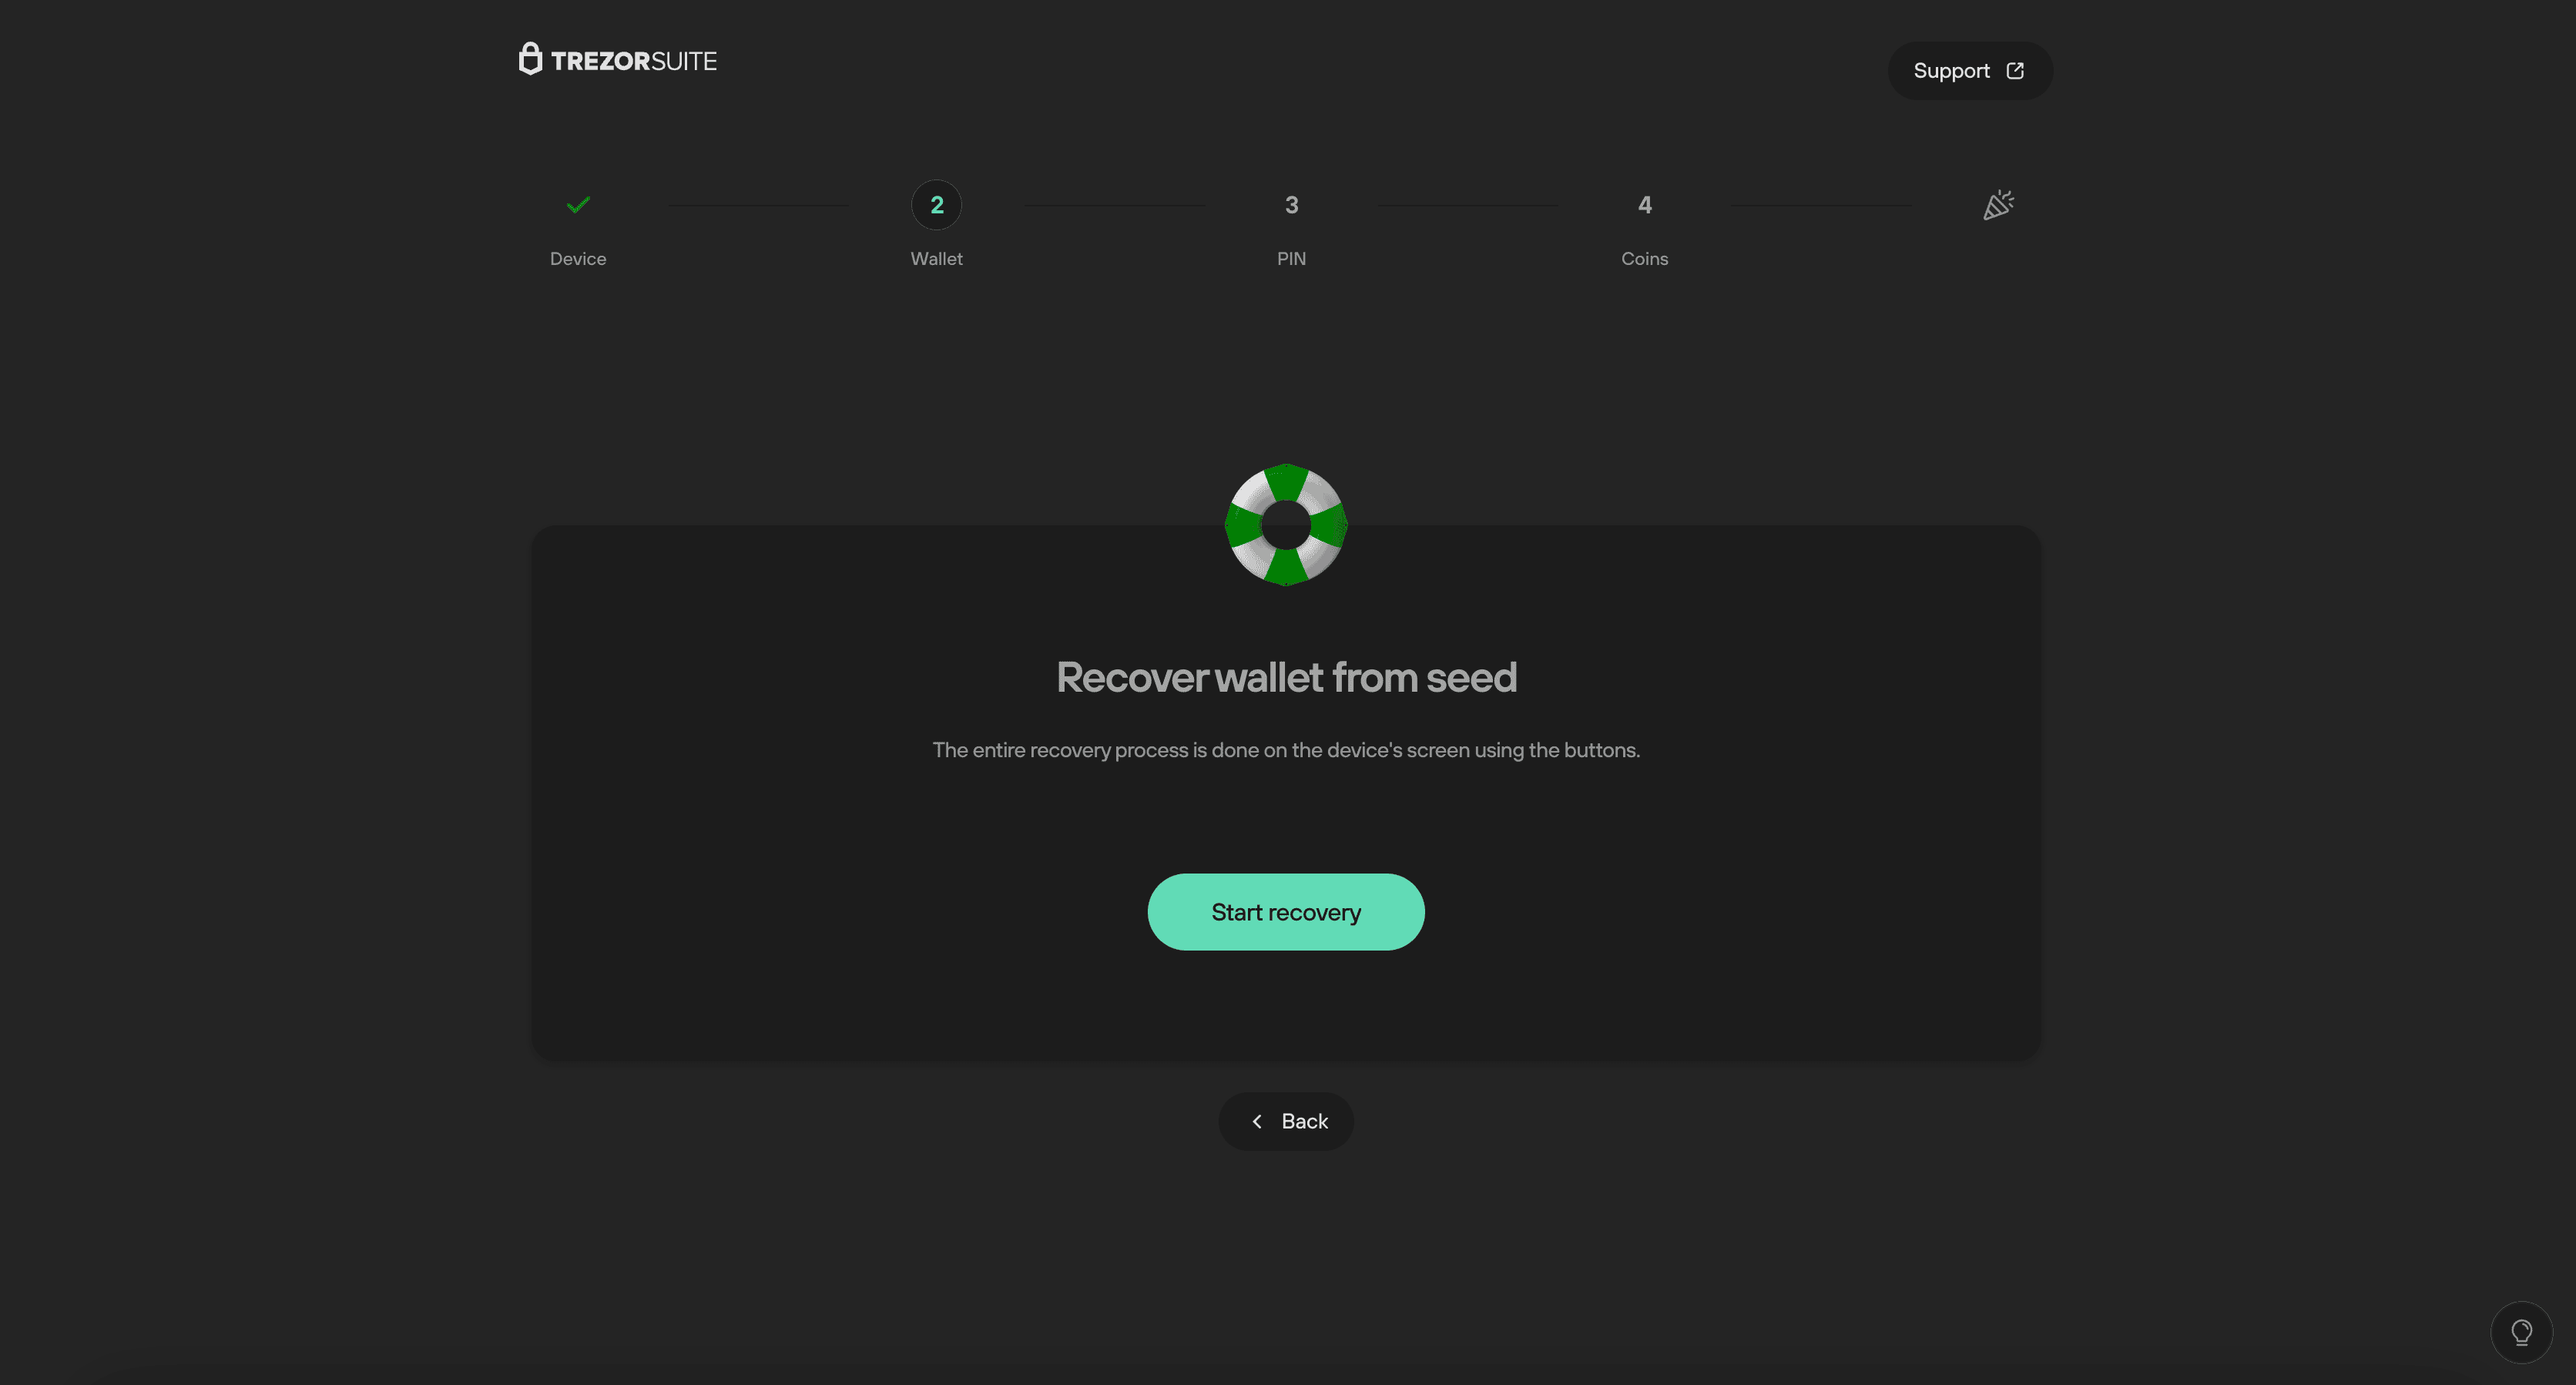
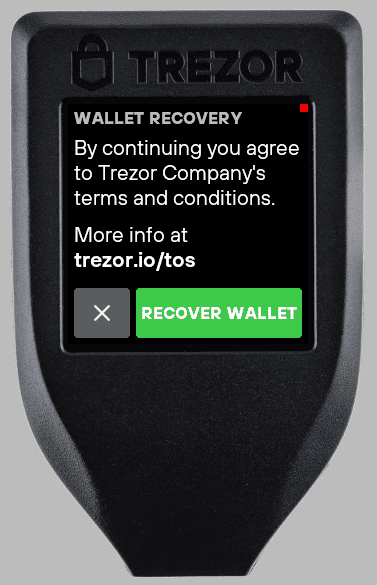
- You will then need to confirm that you want to begin wallet recovery on your Trezor:
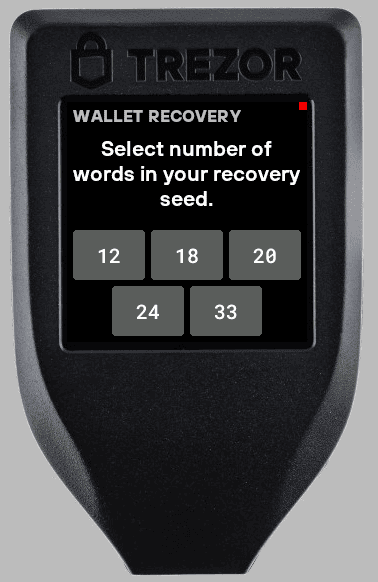
- First, press Select, and then choose the number of words in each of your recovery shares
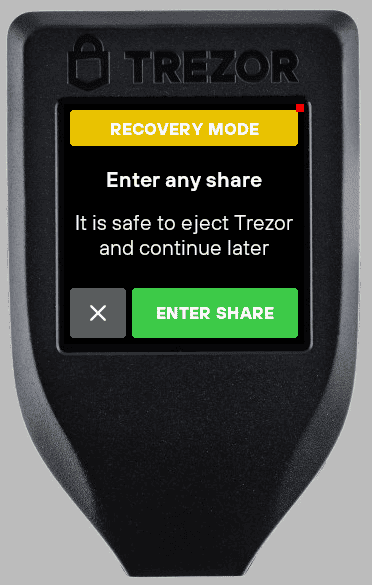
- Then press Enter share and enter any one of your shares directly on your Trezor:
Recovery shares can be entered in any order. The words of the recovery shares have to be preserved and entered in a specific order for the share to be valid.
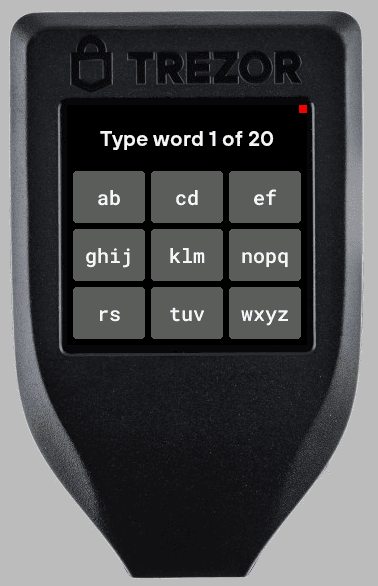
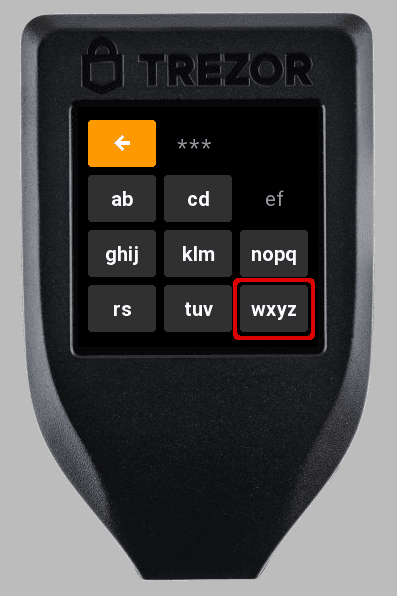
- Hint: once you've entered the first four letters, your Trezor device will 'autocomplete' the word to speed up the entry process. For example, if you want to enter the word "flexible"
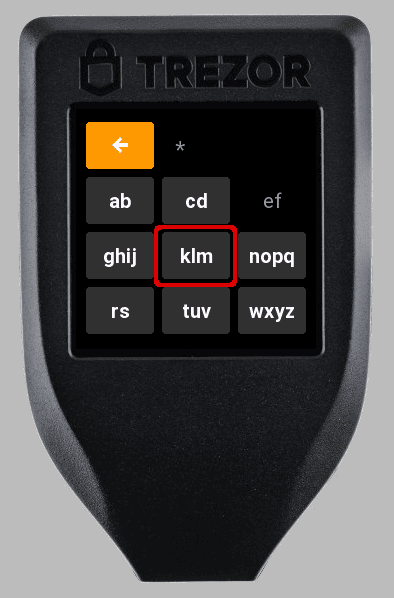
- Press the "ef" tile twice to enter the letter "F":

- Then, press the "klm" tile twice to enter the letter "L":
- Then the "ef" tile once to enter the letter "E":
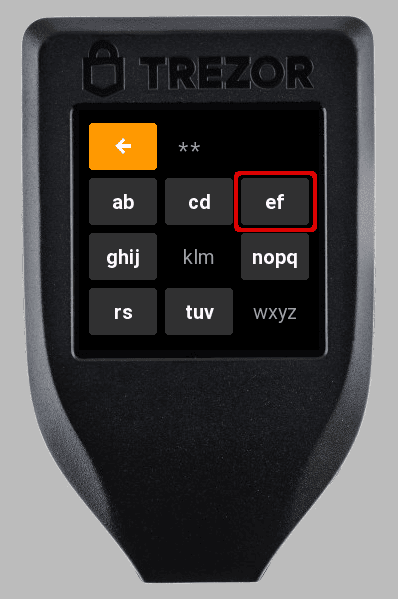
- Then the "wxyz" tile twice to enter the letter "X":
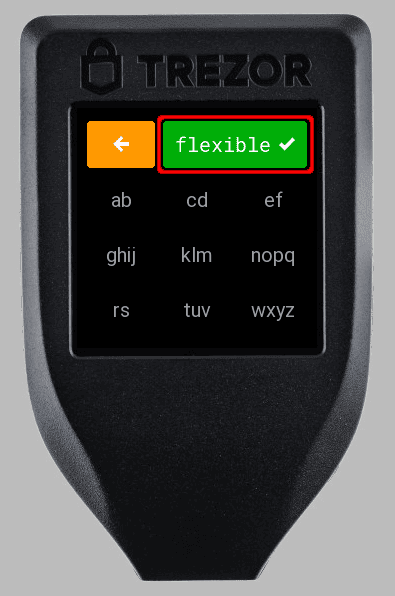
- The word "flexible" will be auto-completed by your Trezor; click on the green tile to enter the word:
- After successfully entering the first recovery share, your device will recognize the required threshold and let you know how many shares you still need to enter.
- Continue until you have entered the threshold number of shares. Once the process is complete, you will see the confirmation screen on your Trezor device. Click Continue to proceed with the rest of the device initialization process:
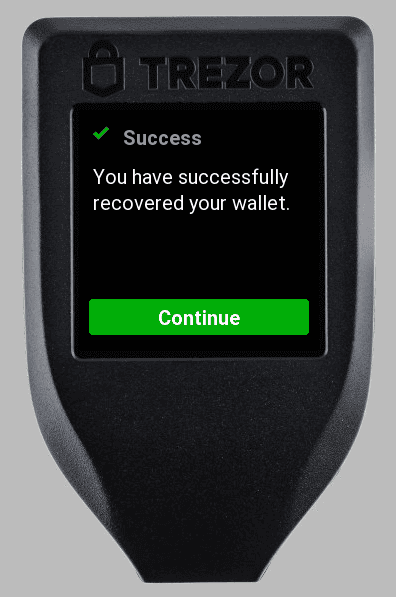
If you performed recovery externally, utilizing Recovery Mode, you can now connect your device to a computer and access your wallet.
You can learn more about using Multi-share Backup (formerly known as Shamir Backup) in this video:
Using Staggered Multi-share Backup Recovery
Staggered Multi-share recovery is available on all Trezor devices compatible with Multi-share Backup (Trezor Safe 7, Safe 5, Safe 3, and Model T).
What is Staggered Multi-share Recovery
When a Multi-share Backup is recovered or checked on a Trezor, it is possible to disconnect the Trezor once the recovery or check backup process has been started. The Trezor device will remember that it is in Recovery Mode and any correct shares that were fully entered. When a Trezor is reconnected while in Recovery Mode, it offers the option of continuing the wallet recovery or check wallet backup process from the most recent share(s) entered. When the threshold (the number of shares needed to recover the wallet on the Trezor) of the Multi-share Backup is entered, the Trezor wallet will operate as normal.
When staggering the recovery of a Multi-share Backup, it is strongly recommended to enter the last share needed to recover a wallet in a private location, with the Trezor connected to a computer and the Trezor Suite app.
After the wallet is recovered, set a PIN immediately to prevent unauthorized persons from using the Trezor device upon which the wallet has been recovered to send away funds.
When checking a Multi-share Backup on a Trezor device, the device cannot be used to send or receive crypto until all shares have been entered. It is possible to exit the check Wallet backup process while performing it, but all progress checking the backup will be lost.
Understanding Multi-share Backup
Multi-share Backup allows you to divide your wallet backup into several parts, known as shares. To recover your wallet, you need a specific number of these shares, defined during the backup creation. For instance, in a 2-of-3 scheme, you have three shares, and any two of these three can be used to recover your wallet (the threshold). This approach mitigates the risk of a single point of failure, as losing one or two shares doesn't compromise your ability to restore the wallet.
Ideally, the shares of a Multi-share Backup are kept in different locations. For example, let’s imagine Alice has a 2-of-3 Multi-share Backup and has distributed her shares as follows:
Share 1: Alice keeps this share at home
Share 2: Alice’s mother has this share
Share 3: Alice’s best friend has this share
Alice’s setup is robust as it lacks a single point of failure. If one of the shares is being used by someone else maliciously that person would still need another share in order to access Alice’s wallet. Ideally someone wishing to use Alice’s share for the wrong reasons would have no idea where her other shares are, making the share useless on its own. It is only when 2 of the 3 shares are combined together that a thief could successfully access Alice’s wallet. By keeping her shares in different locations Alice ensures her wallet is secure.
Why use Staggered Recovery?
If Alice wants to recover her wallet onto a new Trezor or check wallet backup on her current Trezor, she would have to enter 2 of her shares into her Trezor as part of the recovery process. This would mean that Alice would have to go to her best friend or mother to retrieve one of the shares and enter it into the Trezor.
This is where staggered recovery comes in handy as it allows Alice to recover shares without removing them from their storage locations. Alice can go to her best friend or mother and view the share she left there in private. She would bring her Trezor device with her, and begin the process of recovering her wallet on her Trezor device by borrowing her mother’s laptop.
Trezor Safe 7 makes the staggered recovery process easier thanks to its internal battery; as long as it's charged, you can travel between shares without the need for an external power supply. For older Trezor models, Alice can connect it to a wall outlet, power bank, computer, or even multiple computers. This is because the Trezor device only requires a source of power, and does not need to interact with a computer while entering each share. It is important to enter the last share while Trezor is connected to a computer with Trezor Suite, as the PIN should be set immediately after completing the process.
Once the first share is entered into the Trezor, she disconnects it from her computer. At this point the first share is entered into the Trezor, but it’s not possible for someone who steals the Trezor to learn what the share is as the Trezor will not provide that information. An attacker would need to have her Trezor and another of Alice’s shares to access her wallet.
Alice can take her Trezor home with her and enter the second share in private. By doing this, she has successfully used the staggered recovery process, while keeping all shares from her Multi-share Backup in their original storage locations.
Ultimately, staggered Multi-share recovery is a great way to keep your Multi-share Backup secure while ensuring that you can easily and safely recover or check your backup on your Trezor at your convenience.