Use Ronin Wallet with Your Trezor
You can easily connect your Trezor to the Ronin Wallet to play Axie Infinity and other games on the Ronin Network.
This guide walks you through connecting your Trezor device, importing your wallet, and getting started in just a few steps.
What is Ronin Wallet?
Ronin Wallet is a browser extension that lets you interact with the Ronin Network—an Ethereum side-chain built for blockchain games like Axie Infinity.
When using Ronin wallet with Trezor, your private keys stay safely on your Trezor device—they’re never stored in the browser or Ronin Wallet.
How to connect your Trezor to Ronin Wallet
1. Install the Ronin Wallet extension
Go to the official Ronin Wallet website: wallet.roninchain.com
Download and install the latest version of Ronin Wallet for your browser:
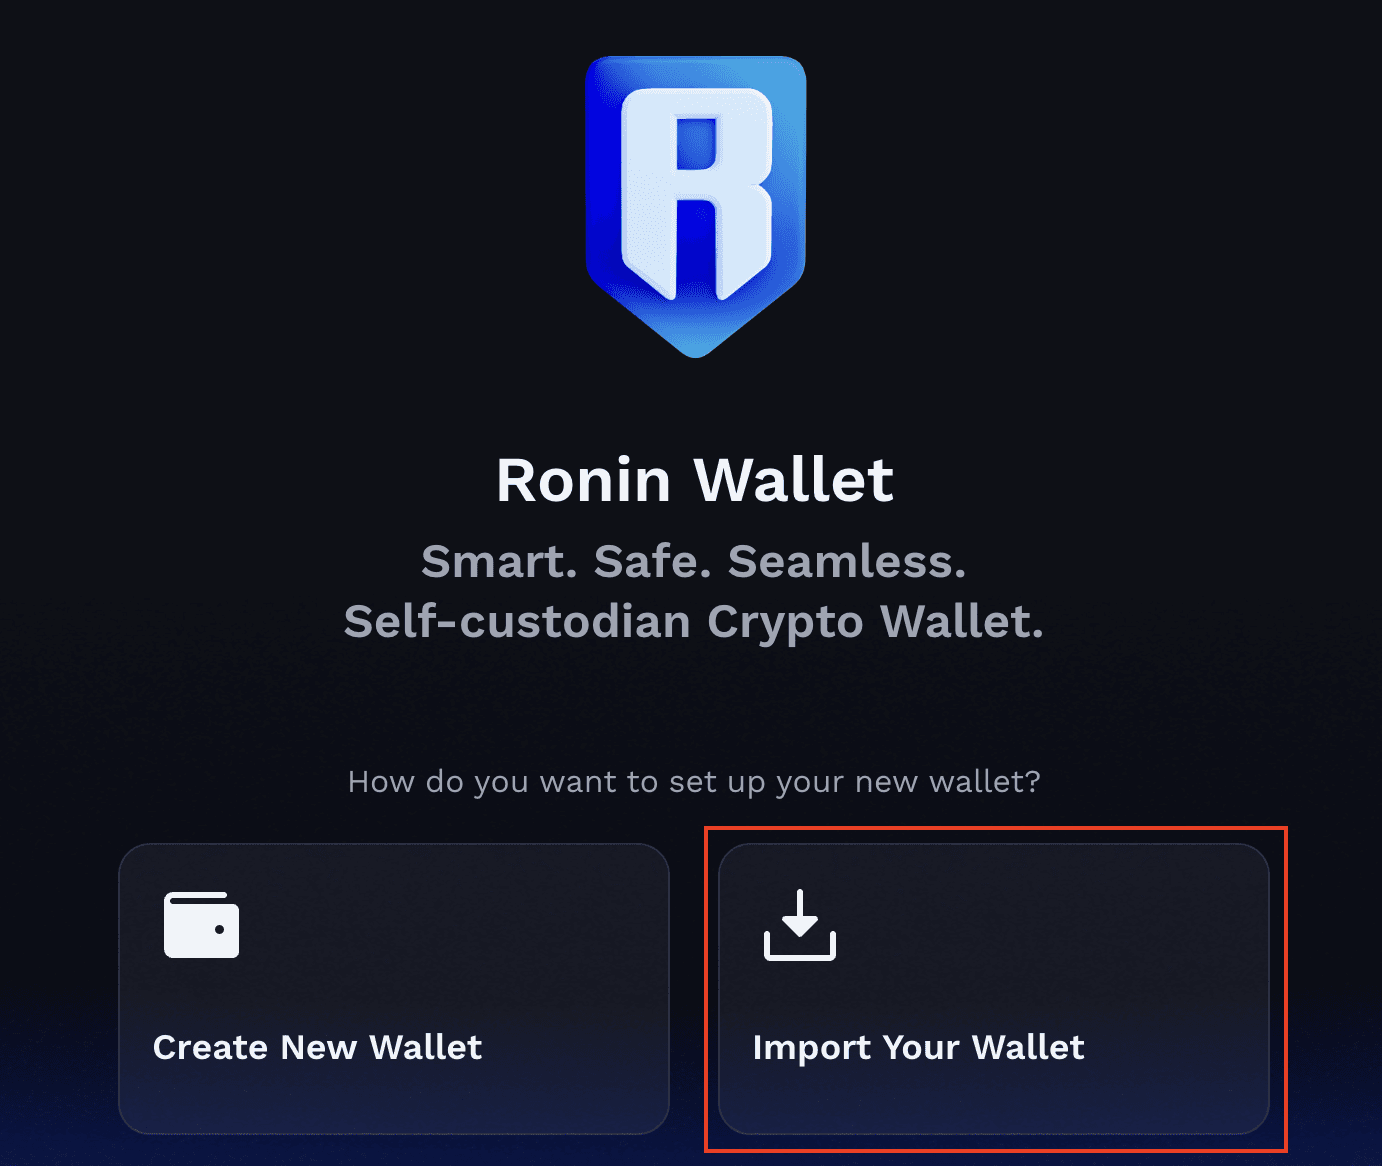
After installing, open the Ronin Wallet extension, and select Get started.
2. Set up your Ronin Wallet
- Click Get Started, and Import your wallet.
- Select Hardware Wallet.
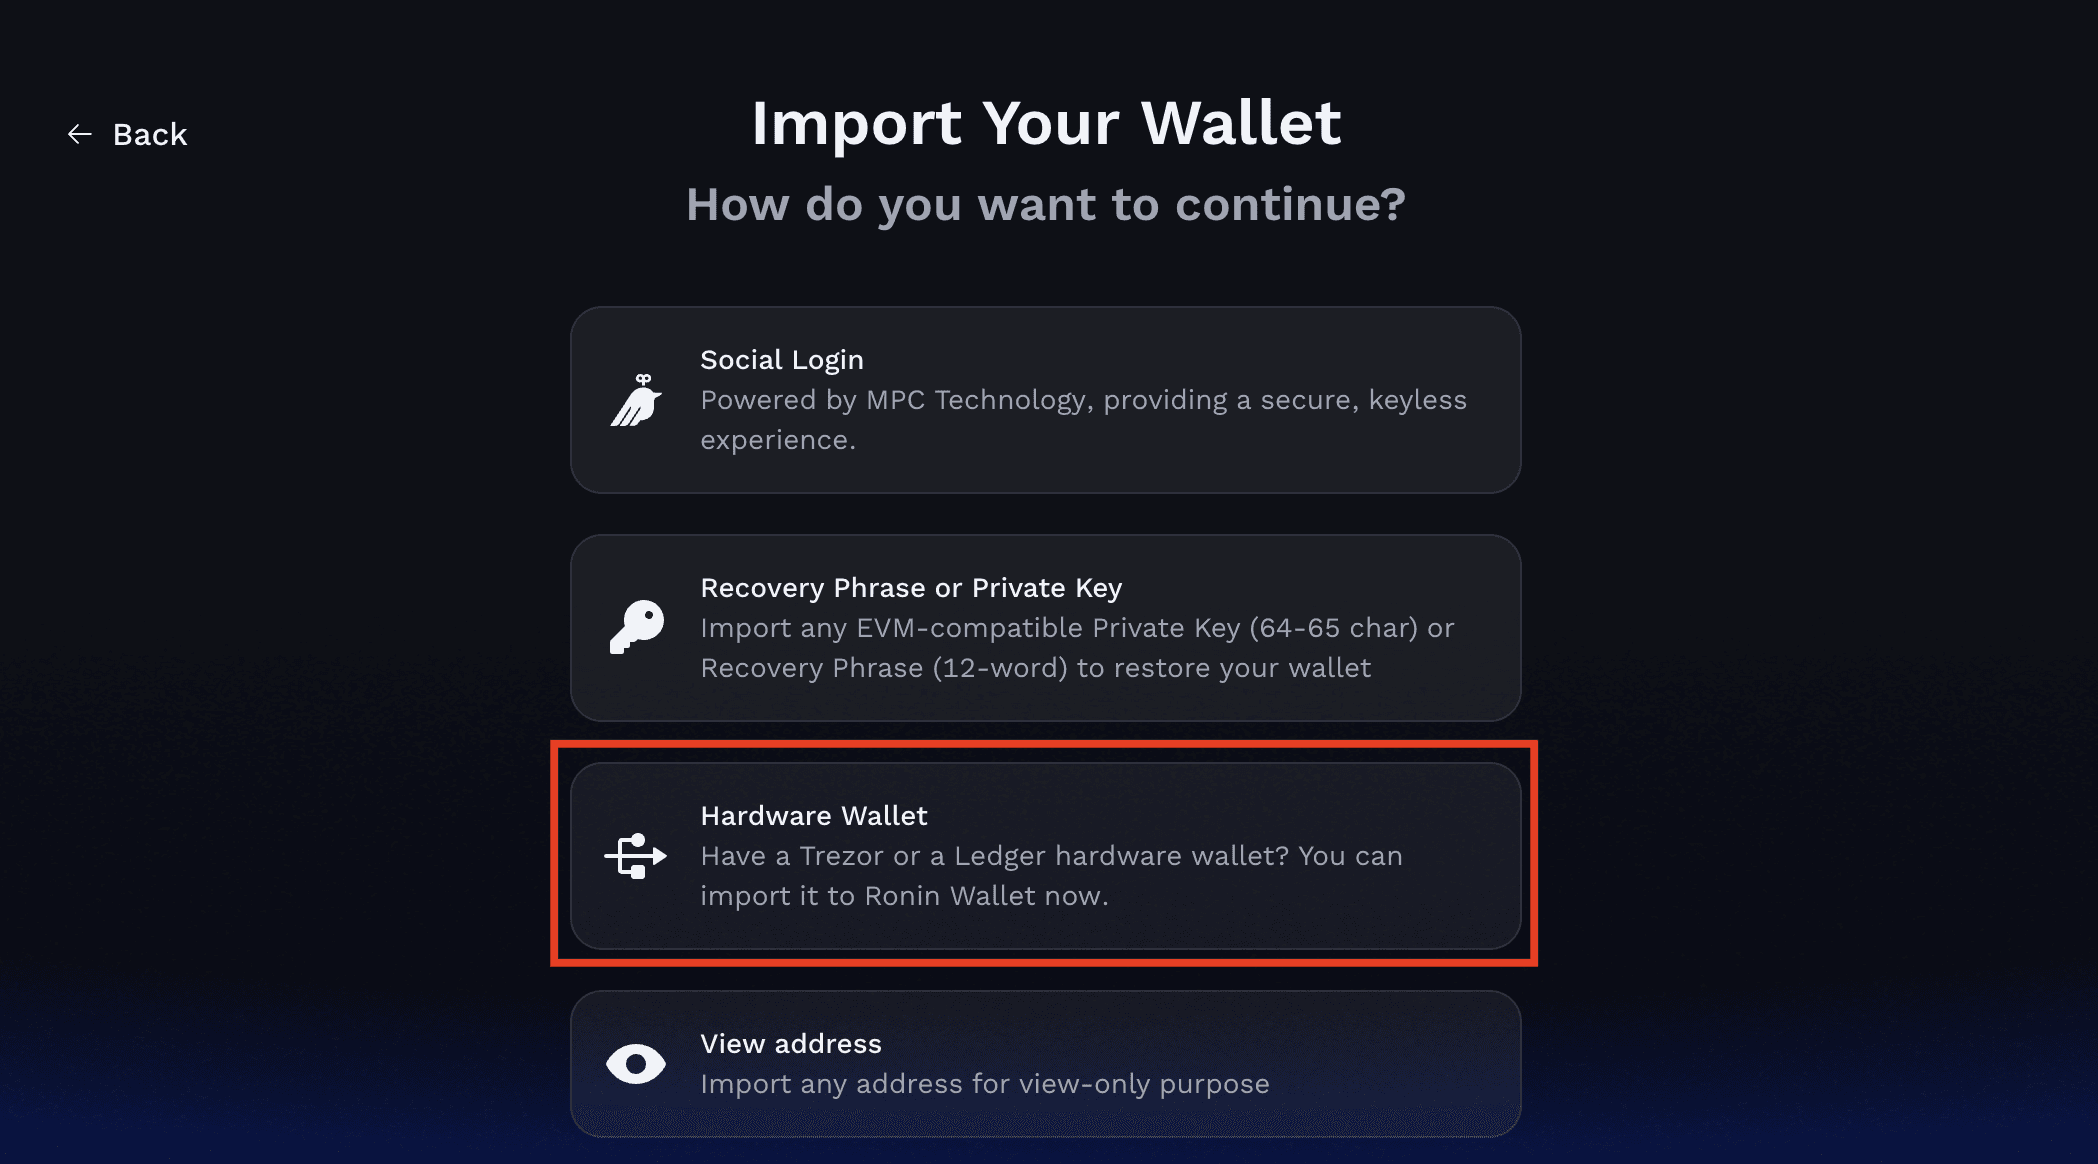
- Then, select Trezor and click Connect Wallet. A Trezor connect pop-up tab will open in your browser.
- Please Confirm your preference for Anonymous data collection.

3. Connect your Trezor device
- Connect your Trezor device to your computer and unlock it with the PIN.
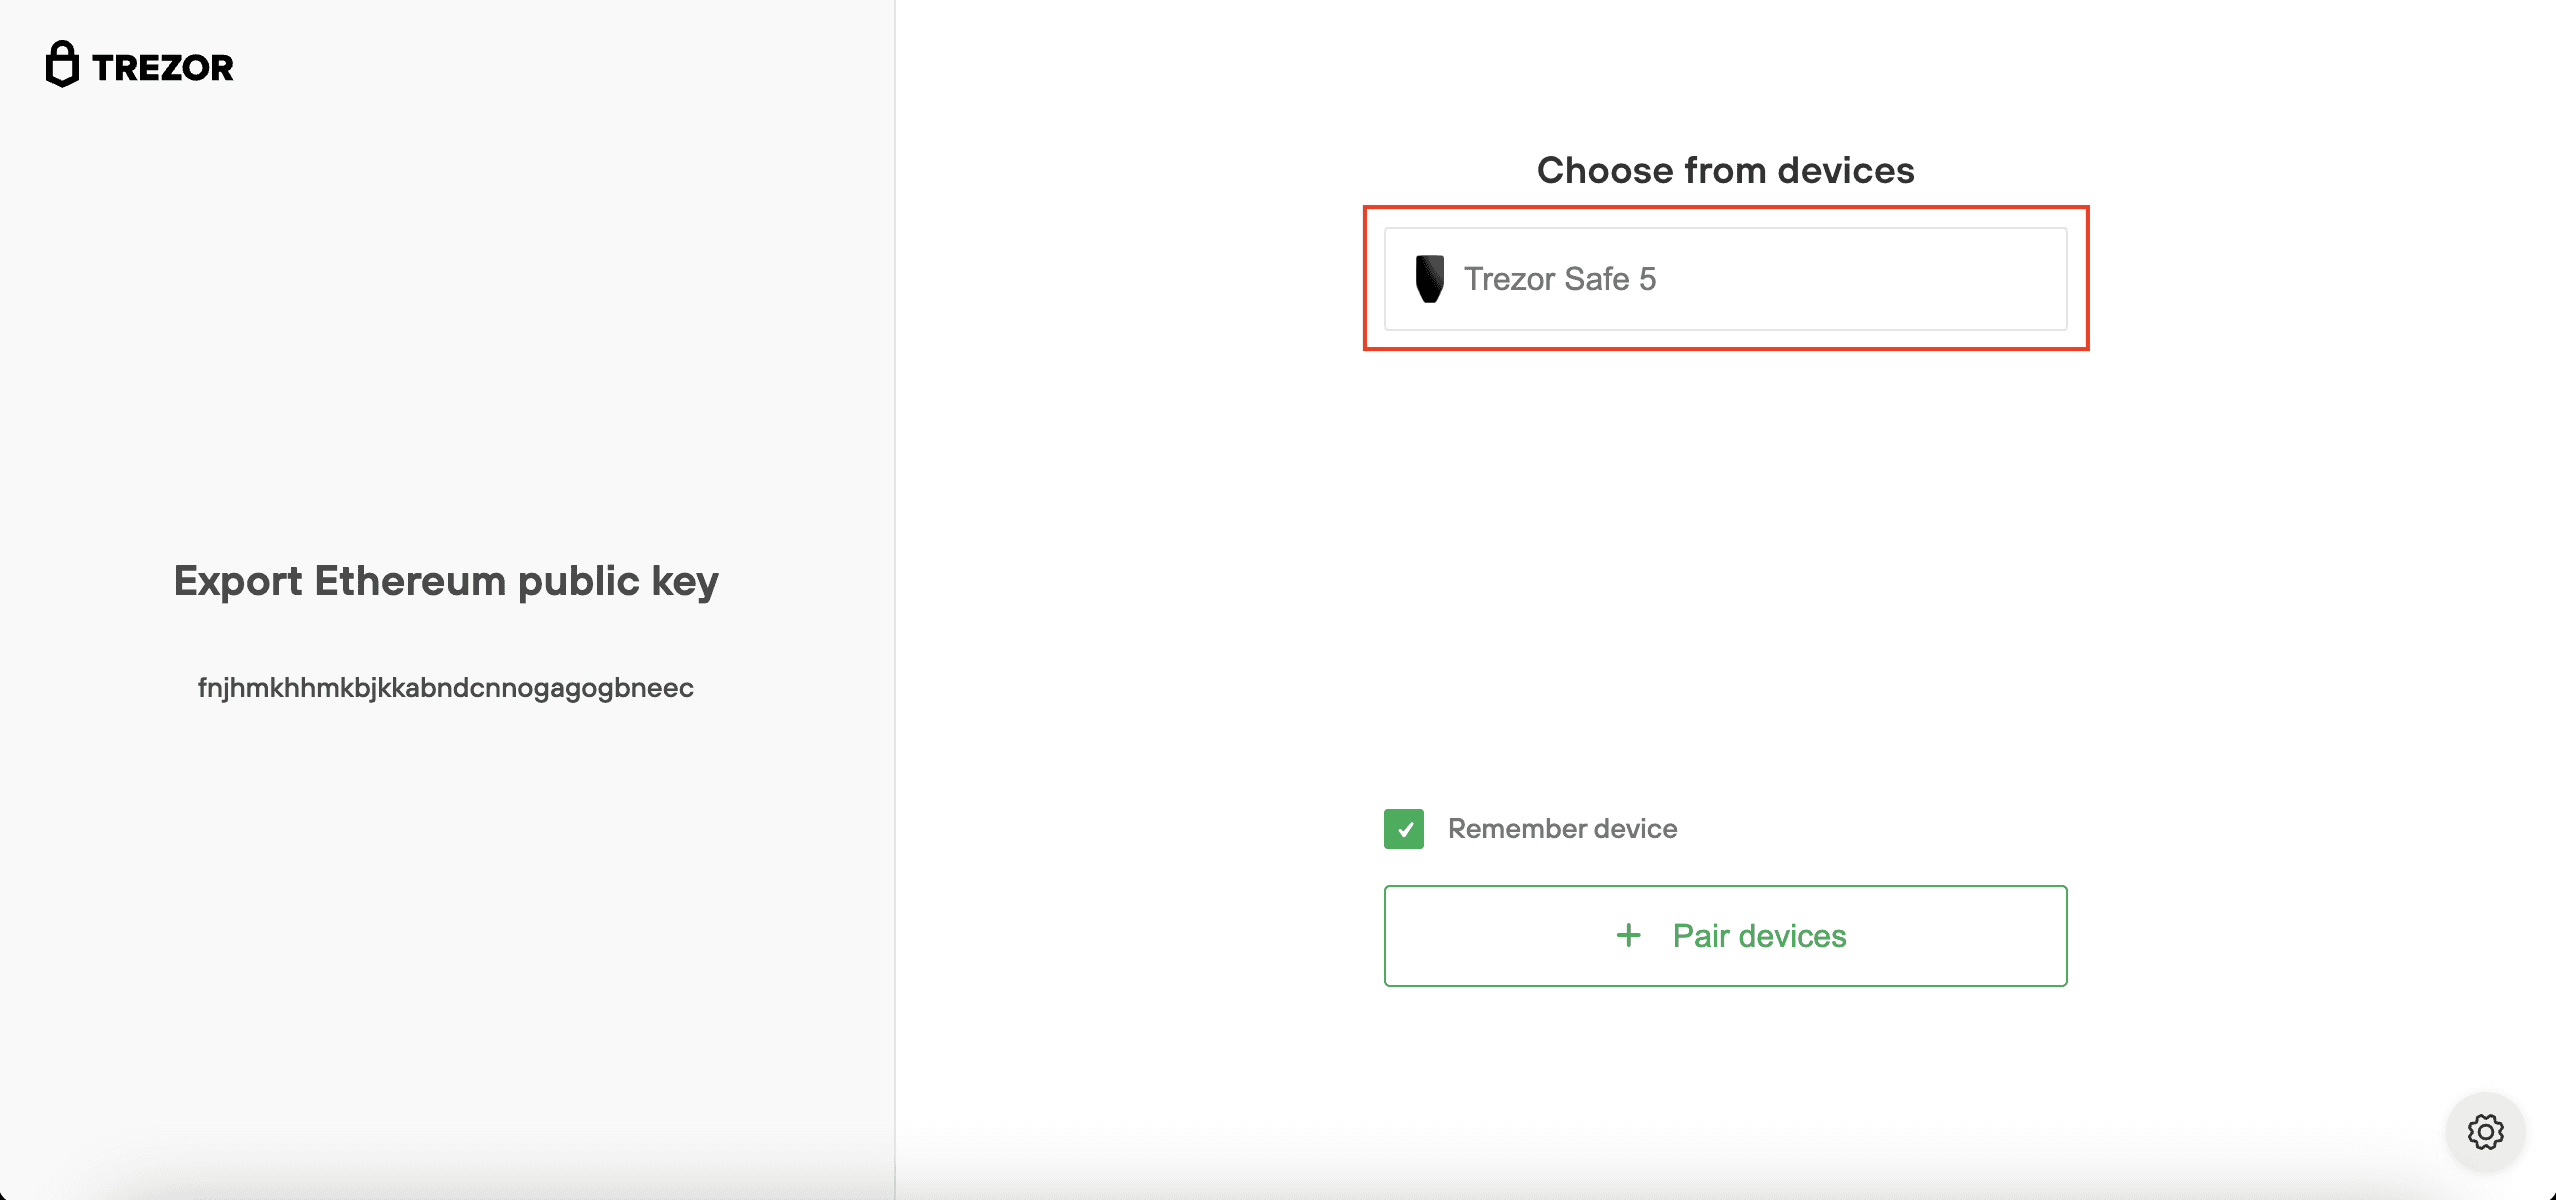
- In the Trezor connect browser tab select Pair devices.

- A menu will open. Select your Trezor device and click Connect.
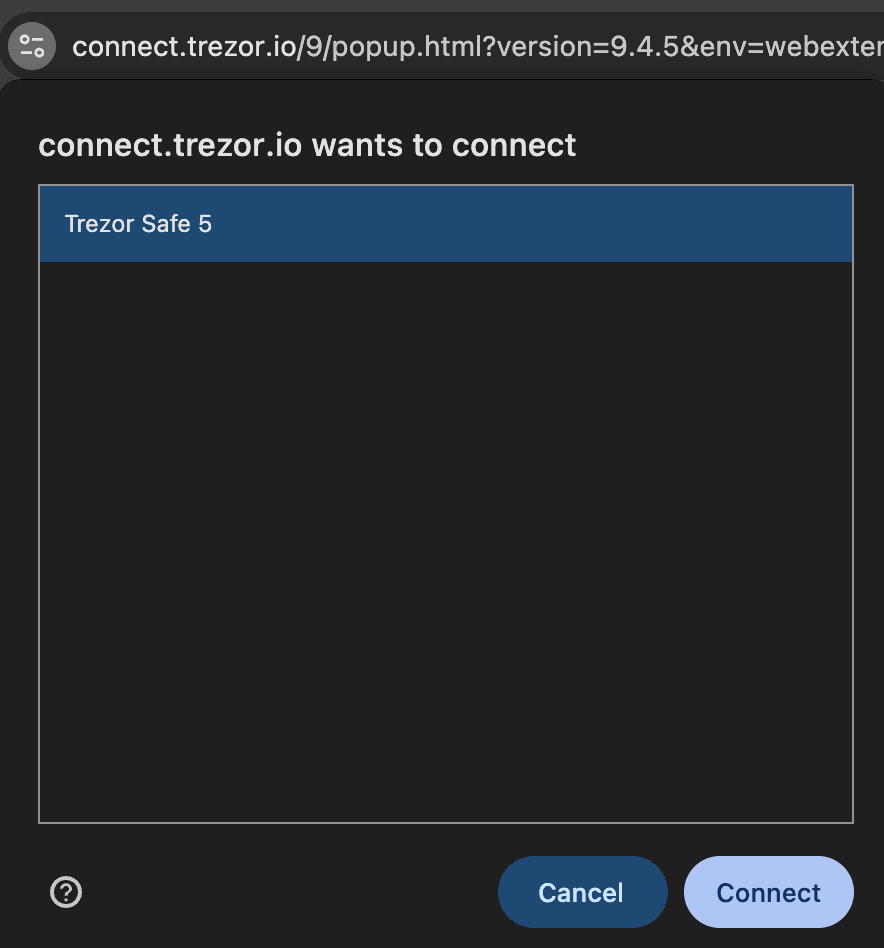
- Confirm the device, then click Allow once for this session
- Finally, choose Export.
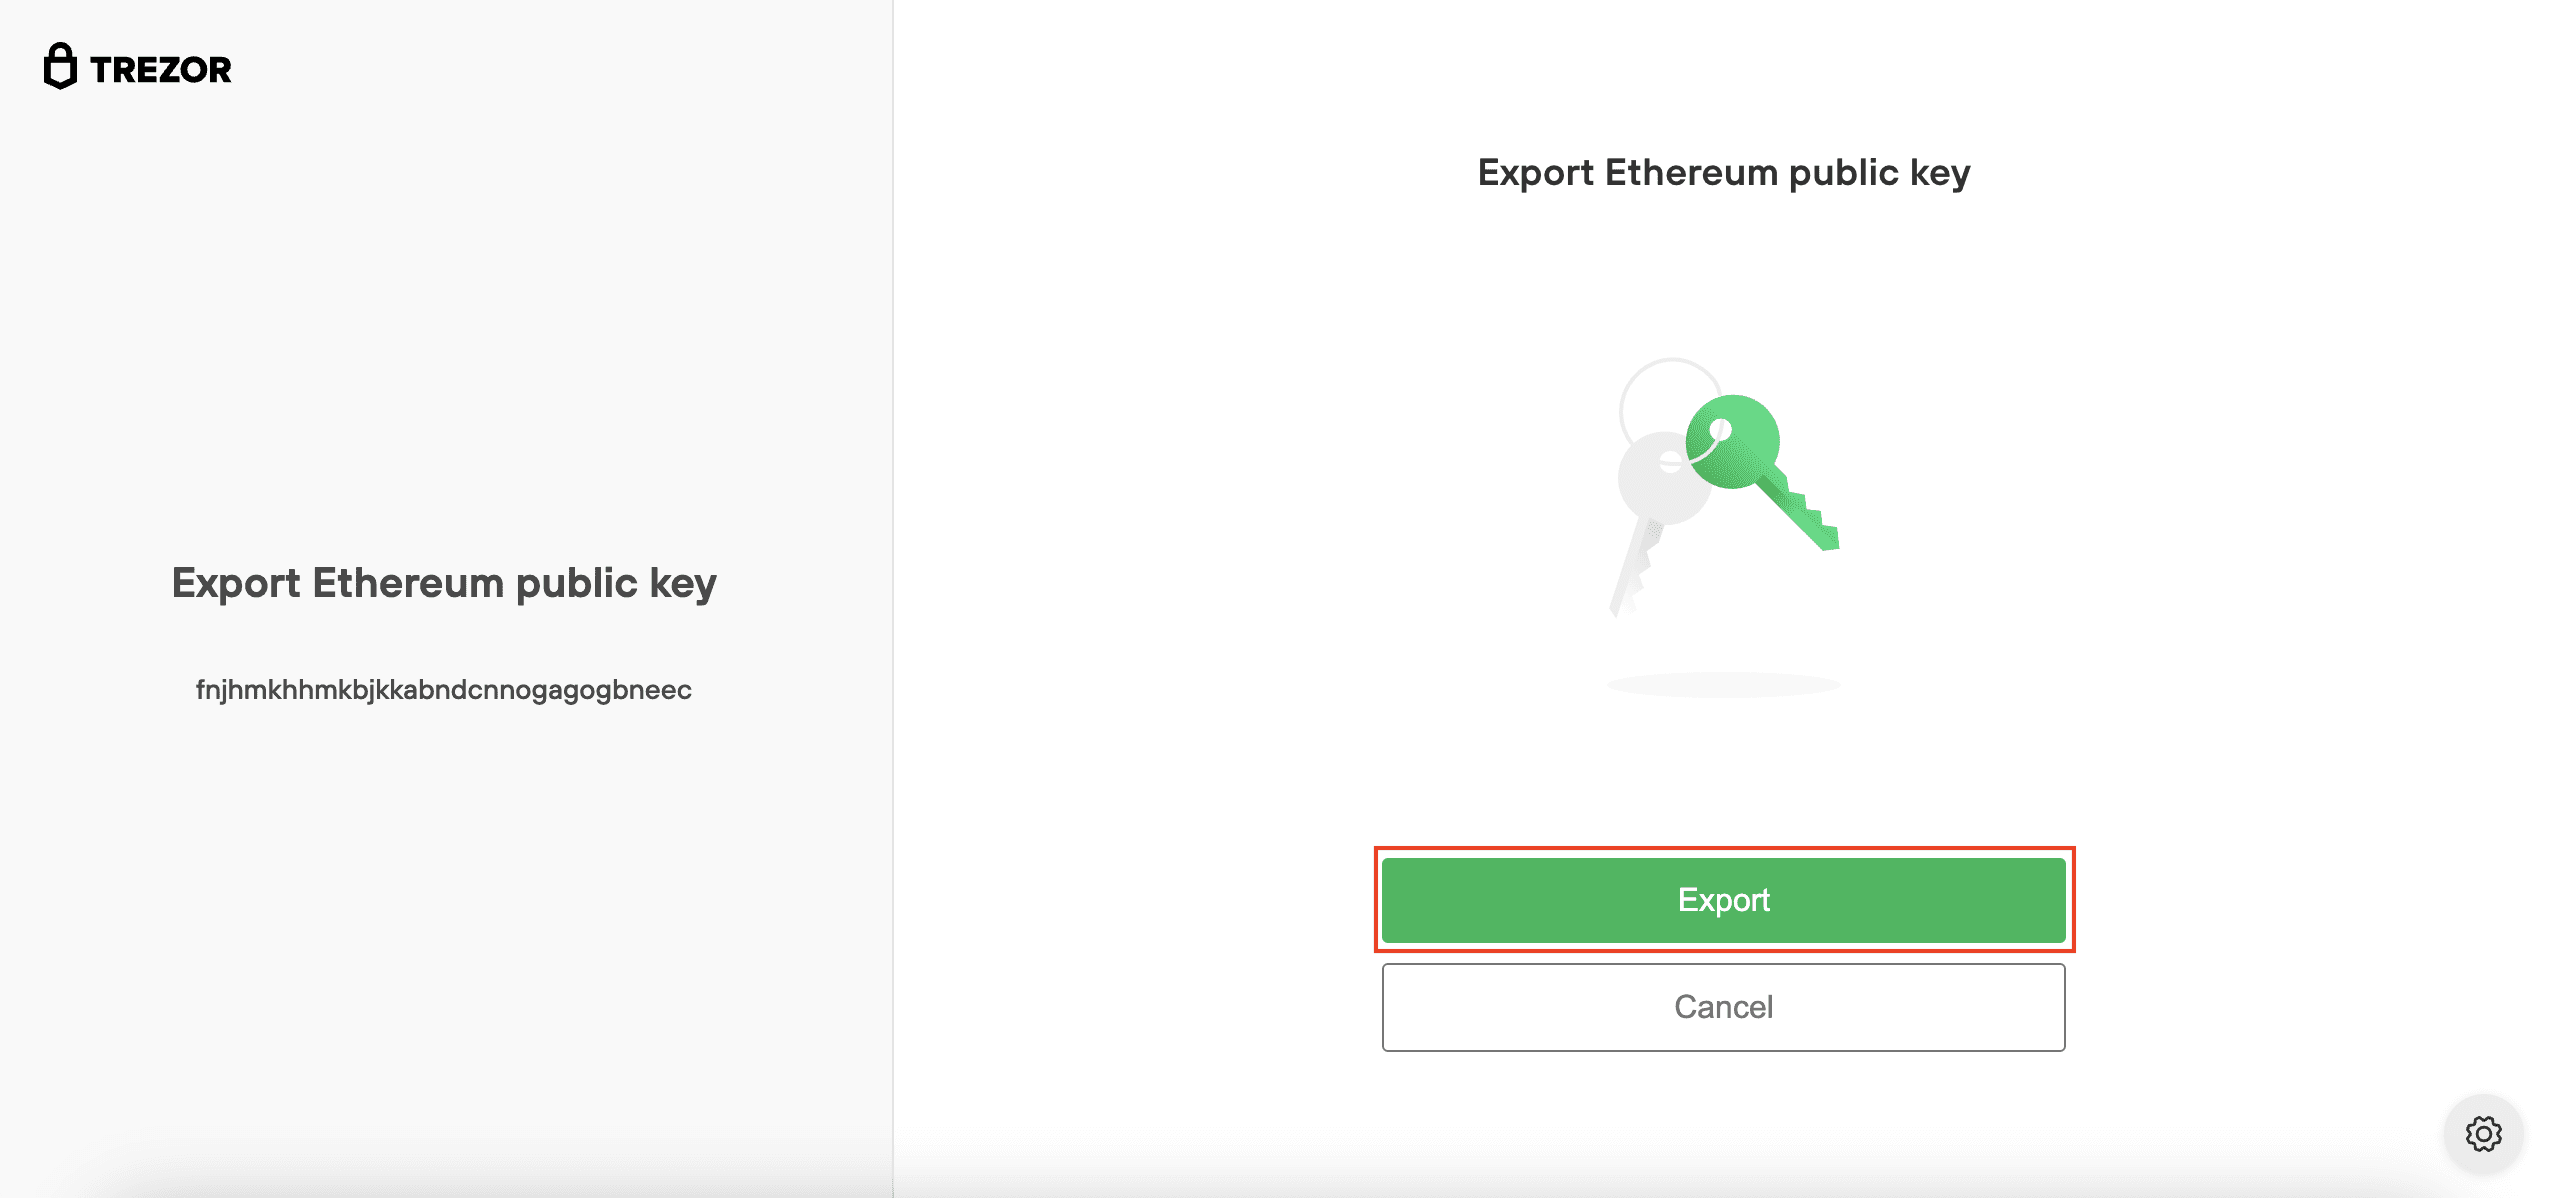
Only your public keys are shared with Ronin. Your private keys stay on your Trezor and are needed to sign transactions.
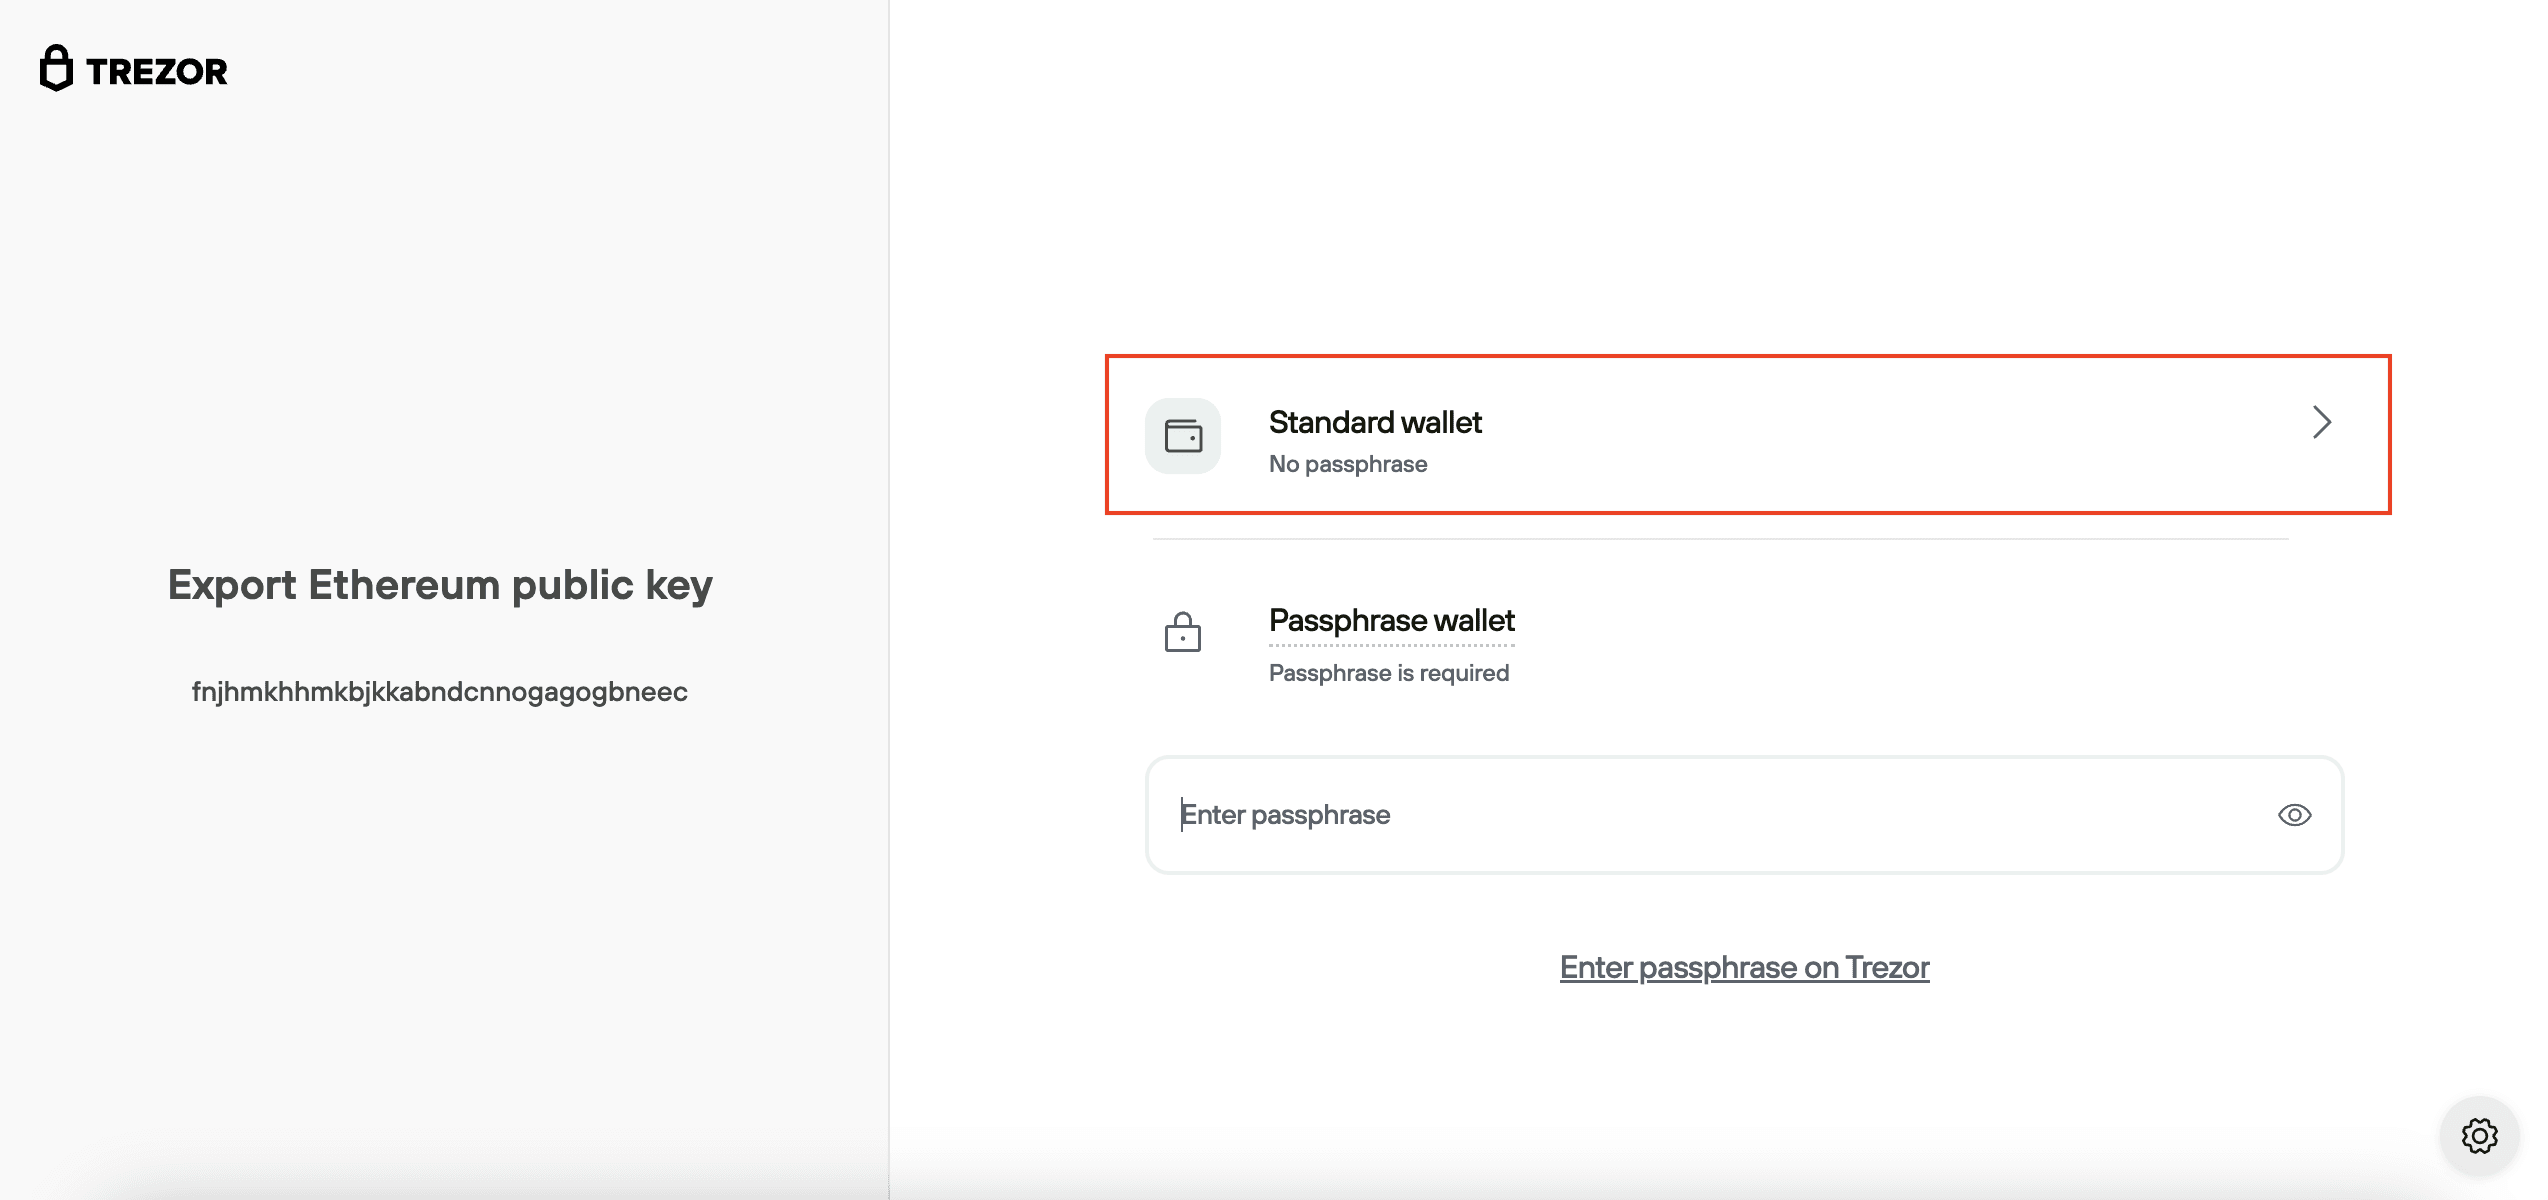
4. Choose an account from your Trezor
- Select Standard wallet if you don’t use a passphrase.
- If you use a passphrase, enter it and select Passphrase wallet. Learn more about passphrase wallets.
- Then, select which address from your Trezor wallet to import into Ronin.
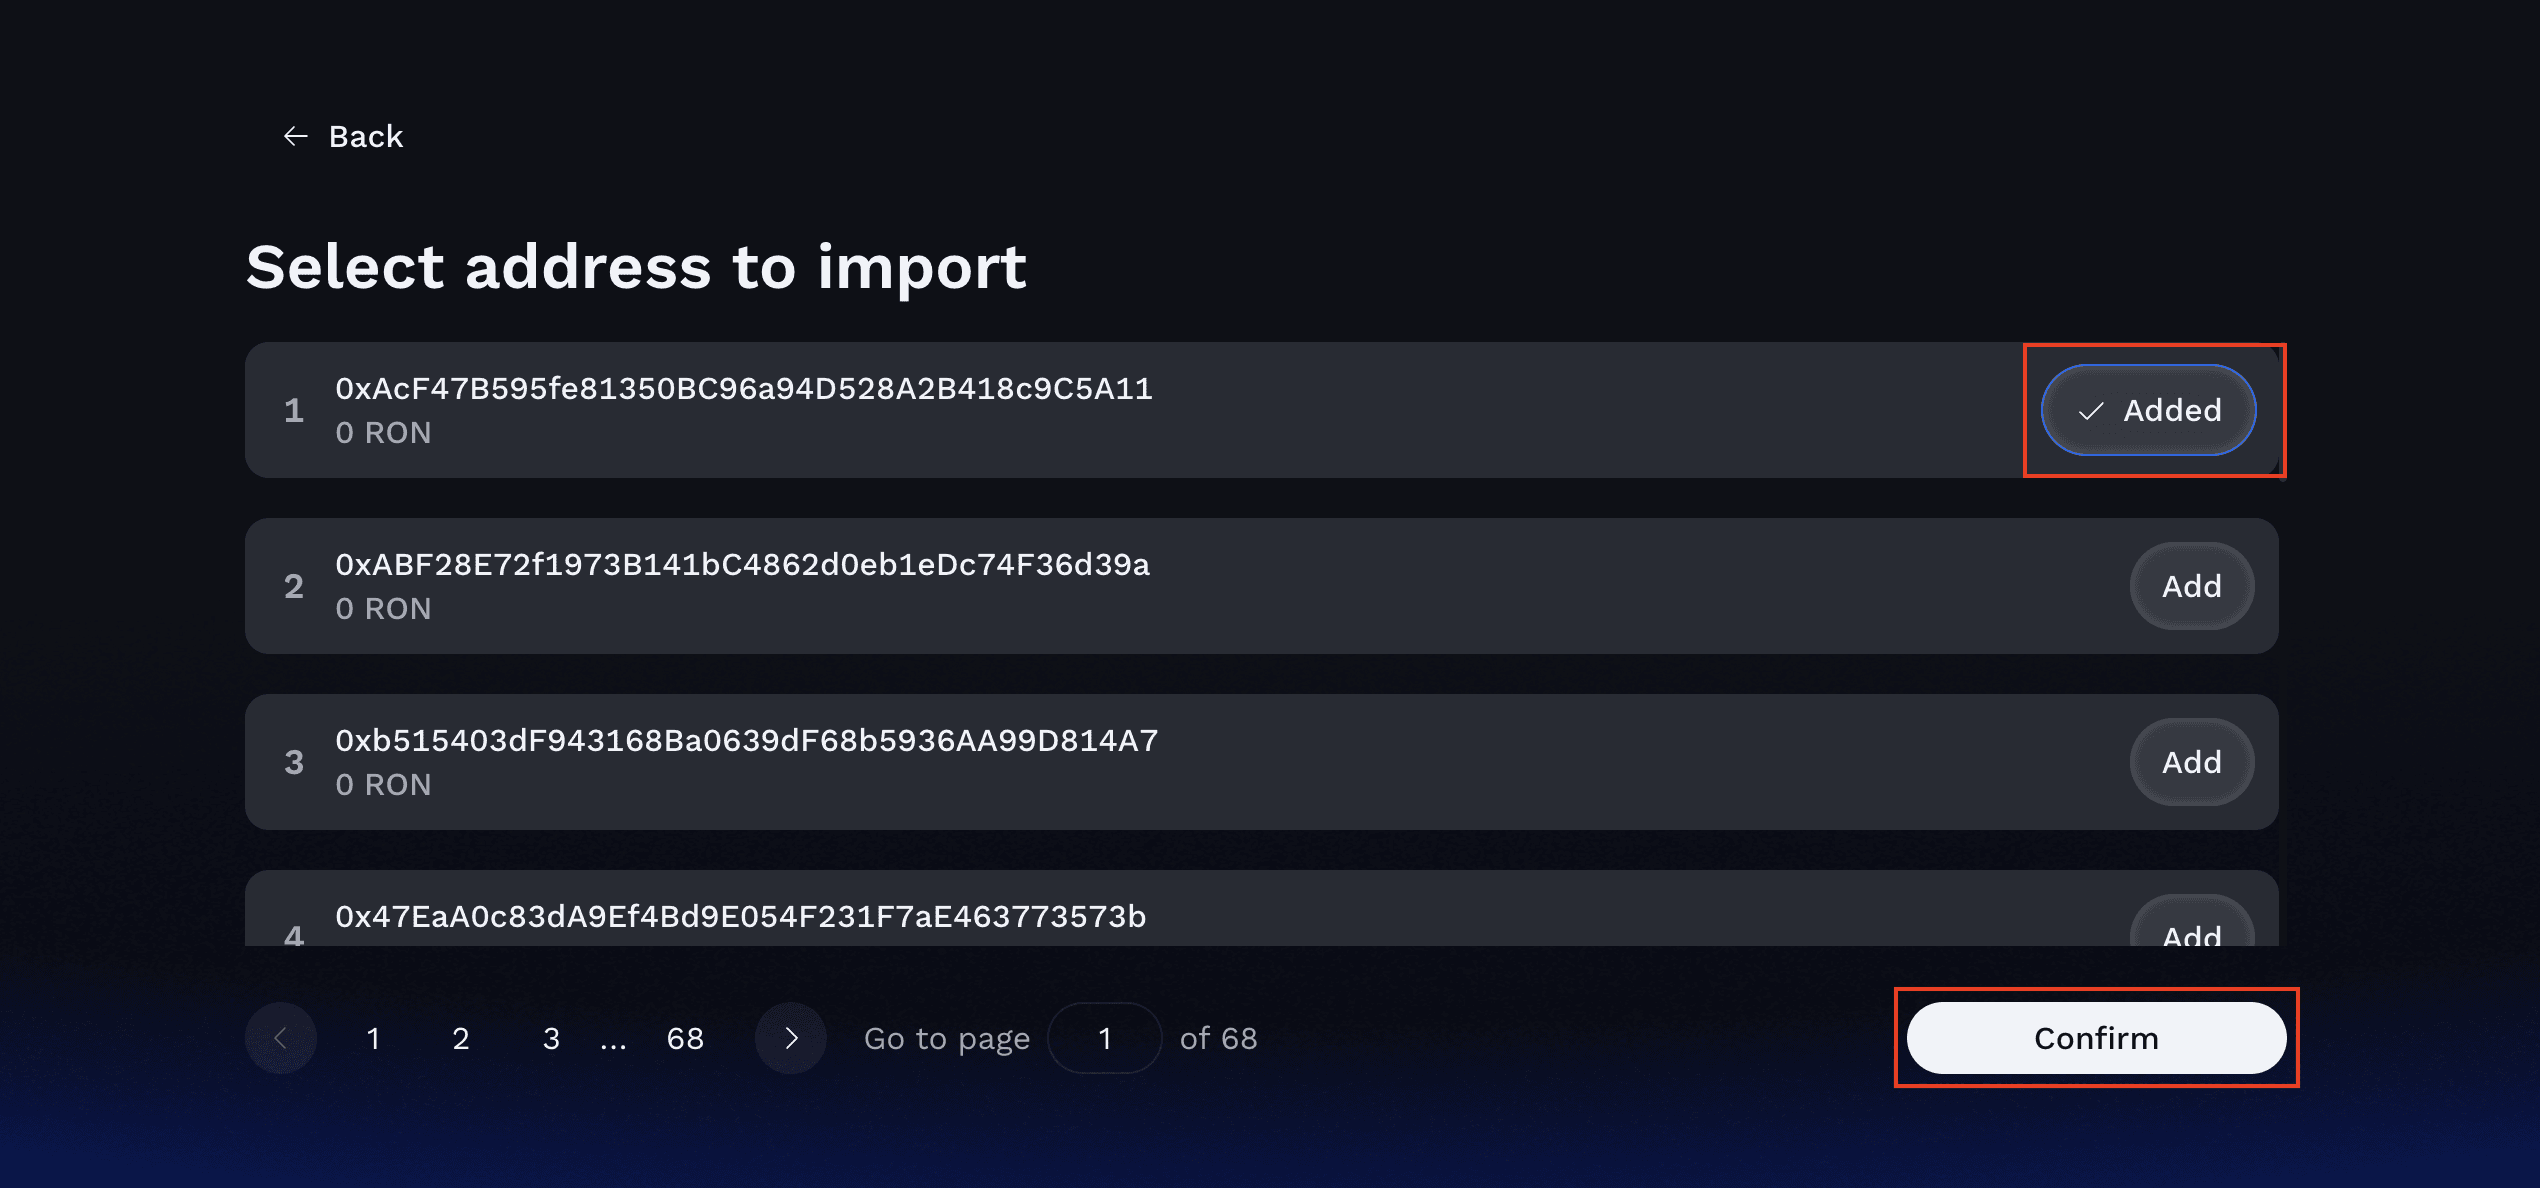
For easier recovery, we recommend starting with the first address and working down in order if you need additional accounts.
The accounts you see are your Trezor Ethereum addresses, but on the Ronin Network they have a different prefix:
ronin: instead of 0x.
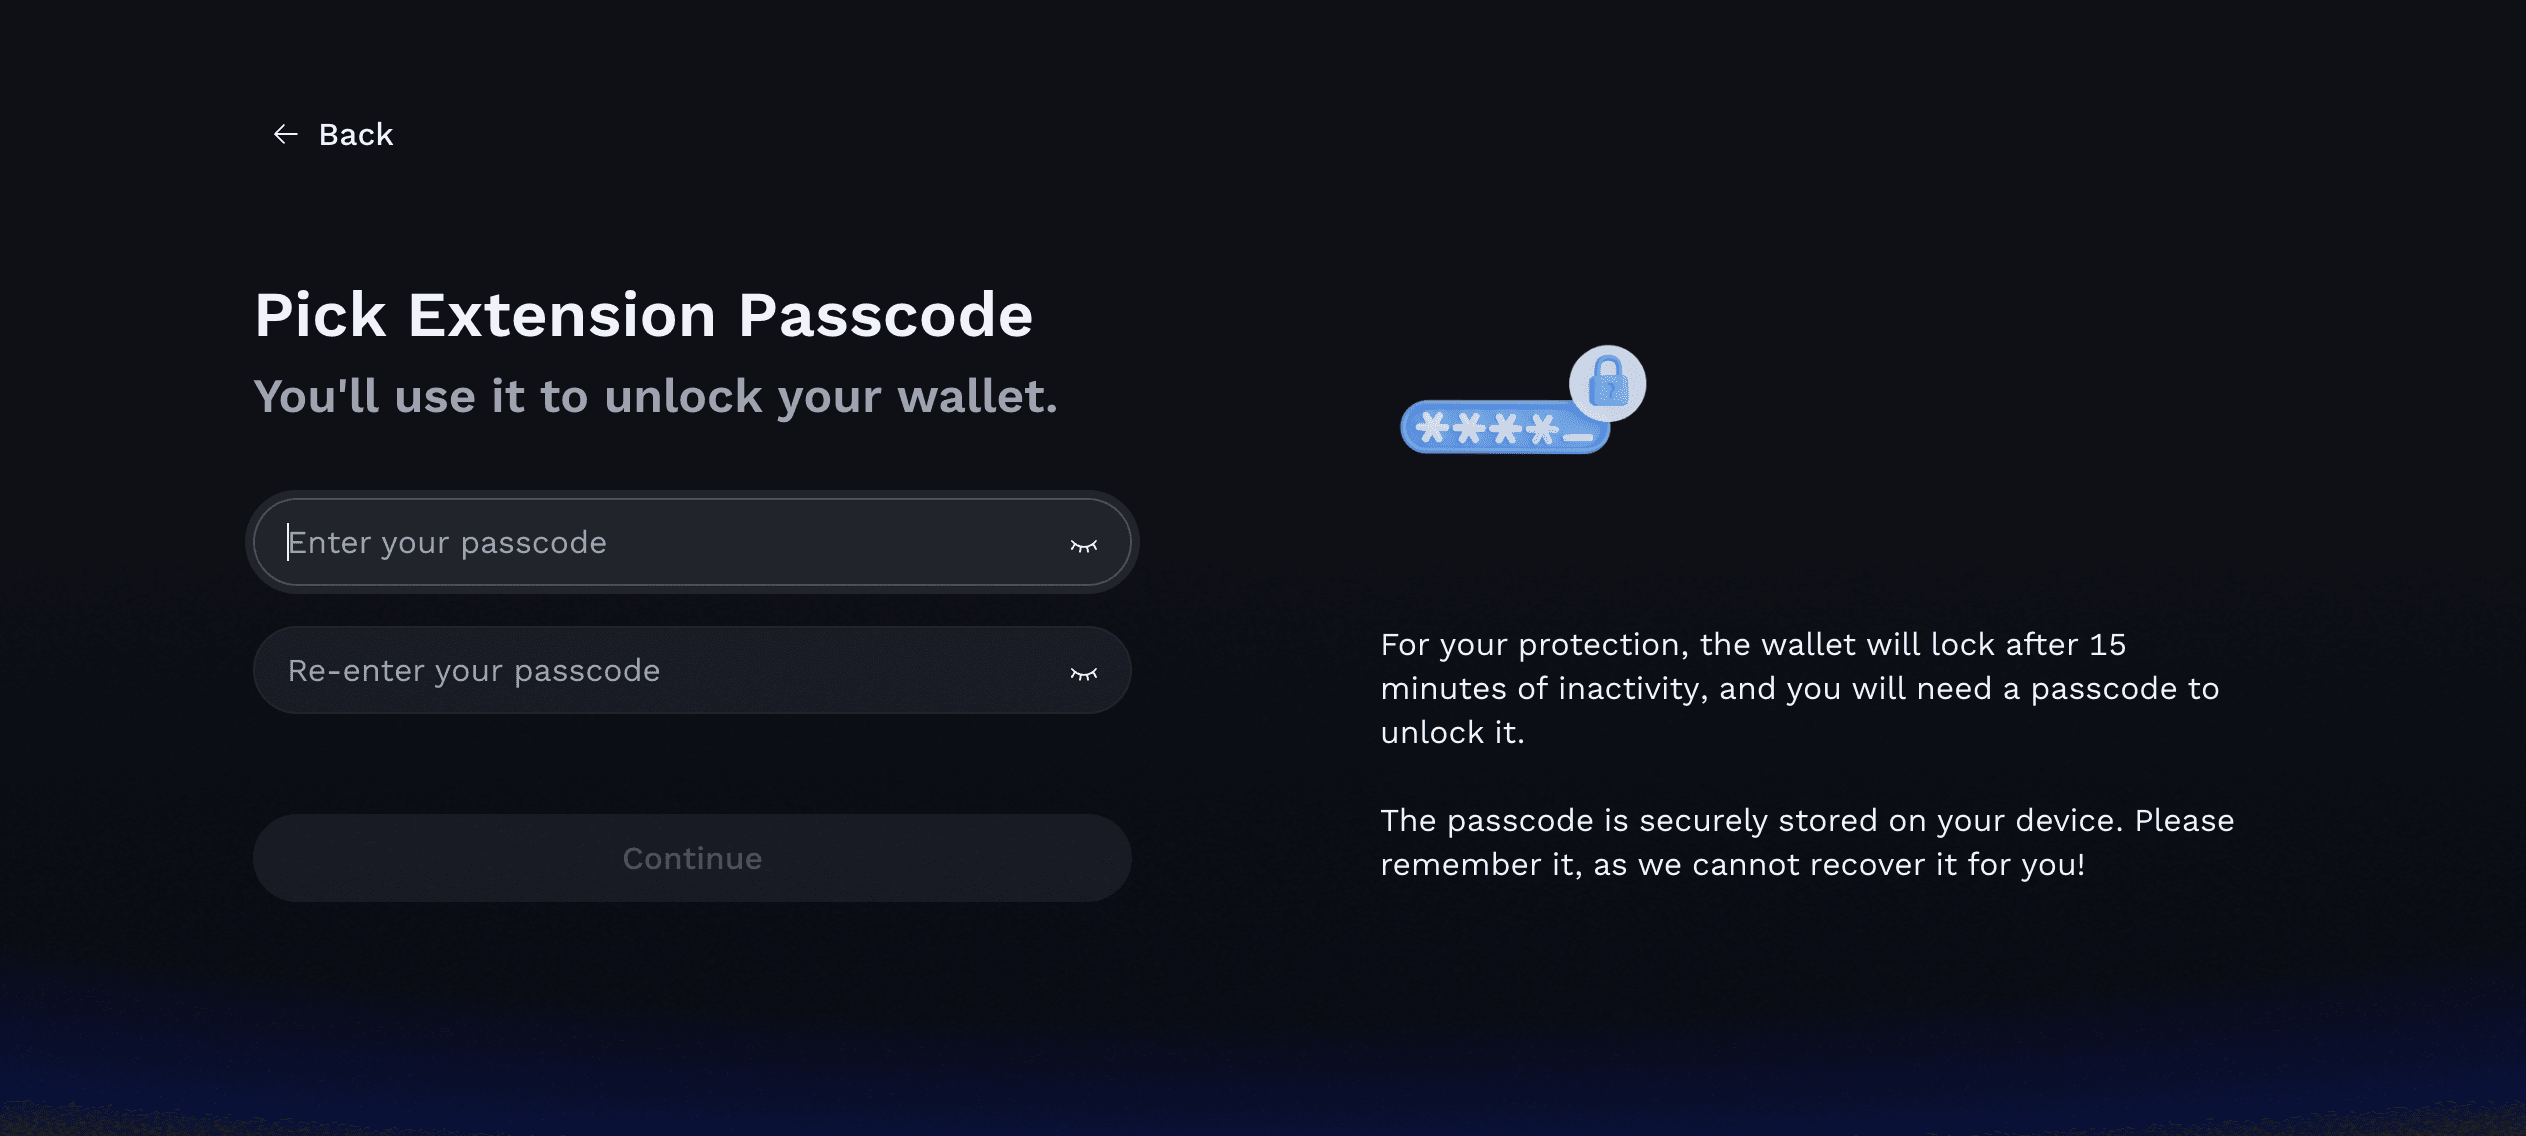
5. Set a Passcode for Ronin Wallet
Choose a passcode to unlock the Ronin Wallet extension on your device.
This passcode protects your wallet if your computer is left unattended.
- Enter your passcode, then confirm it by typing it again.
- The wallet will automatically lock after 15 minutes of inactivity.
If you forget this passcode, you’ll need to reinstall the extension and set it up again. Your funds will still be recoverable using your Trezor or your wallet backup.
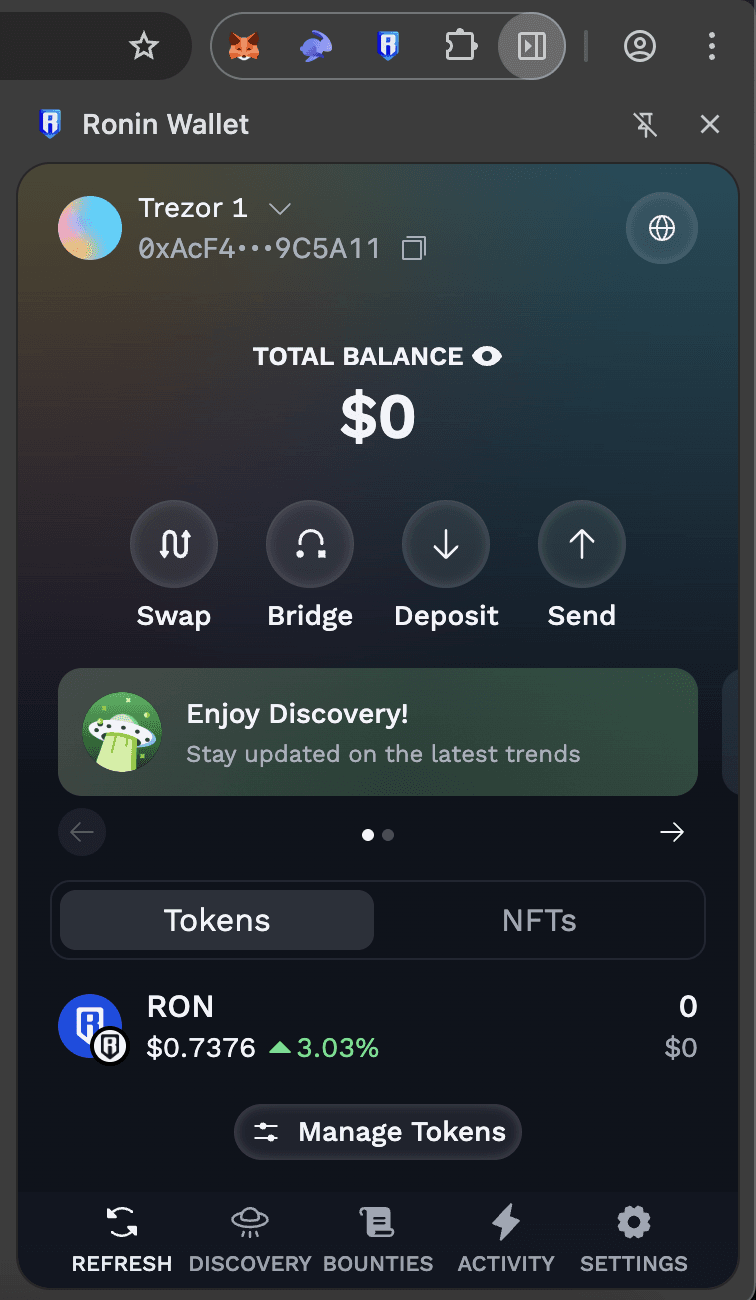
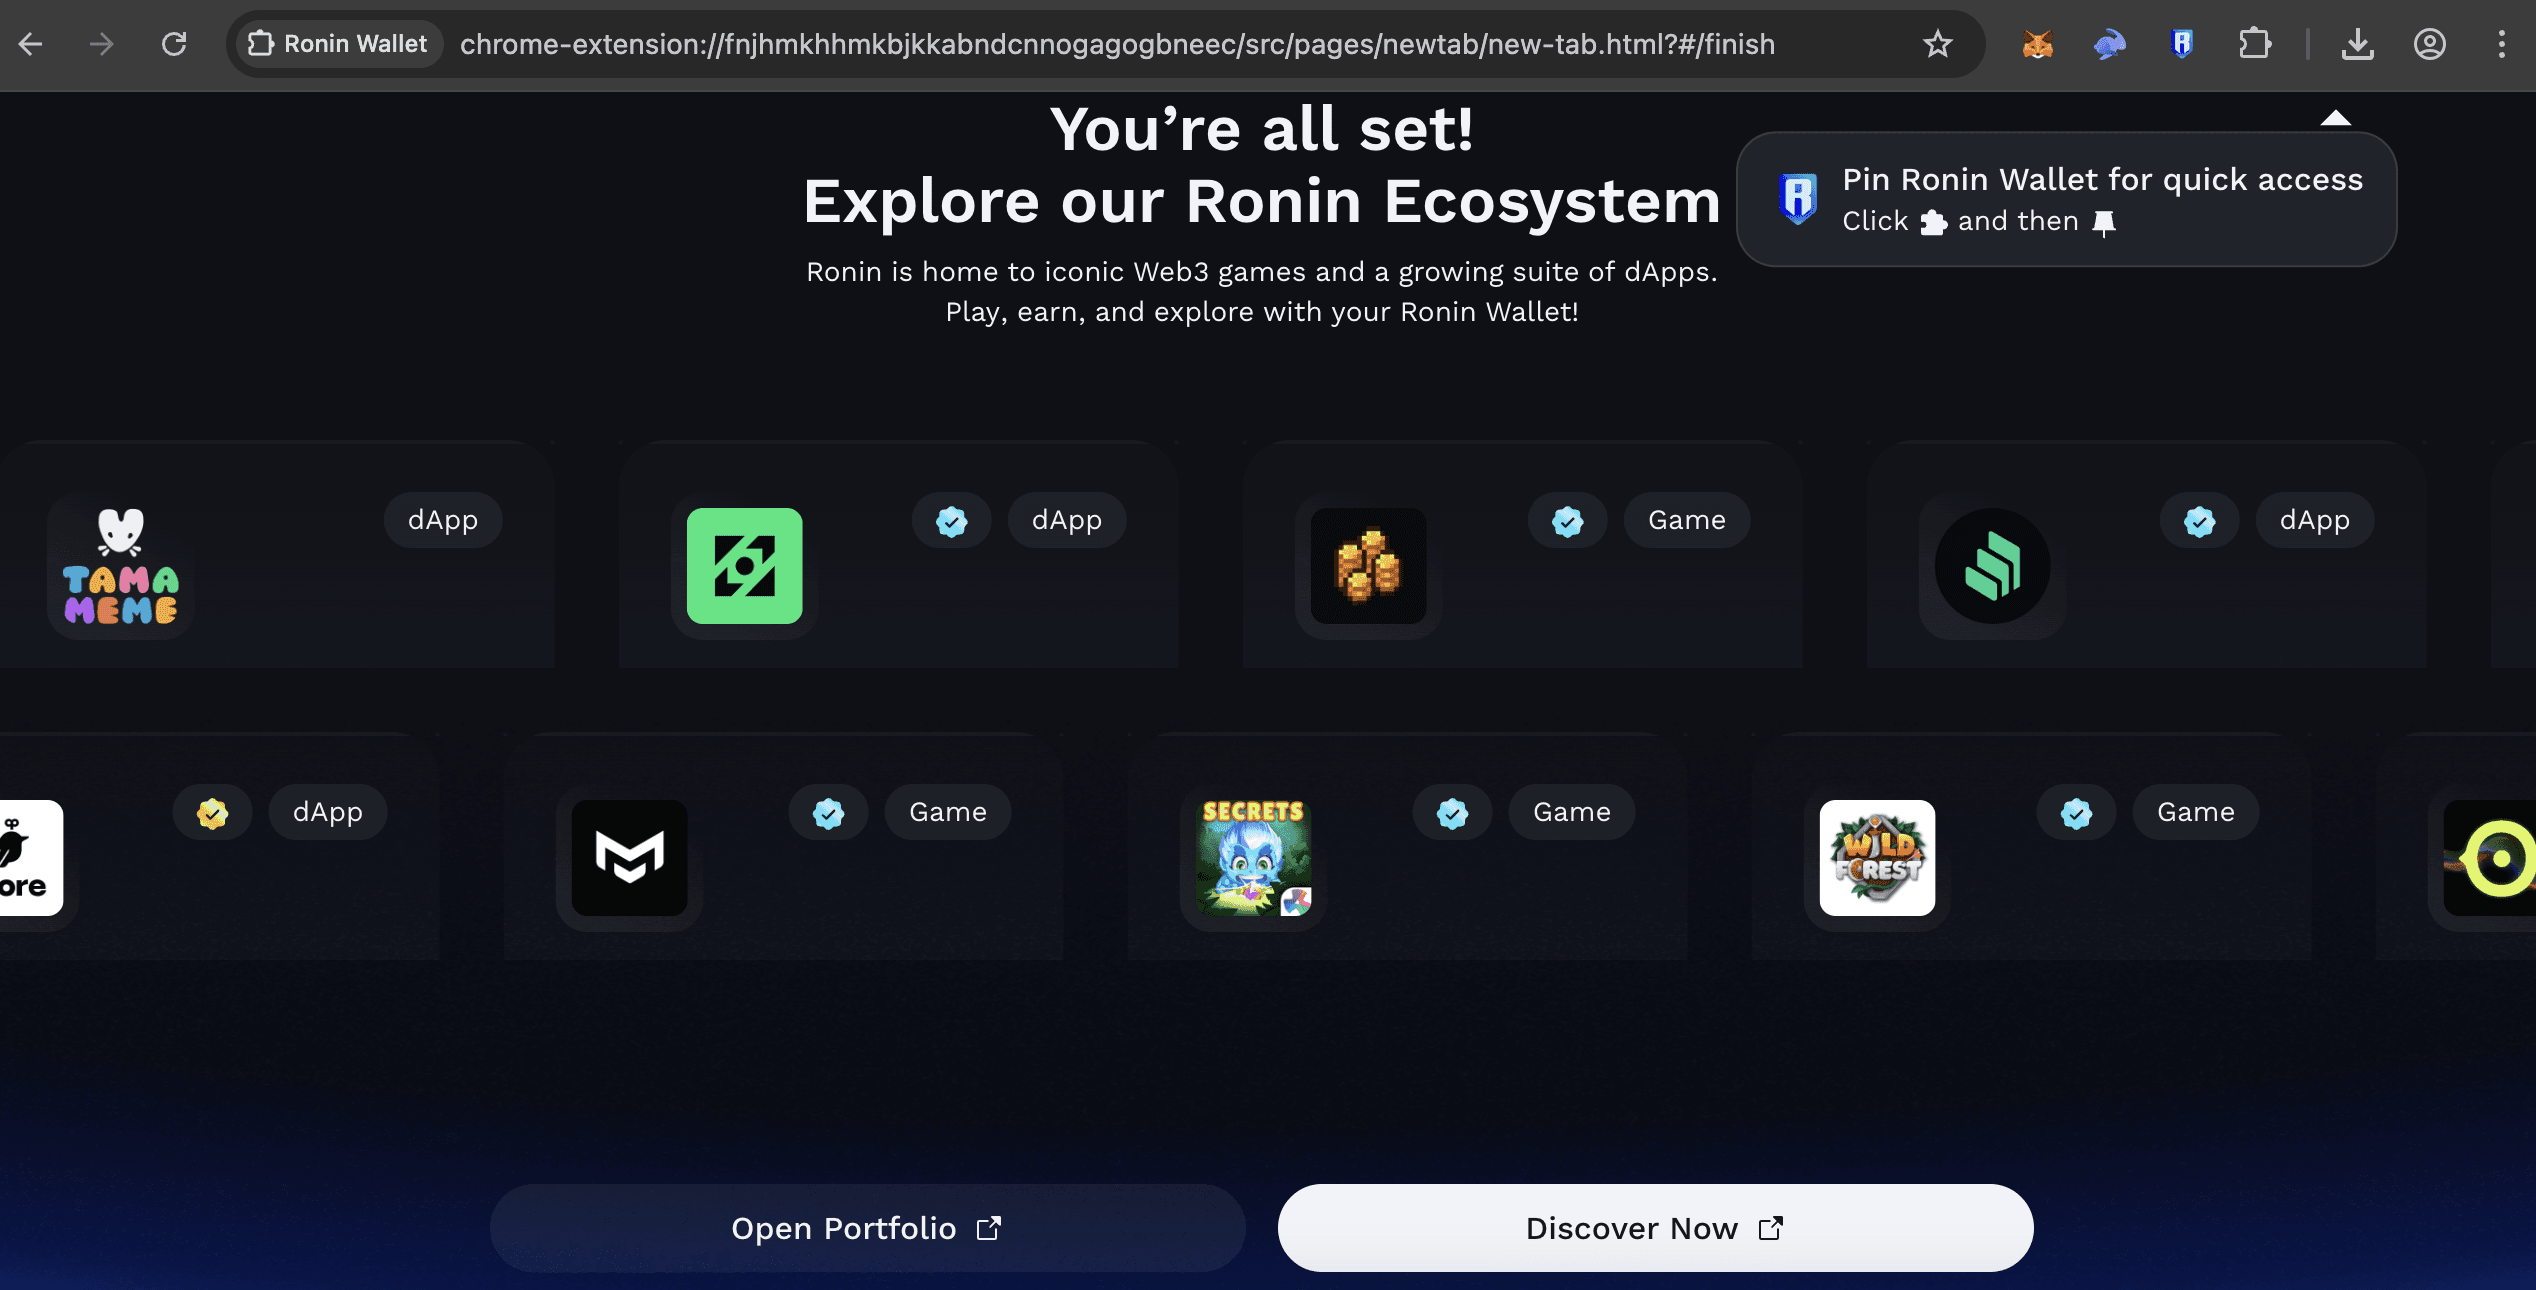
You’re all set!
Your Trezor account is now connected to Ronin Wallet.
You can now sign transactions, manage assets, and explore games and dApps on the Ronin Network using your Trezor.
Click Connect Wallet and use the Ronin Extension.
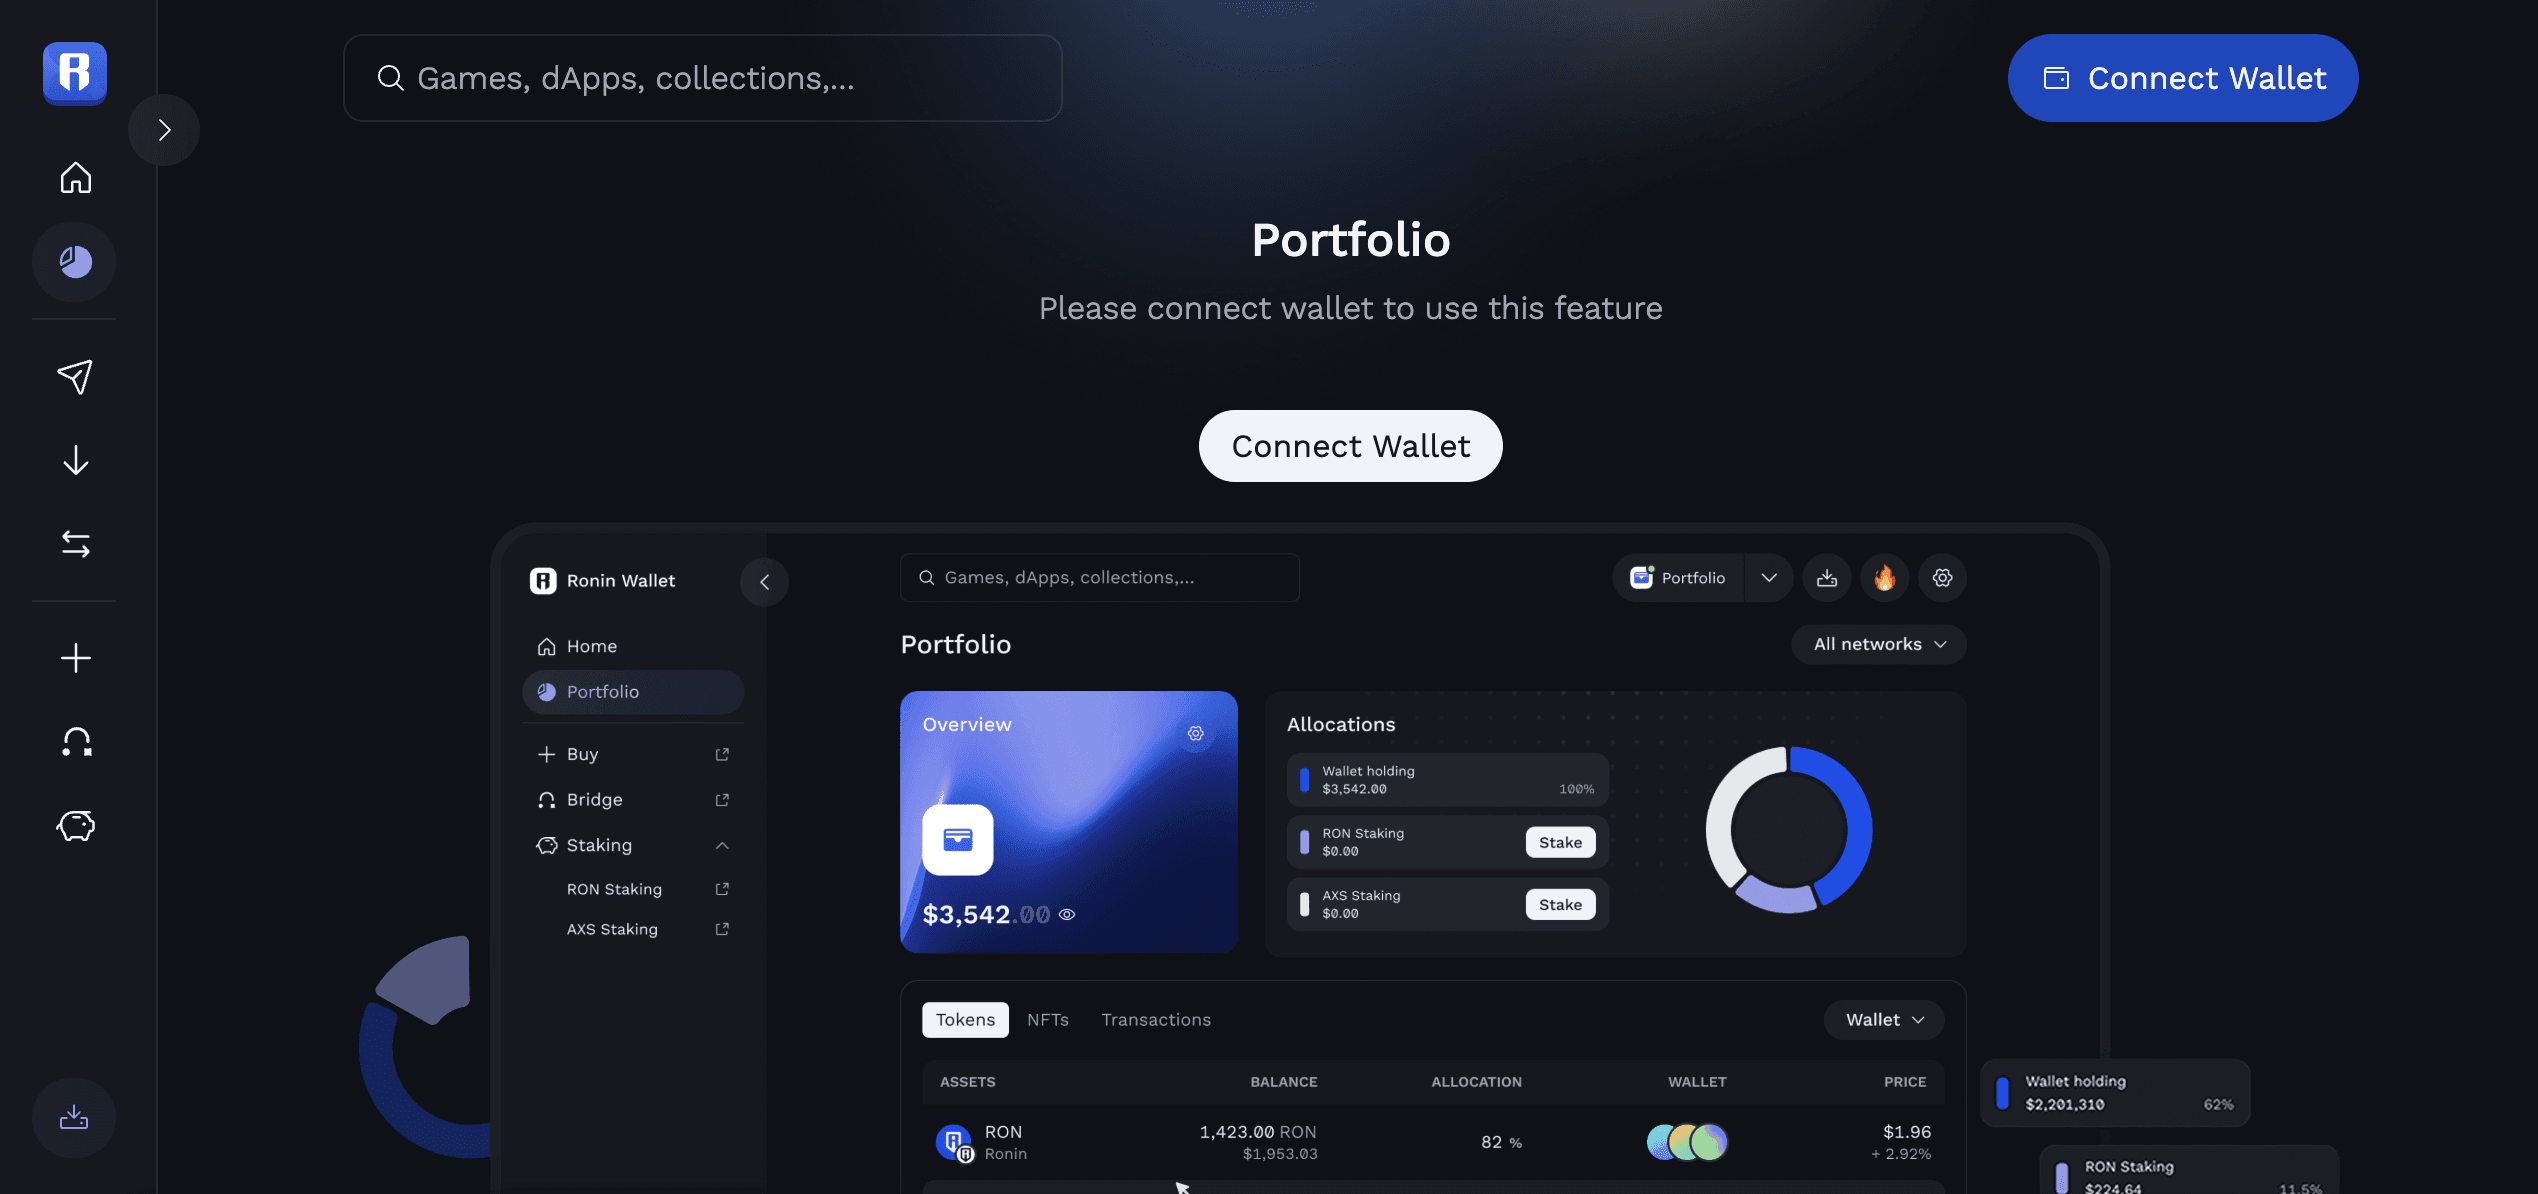
You can view your assets on Ronin Mainnet and more networks.
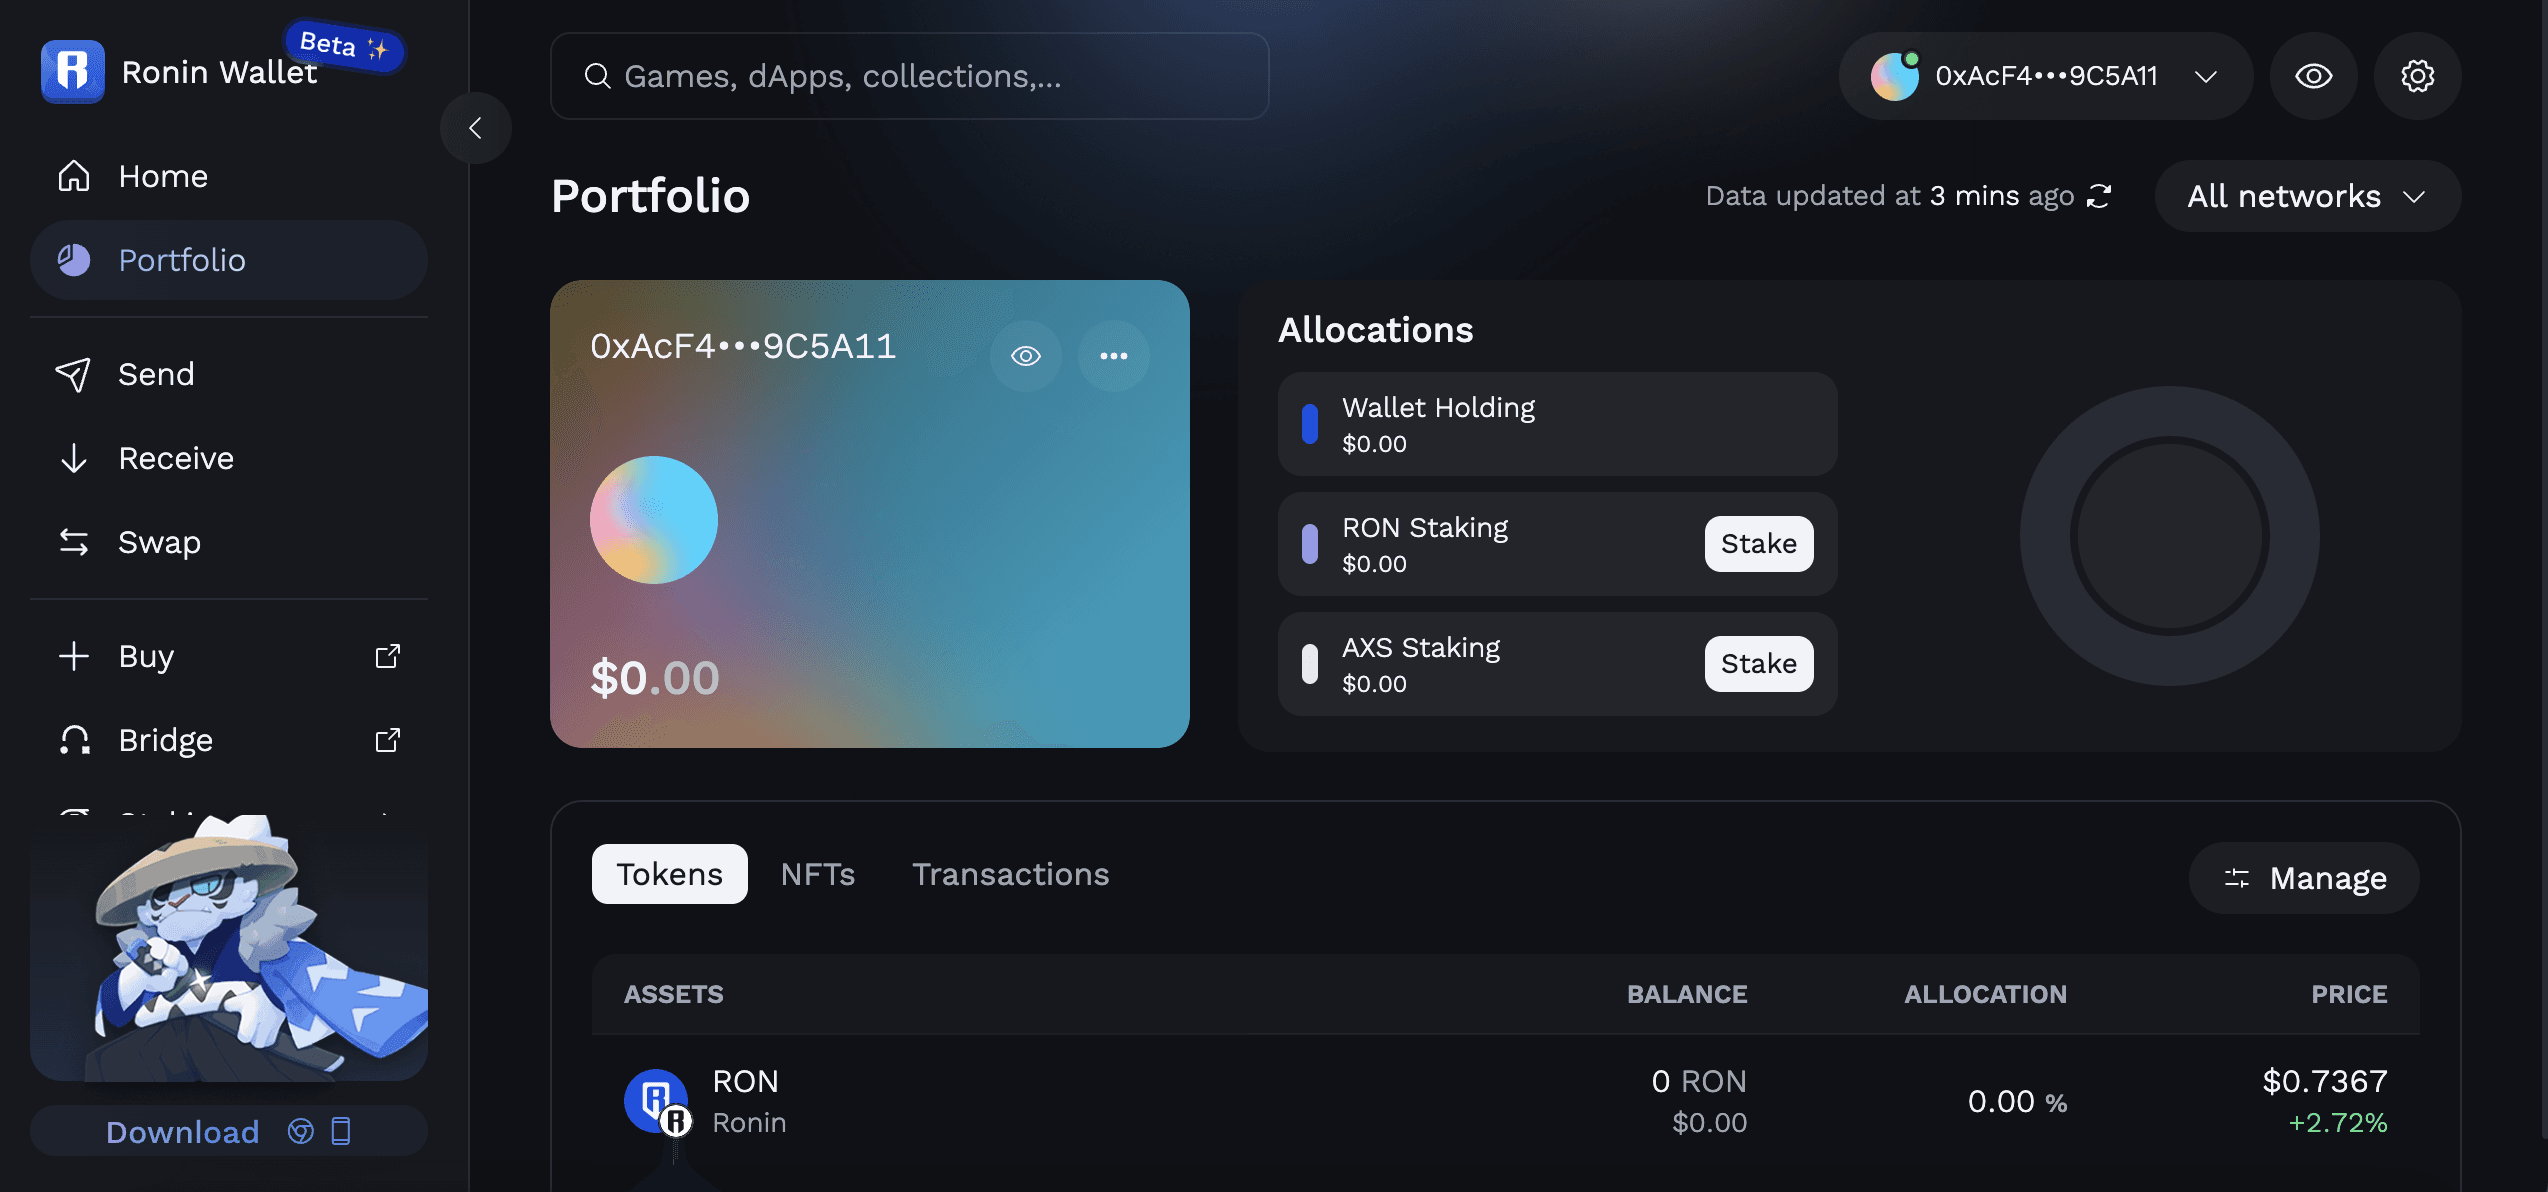
You can also use the Ronin Wallet browser extension to transact and view your assets.