Recover wallet on Model One
The Trezor Model One is no longer sold, but will continue to receive maintenance until at least 2031 and critical security fixes until at least 2036, ensuring your device stays secure and fully supported. Learn more here.
"Recovery" refers to the process of using a wallet backup (formerly recovery seed) to restore and enable access to your existing accounts.
This guide will help you recover a wallet on your Trezor Model One using Trezor Suite.
Do not enter your wallet backups anywhere unless the physical Trezor device instructs you to do so, and you confirm your choice on your Trezor. Only trust the instructions on your Trezor device.
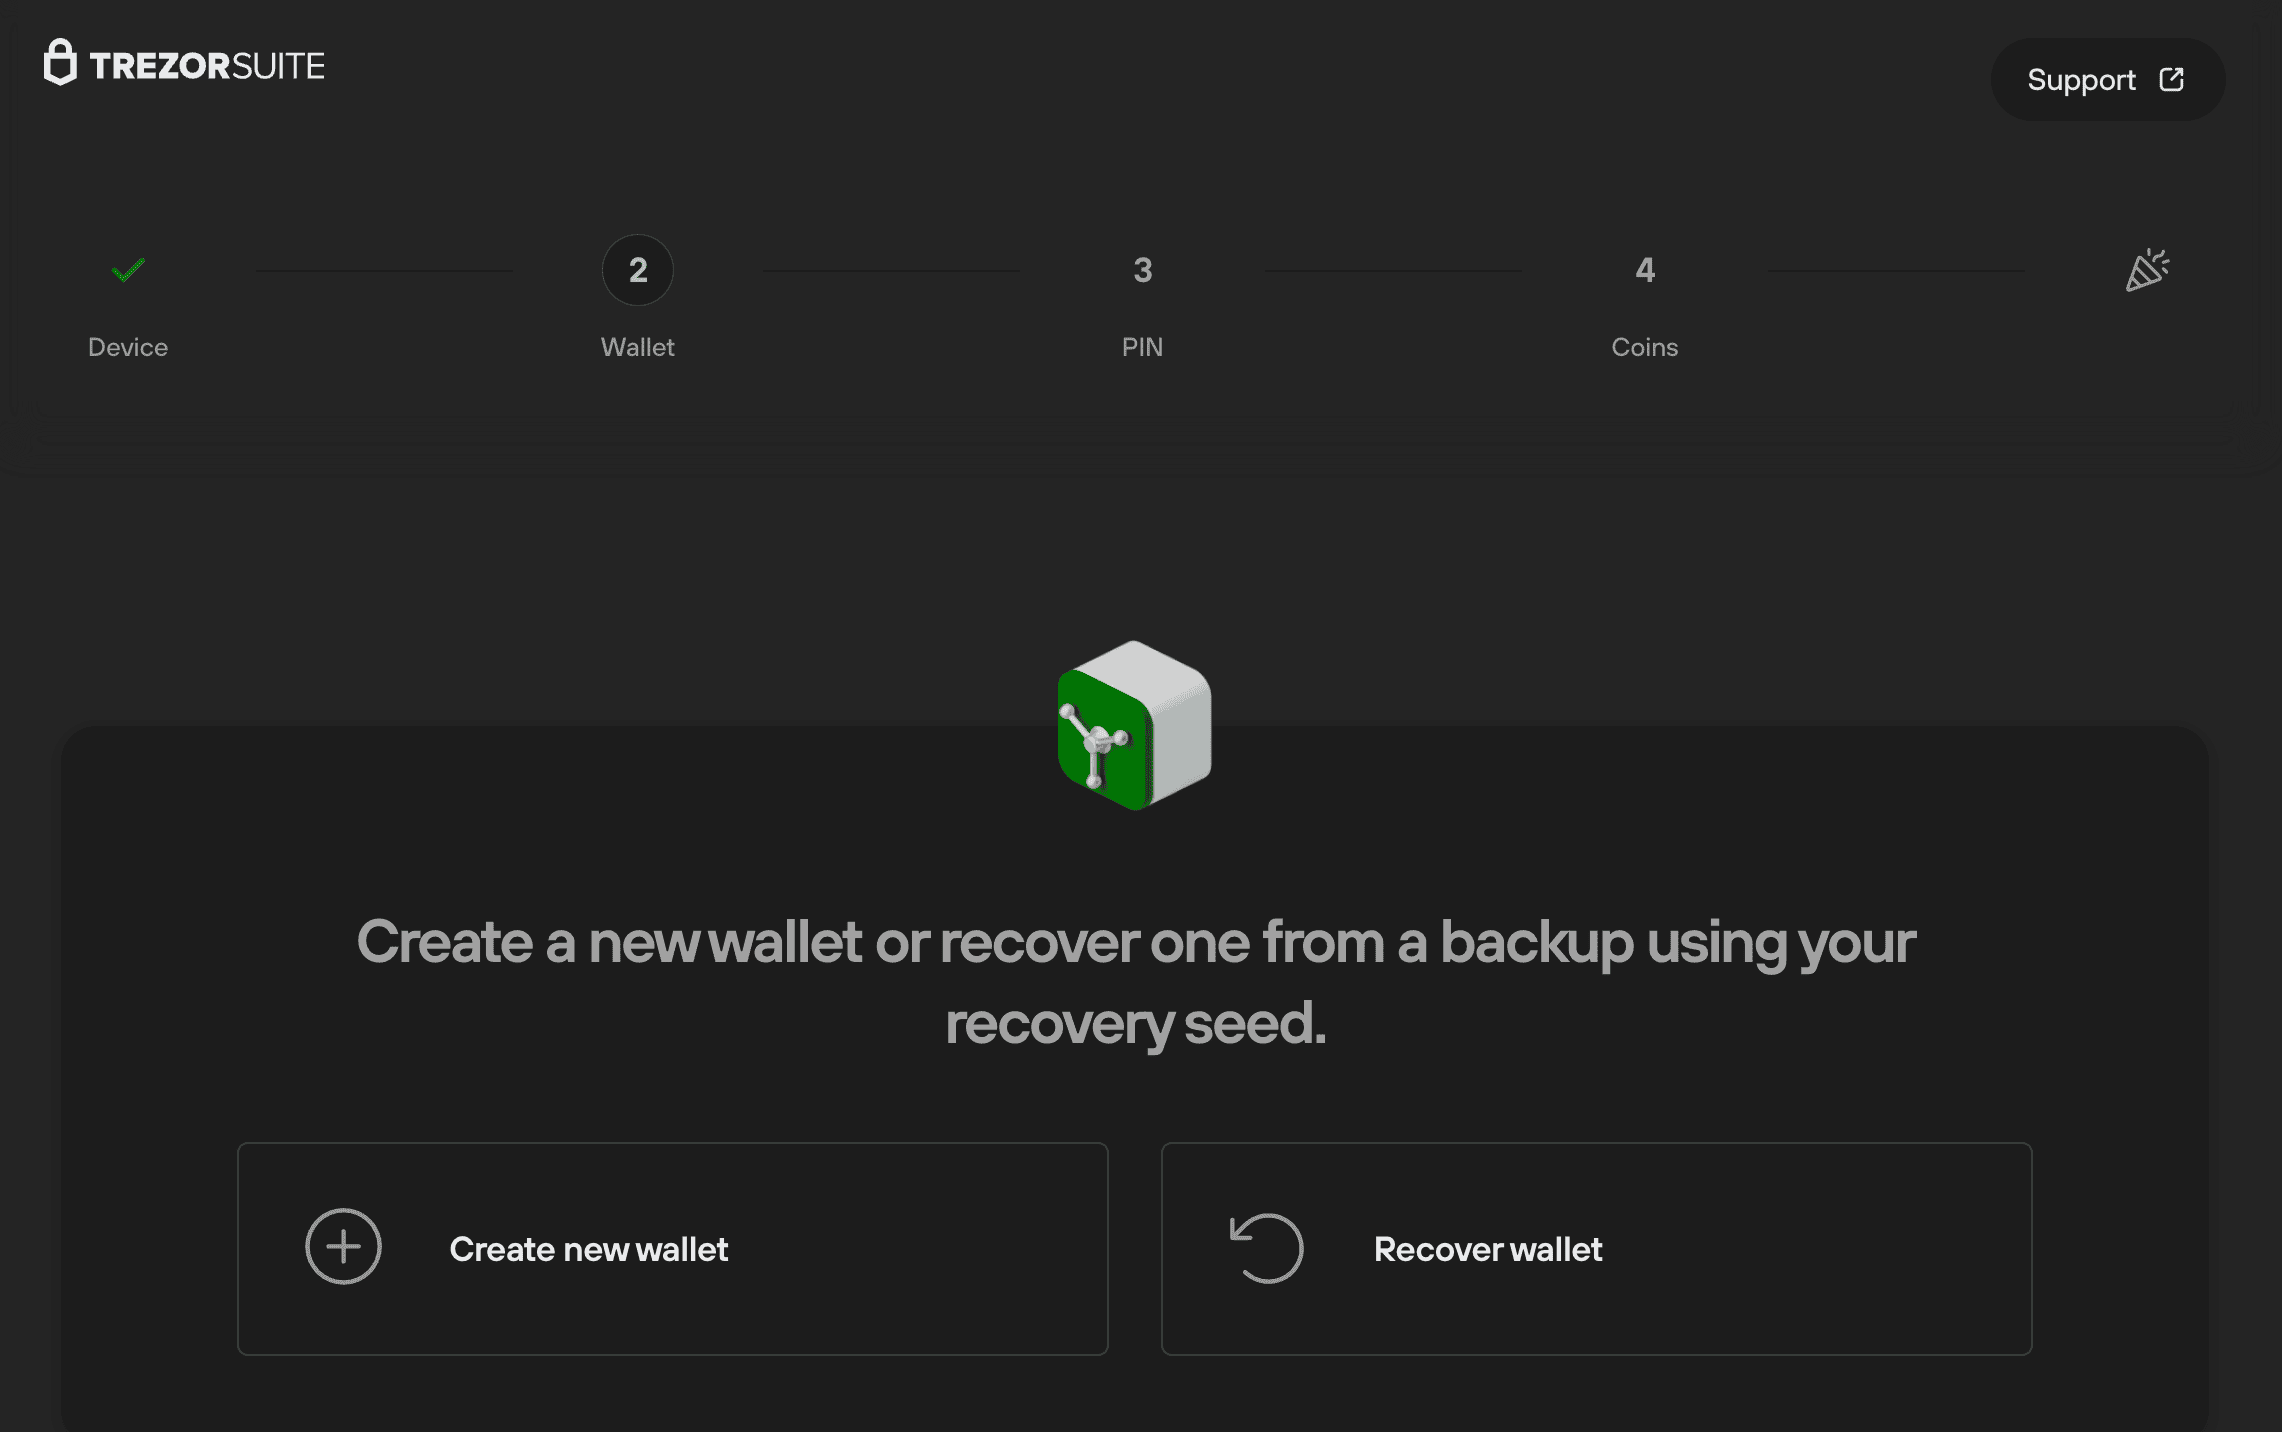
- If you have a new and/or empty Trezor Model One, you can restore an existing wallet using your wallet backup.
If you're locked out of your Trezor because you've forgotten your PIN, or you wish to load a different seed onto your device, you first need to factory reset the device and then proceed with the recovery process (see below).**
Process
- During the second stage of setting up your Trezor Model One (the first stage is installing the firmware), choose the "Recover wallet" option.
- After selecting "Recover wallet", you will see the "Recover wallet from seed" window, which will ask you to select the number of words in your wallet backup (the default for the Trezor Model One is 24).
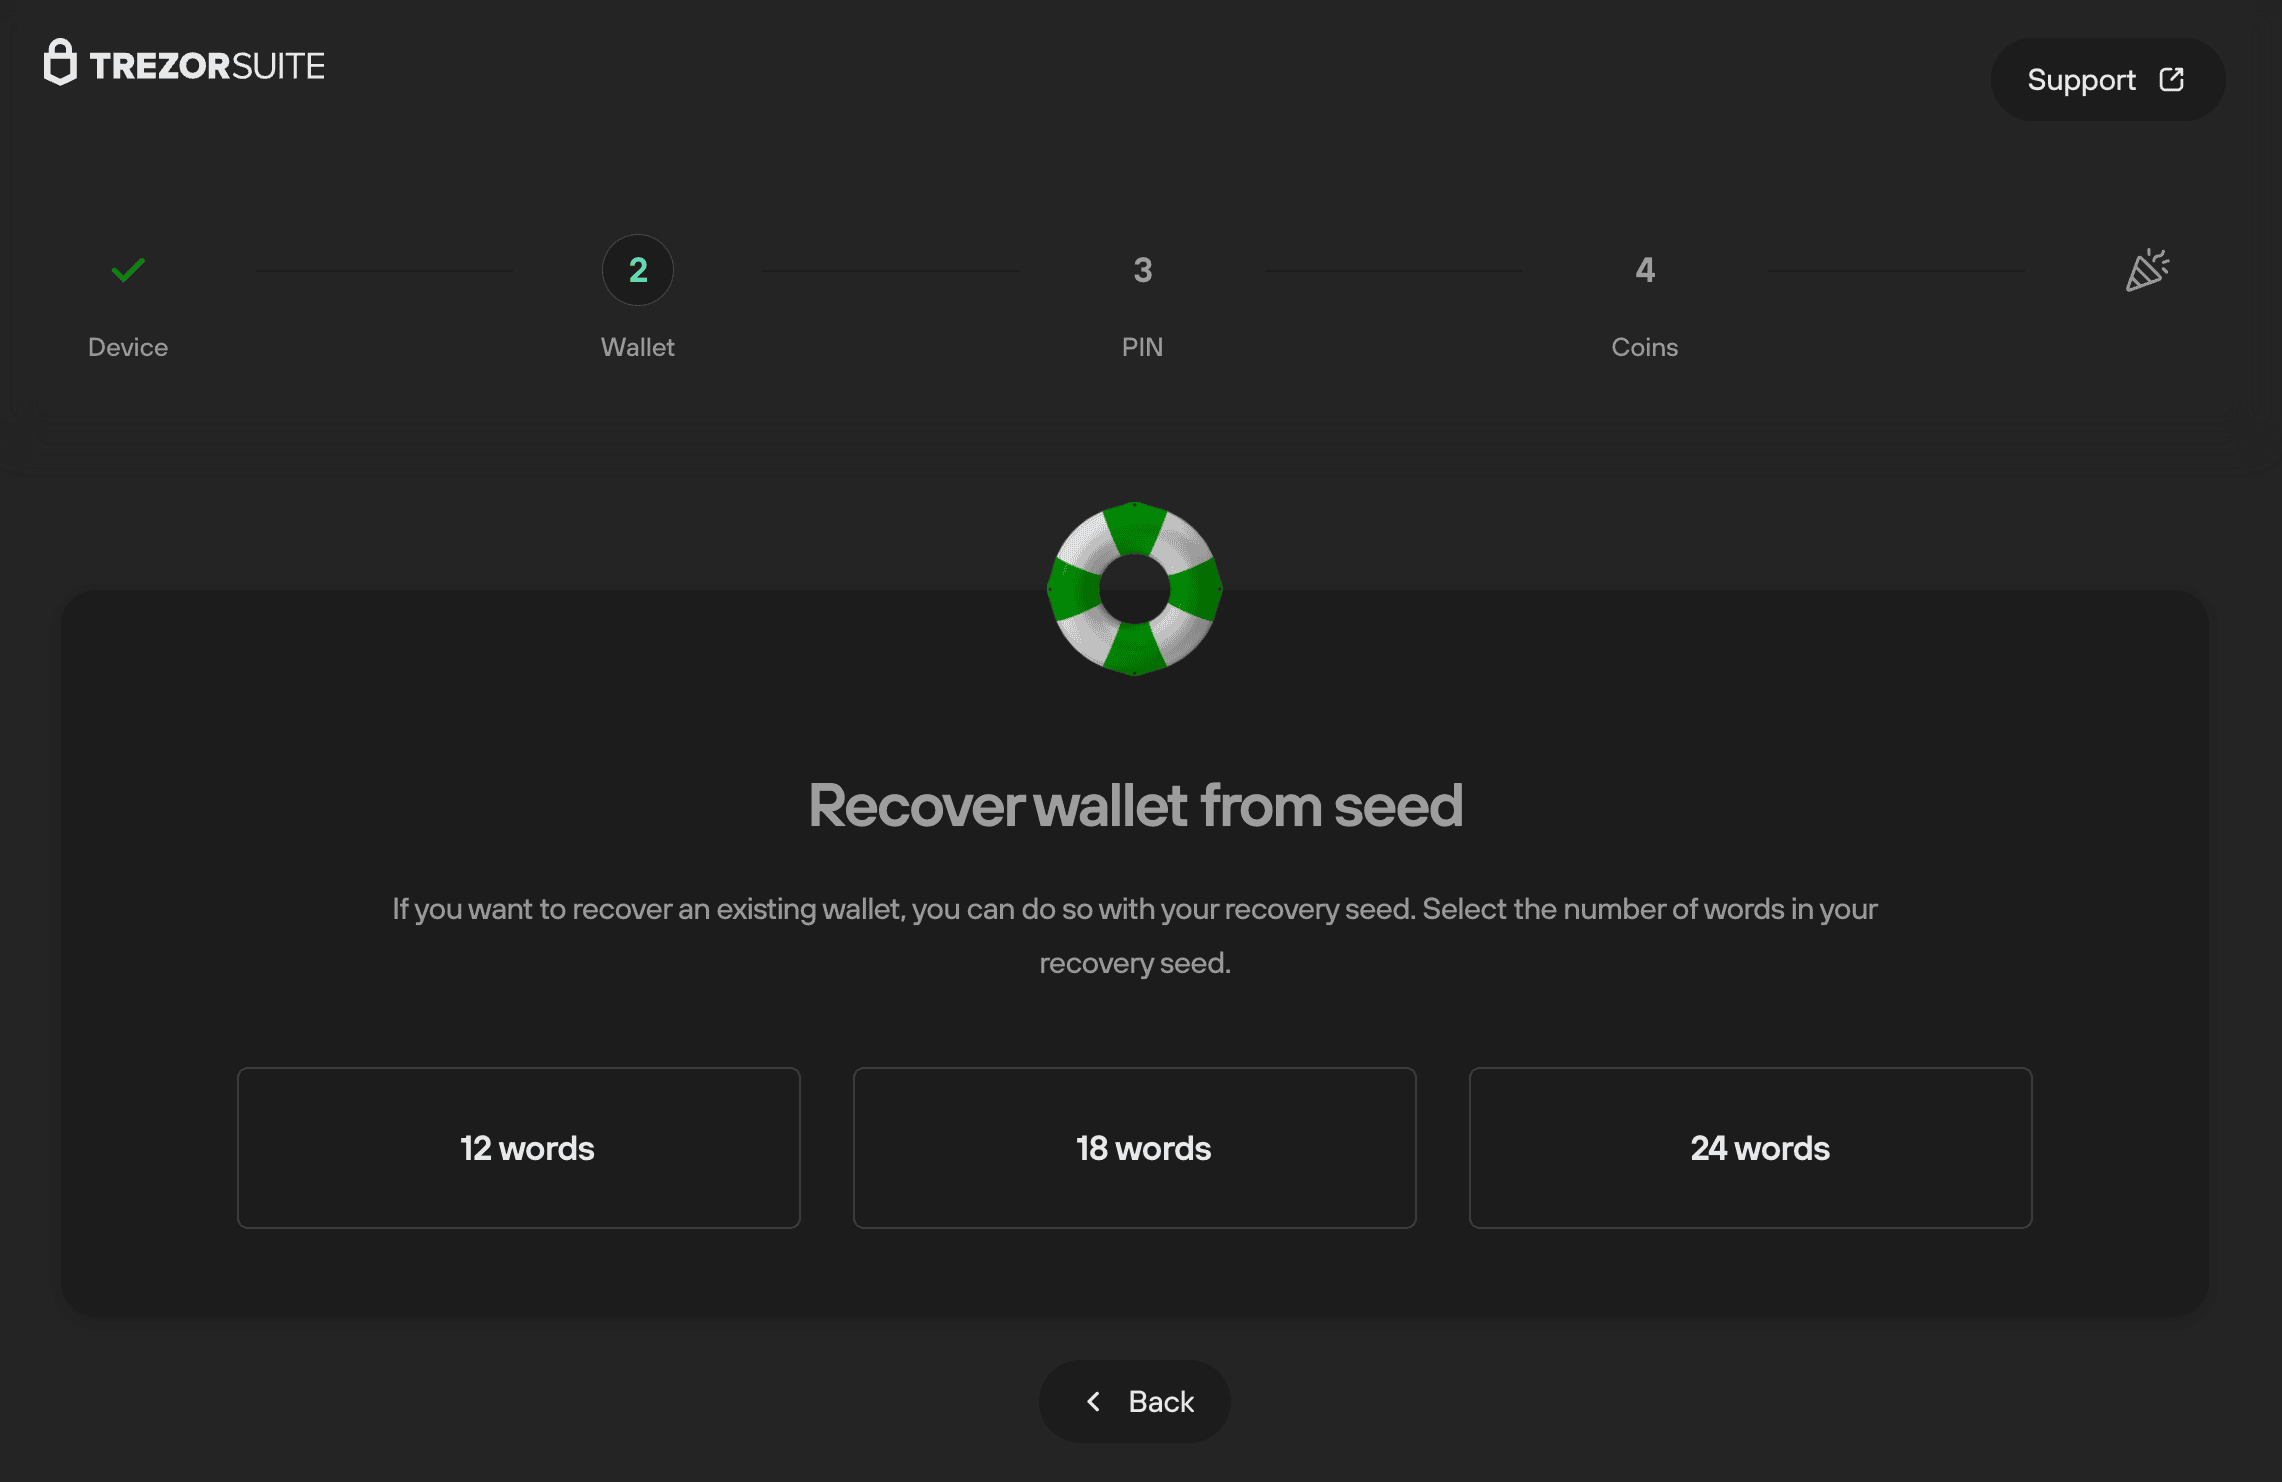
- You can then choose between either "Standard recovery" or "Advanced recovery". Here we will discuss the standard recovery process (Advanced recovery guide).

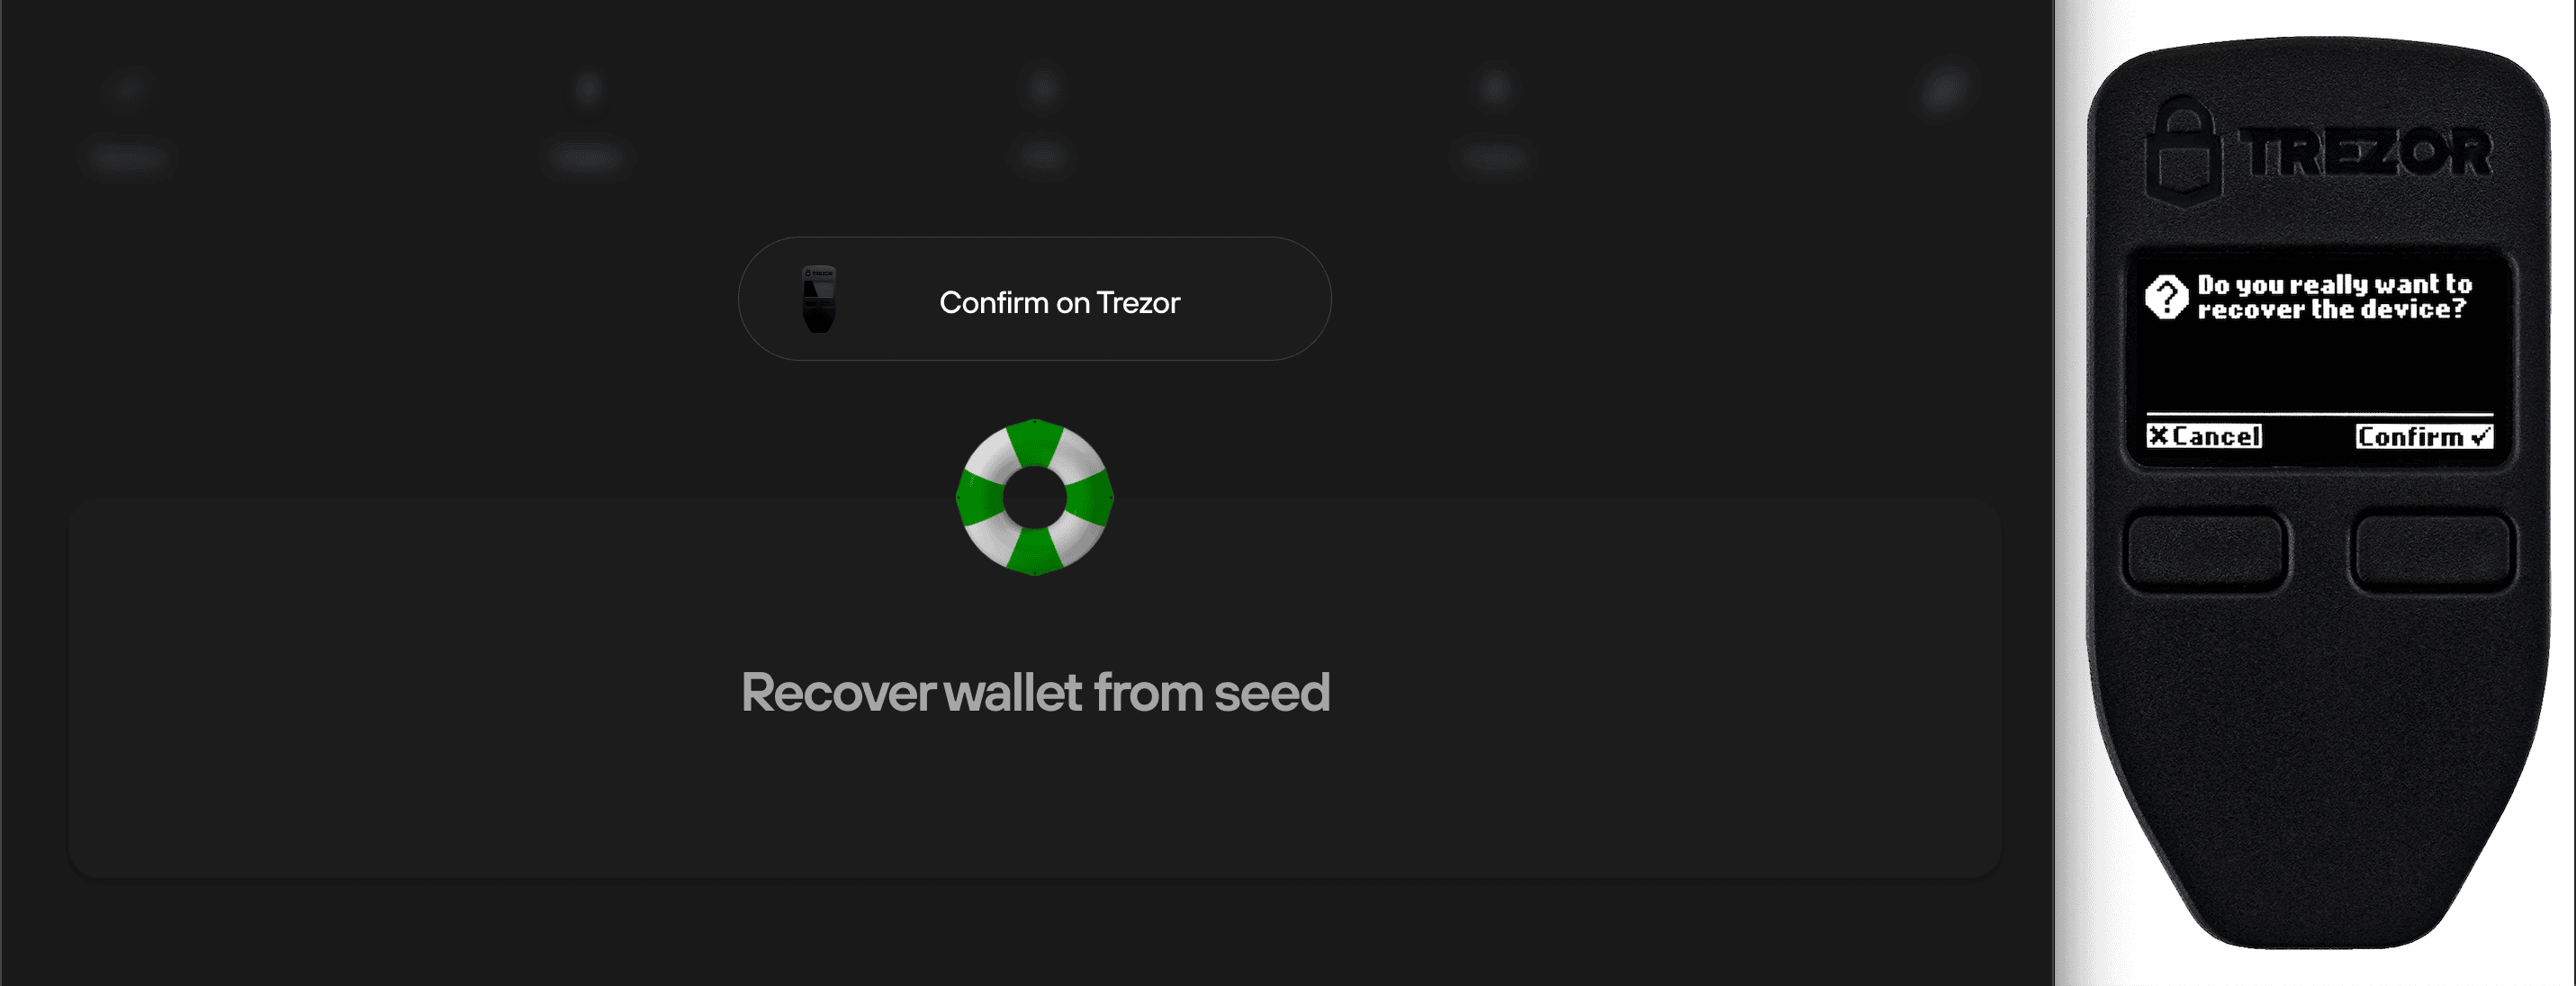
- After selecting "Standard recovery", you'll be asked to press the Confirm button on the device.
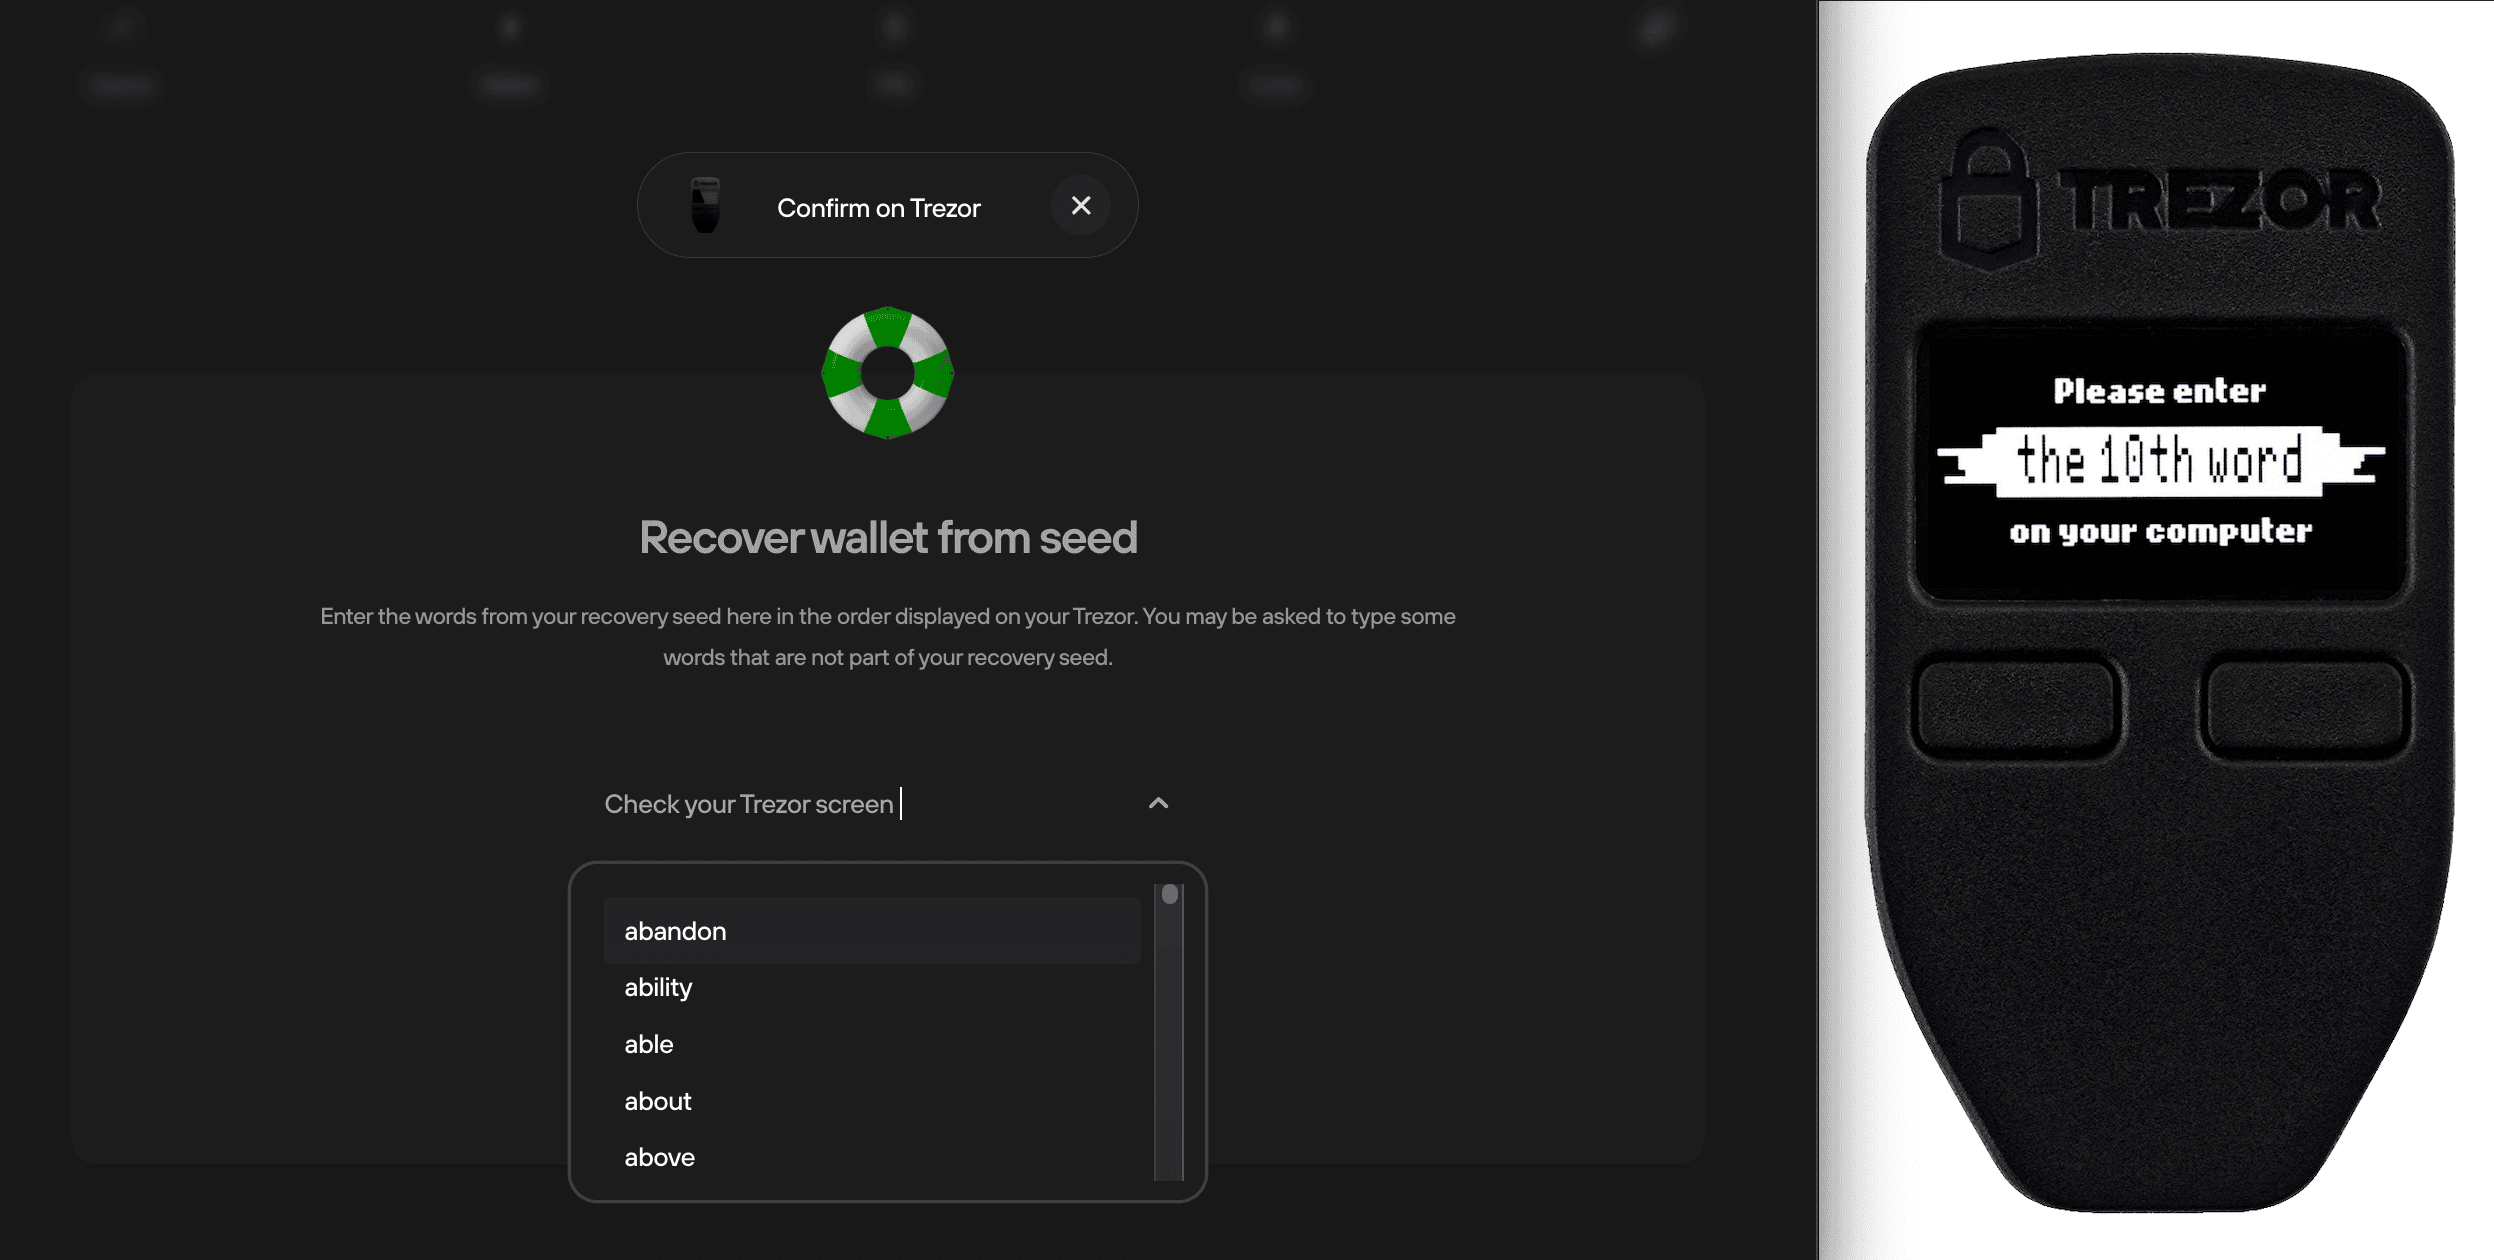
- Once you've done this, you will then need to enter the words from your seed in the order displayed on your Trezor in the input field of the "Recover wallet from seed" window.
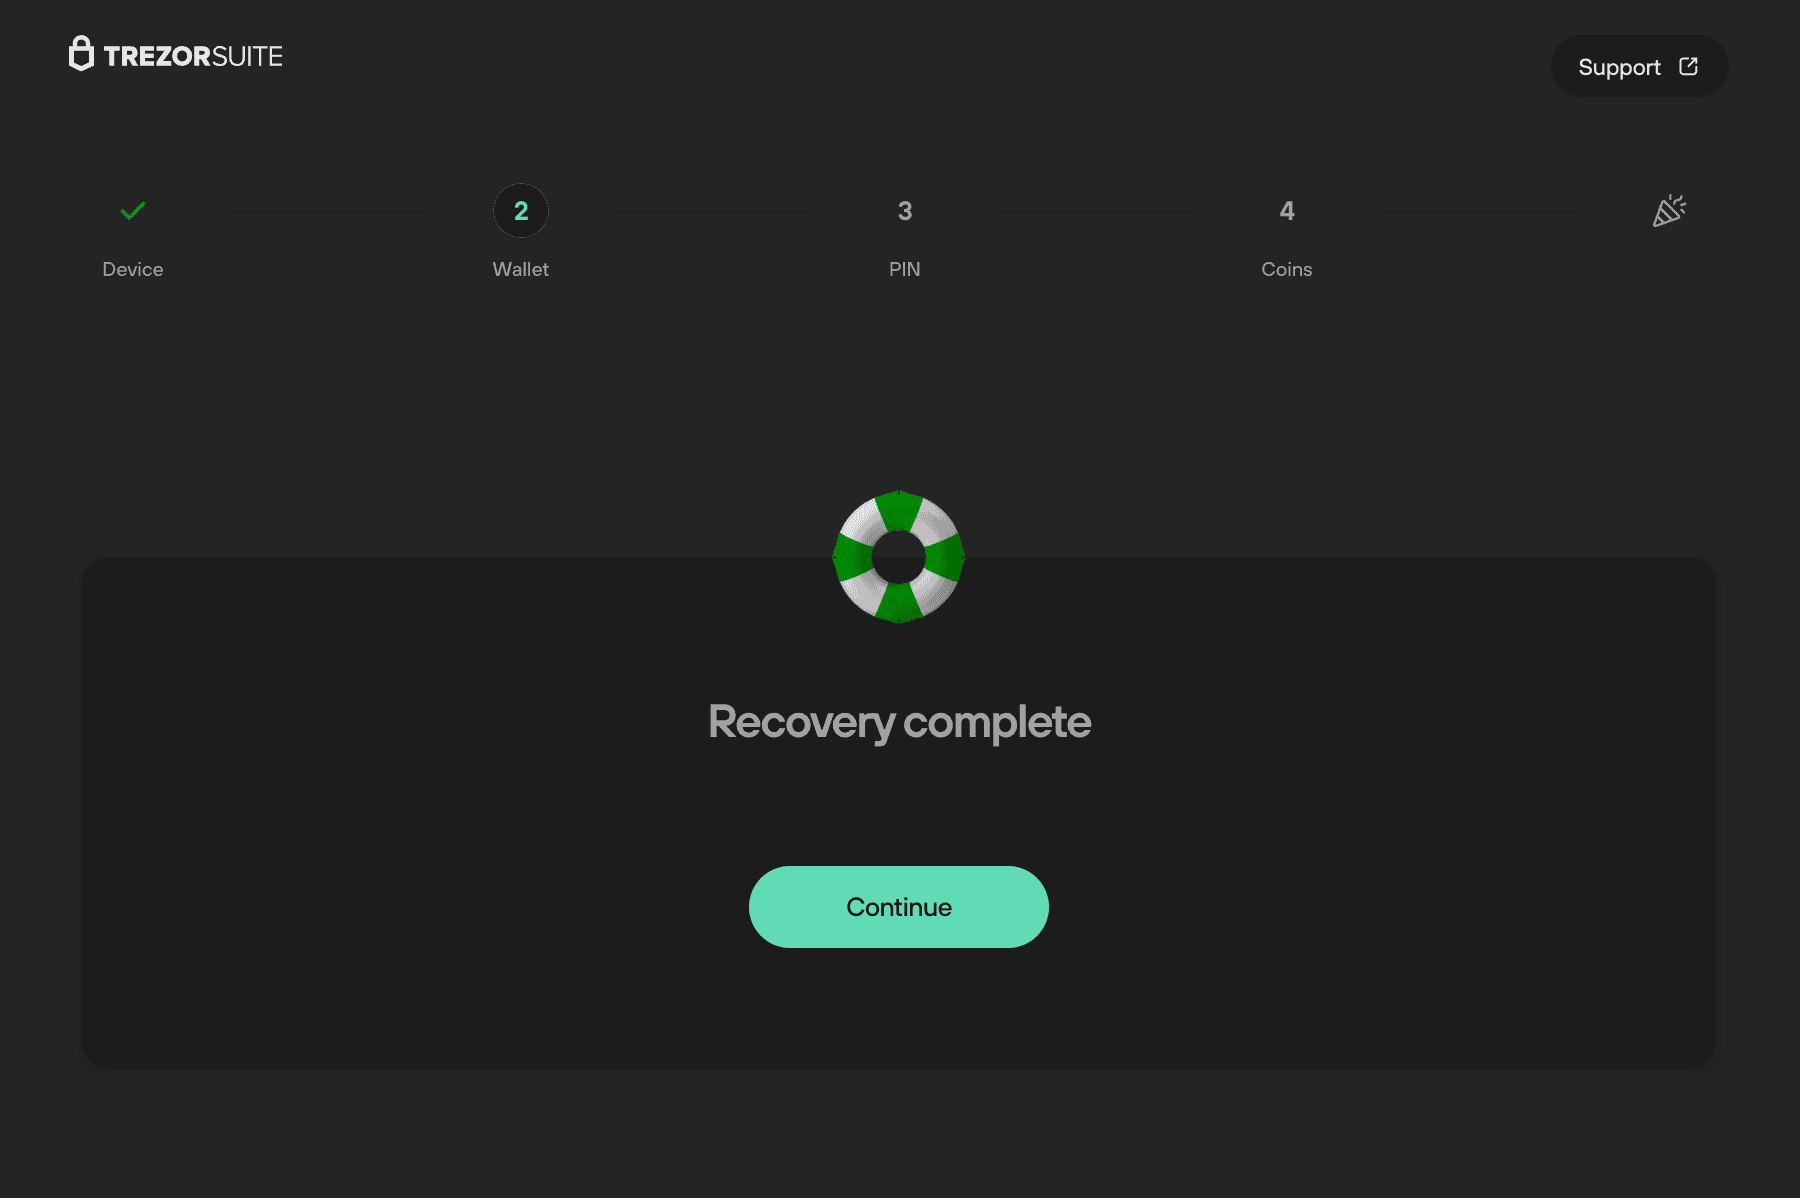
- Once you've entered all of the words correctly, you'll be notified that the recovery was successful. To proceed, click on Continue.
- After completing the remaining steps of the setup, you'll be able to access the crypto funds held in the wallet associated with this particular wallet backup.
What if I'm using an initialized Trezor Model One?
If you're locked out of your device because you've forgotten your PIN, or you wish to load a different wallet backup onto your device, you'll need to erase the wallet backup from the device first by performing a factory reset or wipe device process.
-
If you've forgotten your PIN, you'll need to factory reset the device in bootloader mode. This removes the firmware and all private information. Setup process will look like a brand new device.
-
If you know your PIN and use Wipe device in Suite, your private data (PIN, wallet backup) will be removed but firmware remains. The setup process will look slightly different.
-
Once connected, the first "Security check" window will look like this:
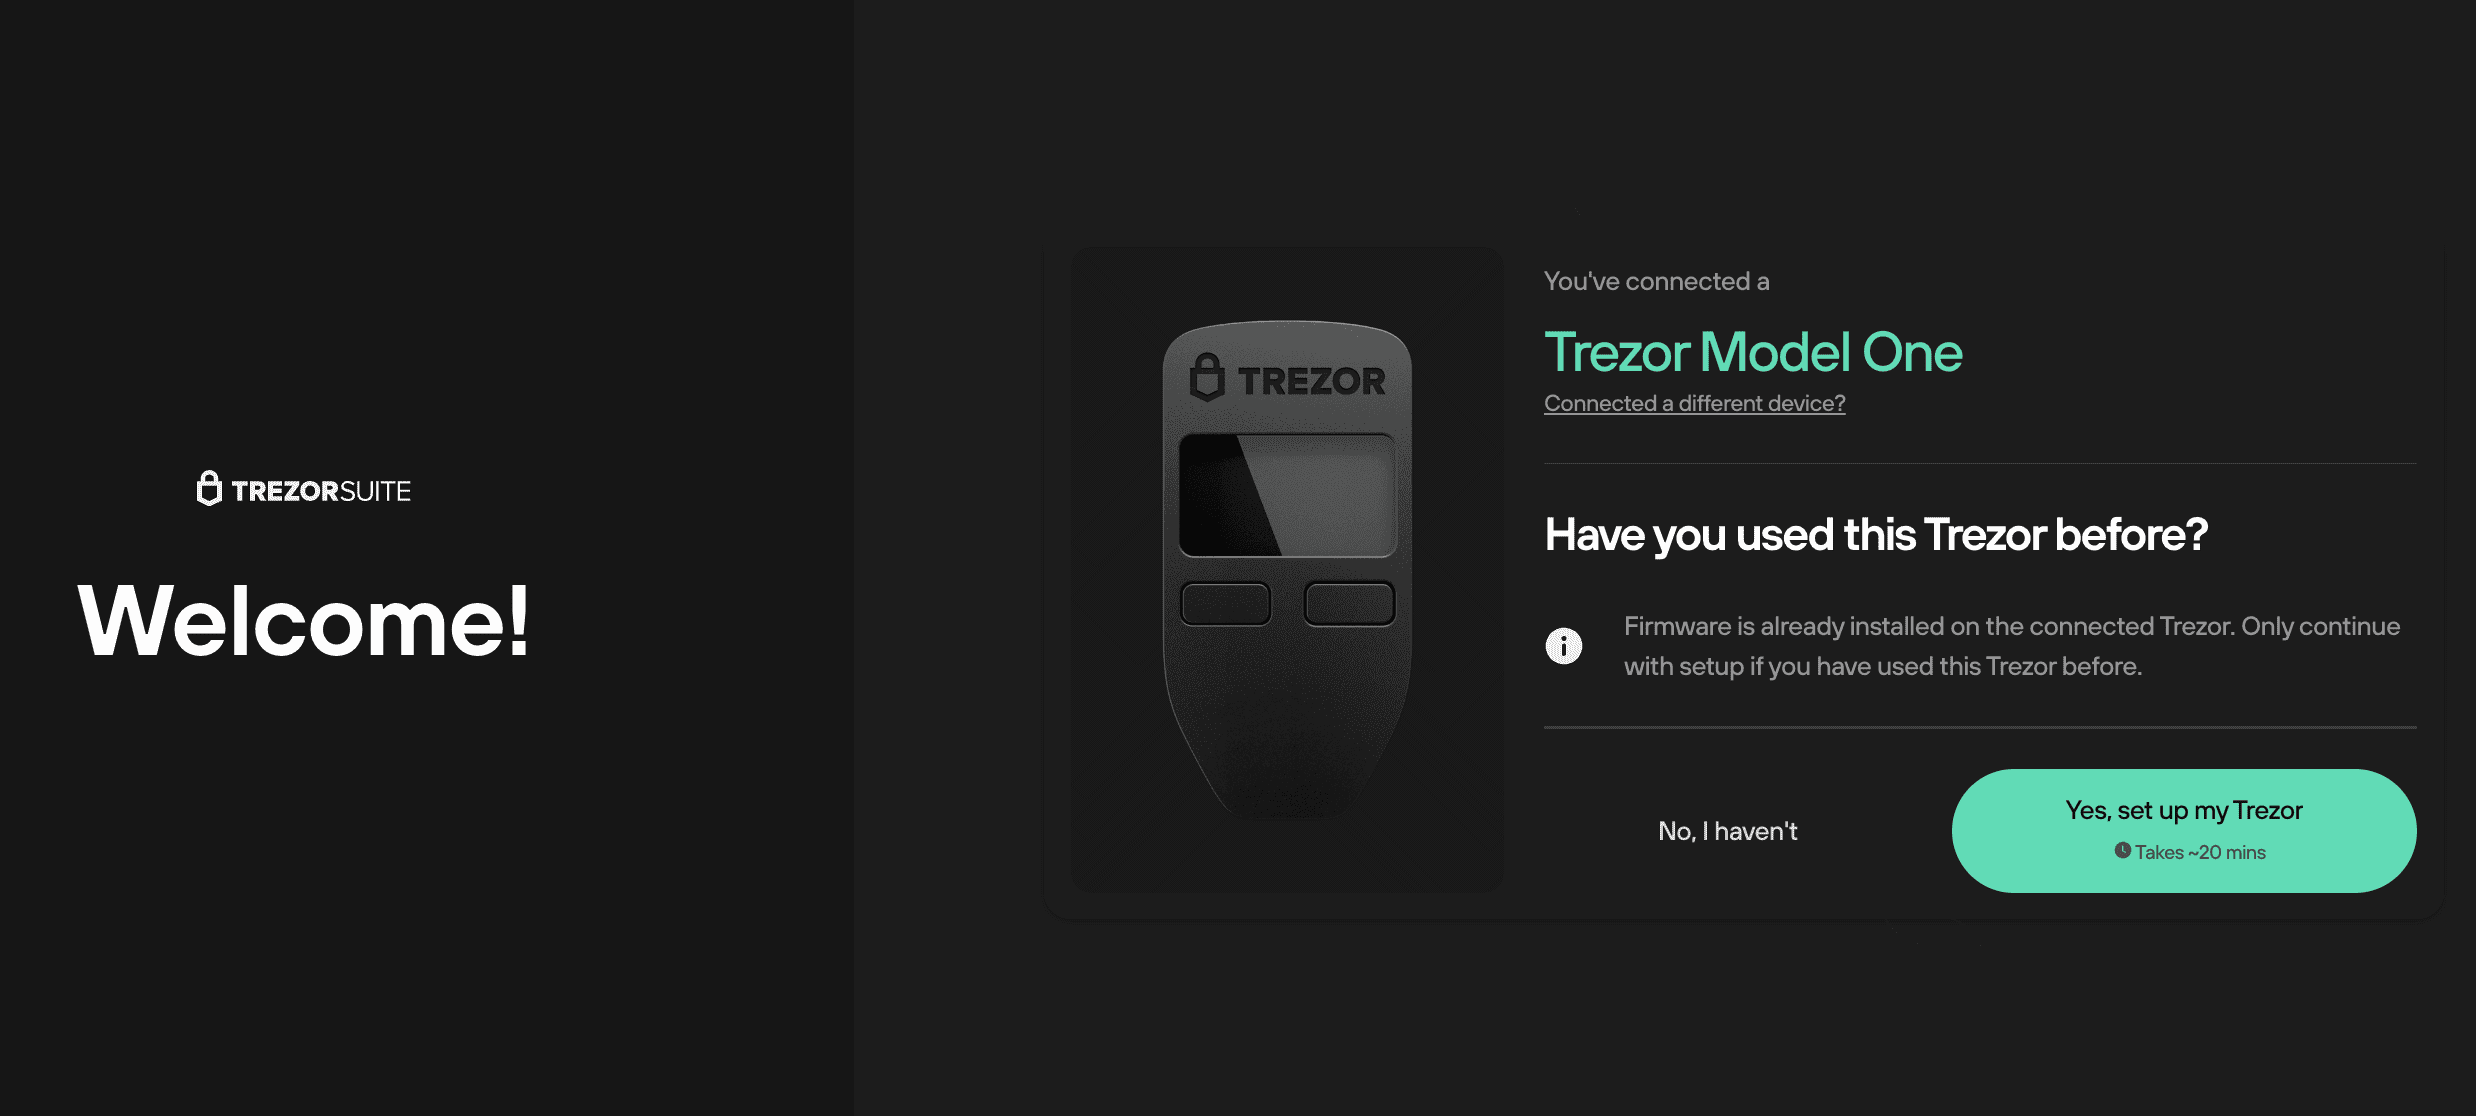
- The message displayed tells you that firmware is already installed on the device.
If you've never used the device, and firmware is already installed, do not proceed with the setup! Unplug the device and contact Customer Support to arrange a replacement.
If you're sure it's safe to proceed, click Setup Trezor and you will see the "Firmware ready" confirmation dialogue.
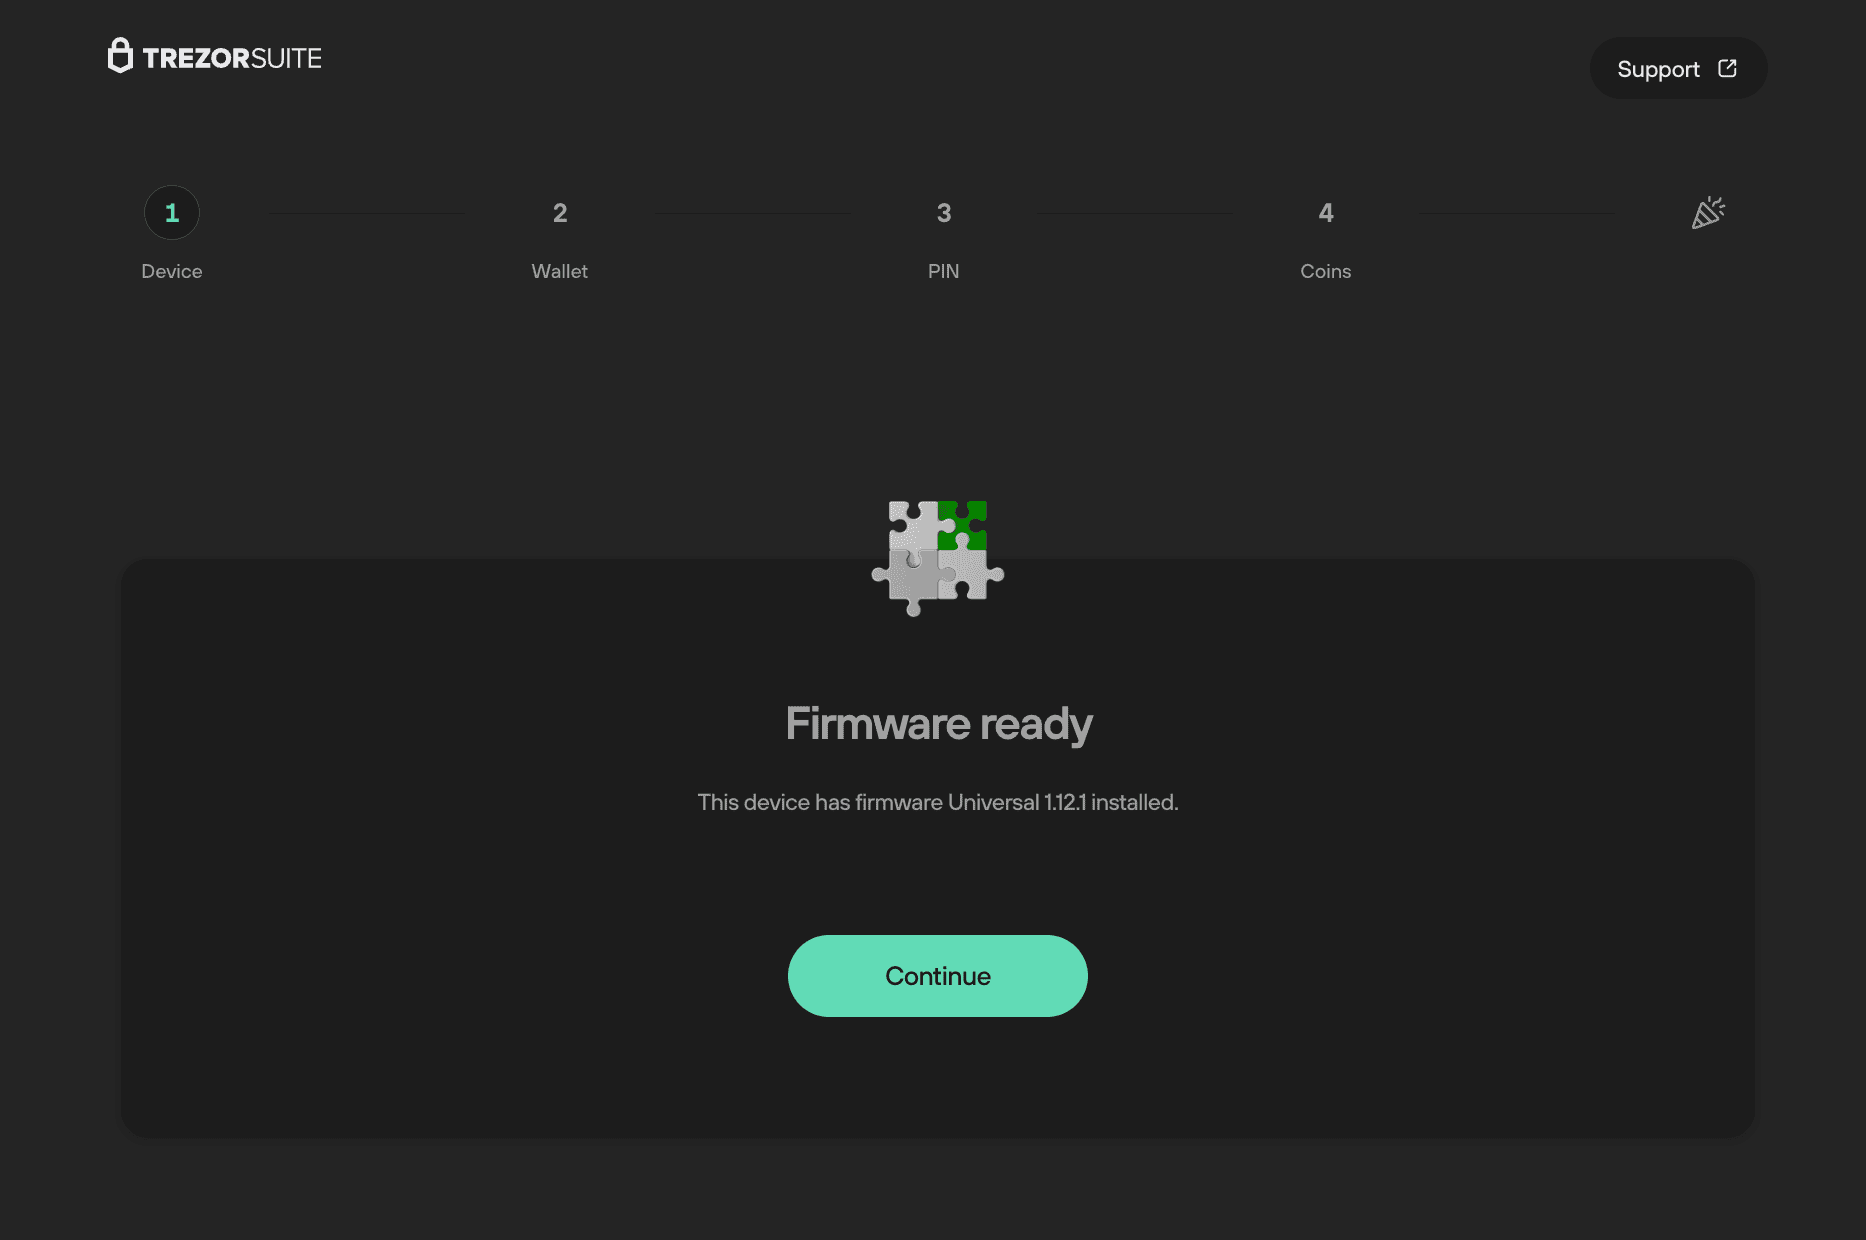
- Now click on Continue and you will see the same options as before: "Create new wallet" and "Recover wallet".
- From here, the process is the same as described above.