Manage accounts in Trezor Suite
Cryptocurrency accounts
An account is essentially a collection of transactions sent to addresses that belong to that account. An account also provides an extra layer of privacy, because transactions sent from different accounts in the same wallet never mix, unlike transactions sent from the same account.
Like other hierarchical deterministic wallets, Trezor uses account structure to organize transactions. The number of accounts supported by Trezor is not limited, but in Trezor Suite, the number of accounts per cryptocurrency is limited to 10.
Standard vs. legacy accounts
Standard accounts are the default accounts available in Trezor Suite for all the supported cryptocurrencies. Bitcoin, Litecoin, Vertcoin, DigiByte and Bitcoin Gold standard accounts are accounts with SegWit addresses enabled, meaning they use SegWit by default. A transaction using SegWit is faster and cheaper.
Legacy accounts are only available for cryptocurrencies with SegWit enabled, and for hold transactions of the previously standard type that have been made obsolete (without SegWit). Although it is recommended for various reasons to use only standard accounts, legacy accounts are a valid means of holding funds and making transactions.
Users can easily move from legacy accounts to standard accounts just by sending funds to new accounts.
Accounts in Trezor Suite
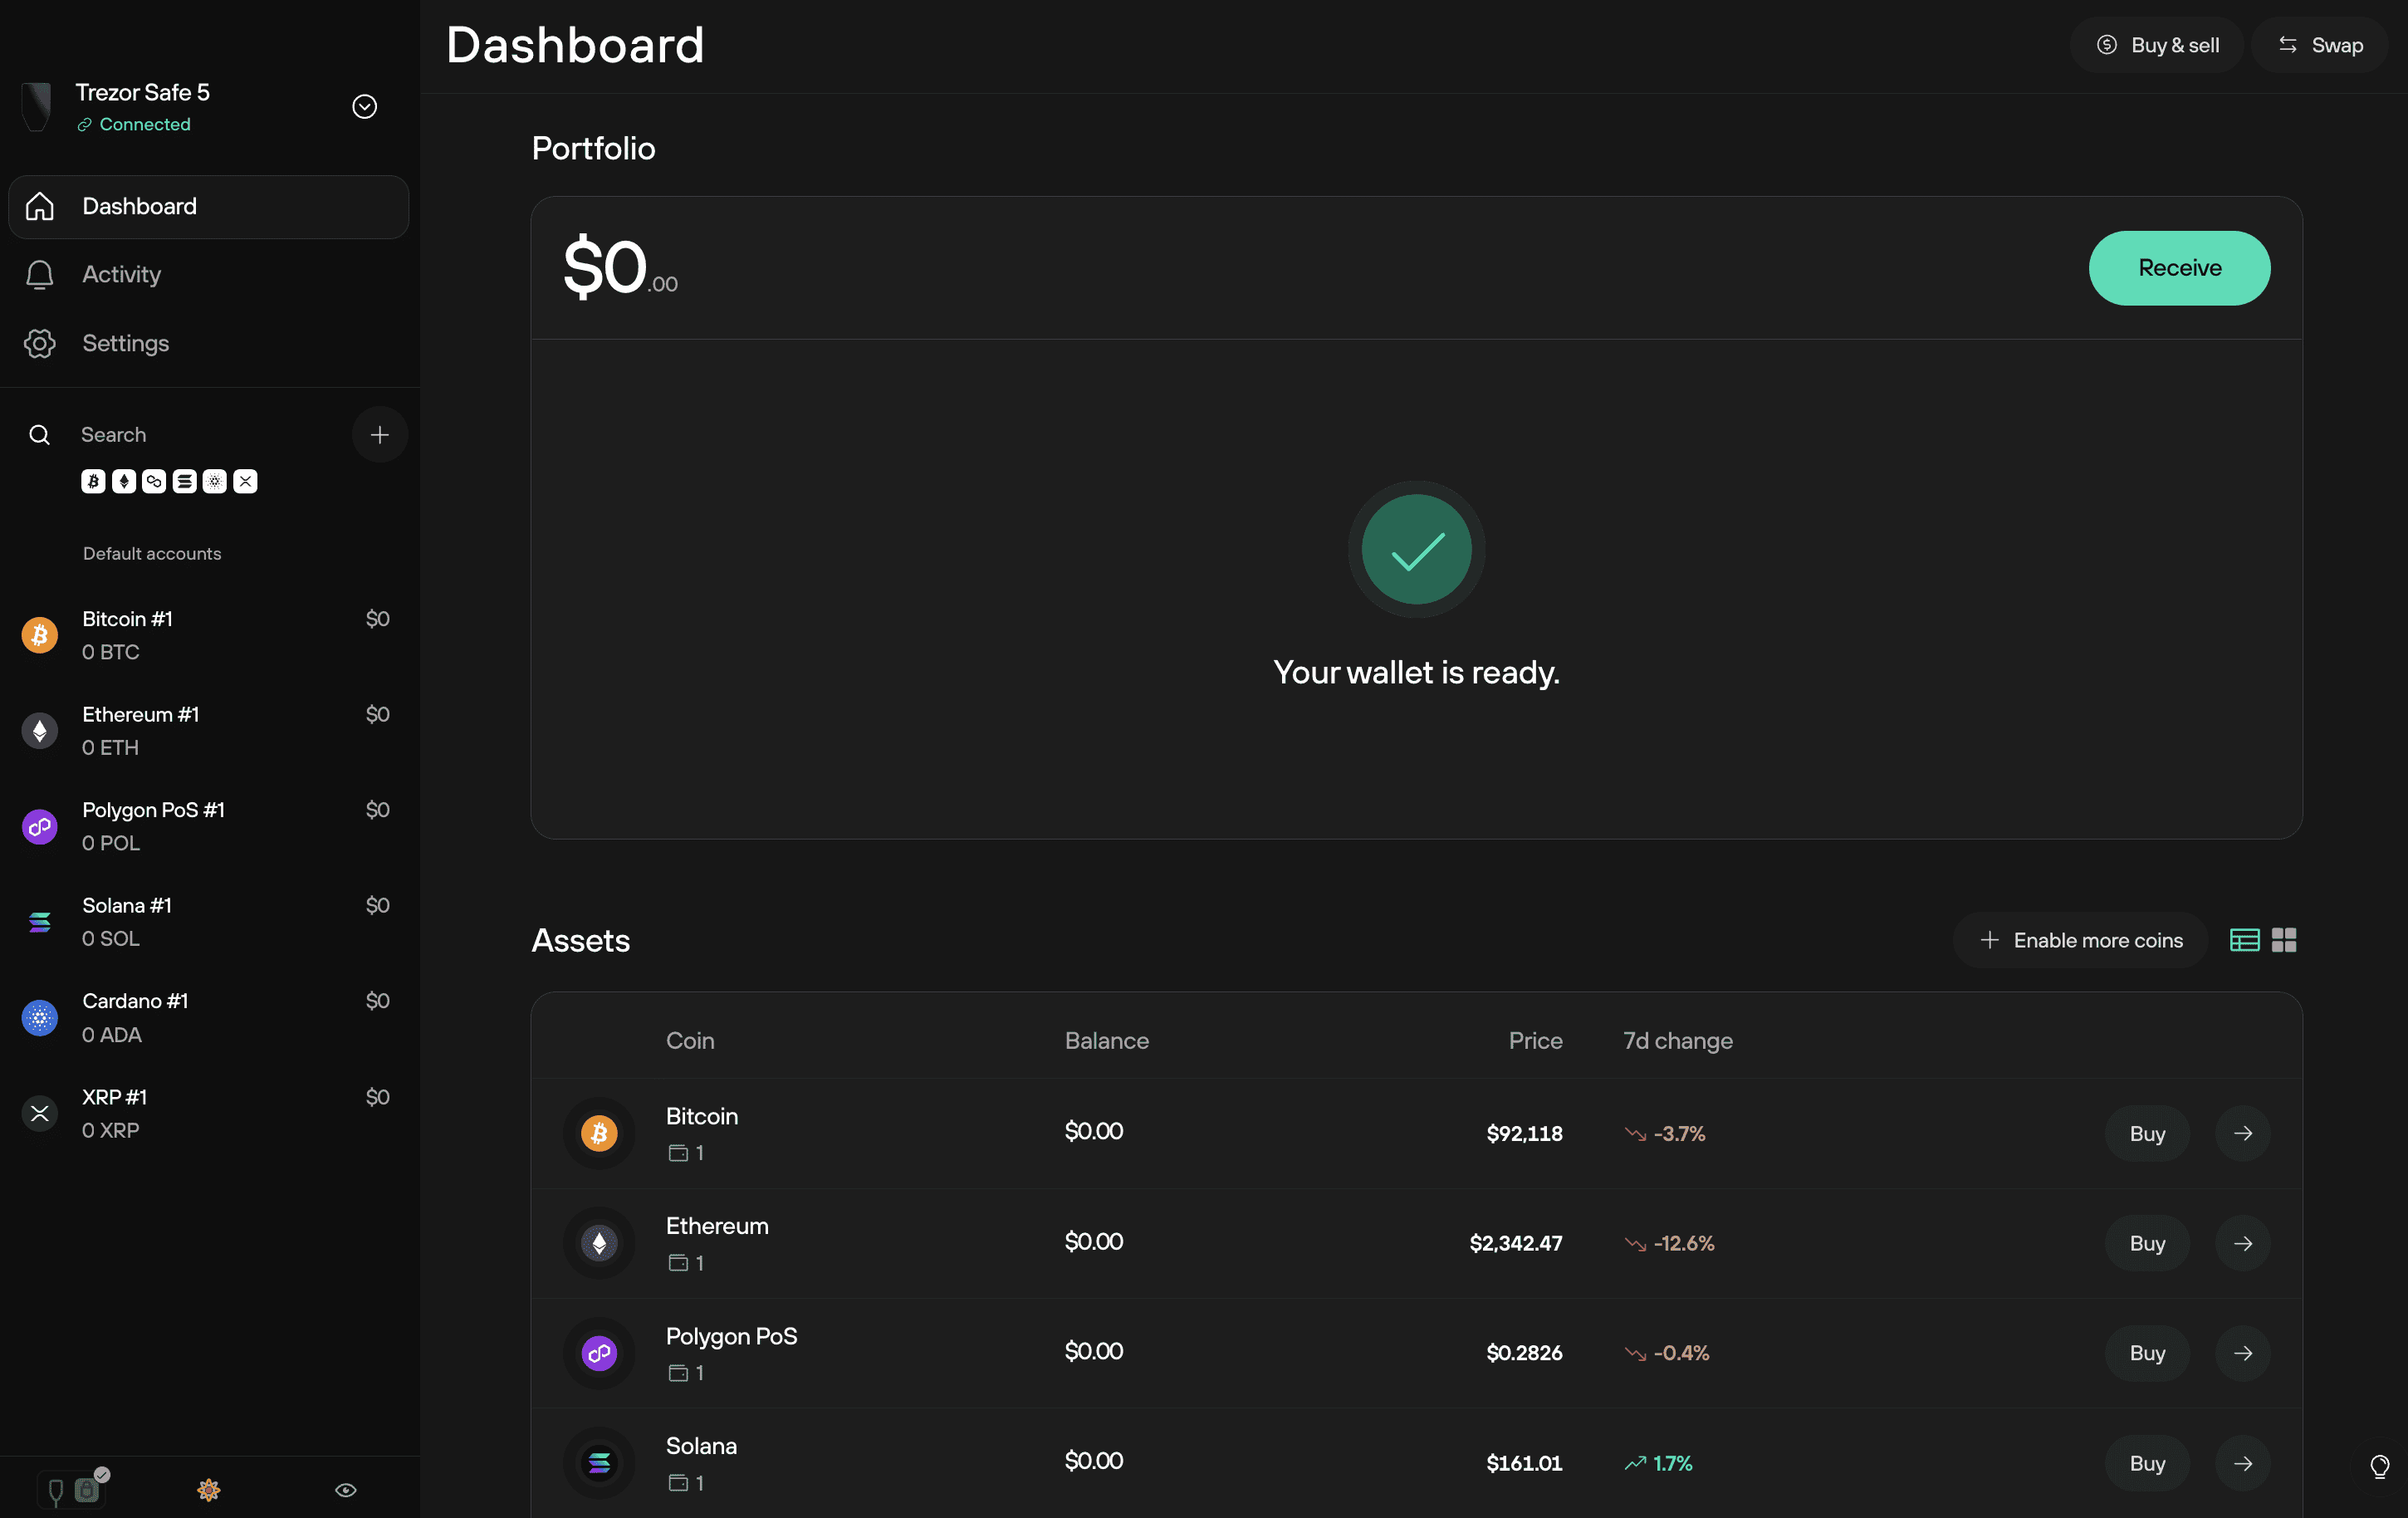
After starting up Trezor Suite and connecting your Trezor device, the Trezor Suite Dashboard is displayed. This shows a Portfolio overview of the Bitcoin and crypto funds secured by your Trezor device, with a more detailed breakdown of your Assets shown directly underneath:
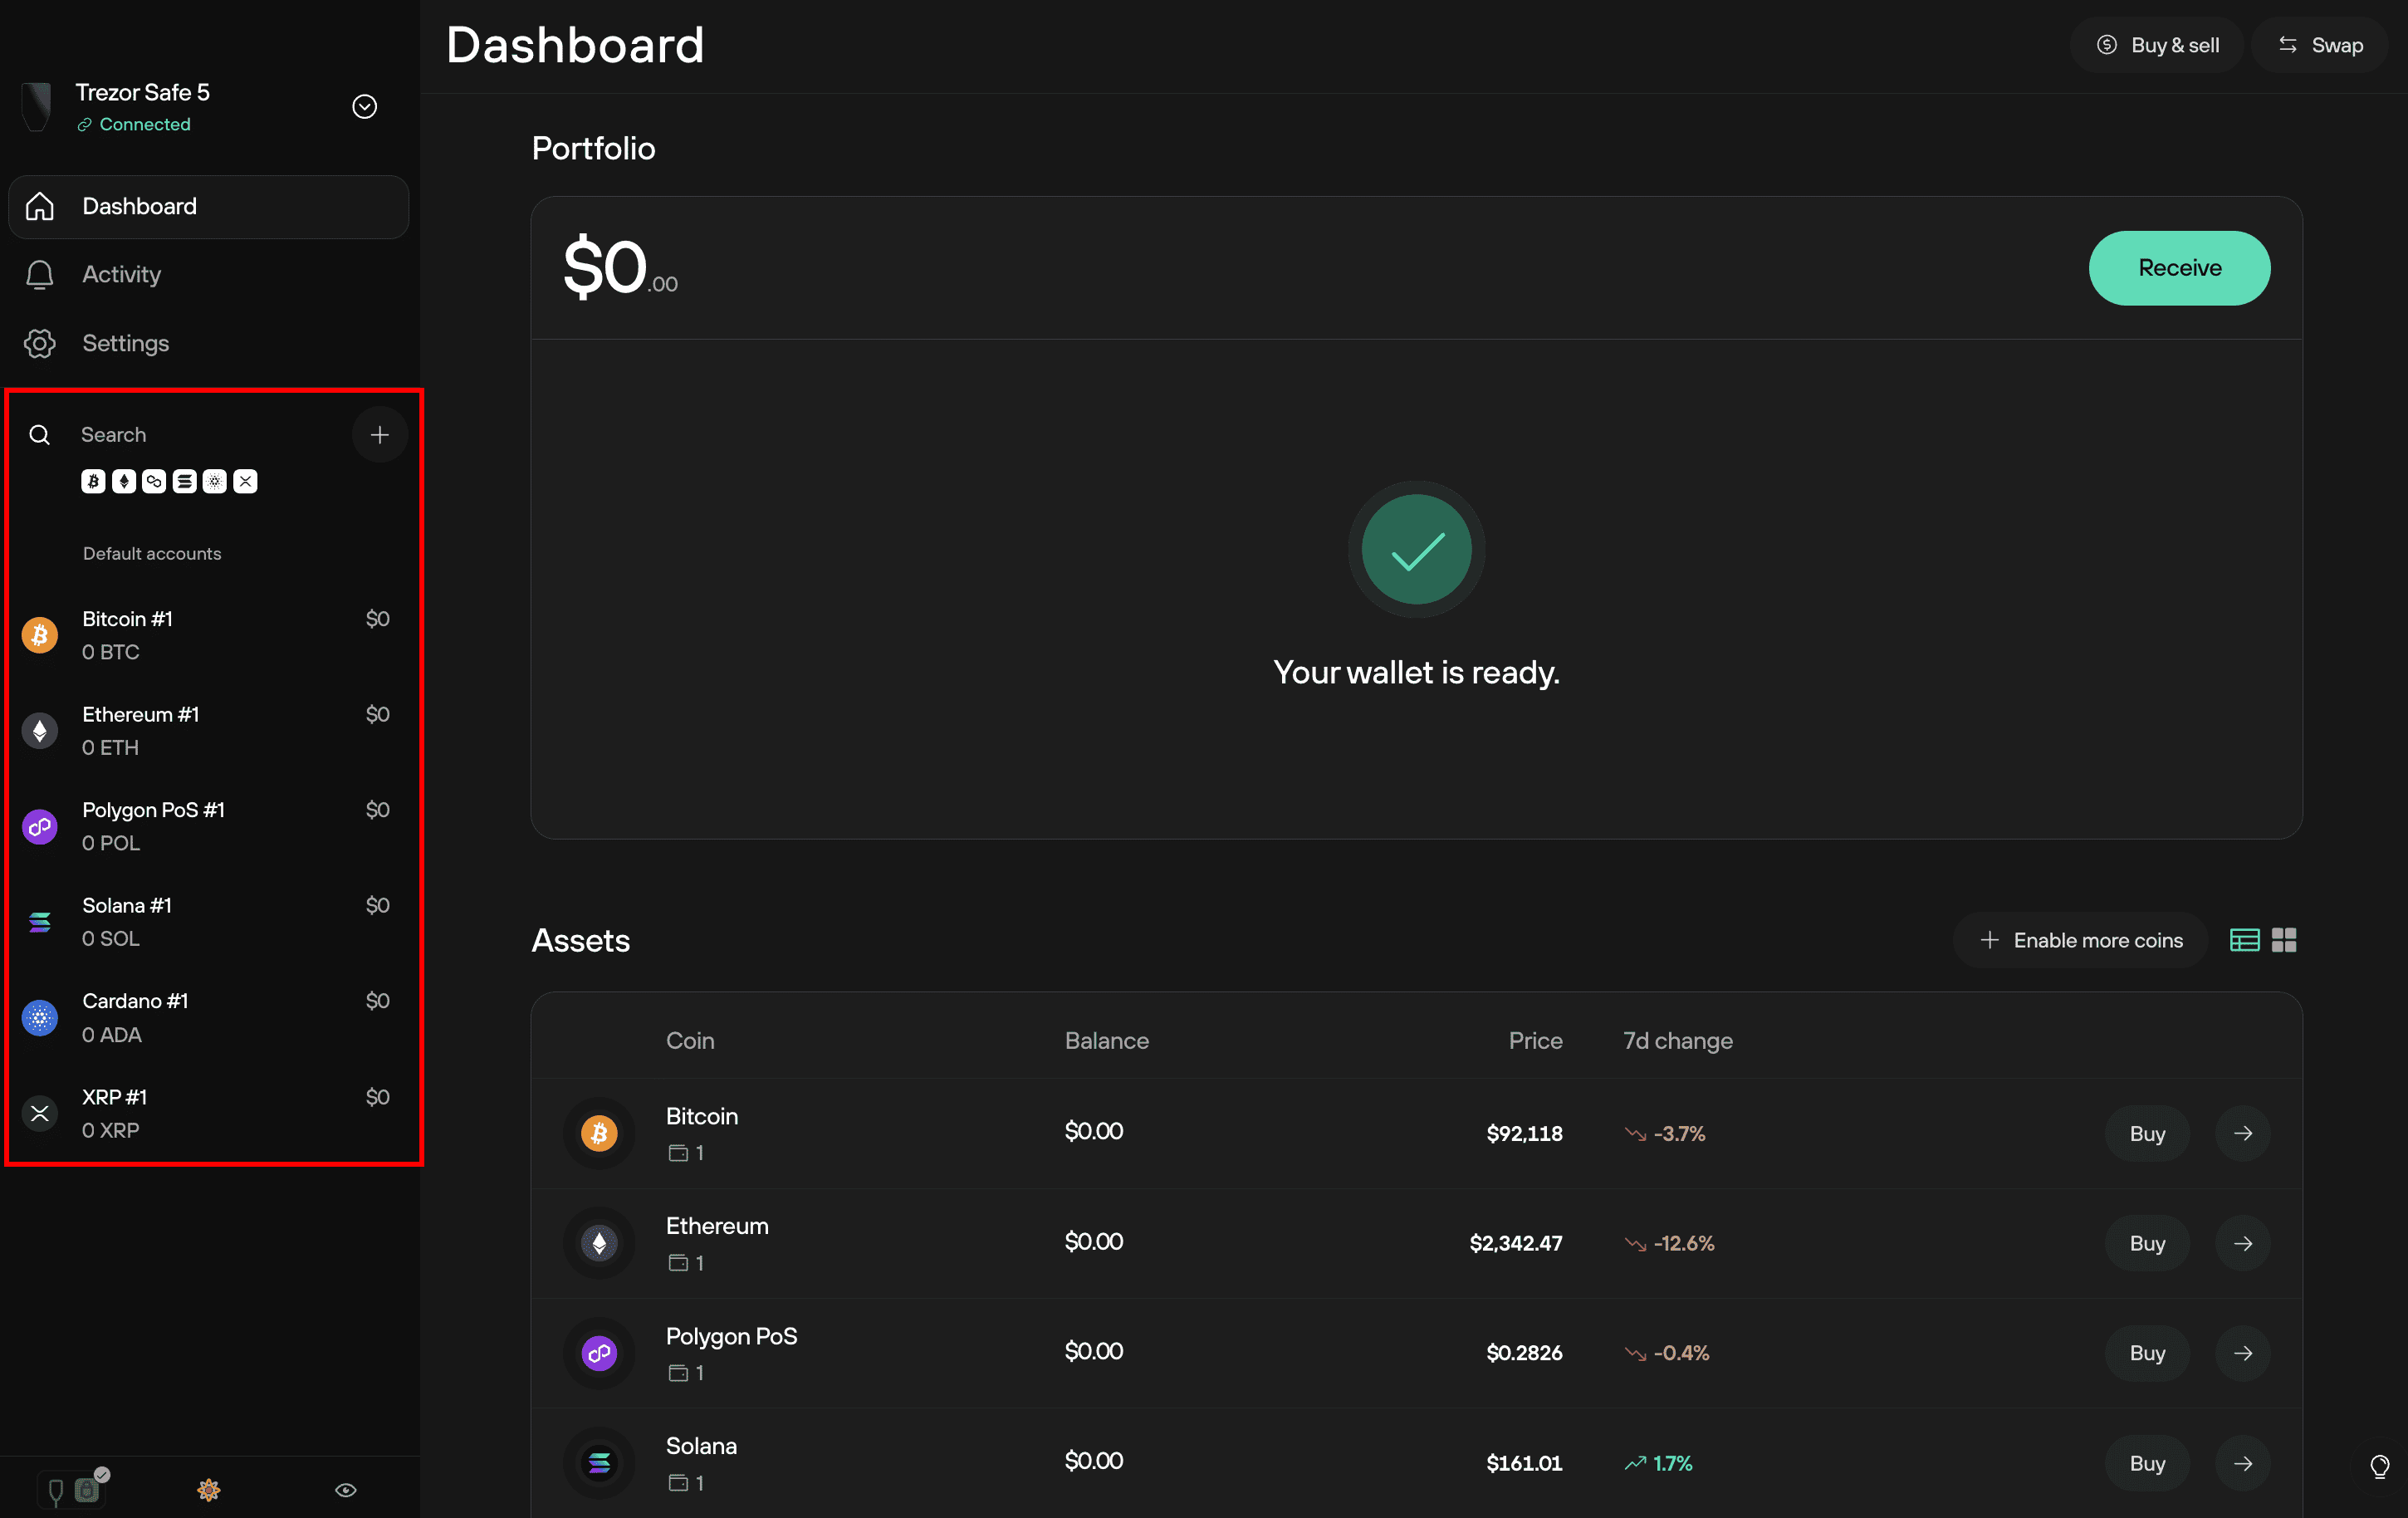
Your individual supported cryptocurrency accounts are shown in the left-hand menu:
Select the desired cryptocurrency to be taken to the account Overview:
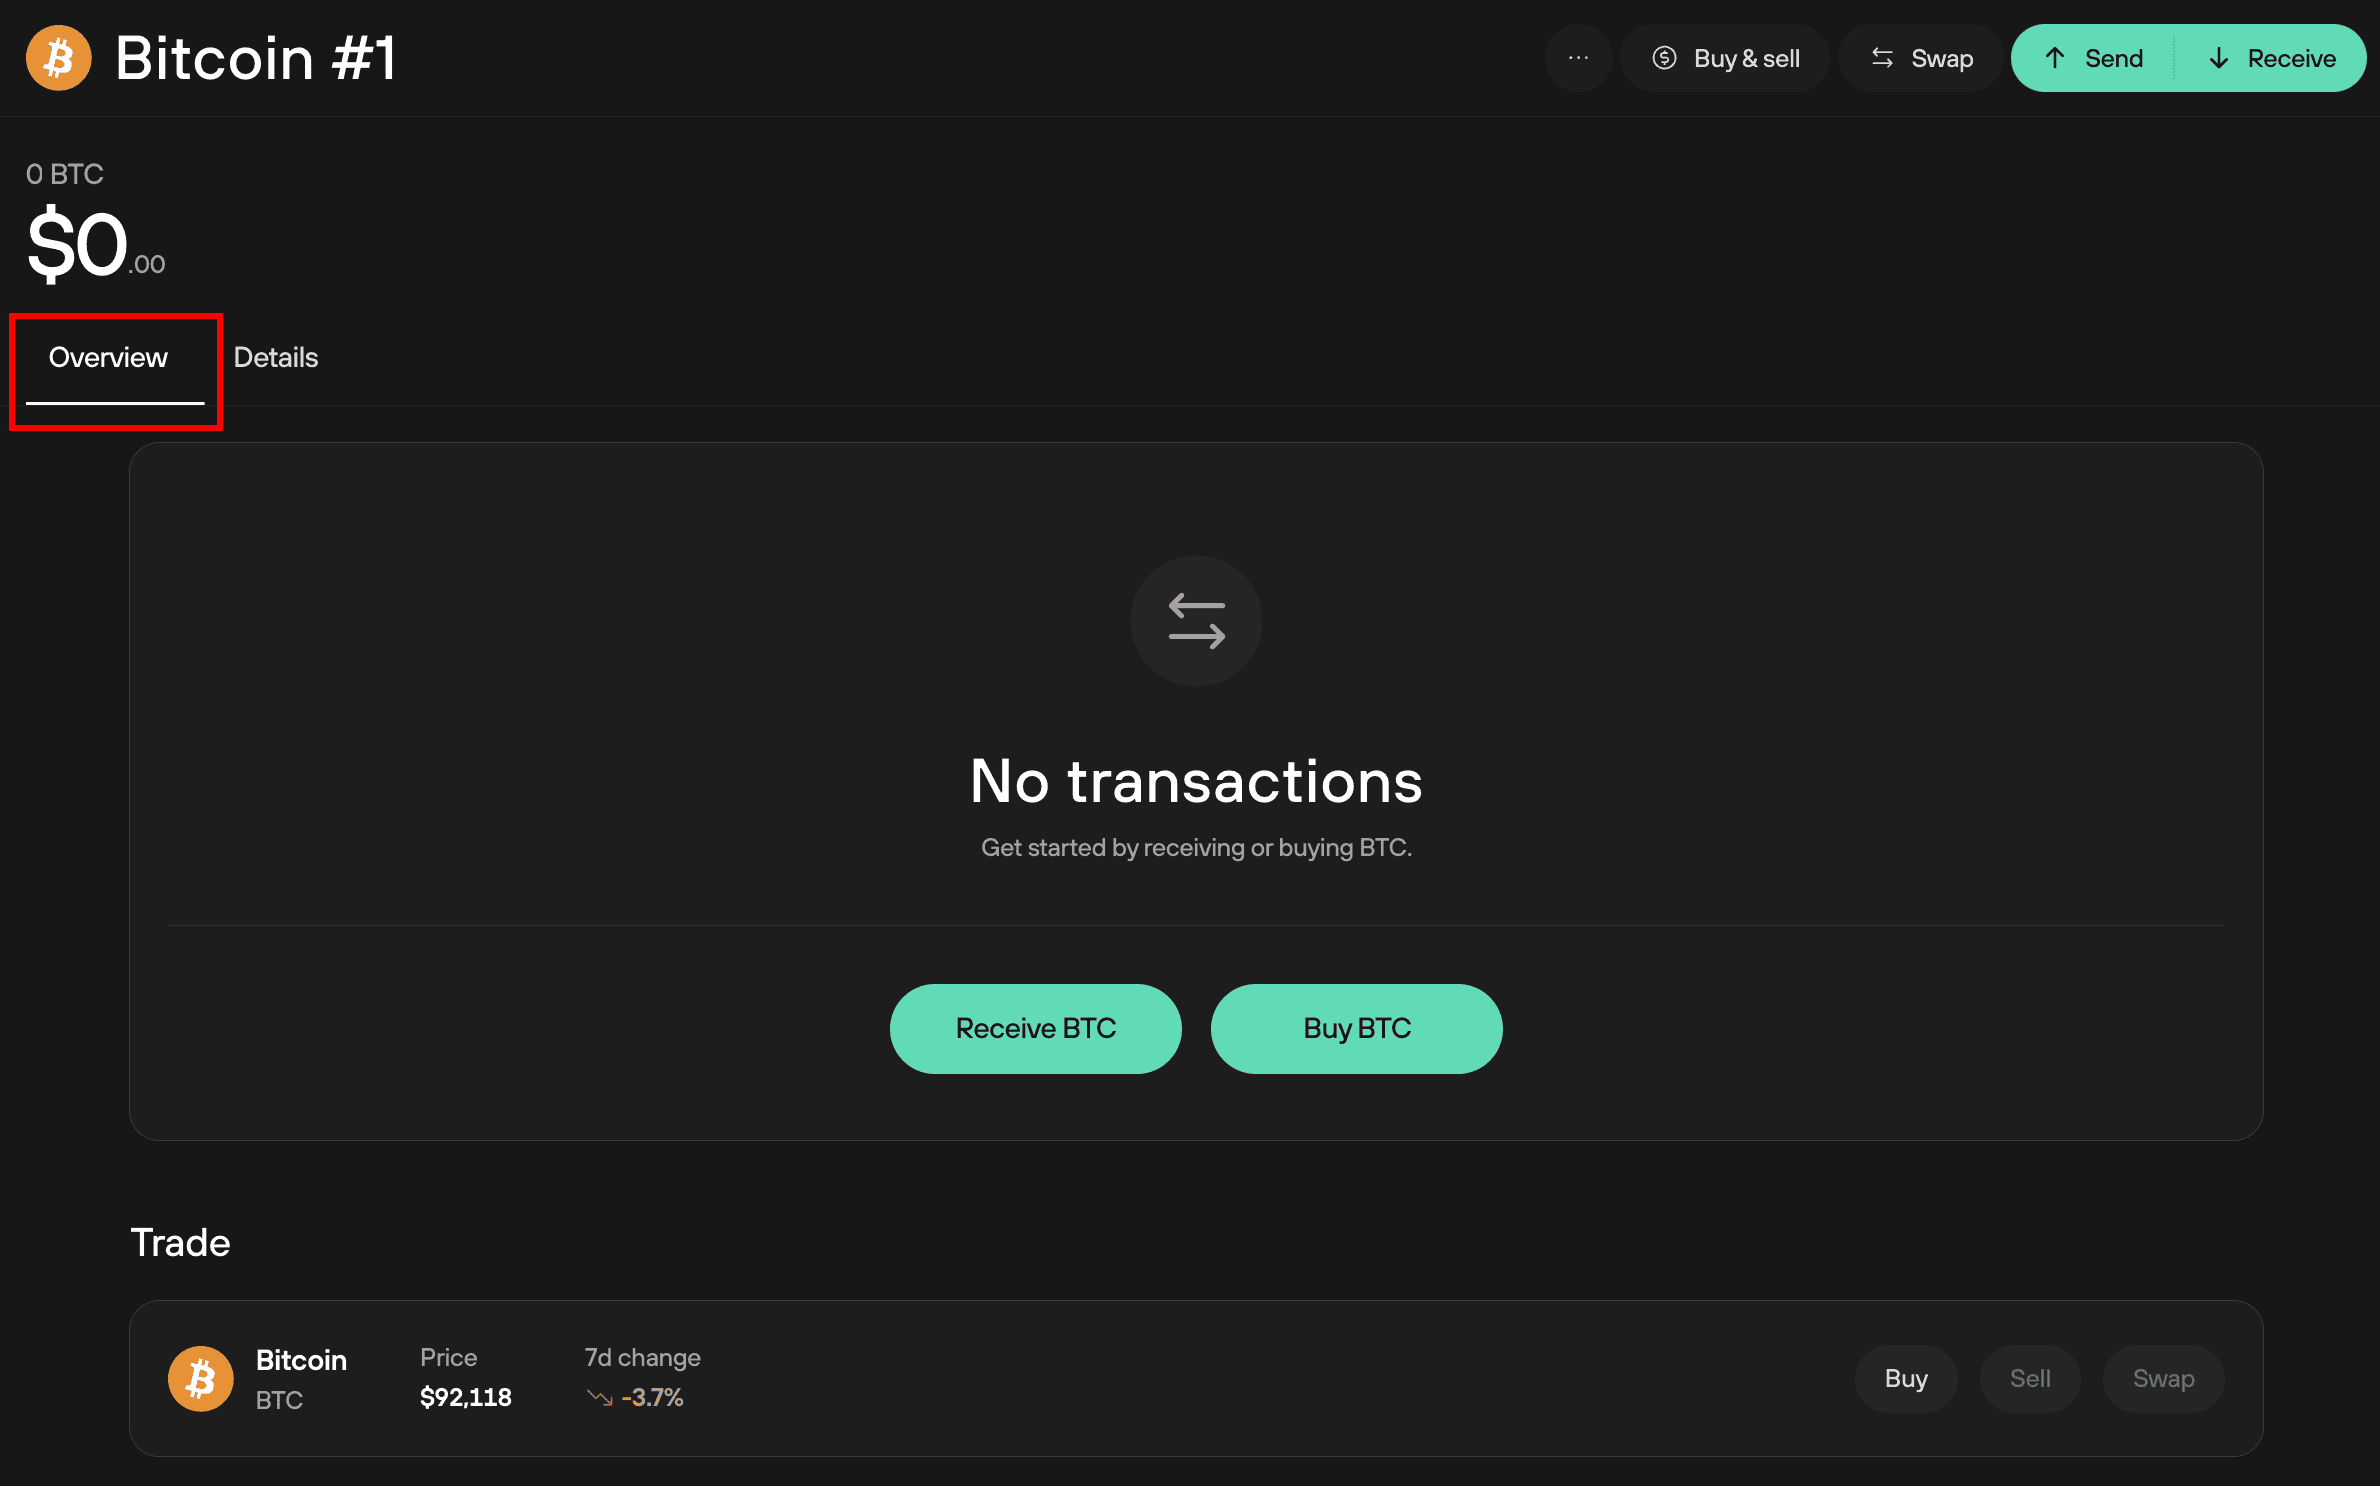
New, empty accounts display the message "No transactions." At this stage, you can see convenient options for Buying and Receiving funds - just select the appropriate option in Trezor Suite and follow the user guide.
If you already hold funds in a particular account, the overview shows a graph displaying the account balance over a customizable time range, plus a (downloadable) list of any transactions associated with the account.
Always make sure that the right account is selected. All transactions and payments that you carry out in Trezor Suite are linked to a particular account.
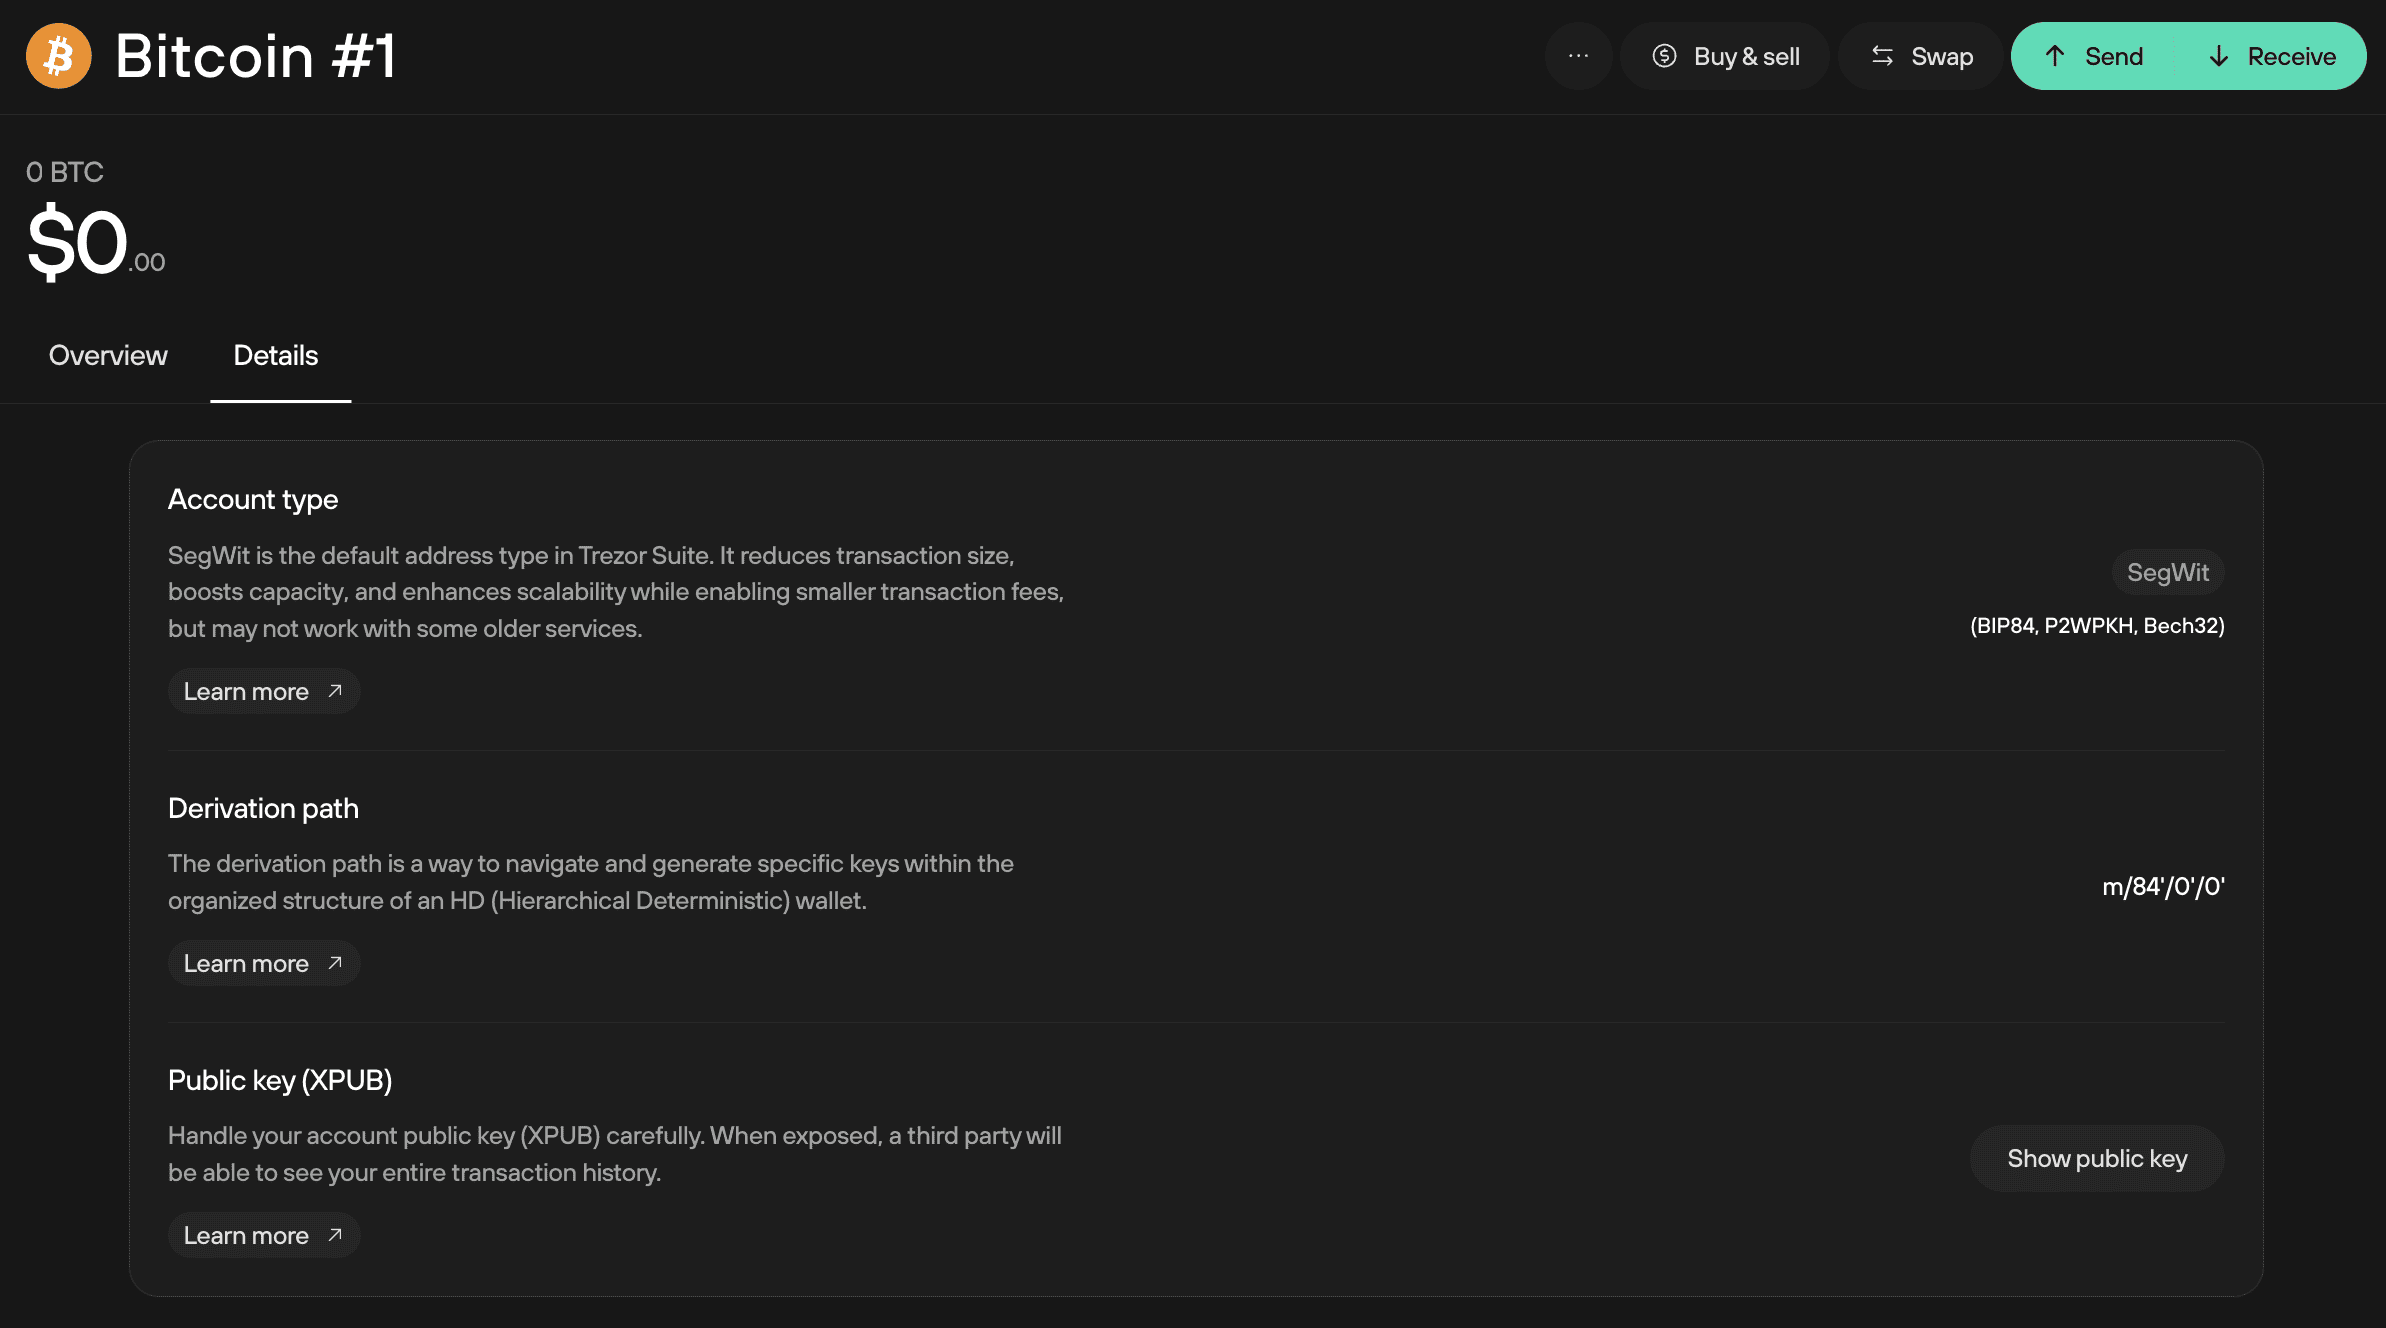
You can also switch to the Details tab to view the technical details of the account:
Using multiple accounts
For each supported cryptocurrency, Trezor Suite allows you to manage multiple accounts. This functionality allows easier tracking of balances and managing your cryptocurrency identity. To enhance the privacy of your transactions, you can use multiple accounts, each with a specific purpose.
Accounts each have their own unique extended public key (XPUB). Knowing an XPUB makes it possible to see all transactions to and from an account, so using more accounts protects this sensitive information.
Keep in mind that if you frequently send funds between two accounts, it may become clear that you are the owner of both. For this reason, using multiple accounts as an extra privacy feature is better suited to more advanced users.
Creating a new account
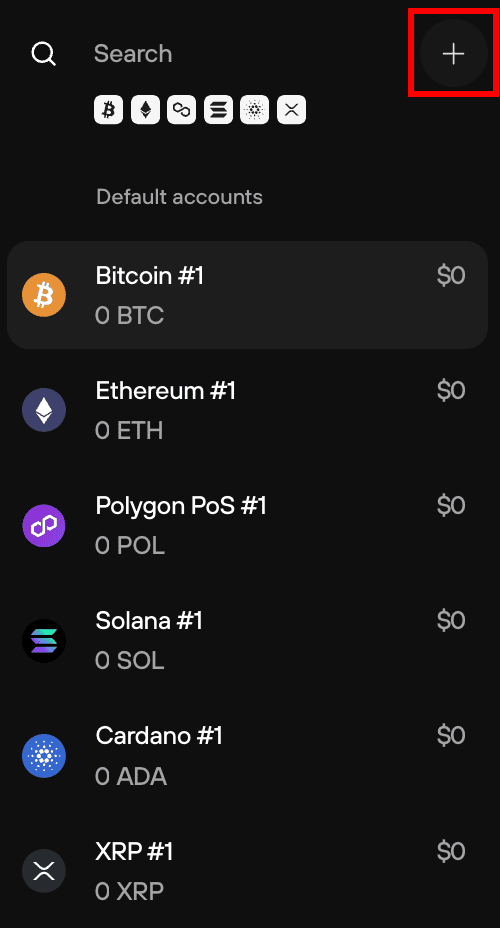
Creating a new account in Trezor Suite is easy. At the top of the "My accounts" menu bar, press the plus (+) sign:
In the next Add account window, choose which coin you wish to work with:
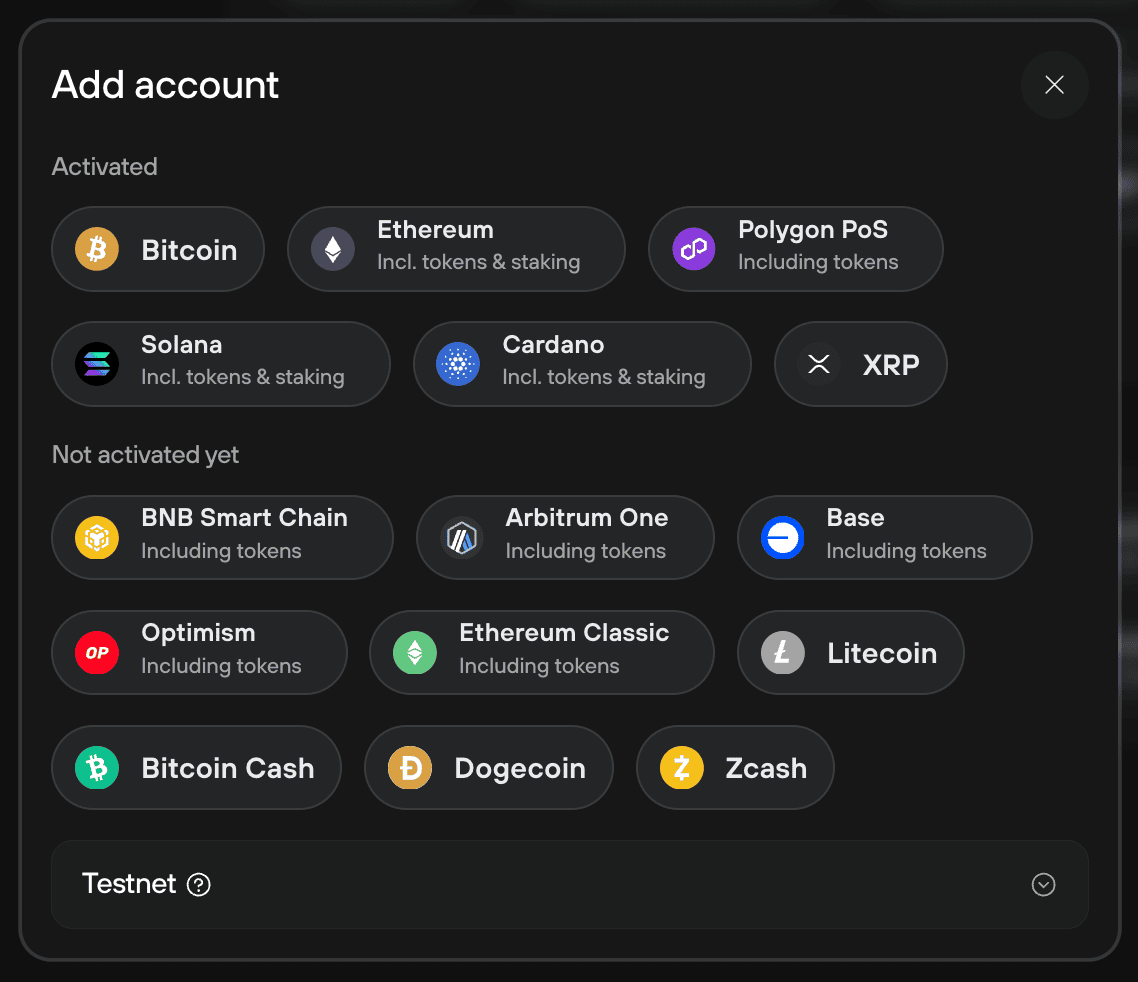
Some cryptocurrencies like Bitcoin offer different addresses to work with, so you will need to specify this before proceeding. Confirm the new account and it will be created and appear in the sidebar. Now you can work with the new account.
To send funds between your accounts, send a transaction from one account using the receiving address of the other. See also Sending payments and Receiving payments.