Get started with the Trezor Safe 5
This guide shows you how to unbox, connect, and set up your new Trezor Safe 5 in about 15 minutes.
If you’re new to or want extra guidance, you can book a one on one onboarding session with a Trezor Expert. They will walk you through setup and answer questions.
Trezor Expert Onboarding Session
session with Trezor Expert
Choose mobile or desktop setup below.
What you'll need
- Your Trezor Safe 5
- USB-C cable: for connecting your device to your computer or Android phone
- The included wallet backup cards and a pen
- About 15 minutes
- For mobile setup: an Android phone with USB-C support
- For desktop setup: a computer with Trezor Suite installed
1. Install and run Trezor Suite
If you don’t have installed yet go to trezor.io/start and click Download for desktop.
Once the installation is finished, open Trezor Suite.
2. Plug in and verify your Trezor
When Trezor Suite opens, you’ll see “Connect & unlock your Trezor.”
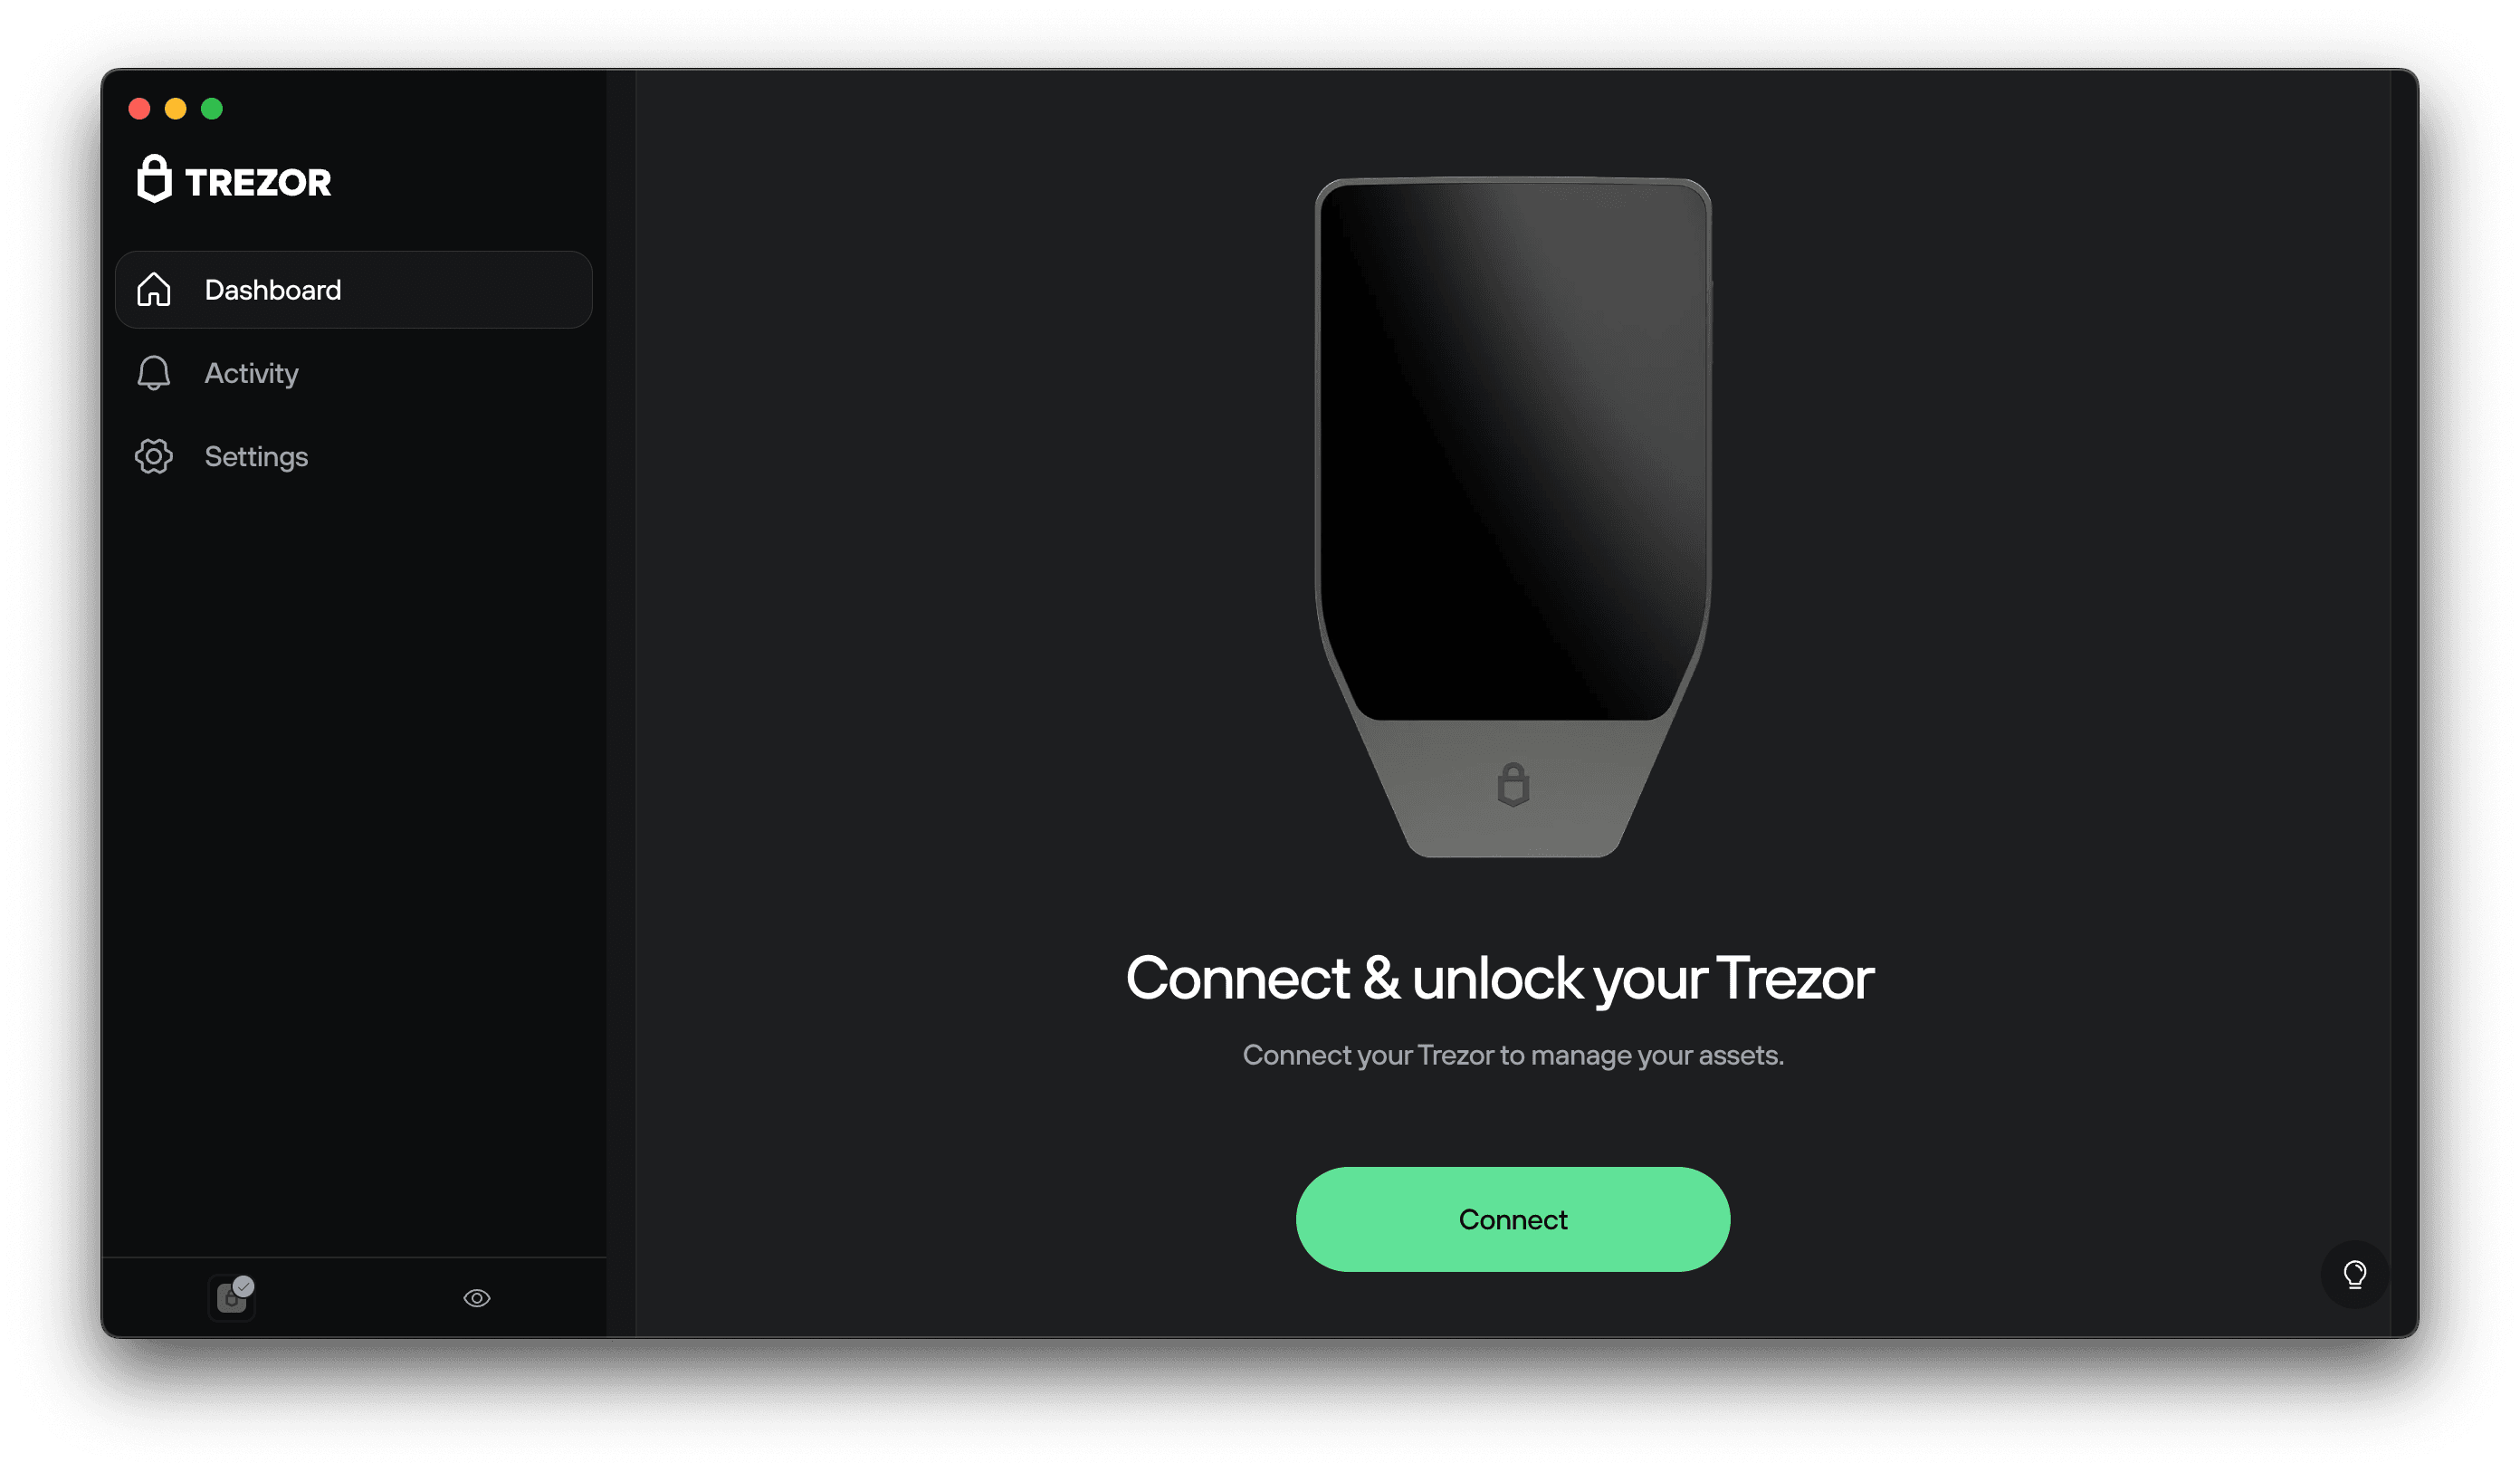
Plug in your Trezor Safe 5 using the USB-C cable.
After connection, Suite will display the Device security check.
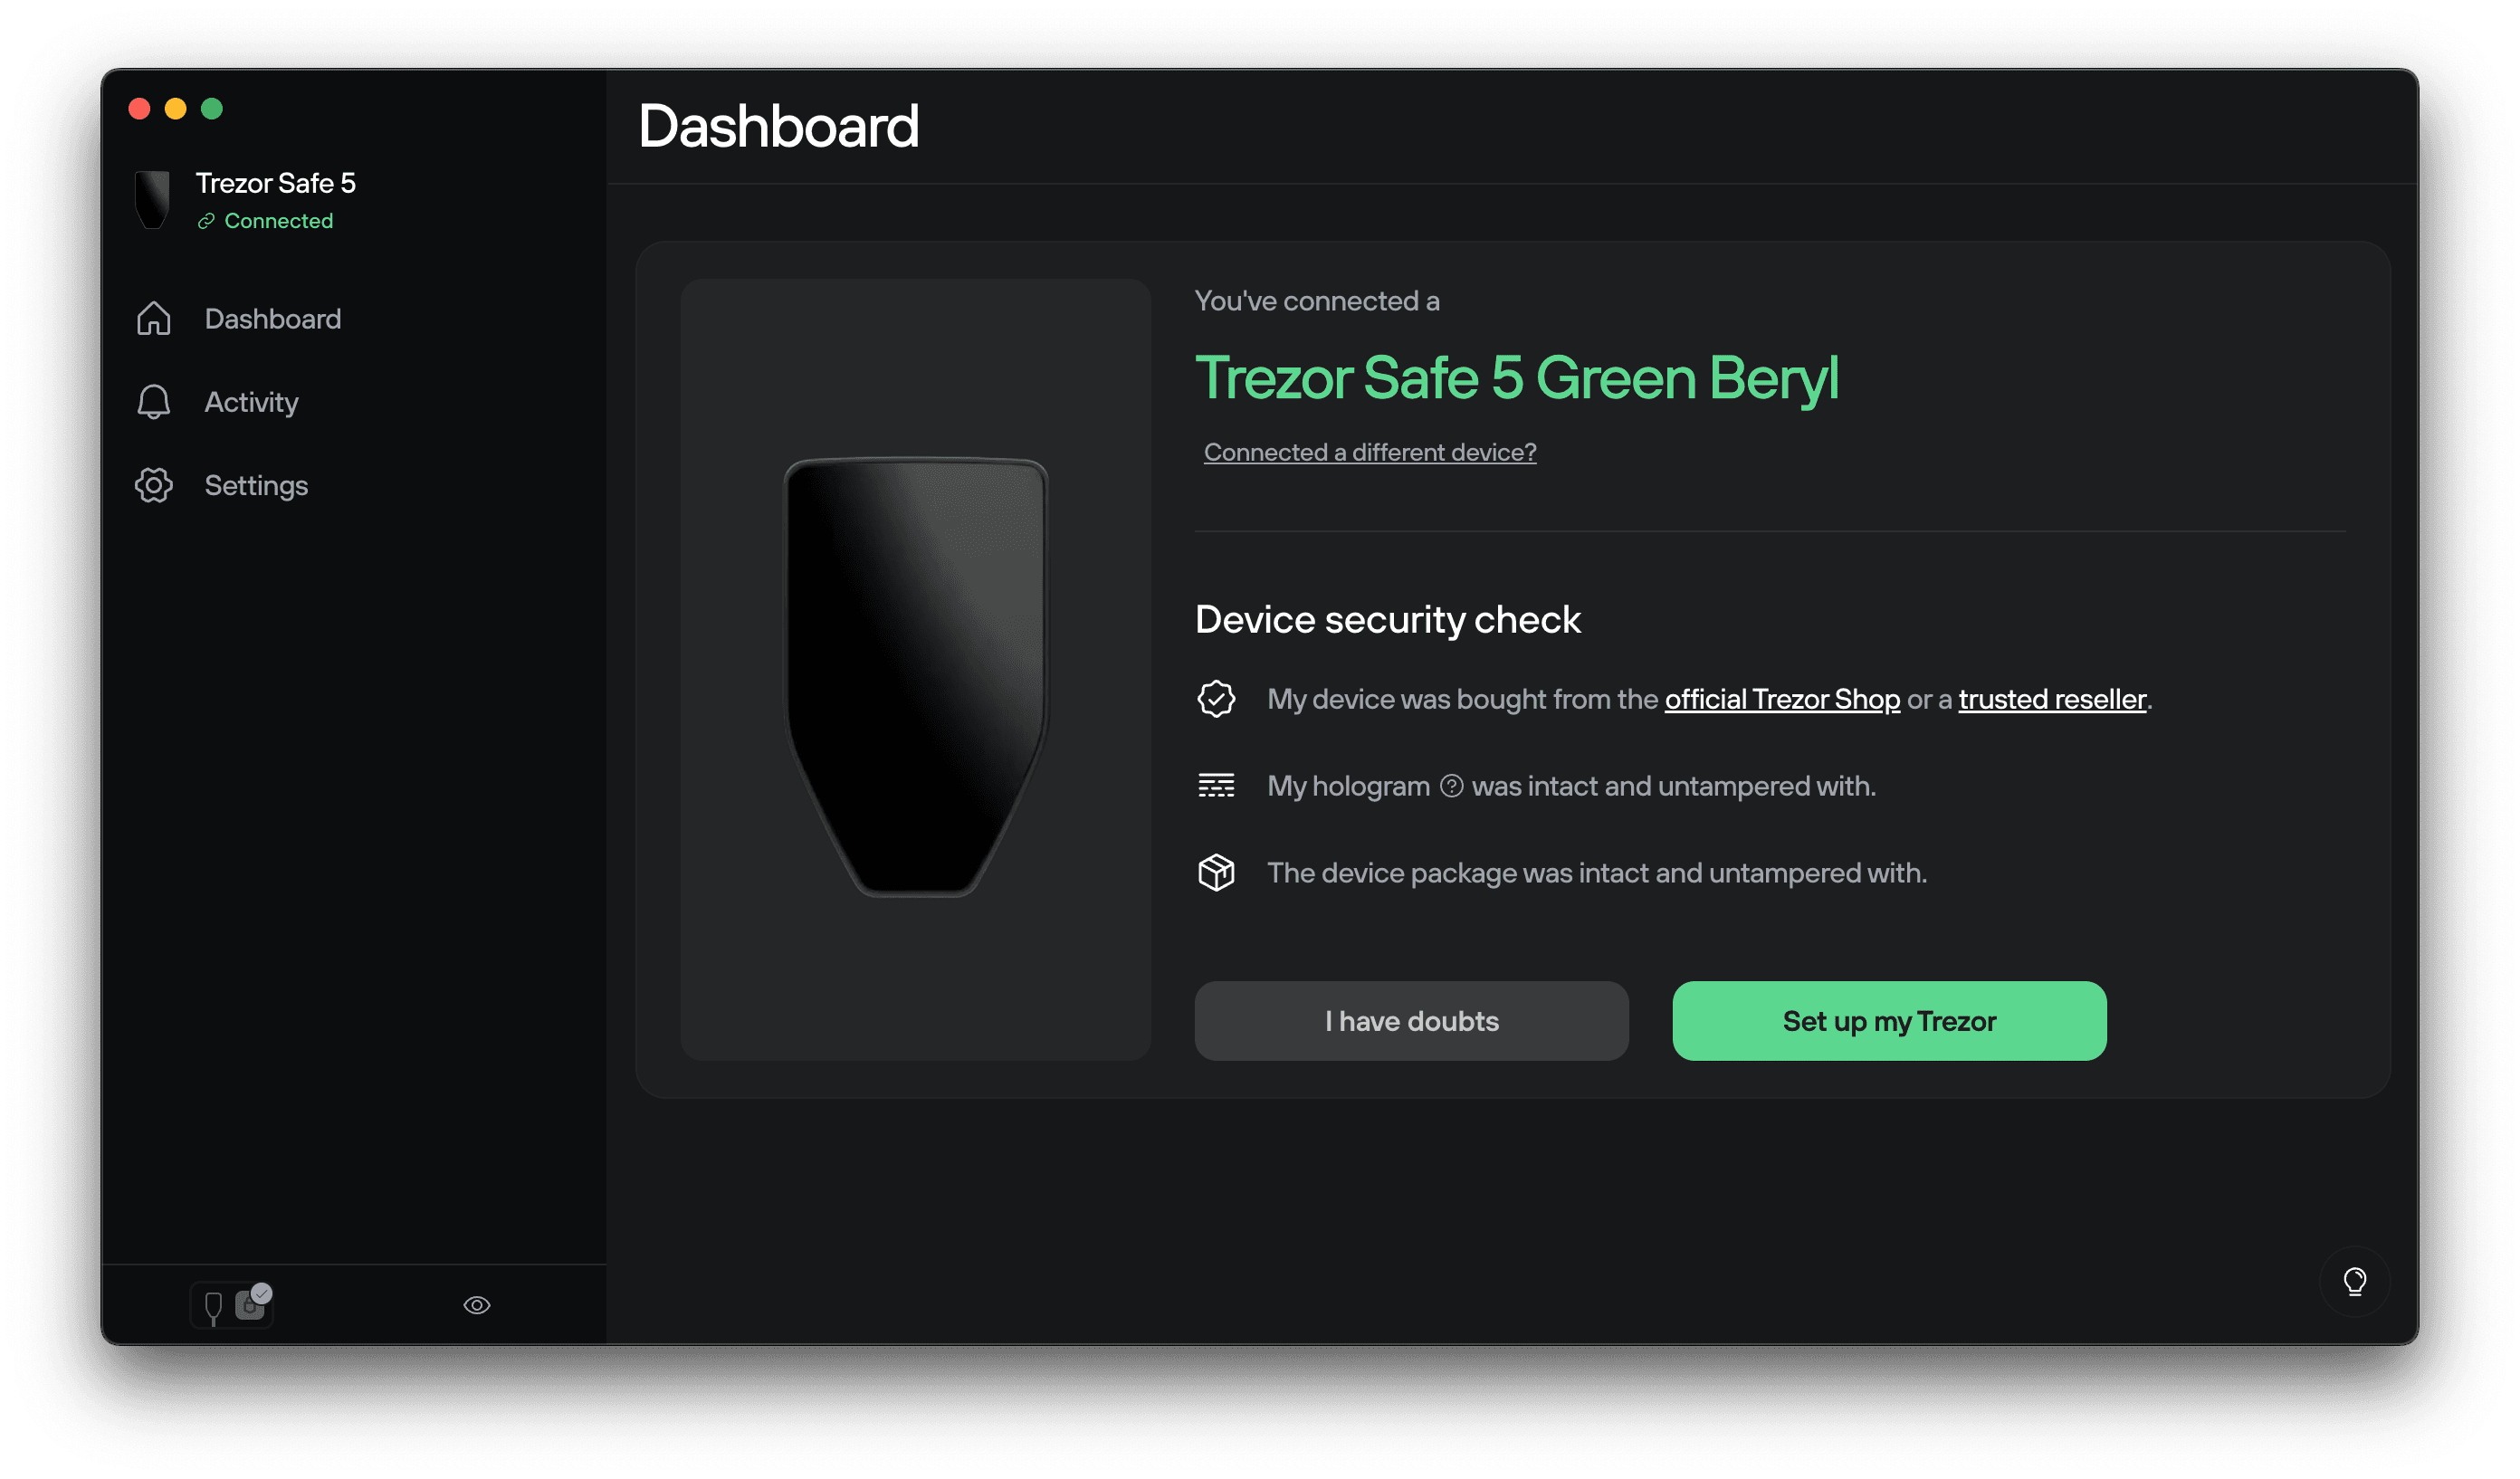
If anything looks unusual, see Authenticate your Trezor Safe 5 for guidance on verifying your device.
3. Install firmware
Your Trezor ships without for security.
Trezor Suite will guide you to install the latest version of the firmware.
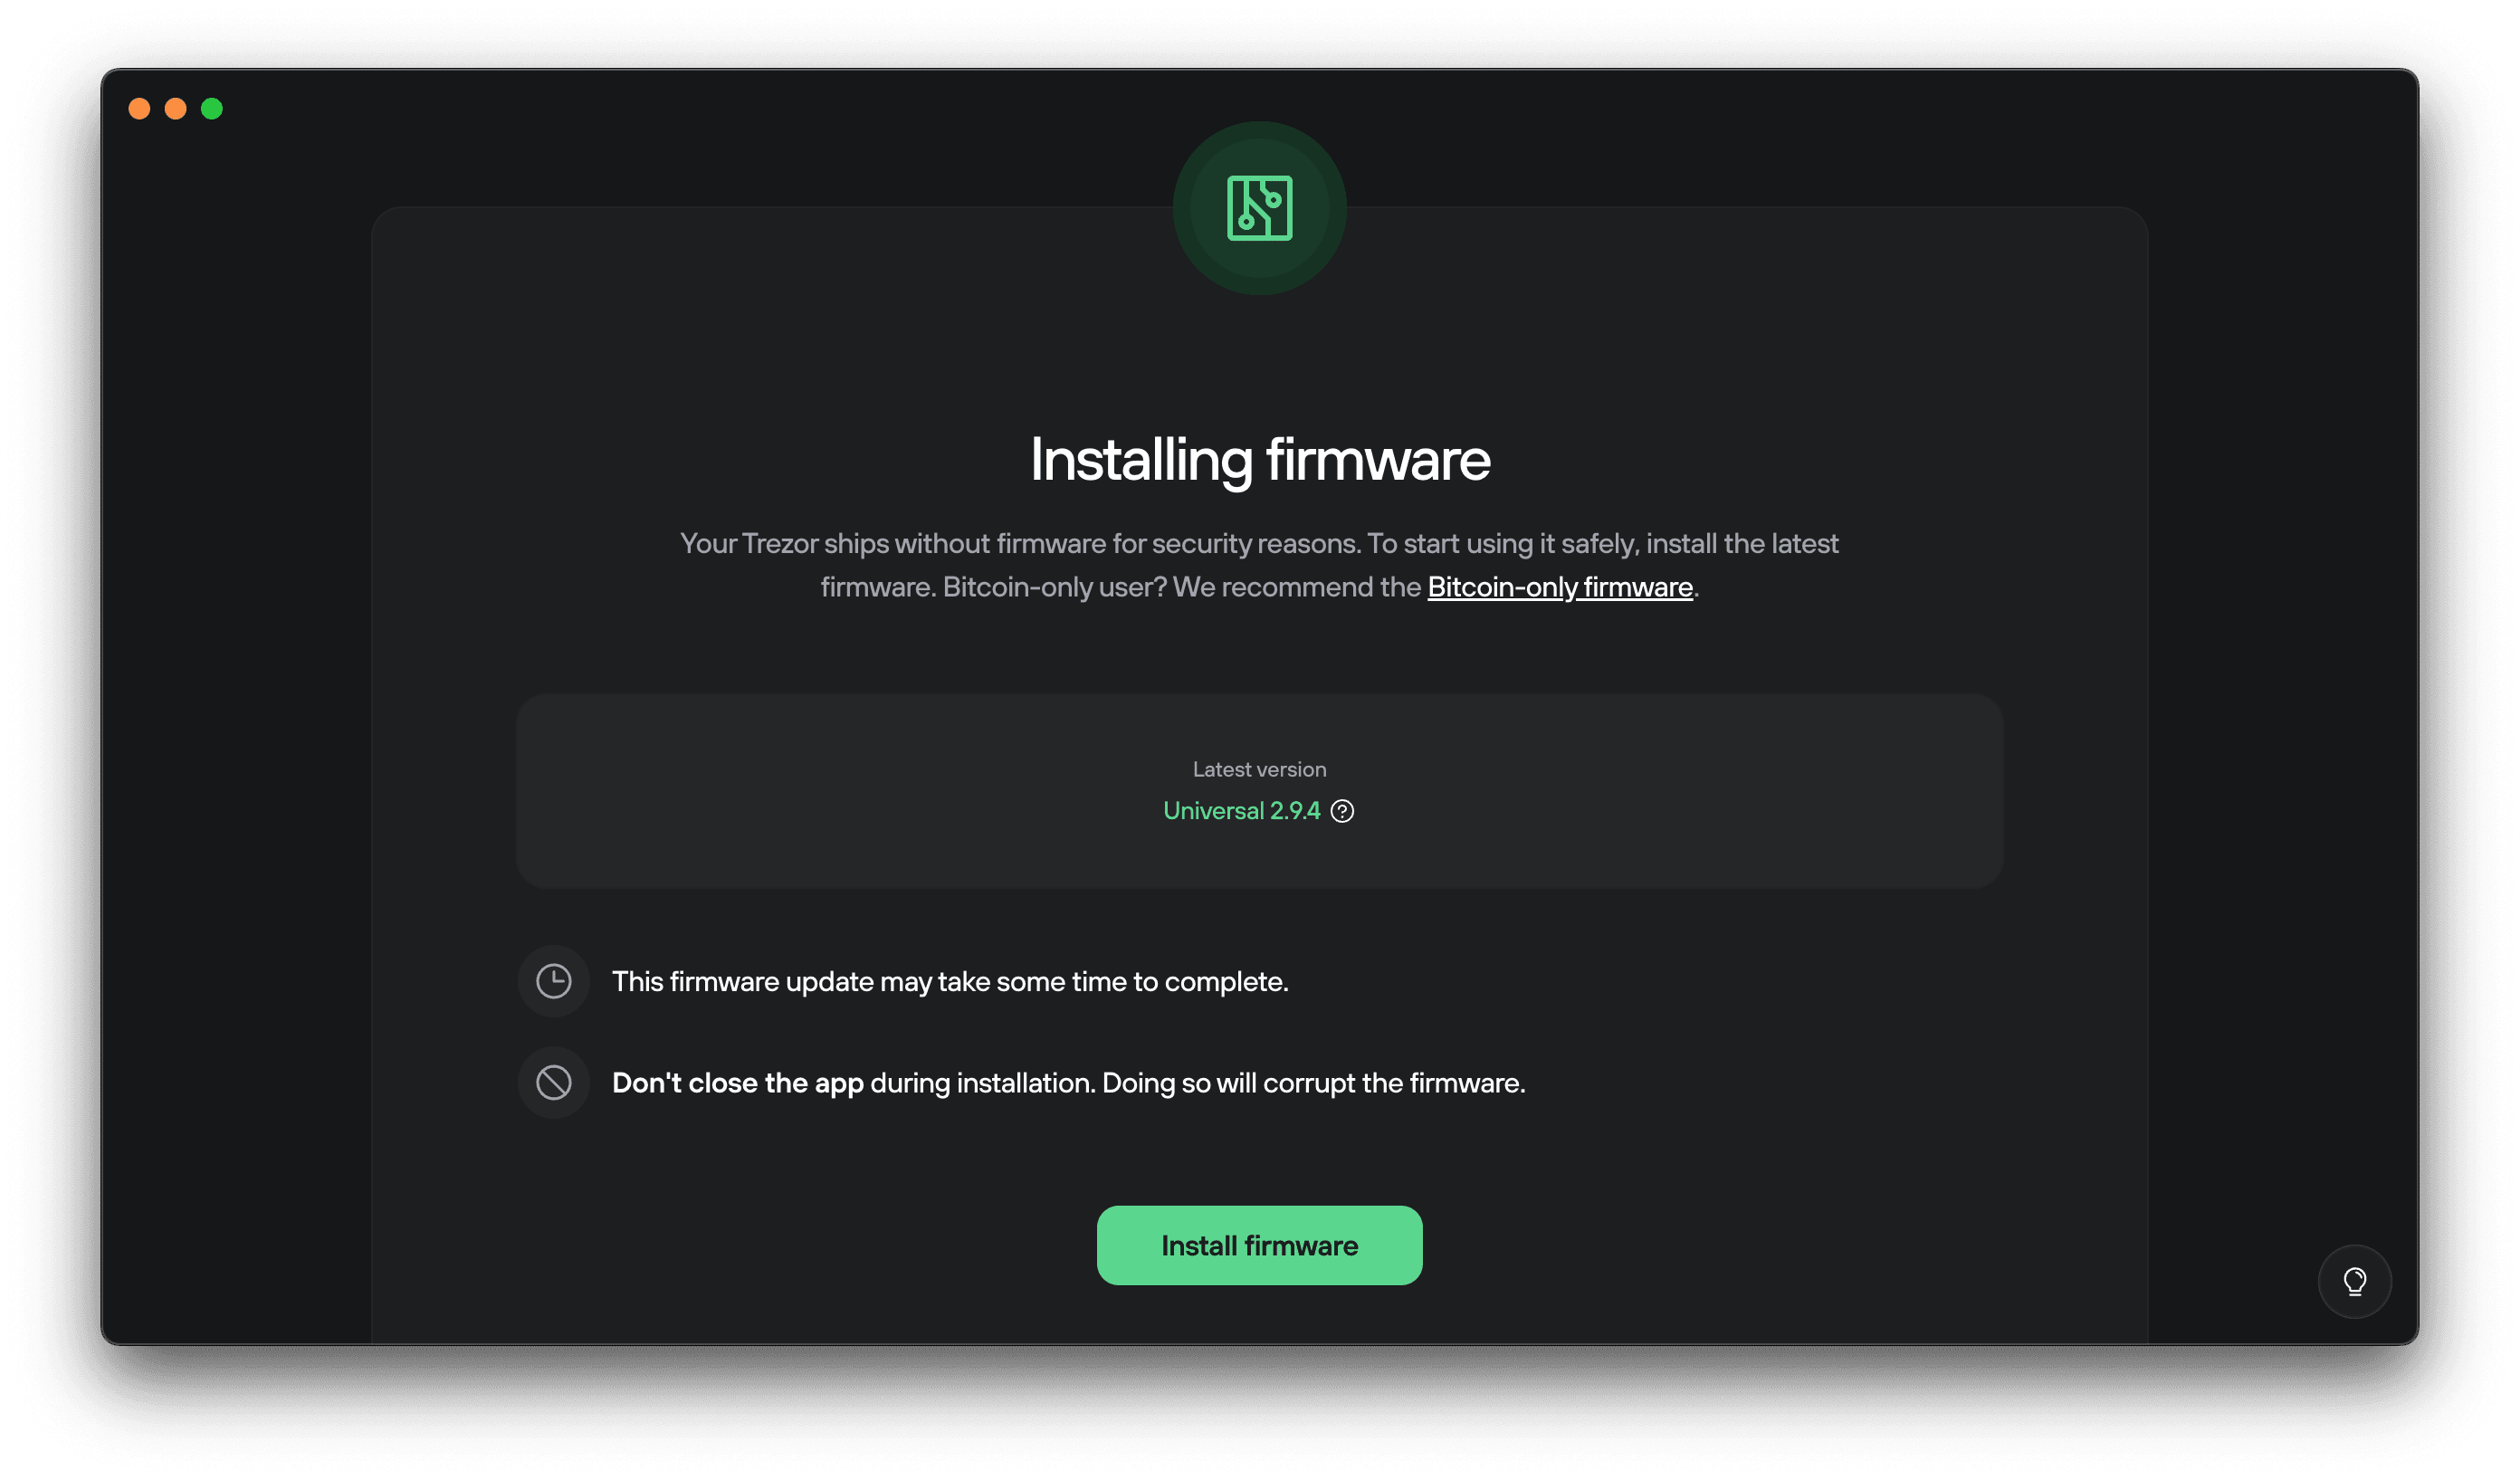
You can choose between Standard or Bitcoin-only firmware.
Click Install firmware and wait for the installation to complete.
Your Trezor will restart automatically.
4. Authenticate your device and learn the basics
After firmware installation, Trezor Suite will perform a Secure Element authenticity check.
This cryptographic check confirms your Trezor Safe 5 was genuinely made by Trezor and hasn’t been altered.
Click Start and follow the steps on the Trezor device to complete the check.
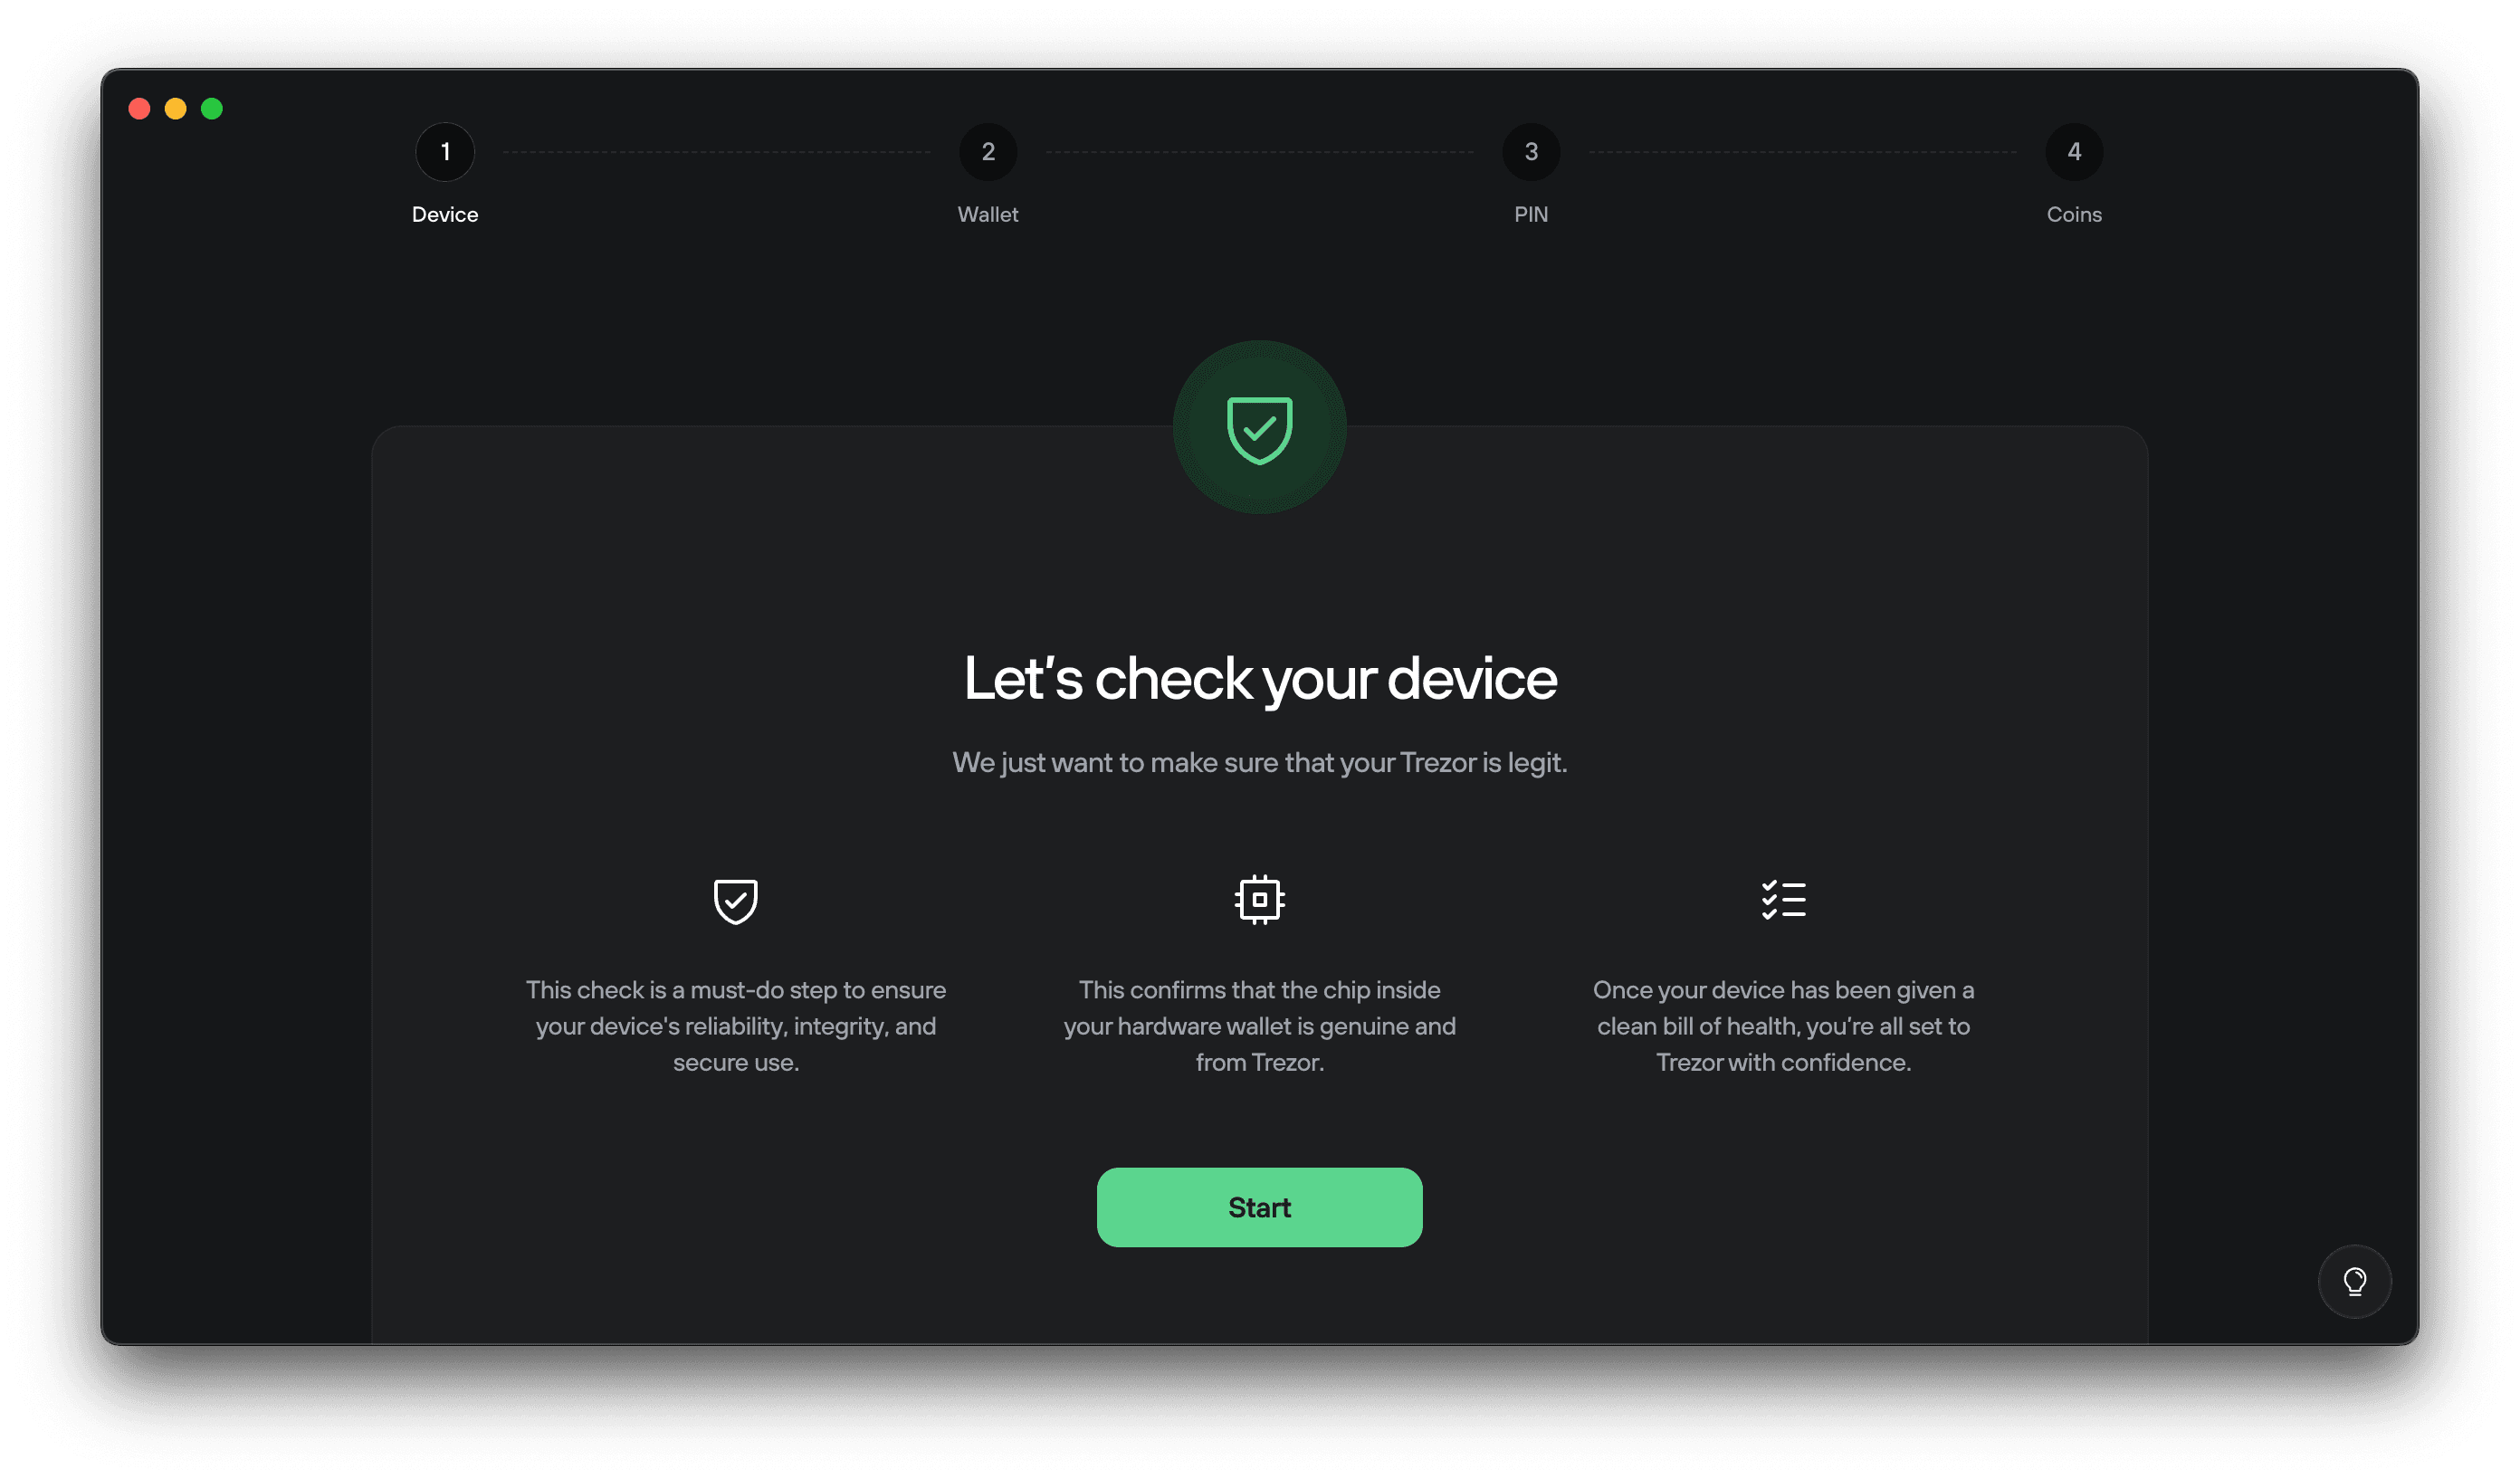
After the authenticity check, your device will offer a short tutorial "Know your Trezor."
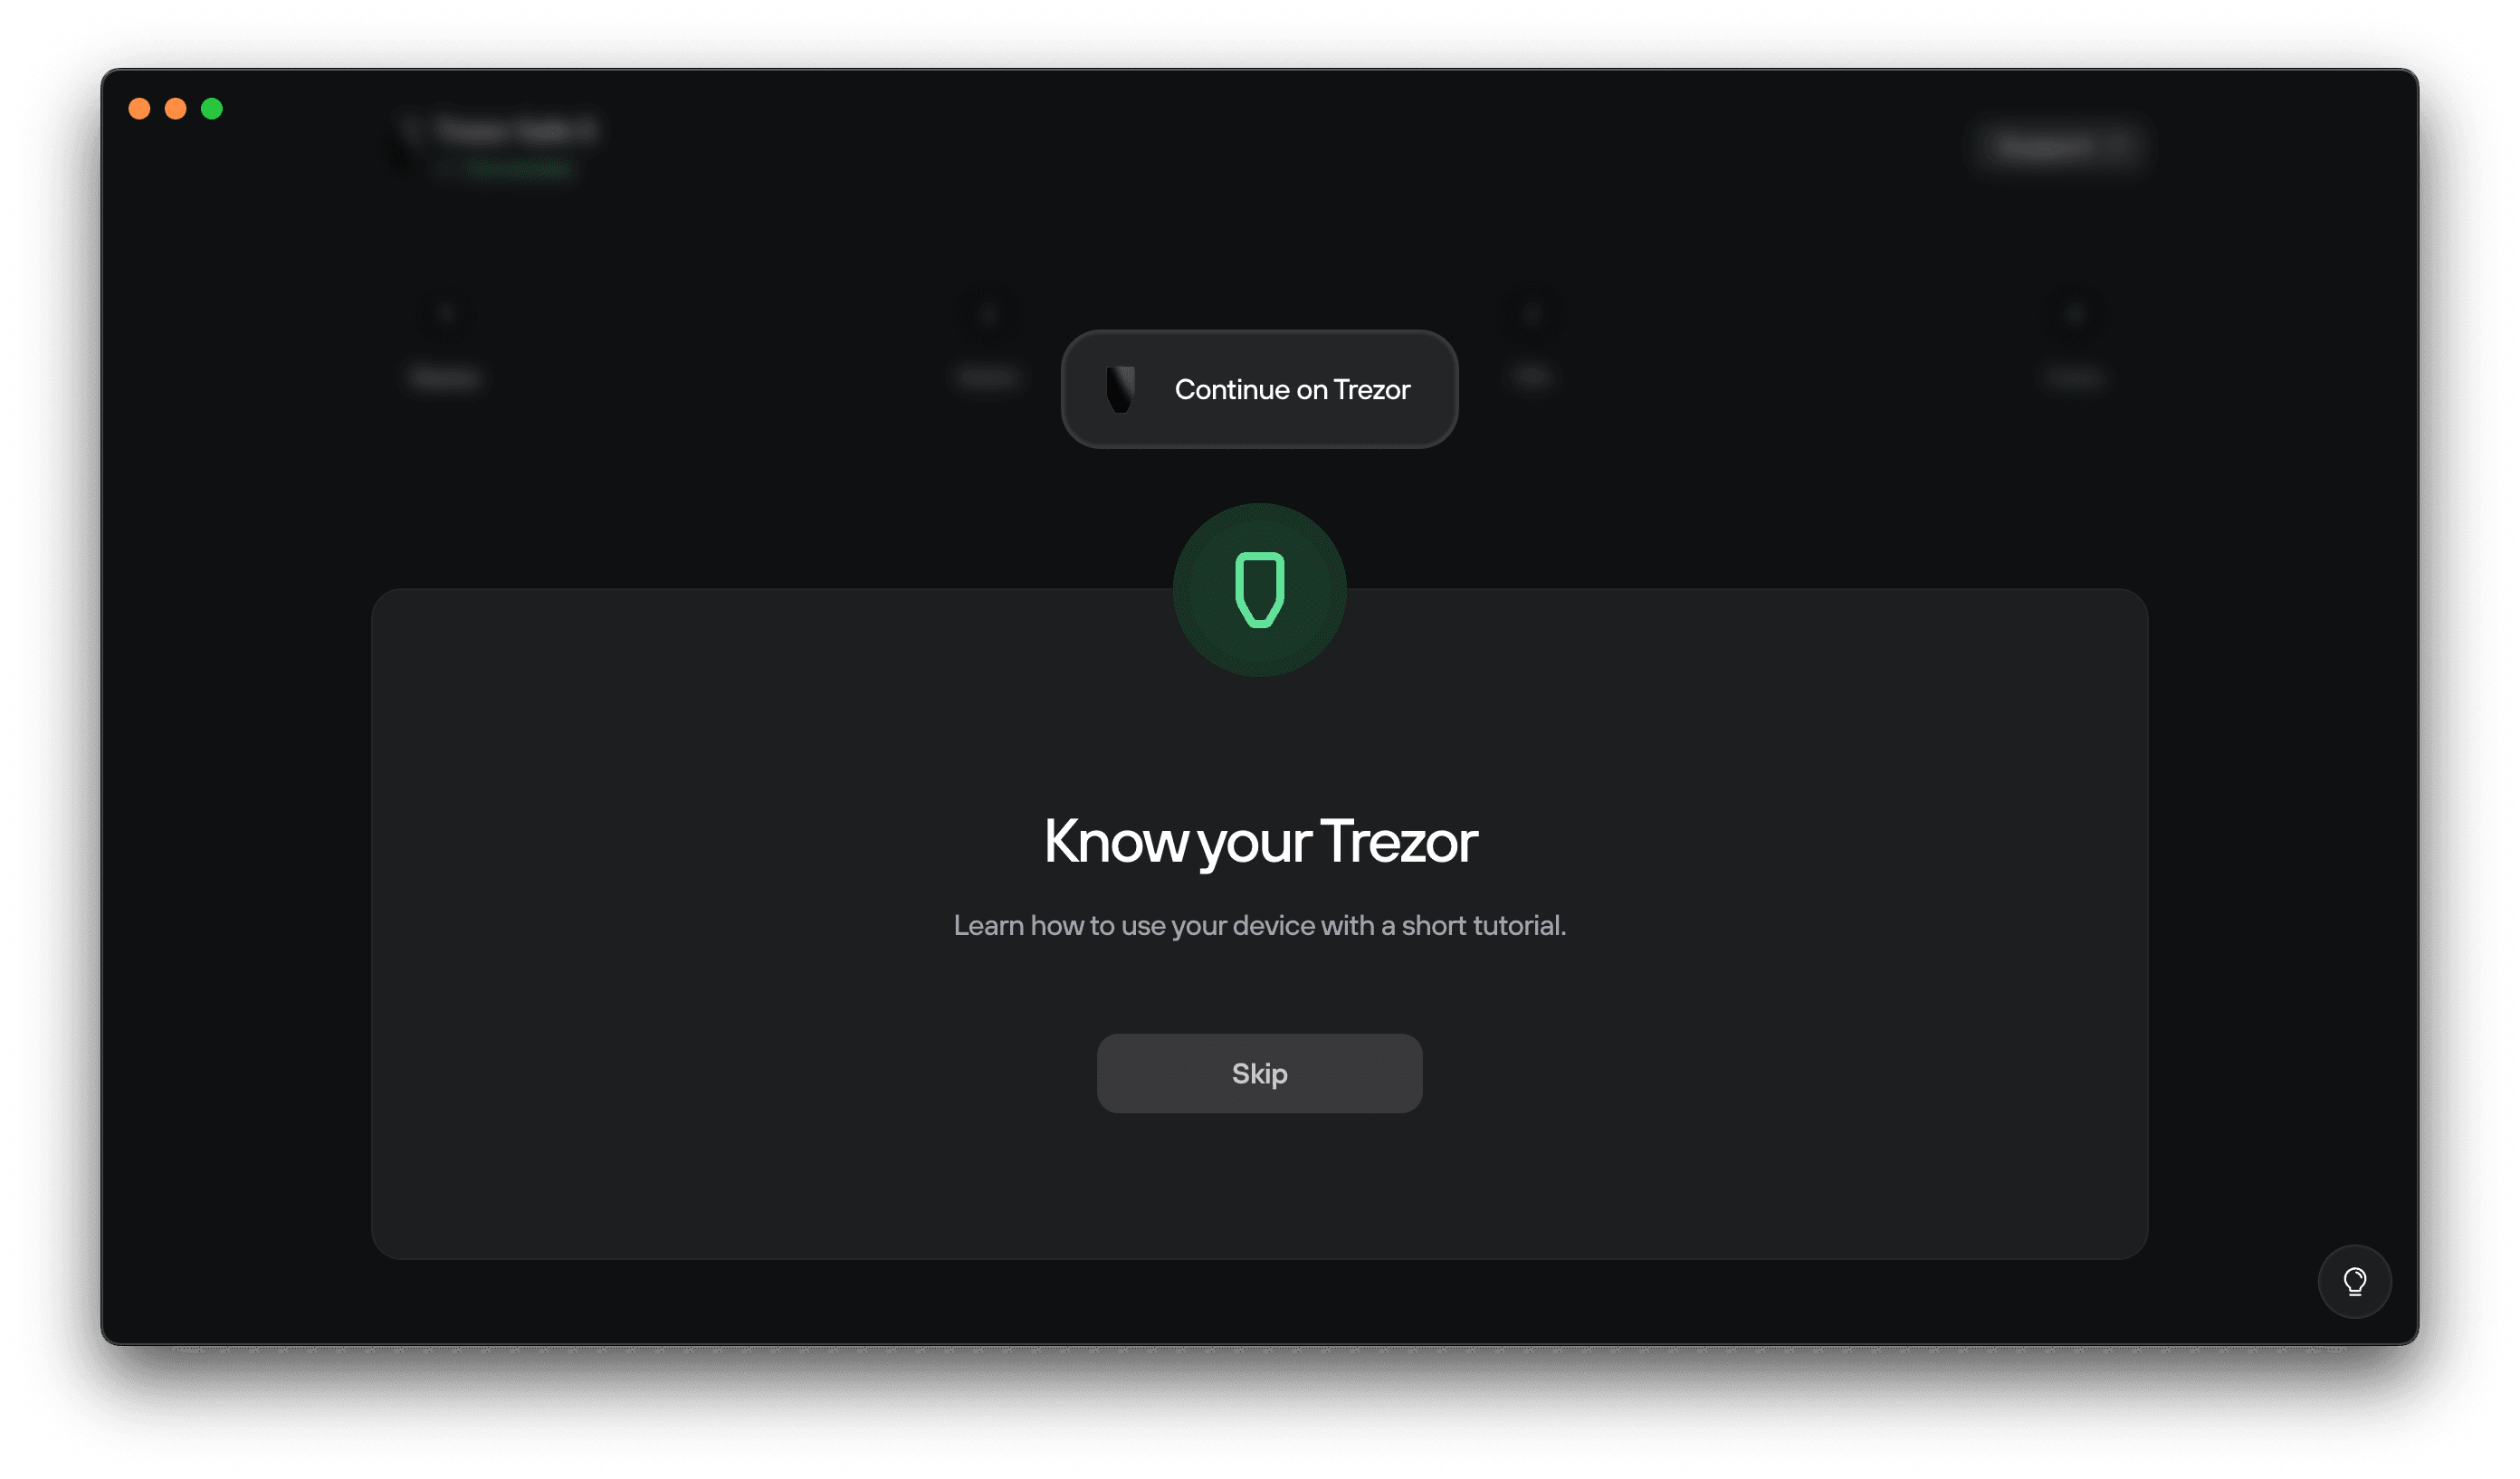
Follow the tutorial on your Trezor device, or click Skip. Once completed, click on Continue:
5. Create your wallet and make a backup
Trezor Suite now guides you through creating your wallet and your wallet backup.
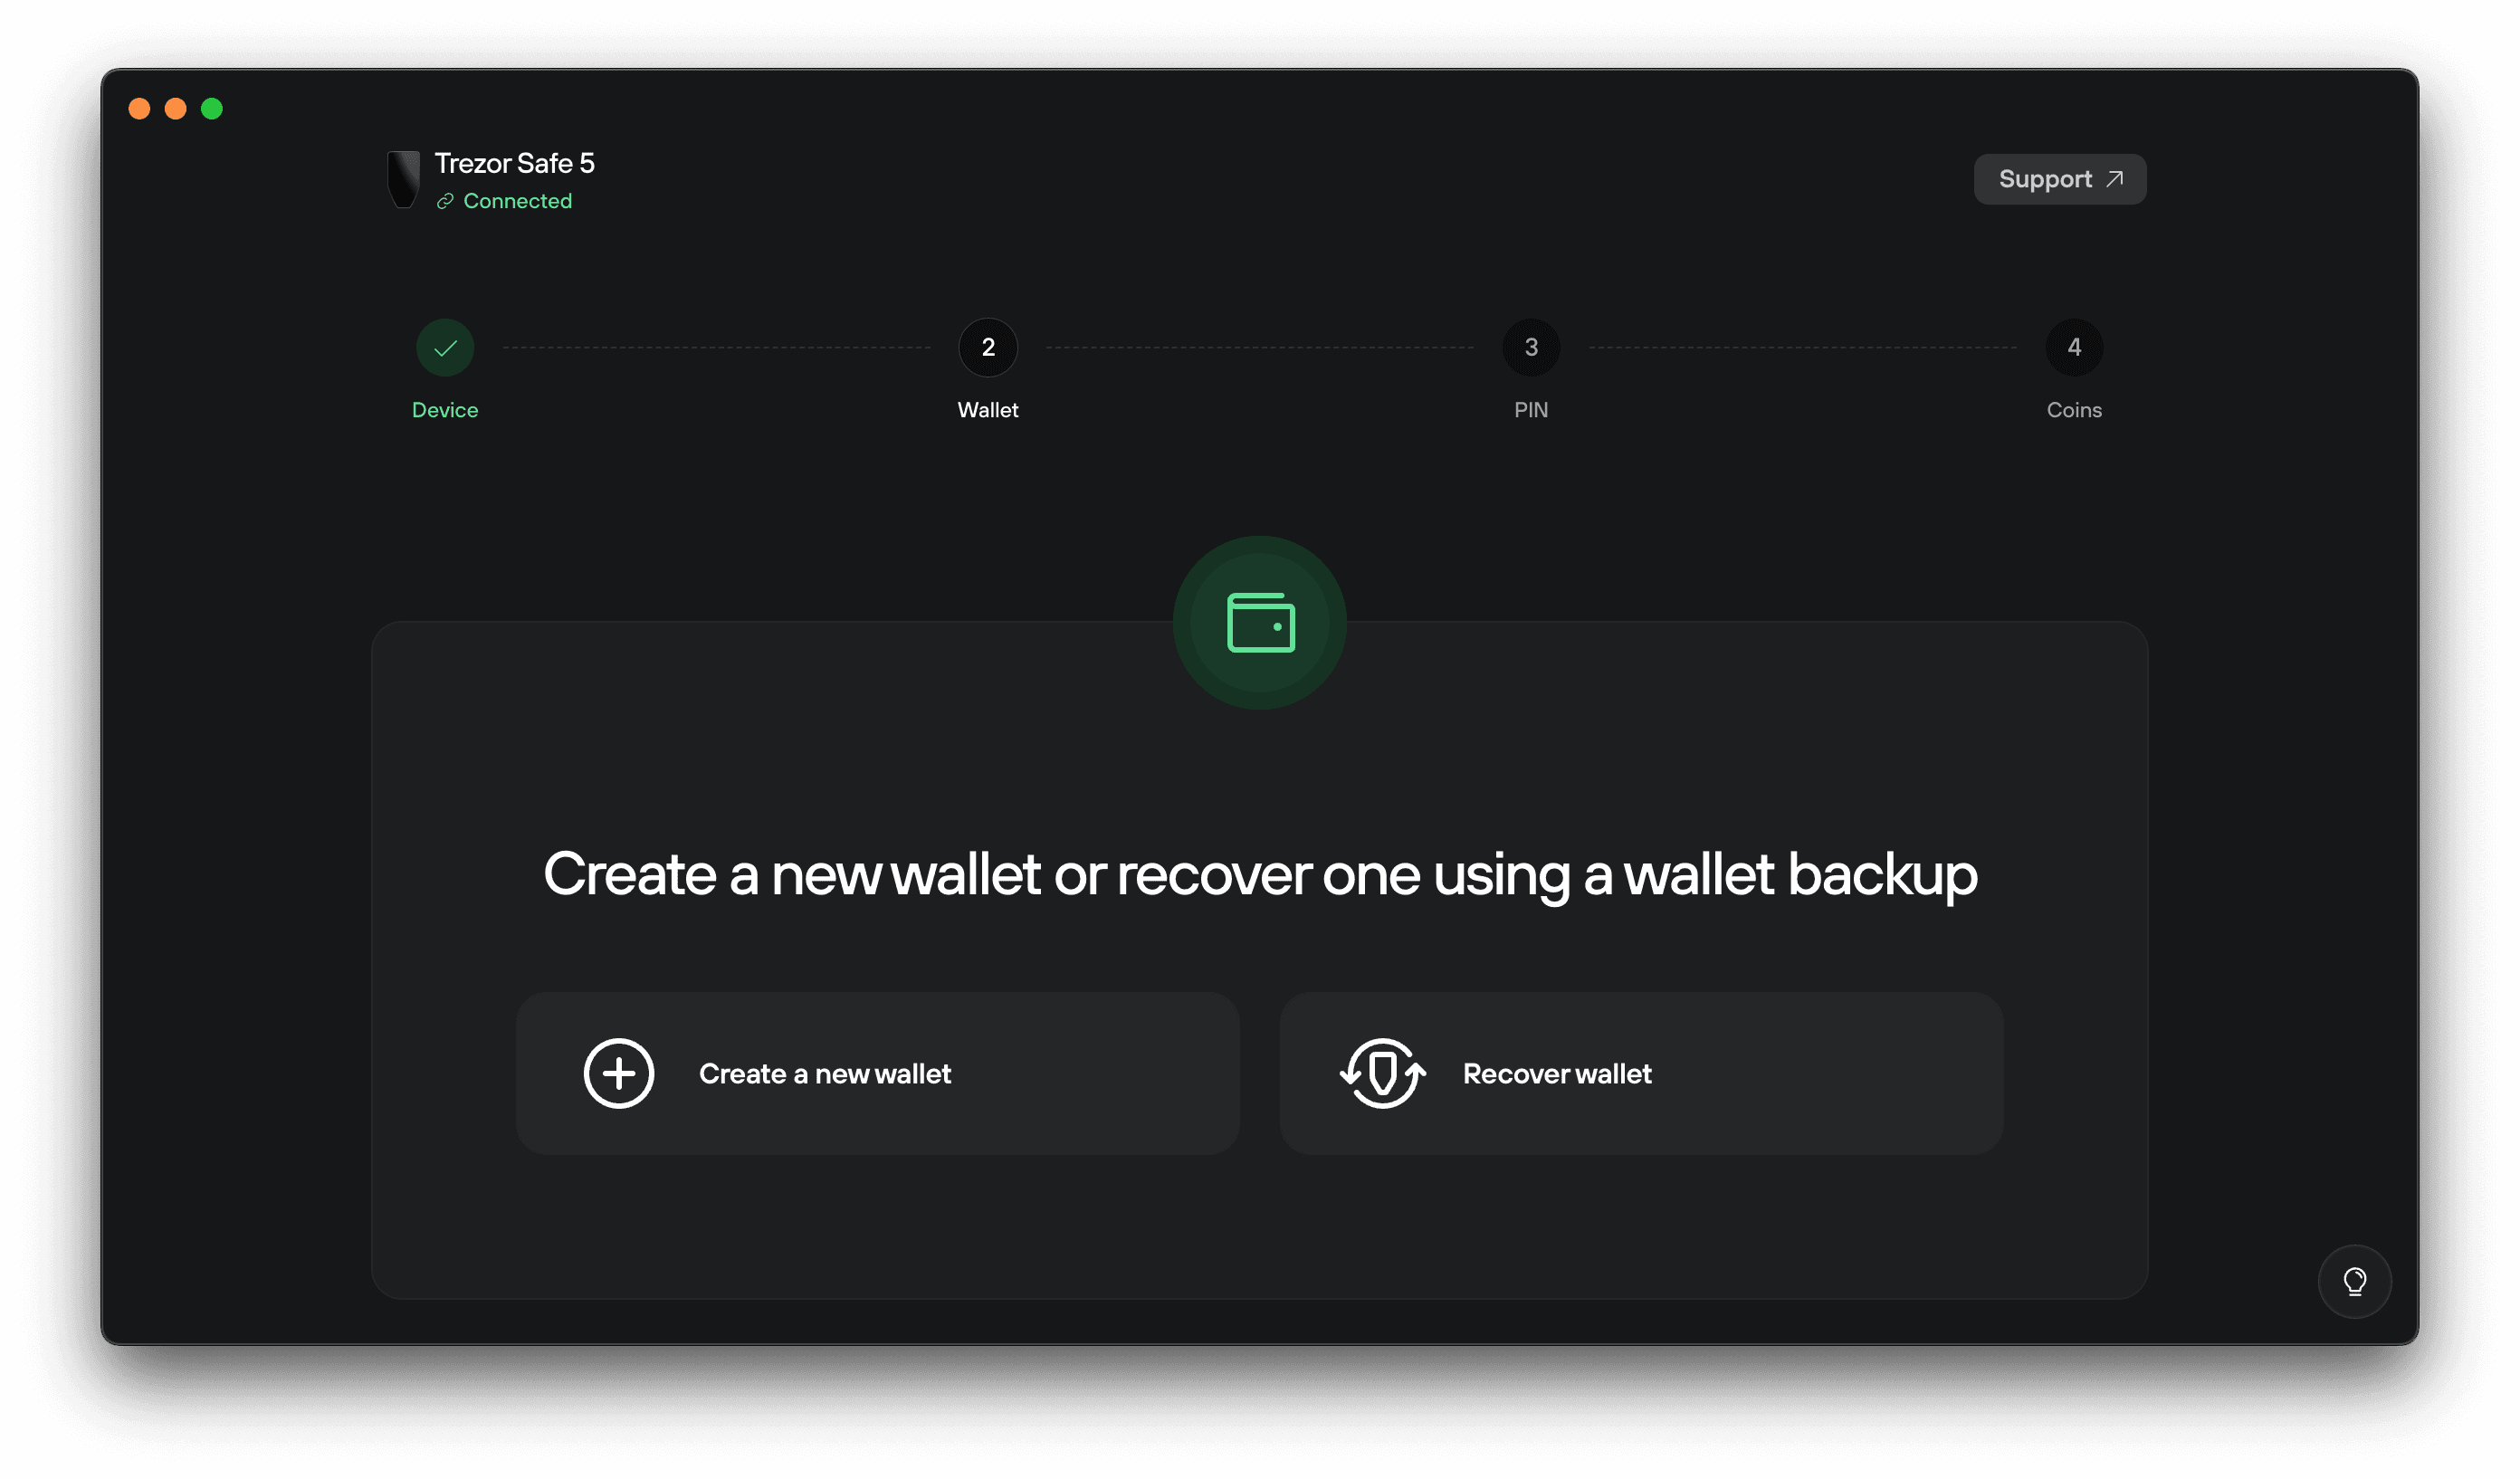
Click Create a new wallet if this is your first setup, or Recover if you’re restoring one from an existing backup.
After selecting Create a new wallet, you’ll see a screen where you can choose your wallet backup type.
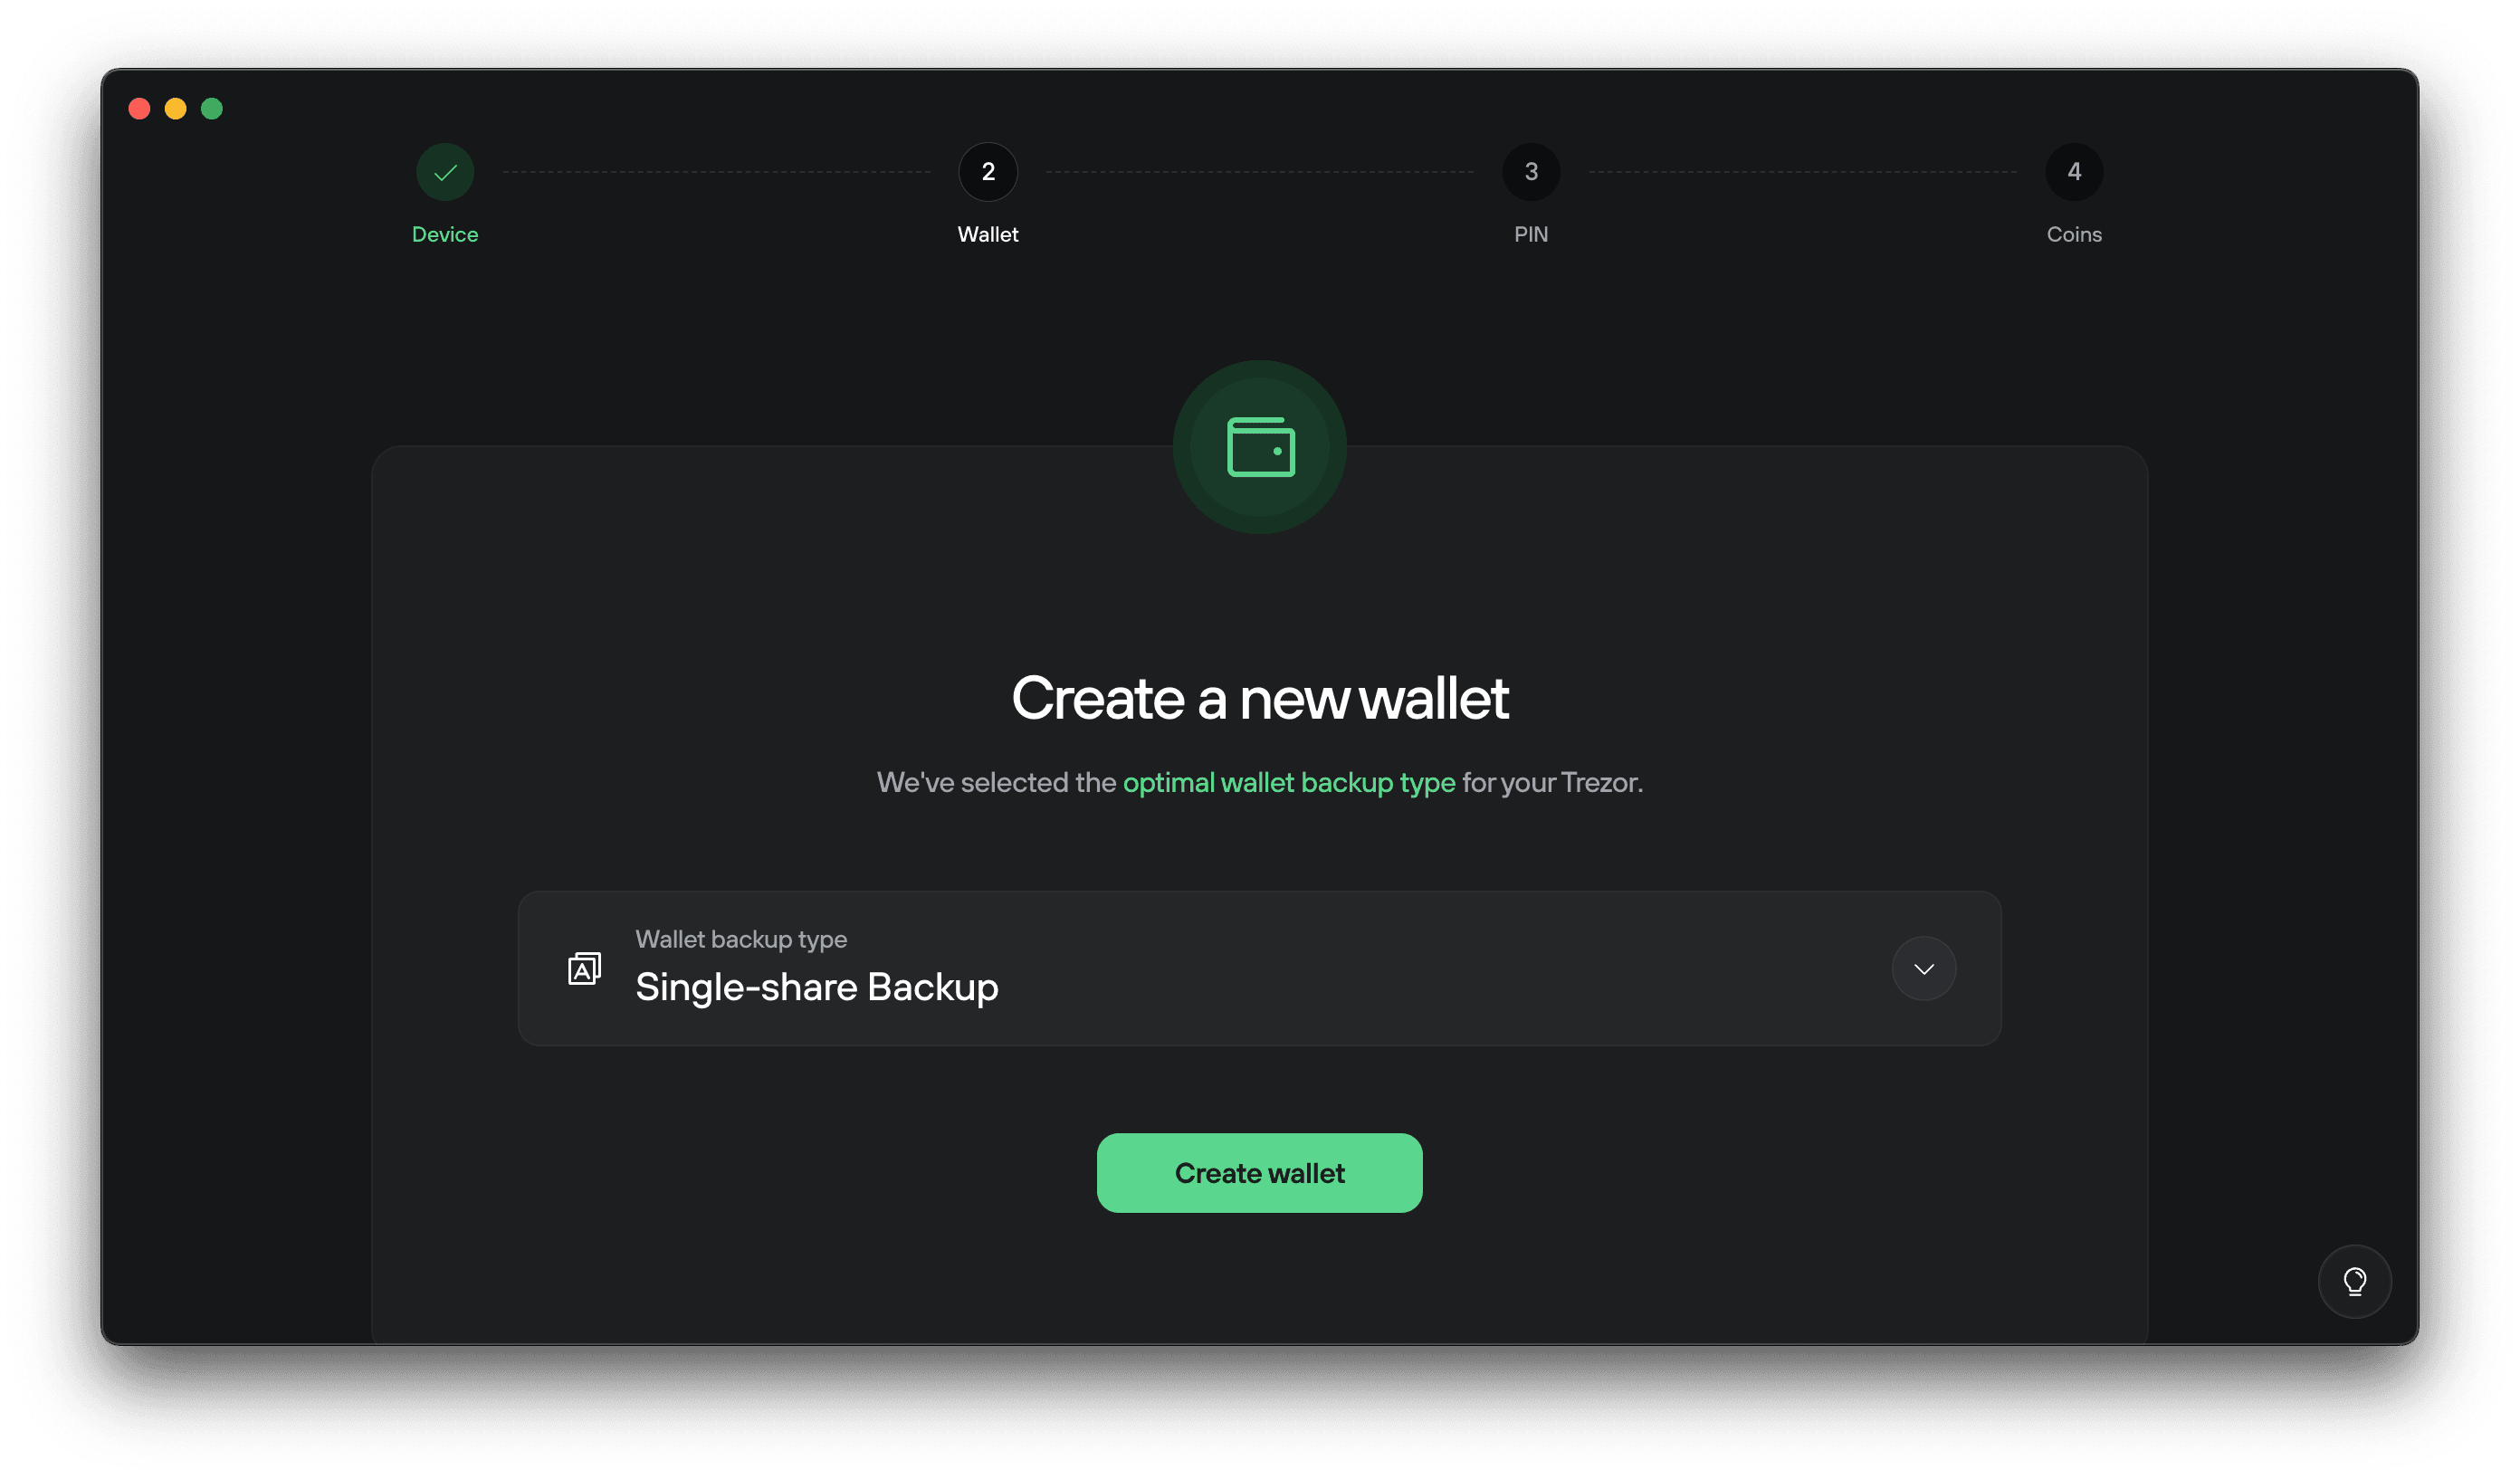
By default, Trezor Suite recommends the Single-share Backup, which uses 20 words.
For a detailed explanation of backup standards and number of words, see Understanding Trezor wallet backups
Click Create wallet. Your Trezor will ask you to agree to the Terms of Use. Press and hold to create your wallet.
Once your wallet is created, tap Continue.
Then on Trezor Suite, click Continue to wallet backup.
Trezor Suite will first show you backup instructions. Read them carefully and confirm you understand by checking the boxes.
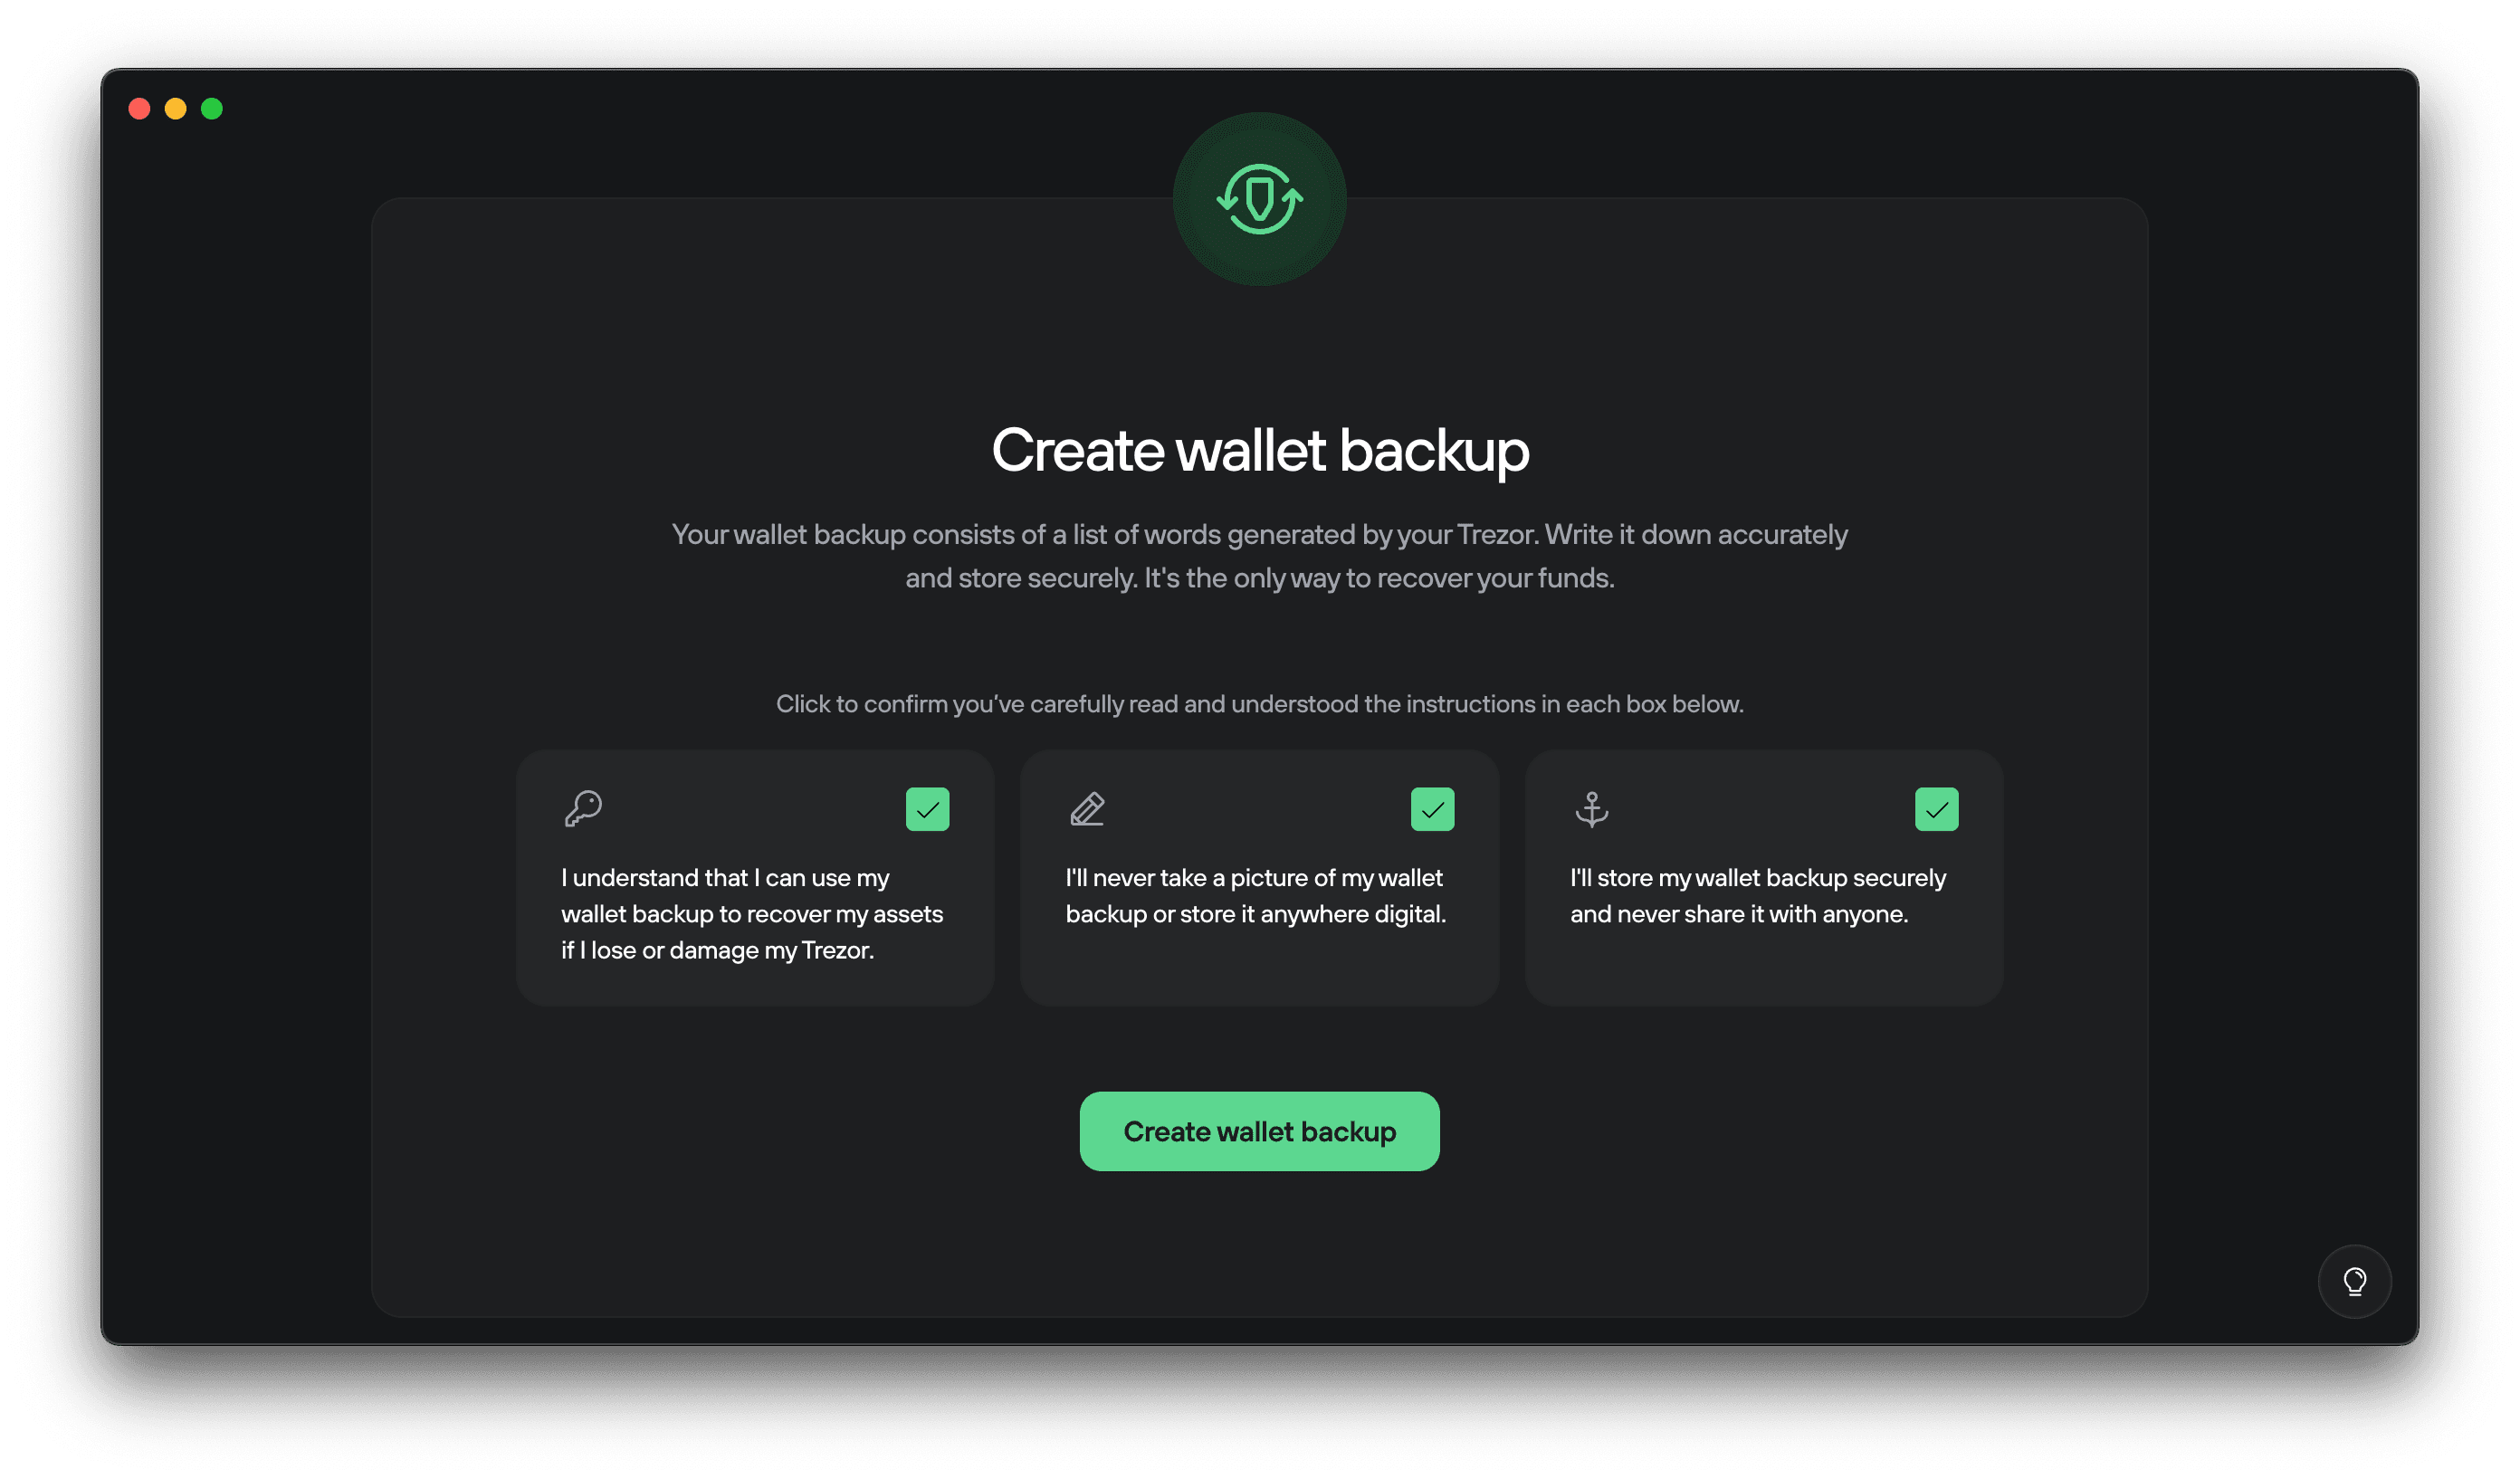
Once you have reviewed those messages, click Create wallet backup.
Your Trezor device will instruct you to write down the words and keep them private.
Write down your 20 words:
Your Trezor Safe 5 will display 20 words, one by one. These words form your wallet backup and are the key to restoring access to your wallet.
Your backup is the only way to recover your wallet. Write all 20 words in the exact order on one of the provided backup cards. If the words are lost or written incorrectly, your wallet cannot be recovered.
Navigate using the up and down arrows on the device. You can go backwards to review your words order and spelling. When you are finished, tap Continue.
Your Trezor will then ask you to select specific words from your backup to verify you've written them down correctly.
Never enter your backup anywhere other than directly on your Trezor device. Fake apps and websites may try to trick you into typing your words. If you do, your funds can be stolen. Keep your backup written on paper or metal and stored safely offline.
6. Set a PIN
After your wallet backup is created, Trezor Suite will ask you to set a PIN.
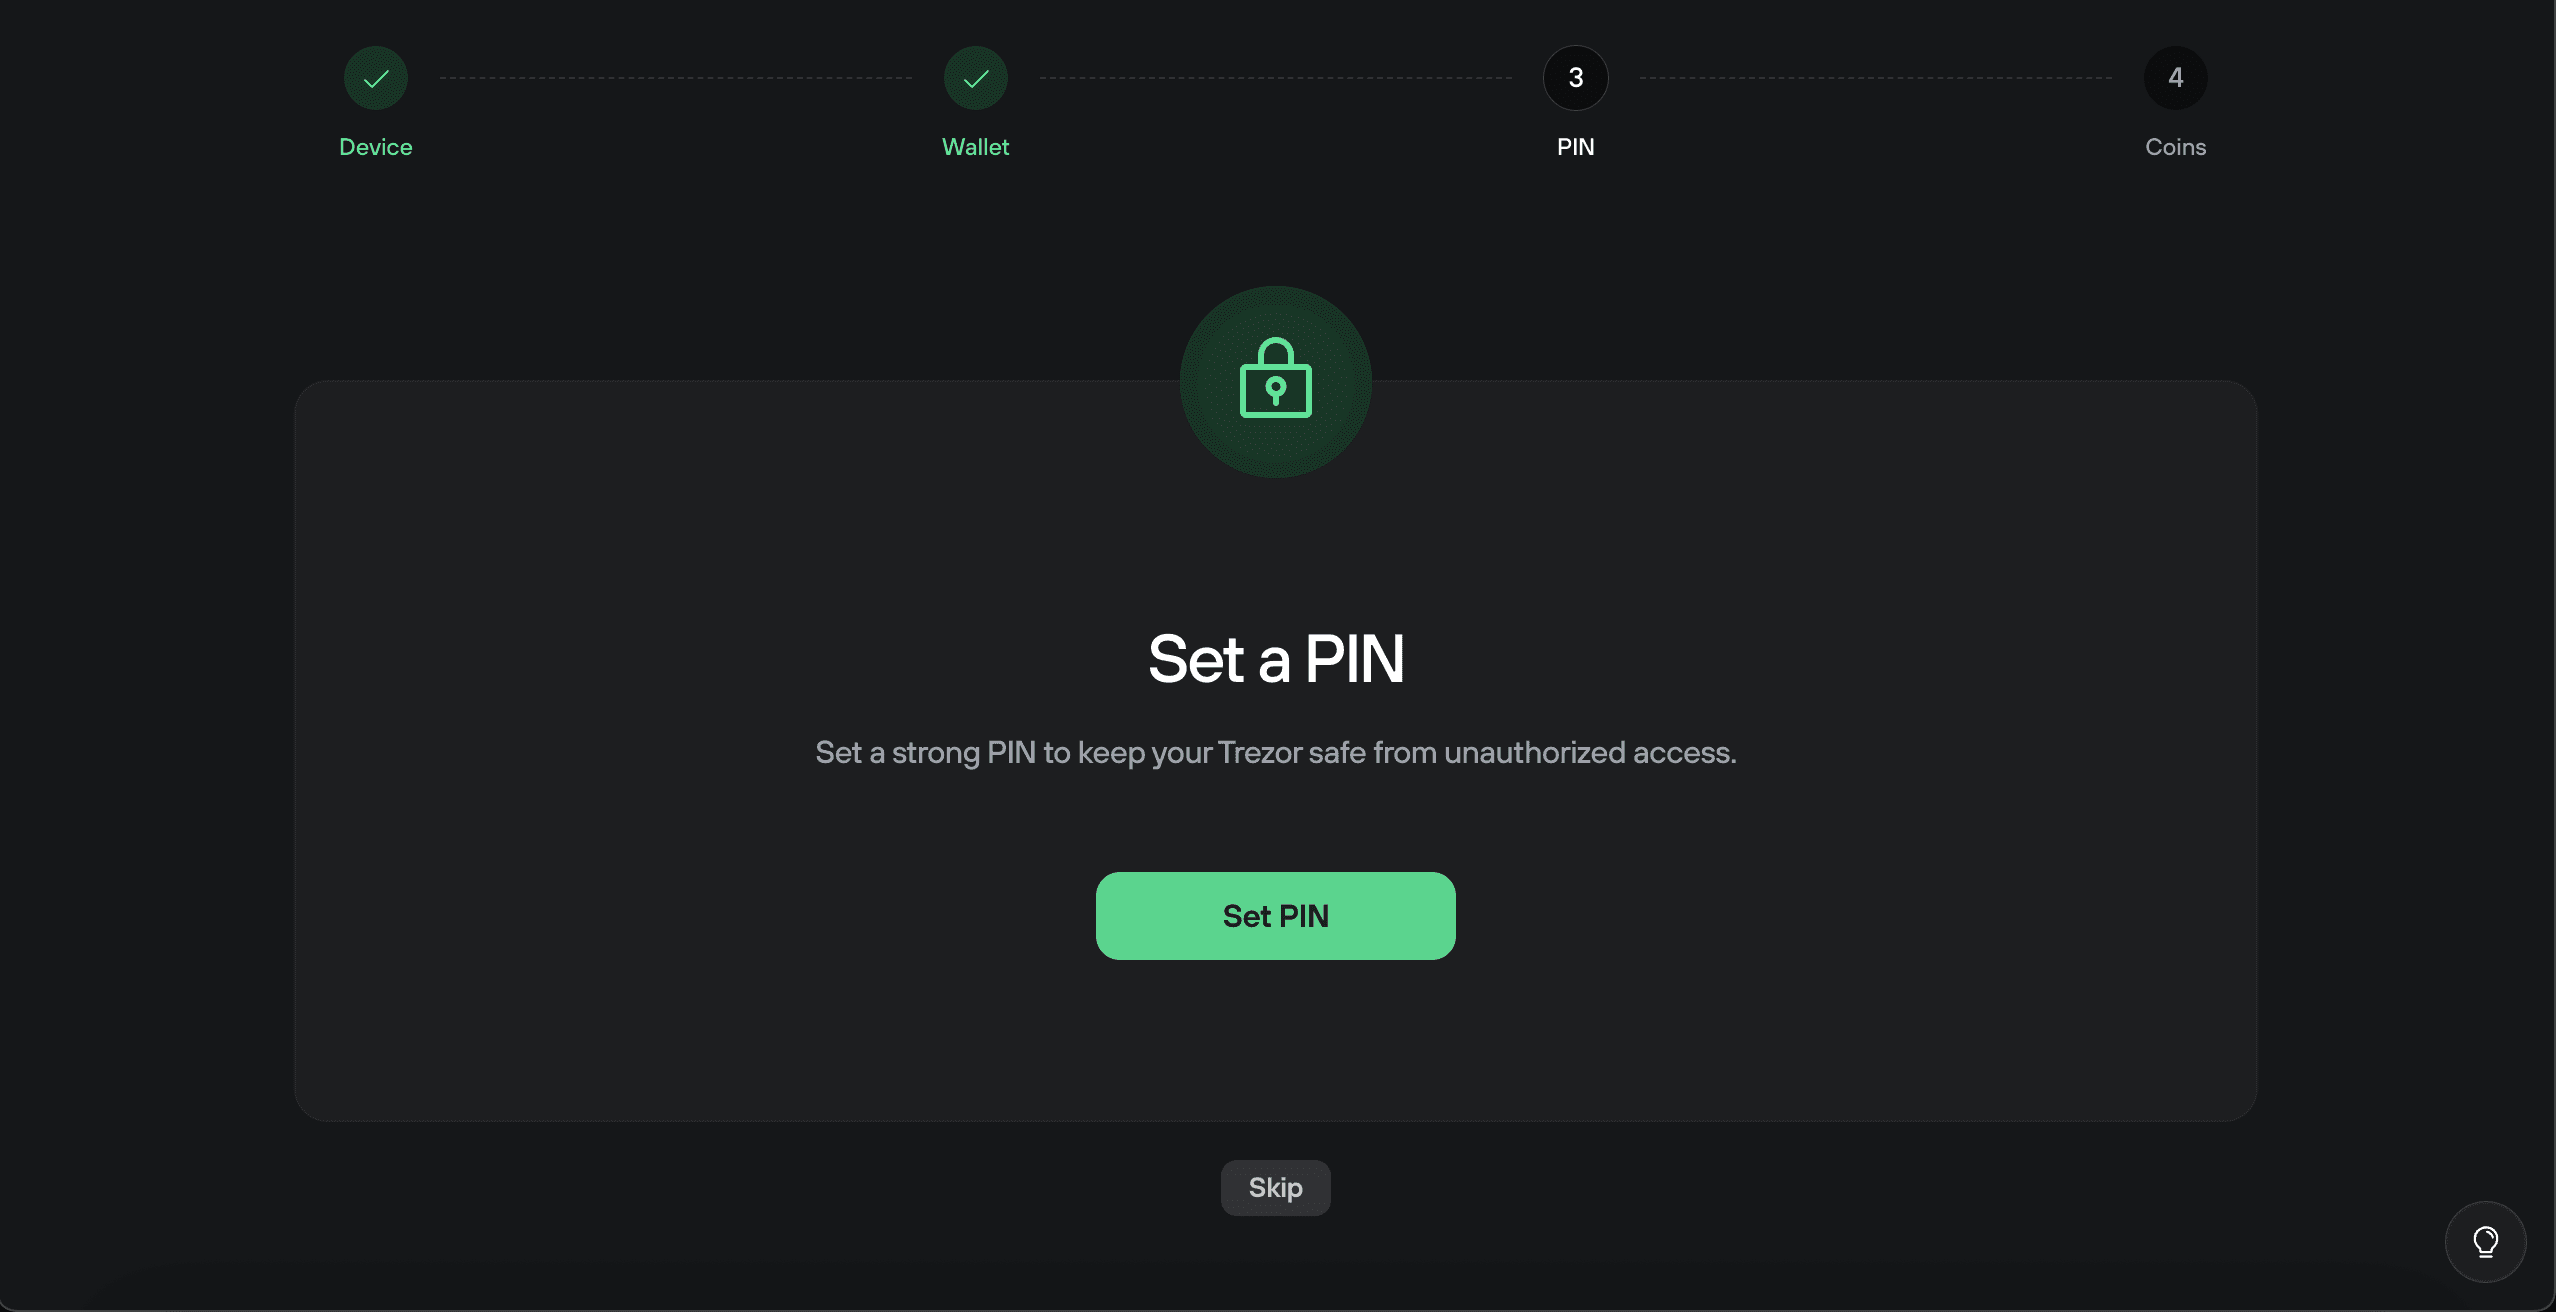
Your PIN protects your device from unauthorized access.
Click Set PIN and follow the on-screen instructions.
Your Trezor Safe 5 will prompt you to enter the PIN directly on the device’s touchscreen.
- Use a PIN of at least 4 digits. You can use up to 50 digits.
- Avoid simple sequences (for example, ‘12345’) and numbers that are personally meaningful (birthdays, etc.).
- You can change the PIN later in Settings → Device.
- The device allows 16 incorrect PIN attempts.
- After 16 incorrect PIN attempts, the wallet will be erased from the Trezor device. You can only restore your wallet with the wallet backup.
To learn more about creating and managing your PIN, see PIN protection on Trezor devices.
You can use the space provided on your wallet backup card if you want to write down your PIN. Always keep your wallet backup private and offline.
Curious about how PIN protection works technically? See Secure Elements on Trezor Safe devices.
7. Activate assets
The last step is to select which cryptocurrencies you want to manage in Trezor Suite.
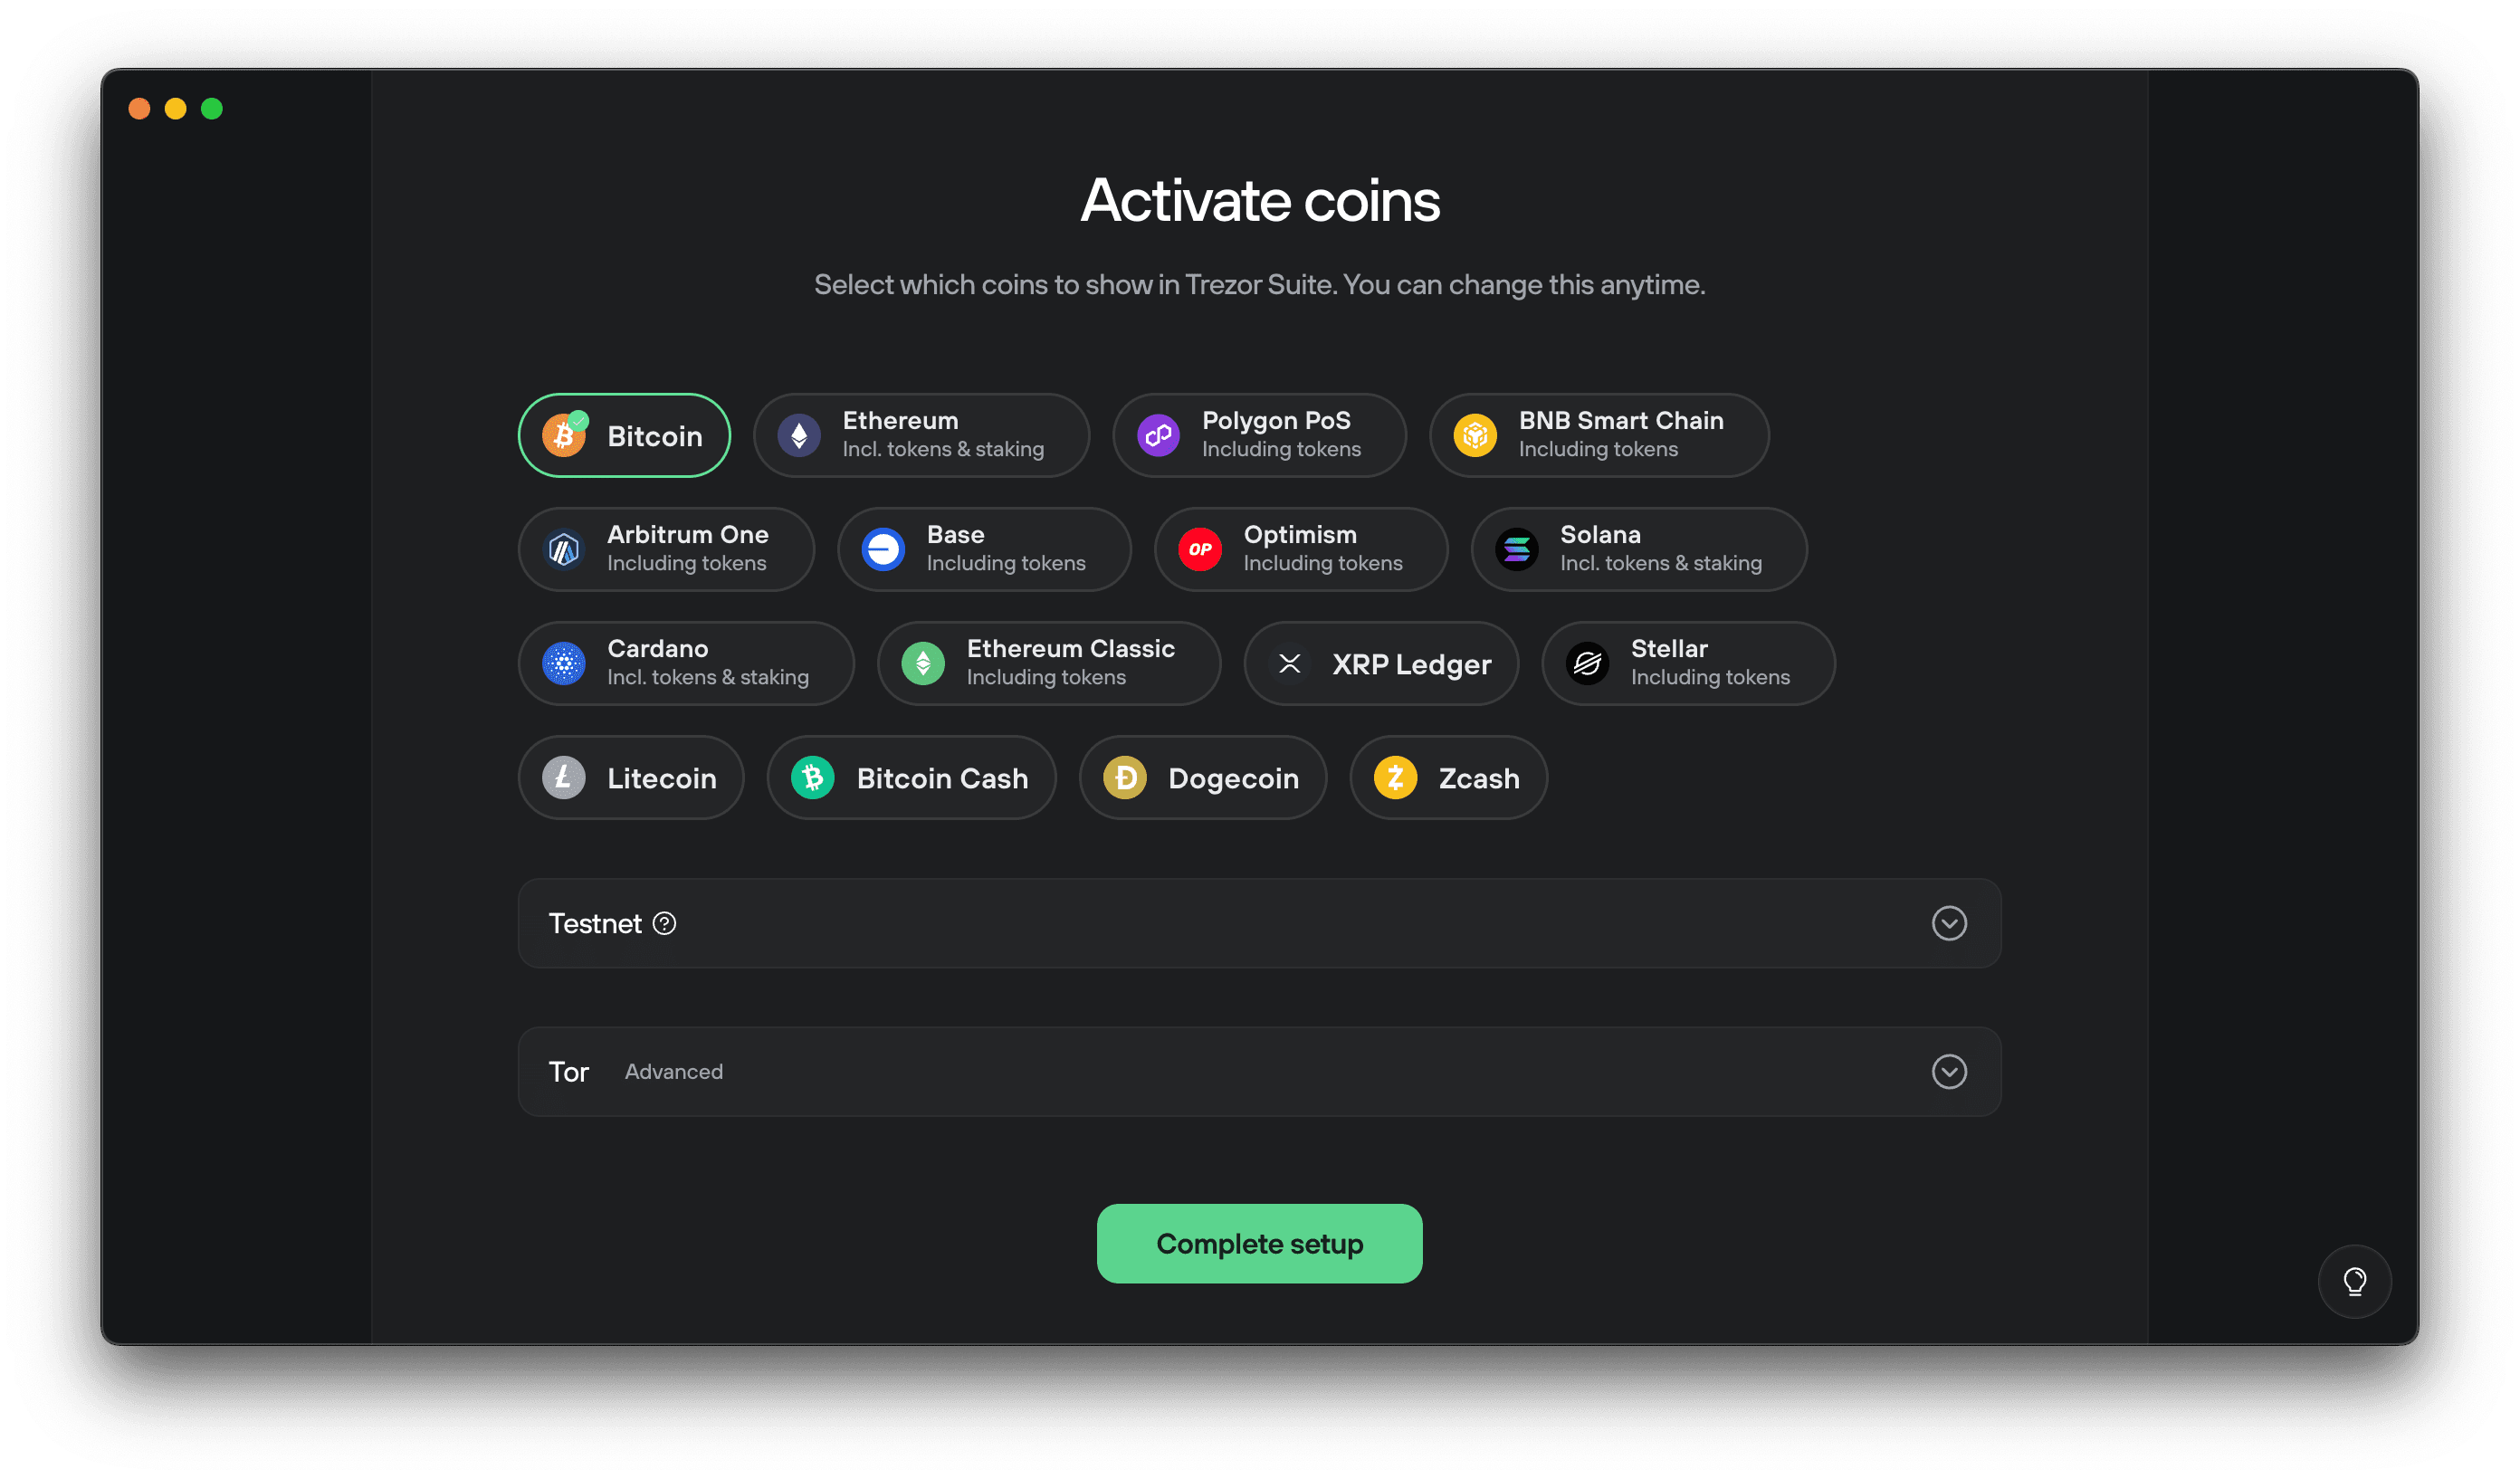
By default, only Bitcoin is enabled. Click to select any additional assets you’d like to use. For a full list of supported assets, visit trezor.io/coins
You can change these selections anytime later in Settings → Coins.
You don’t need to enable every coin now. You can always add or remove assets later without affecting your wallet or backup.
8. Setup complete
You’ve successfully set up your Trezor Safe 5.
You’re now ready to send, receive, and manage your crypto securely.
iPhone users: iOS does not support USB-C connections for Trezor devices. You'll need to use a computer with Trezor Suite Desktop to set up your device. Please refer to the Desktop tab above.
1. Install and run Trezor Suite
Search for Trezor Suite in your app store, download and open the app. When prompted, you can choose whether to share anonymous diagnostics. This is optional and helps improve app performance. It does not affect your wallet or privacy.
Next, you'll be asked to enable biometrics to prevent unauthorized access to the app. You can tap Enable now, or choose Not now. This setting can be turned on later in Settings → Security.
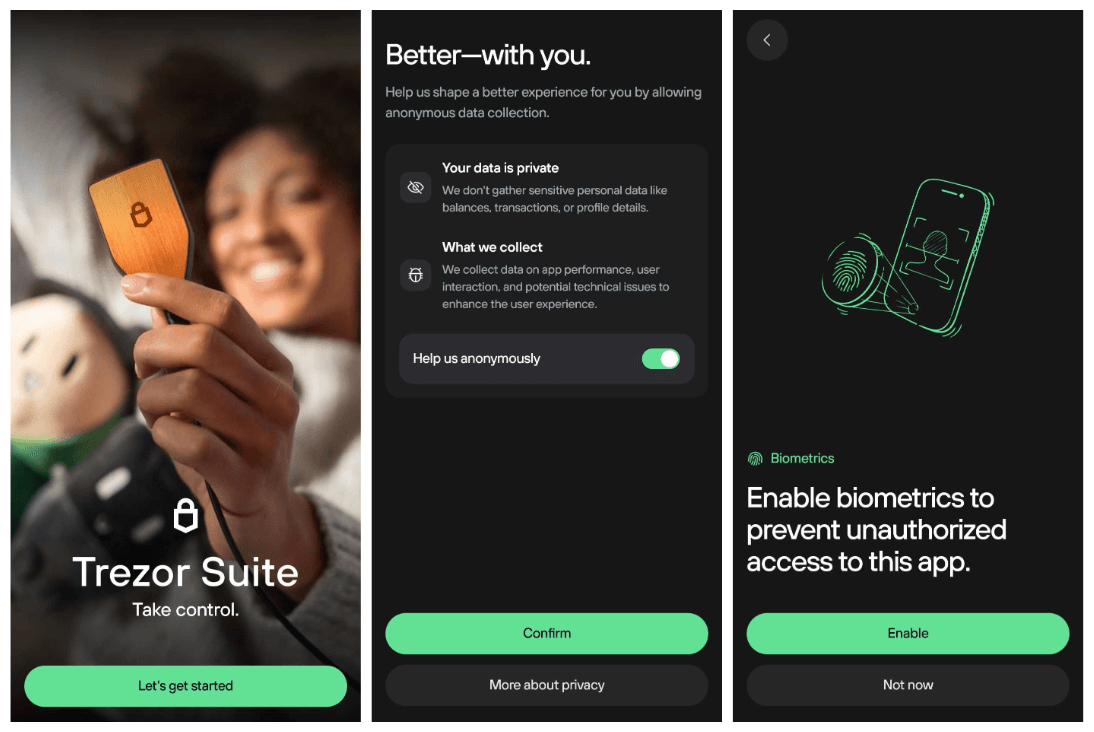
2. Plug in and verify your Trezor
Plug in your Trezor Safe 5 using the USB-C cable.
You'll see "Your Trezor is ready for setup."
Tap Let's get started.
Trezor Suite will guide you through a security check to confirm your device is safe to use.
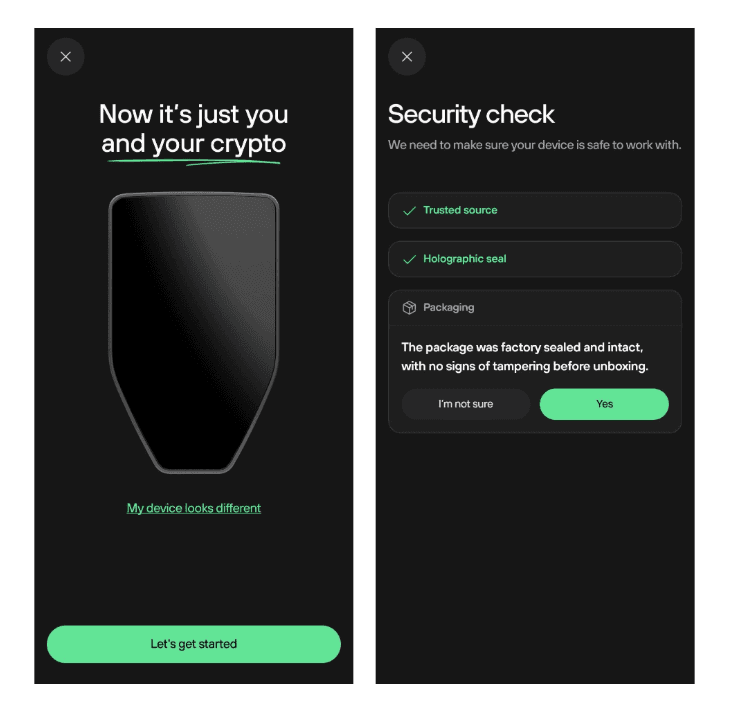
You’ll be asked to verify that:
- You purchased your Trezor from a trusted source
- The holographic seal was intact
- The package was factory sealed and untampered
Tap Yes to confirm and continue.
If anything looks unusual, see Authenticate your Trezor Safe 5 for guidance on verifying your device.
3. Install firmware
Your Trezor ships without for security.
Trezor Suite will guide you through installing the latest version.
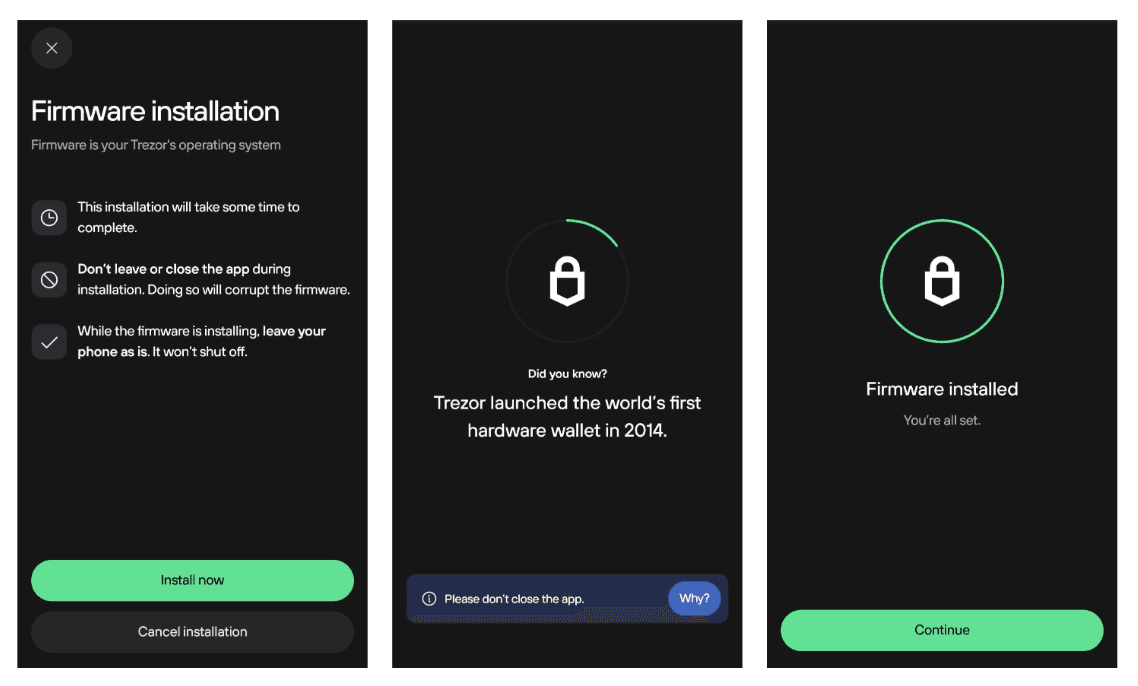
Tap Install now to begin the installation.
Your Trezor Safe 5 will restart automatically when done.
Then, press Continue.
4. Authenticate your device and learn the basics
After installing the firmware, Trezor Suite will perform a Secure Element authenticity check.
This cryptographic check confirms your Trezor Safe 5 was genuinely made by Trezor and hasn't been altered.
Follow the steps on the Trezor device to complete the check.
After the authenticity check, your device will offer a short tutorial "Know your Trezor."
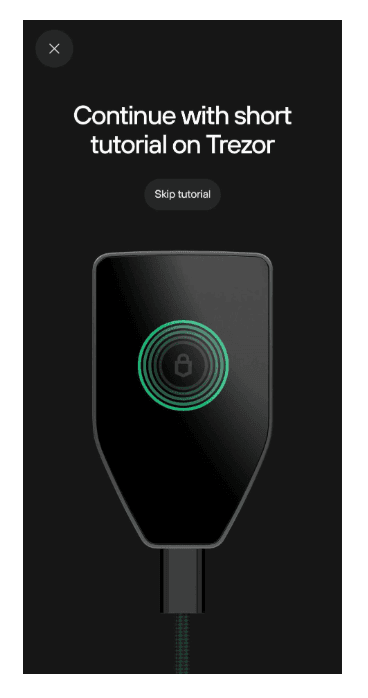
Follow the tutorial on your Trezor device, or tap Skip tutorial. Once completed, tab Continue.
5. Create your wallet and backup
Trezor Suite now guides you through creating your wallet and your wallet backup.
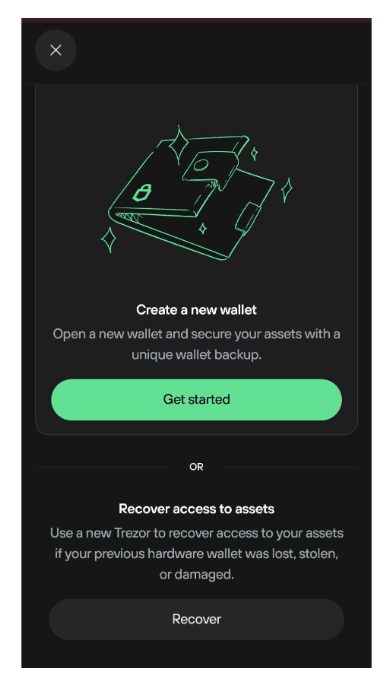
Tap Get started to create a new wallet, or Recover if you’re restoring one from an existing backup.
After you tap Get started, you’ll see a brief set of screens explaining what a wallet backup is and why it matters.
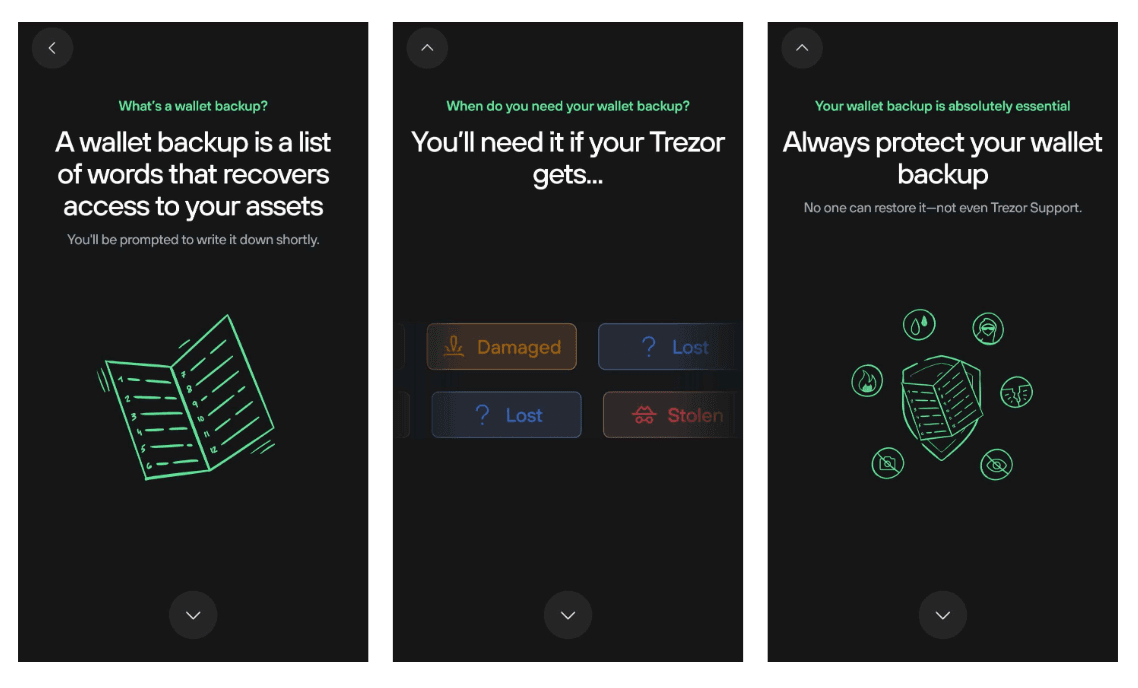
Then you’ll reach Wallet backup type.
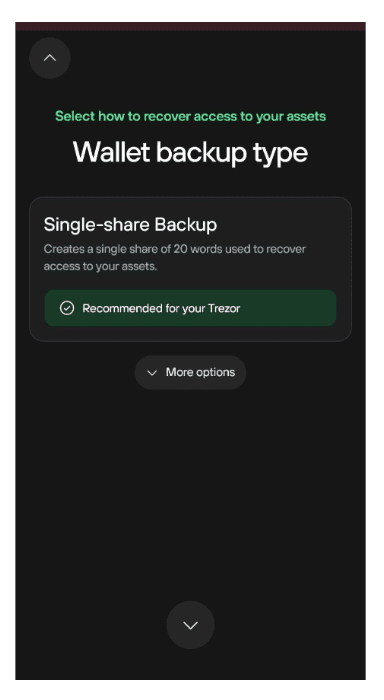
By default, Trezor Suite recommends the Single-share Backup, which uses 20 words.
For a detailed explanation of backup standards and number of words, see Understanding Trezor wallet backups.
Tap Create wallet.
Trezor Suite will show you instructions on how to write your wallet backup. Read them carefully, then hold to continue.
The app will then prompt you to Continue on your Trezor.
Your Trezor will ask you to agree to the Terms of Use. Press and hold to create your wallet.
Once your wallet is created, tap Continue.
Then on Trezor Suite, tap Continue to wallet backup.
Your Trezor device will instruct you to write down the words and keep them private.
Write down your 20 words:
Your Trezor Safe 5 will display 20 words, one by one. These words form your wallet backup and are the key to restoring access to your wallet.
Your backup is the only way to recover your wallet. Write all 20 words in the exact order on one of the provided backup cards. If the words are lost or written incorrectly, your wallet cannot be recovered.
Navigate using the up and down arrows on the device. You can go backwards to review your words order and spelling. When you are finished, tap Continue.
Your Trezor will then ask you to select specific words from your backup to verify you've written them down correctly.
Never enter your backup anywhere other than directly on your Trezor device. Fake apps and websites may try to trick you into typing your words. If you do, your funds can be stolen. Keep your backup written on paper or metal and stored safely offline.
6. Set a PIN
After your wallet backup is created, Trezor Suite will ask you to set a PIN.
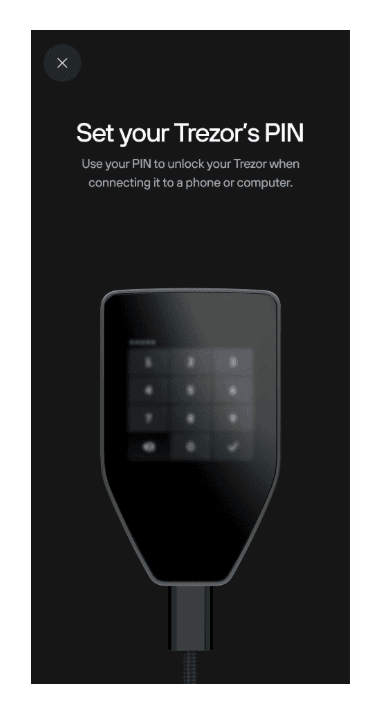
Your PIN protects your device from unauthorized access.
Tap Set PIN and follow the on-screen instructions.
Your Trezor Safe 5 will prompt you to enter the PIN directly on the device’s touchscreen.
- Use a PIN of at least 4 digits. You can use up to 50 digits.
- Avoid simple sequences (for example, ‘12345’) and numbers that are personally meaningful (birthdays, etc.).
- You can change the PIN later in Settings → Device.
- The device allows 16 incorrect PIN attempts.
- After 16 incorrect PIN attempts, the wallet will be erased from the Trezor device. You can only restore your wallet with the wallet backup.
To learn more about creating and managing your PIN, see PIN protection on Trezor devices.
You can use the space provided on your wallet backup card if you want to write down your PIN. Always keep your wallet backup private and offline.
Curious about how PIN protection works technically? See Secure Elements in Trezor Safe devices.
7. Activate assets
Next, choose which coins you want to use with your Trezor.
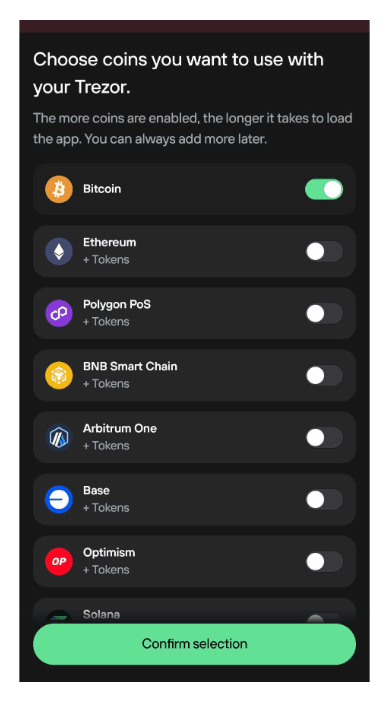
Select at least one coin and tap Confirm selection to continue.
You can enable more coins and tokens at any time later in Settings → Coins.
You don’t need to enable every coin now. You can always add or remove assets later without affecting your wallet or backup.
8. Setup complete
You’ve successfully set up your Trezor Safe 5.
You’re now ready to send, receive, and manage your crypto securely.
Next steps after setup
- Verify your wallet backup using the recovery check feature in Trezor Suite. This lets you enter your backup words on the device to verify that they are correct. This ensures you recorded your backup accurately. For detailed steps, visit Check backup on Trezor Safe 5.
- Receive crypto into your wallet
- Buy crypto directly in Trezor Suite