All articles
Installing Trezor Suite on Windows
This guide walks you through installing the Trezor Suite desktop application on Windows.
Minimum Requirements
- Windows 10 (64-bit) or newer
Download and Install Trezor Suite
-
Go to https://trezor.io/trezor-suite and download the installation file.
-
If your browser shows a warning like “Trezor Suite.exe was blocked because it could harm your device,” this is a false positive related to recent changes in our Windows certificate. To proceed:
- Click the three-dot menu next to the blocked file in the Downloads bar.
- Select Keep.
- Confirm by clicking Keep anyway in the warning prompt.
- Once downloaded, double-click the installer to run it.
- Trezor Suite is safe to use as long as it was downloaded directly from our website or GitHub repository. You can also verify the file's digital signature by following the steps in our guide Download & verify Trezor Suite.
Note: The same file works for Windows 10 and Windows 11.
- Open the downloaded file.
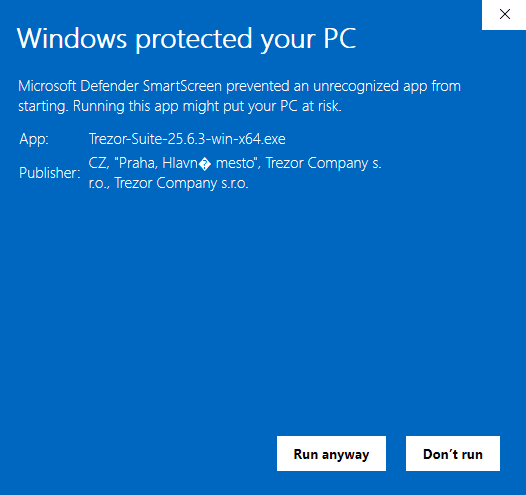
- Microsoft Defender may flag Trezor Suite as an unrecognized application, and ask you to confirm the download is correct.
- Double check that the publisher of the version of Trezor Suite being installed is Trezor Company s.r.o.
- In order to continue the installation process if you see this popup from Microsoft Defender, click Run anyway.
- Note that the lower-case i with an acute accent character (“í”) in Trezor’s location (“CZ, ‘Praha, Hlavní mesto’”) may not properly display on all Windows machines, including the one used for the below example.
- Click Install to begin the installation.
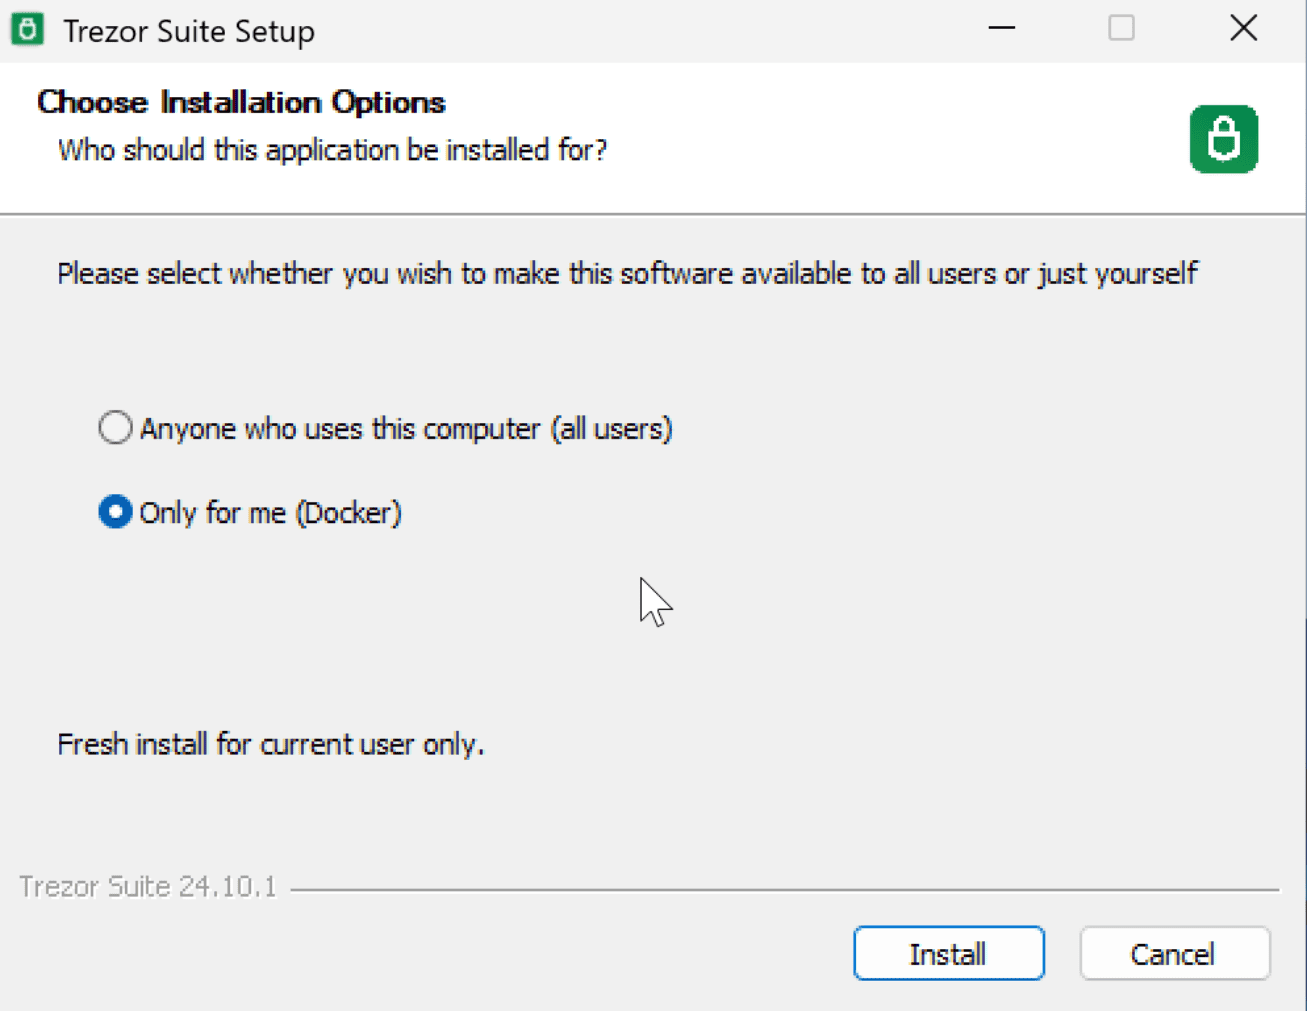
- Once the installation is complete, click Finish.

You're All Set
Trezor Suite will launch automatically. You can now connect your Trezor hardware wallet and start managing your bitcoin and crypto assets.
Tags: