URI handlers for bitcoin payments
A URI (Uniform Resource Identifier) for Bitcoin can be used to facilitate payments using Trezor Suite. Introduced as part of BIP-20 (now replaced by BIP-21), the URI scheme makes it easier for users to make Bitcoin payments either by clicking a link on a webpage or scanning a QR code. This functionality has also been extended to Bitcoin-like altcoins.
URI format
Bitcoin URIs follow a general format:
bitcoin:<address>[?amount=<amount>][?label=<label>][?message=<message>]
Currently label and message are not supported in Trezor Suite
bitcoin:<address> must be specified, but the other fields in brackets are optional.
An example of a Bitcoin URI specifying just the (receiving) address is:
bitcoin
Payment amount may also be specified after the address, for example to request 2 BTC:
bitcoin?amount=2
For bitcoin-like altcoins, the URI follows the same generic format. For example, the URI for a Dogecoin payment request of 3 DOGE would look like this:
dogecoin?amount=3
Custom altcoin URI handlers are compatible with the desktop version of Trezor Suite only, whereas bitcoin URI handlers are compatible with both the web and desktop application.
To use the Trezor Suite web application as a URI handler, ensure that your browser is enabled so that sites can ask to handle protocols. In Chrome, you can find this in the "Protocol handlers" menu.
Using URIs to make payments in Trezor Suite
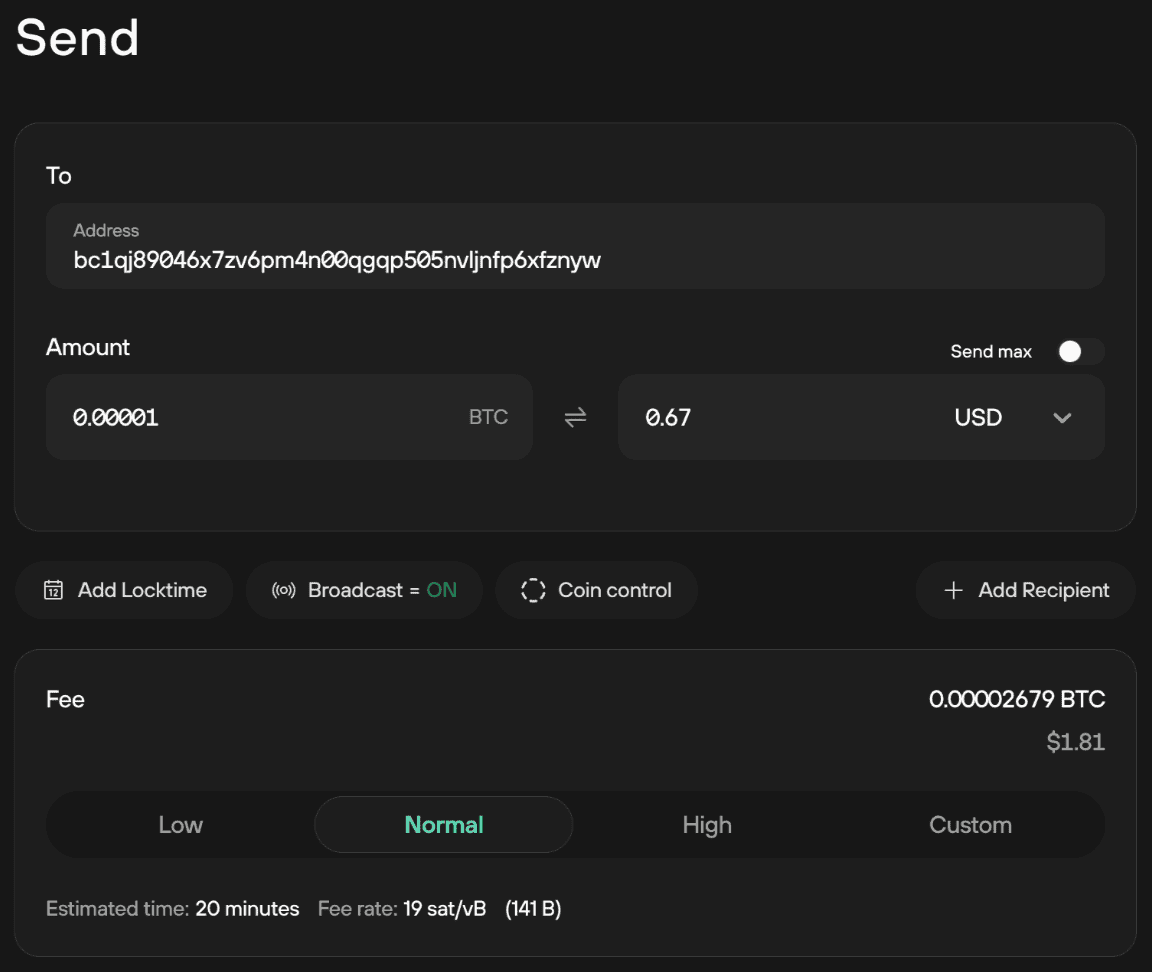
Clicking on a URI will auto-complete the Send transaction fields using the details specified in the URI.
For example, if the URI is specified as:
bitcoin?amount=0.00001
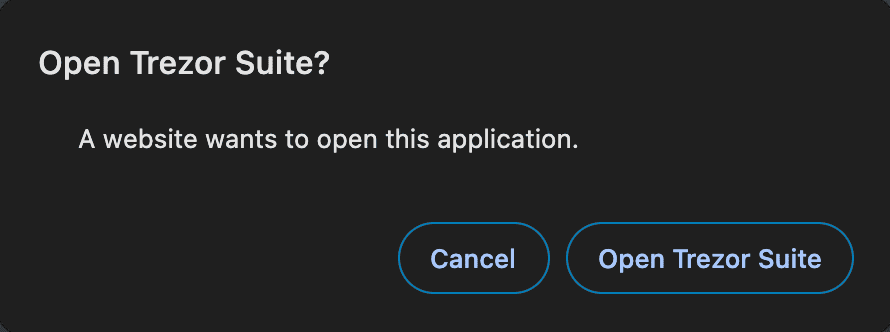
After clicking on the corresponding link in your browser, you will be asked to choose an application to open the link (you can also update your system preferences so that Trezor Suite is always used as the bitcoin / bitcoin-like altcoin URI handler):

Trezor Suite will then ask you to navigate to a suitable account from which you can send the requested funds:

Once you’ve selected the desired account, go to the Send tab, and the pop-up in Trezor Suite will then give you the option to ✅ Autofill send form:
