Get started with the Model T
Trezor now refers to a wallet backup instead of a recovery seed. To learn more about this change, check out our blog post: Wallet Backups Explained.
Since your Trezor Model T was shipped with backup cards labeled Recovery Seed, we’ll use that term in this guide to avoid confusion.
This article walks you through setting up your Trezor Model T hardware wallet with Trezor Suite.
For the easiest setup experience, you can book a Trezor Expert session and get step-by-step guidance.
What You'll Need
- Trezor Model T + USB cable
- Recovery Seed Cards + pen
- About 15 minutes
Setting Up Your Trezor Model T
- Open Trezor Suite and connect your device.
- You’ll be asked if you want to opt in or out of anonymous data collection (this is optional but helps with performance improvements and bug fixes).
Before proceeding, make sure:
- The packaging is intact.
- The holographic seal has not been tampered with.
If there are any signs of tampering, do not use the device. Contact Customer Support immediately to arrange a replacement.
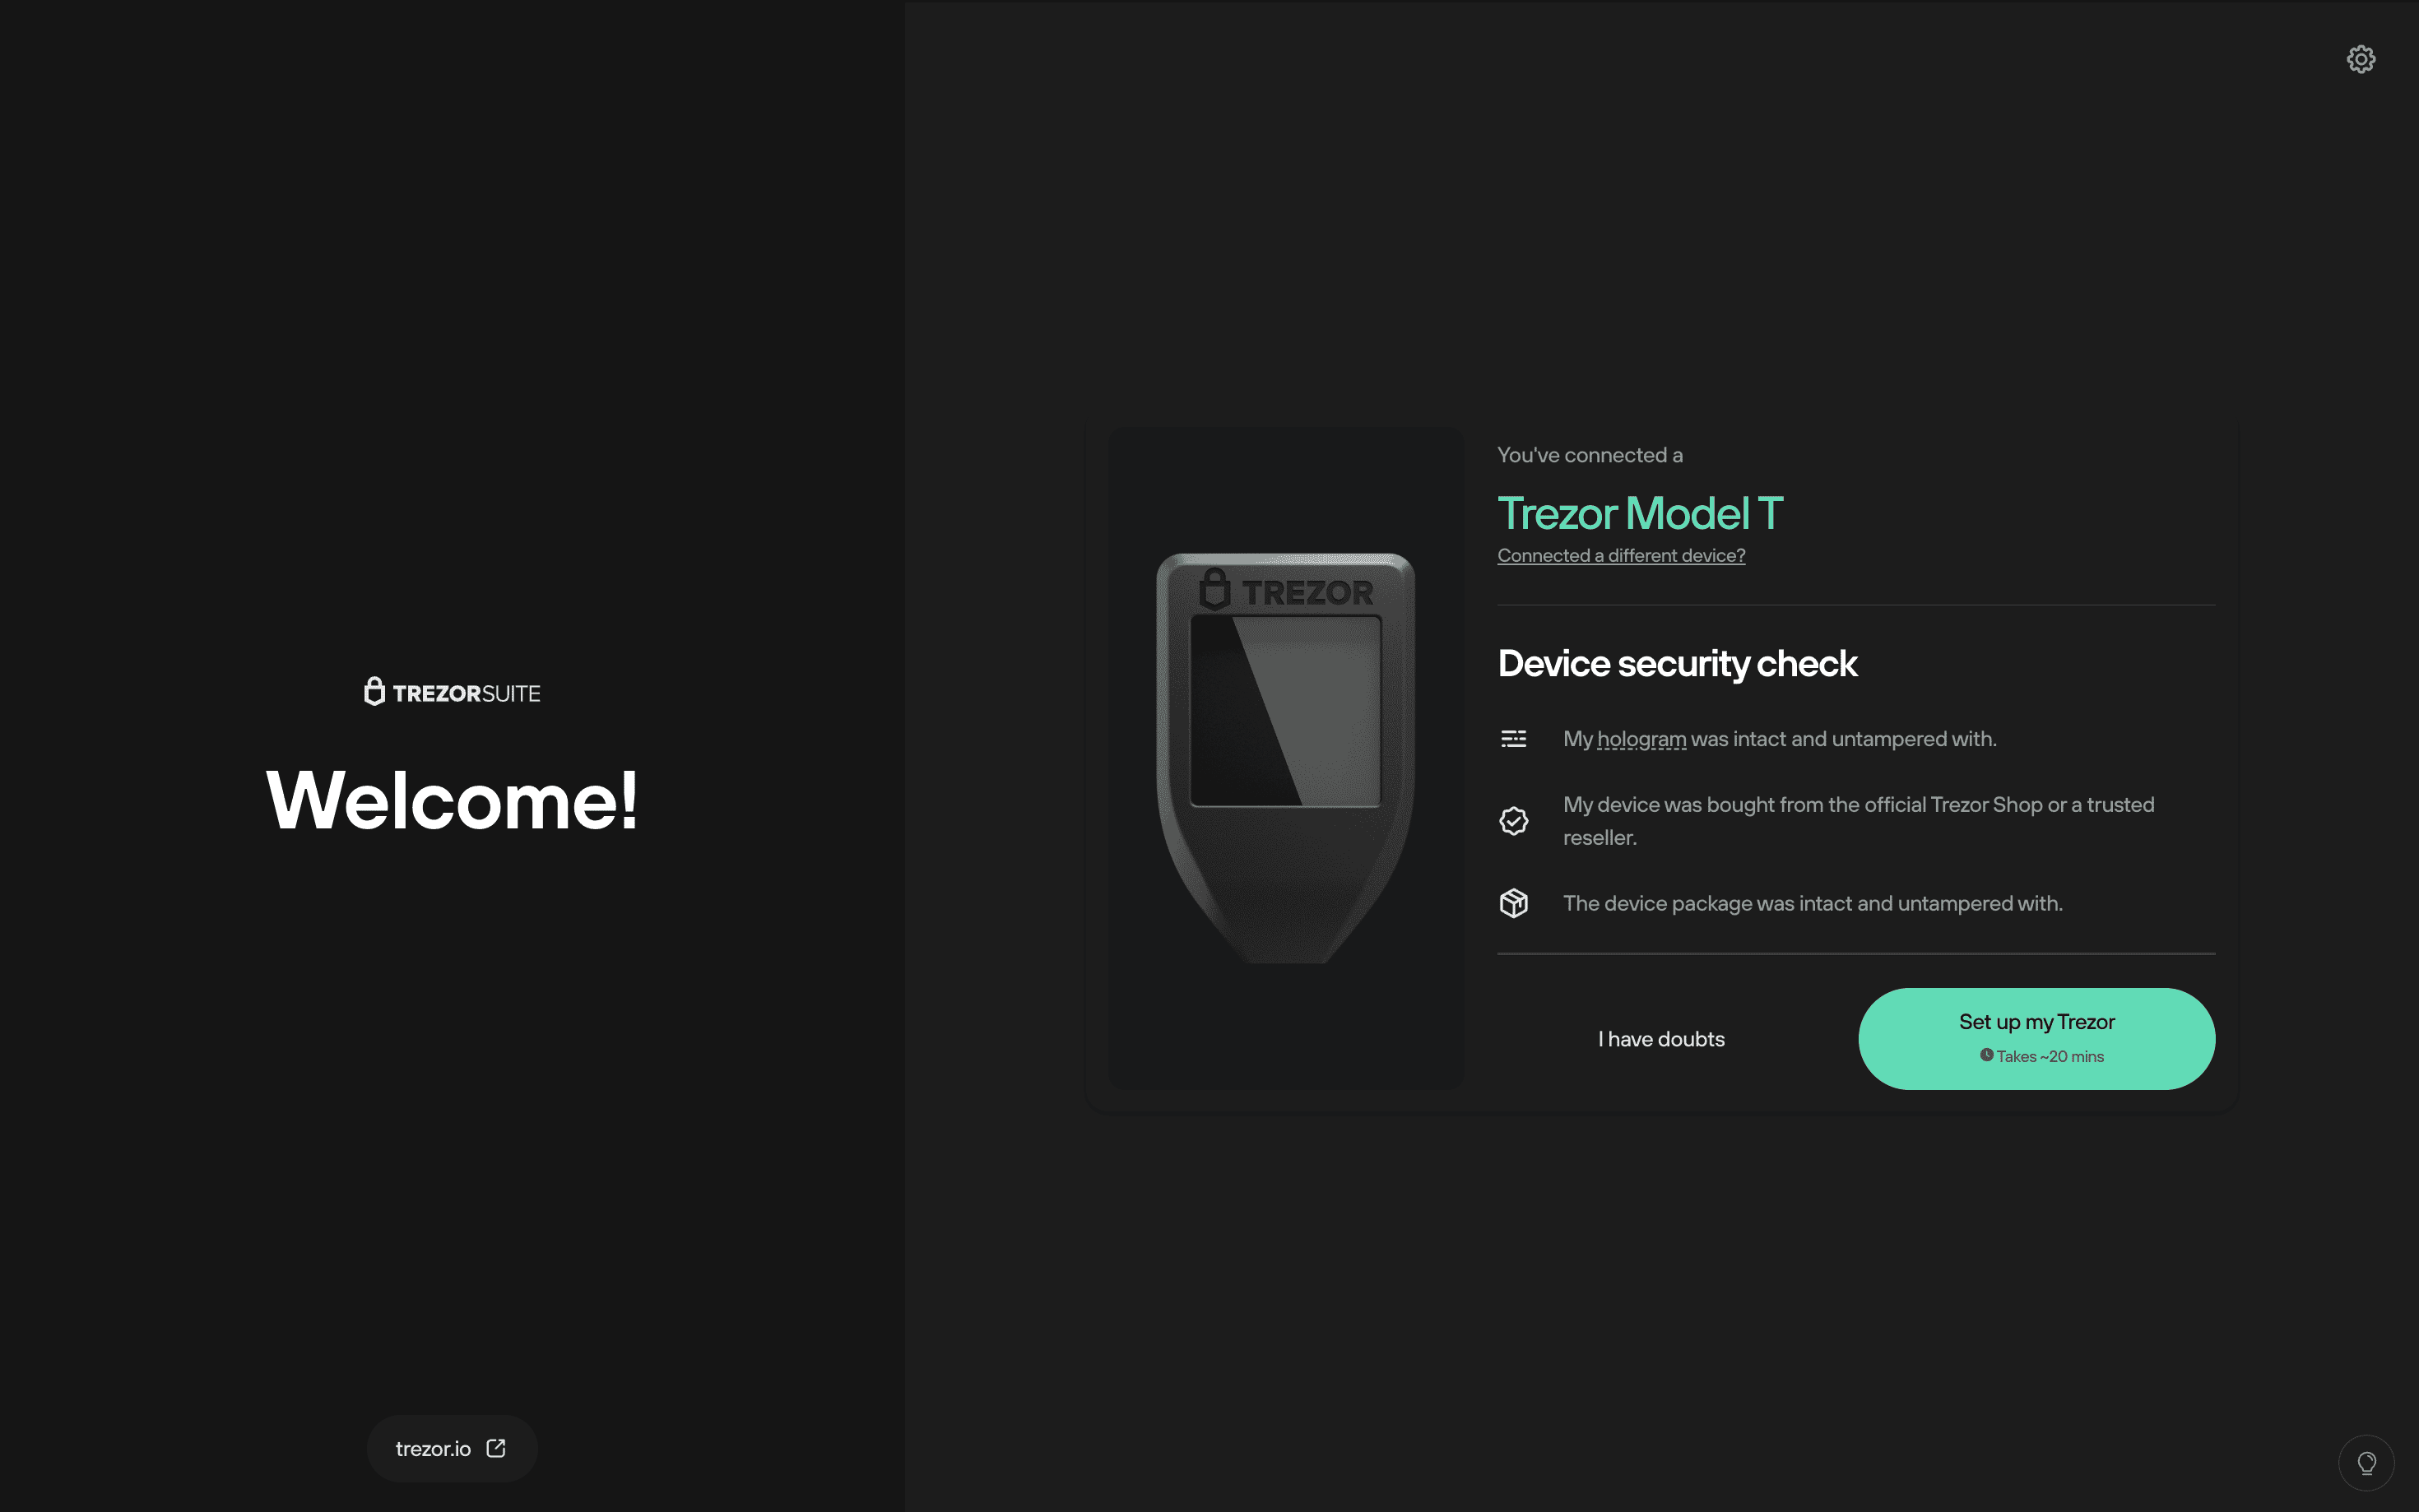
- Once you're sure everything is correct, click Set up my Trezor in Trezor Suite.
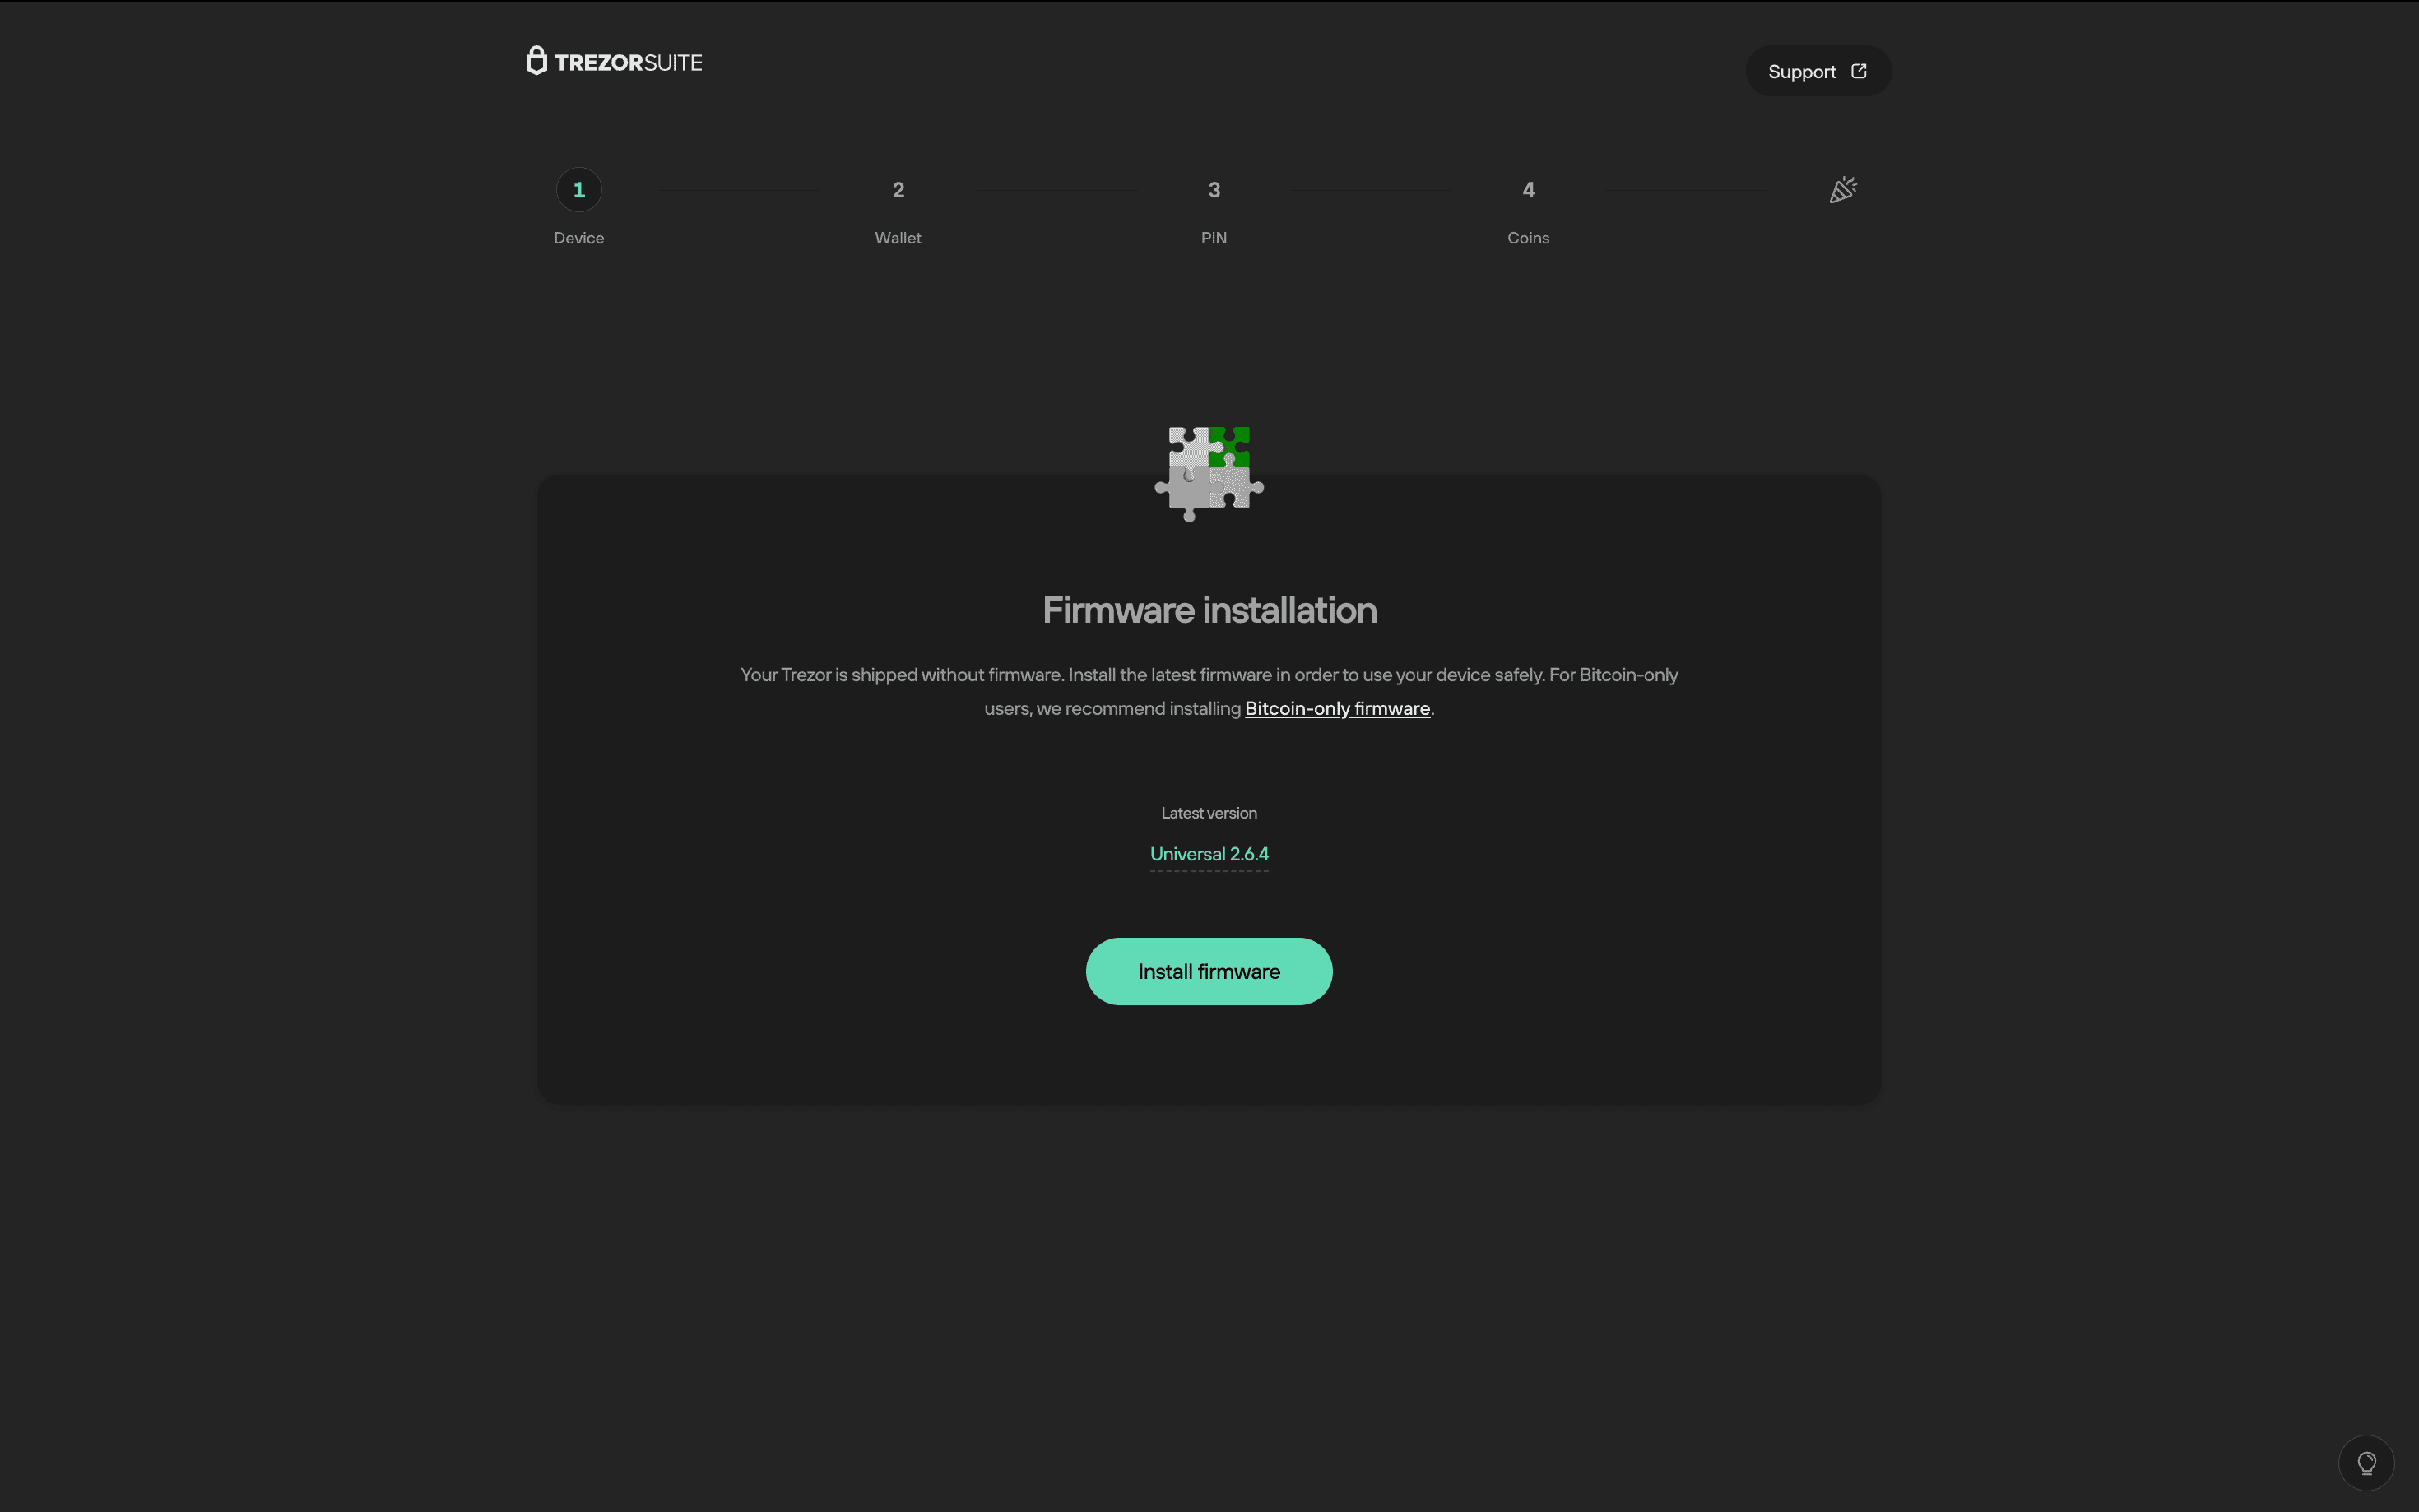
- Your Trezor is shipped without firmware, so the first step is to install the latest version by clicking Install firmware.
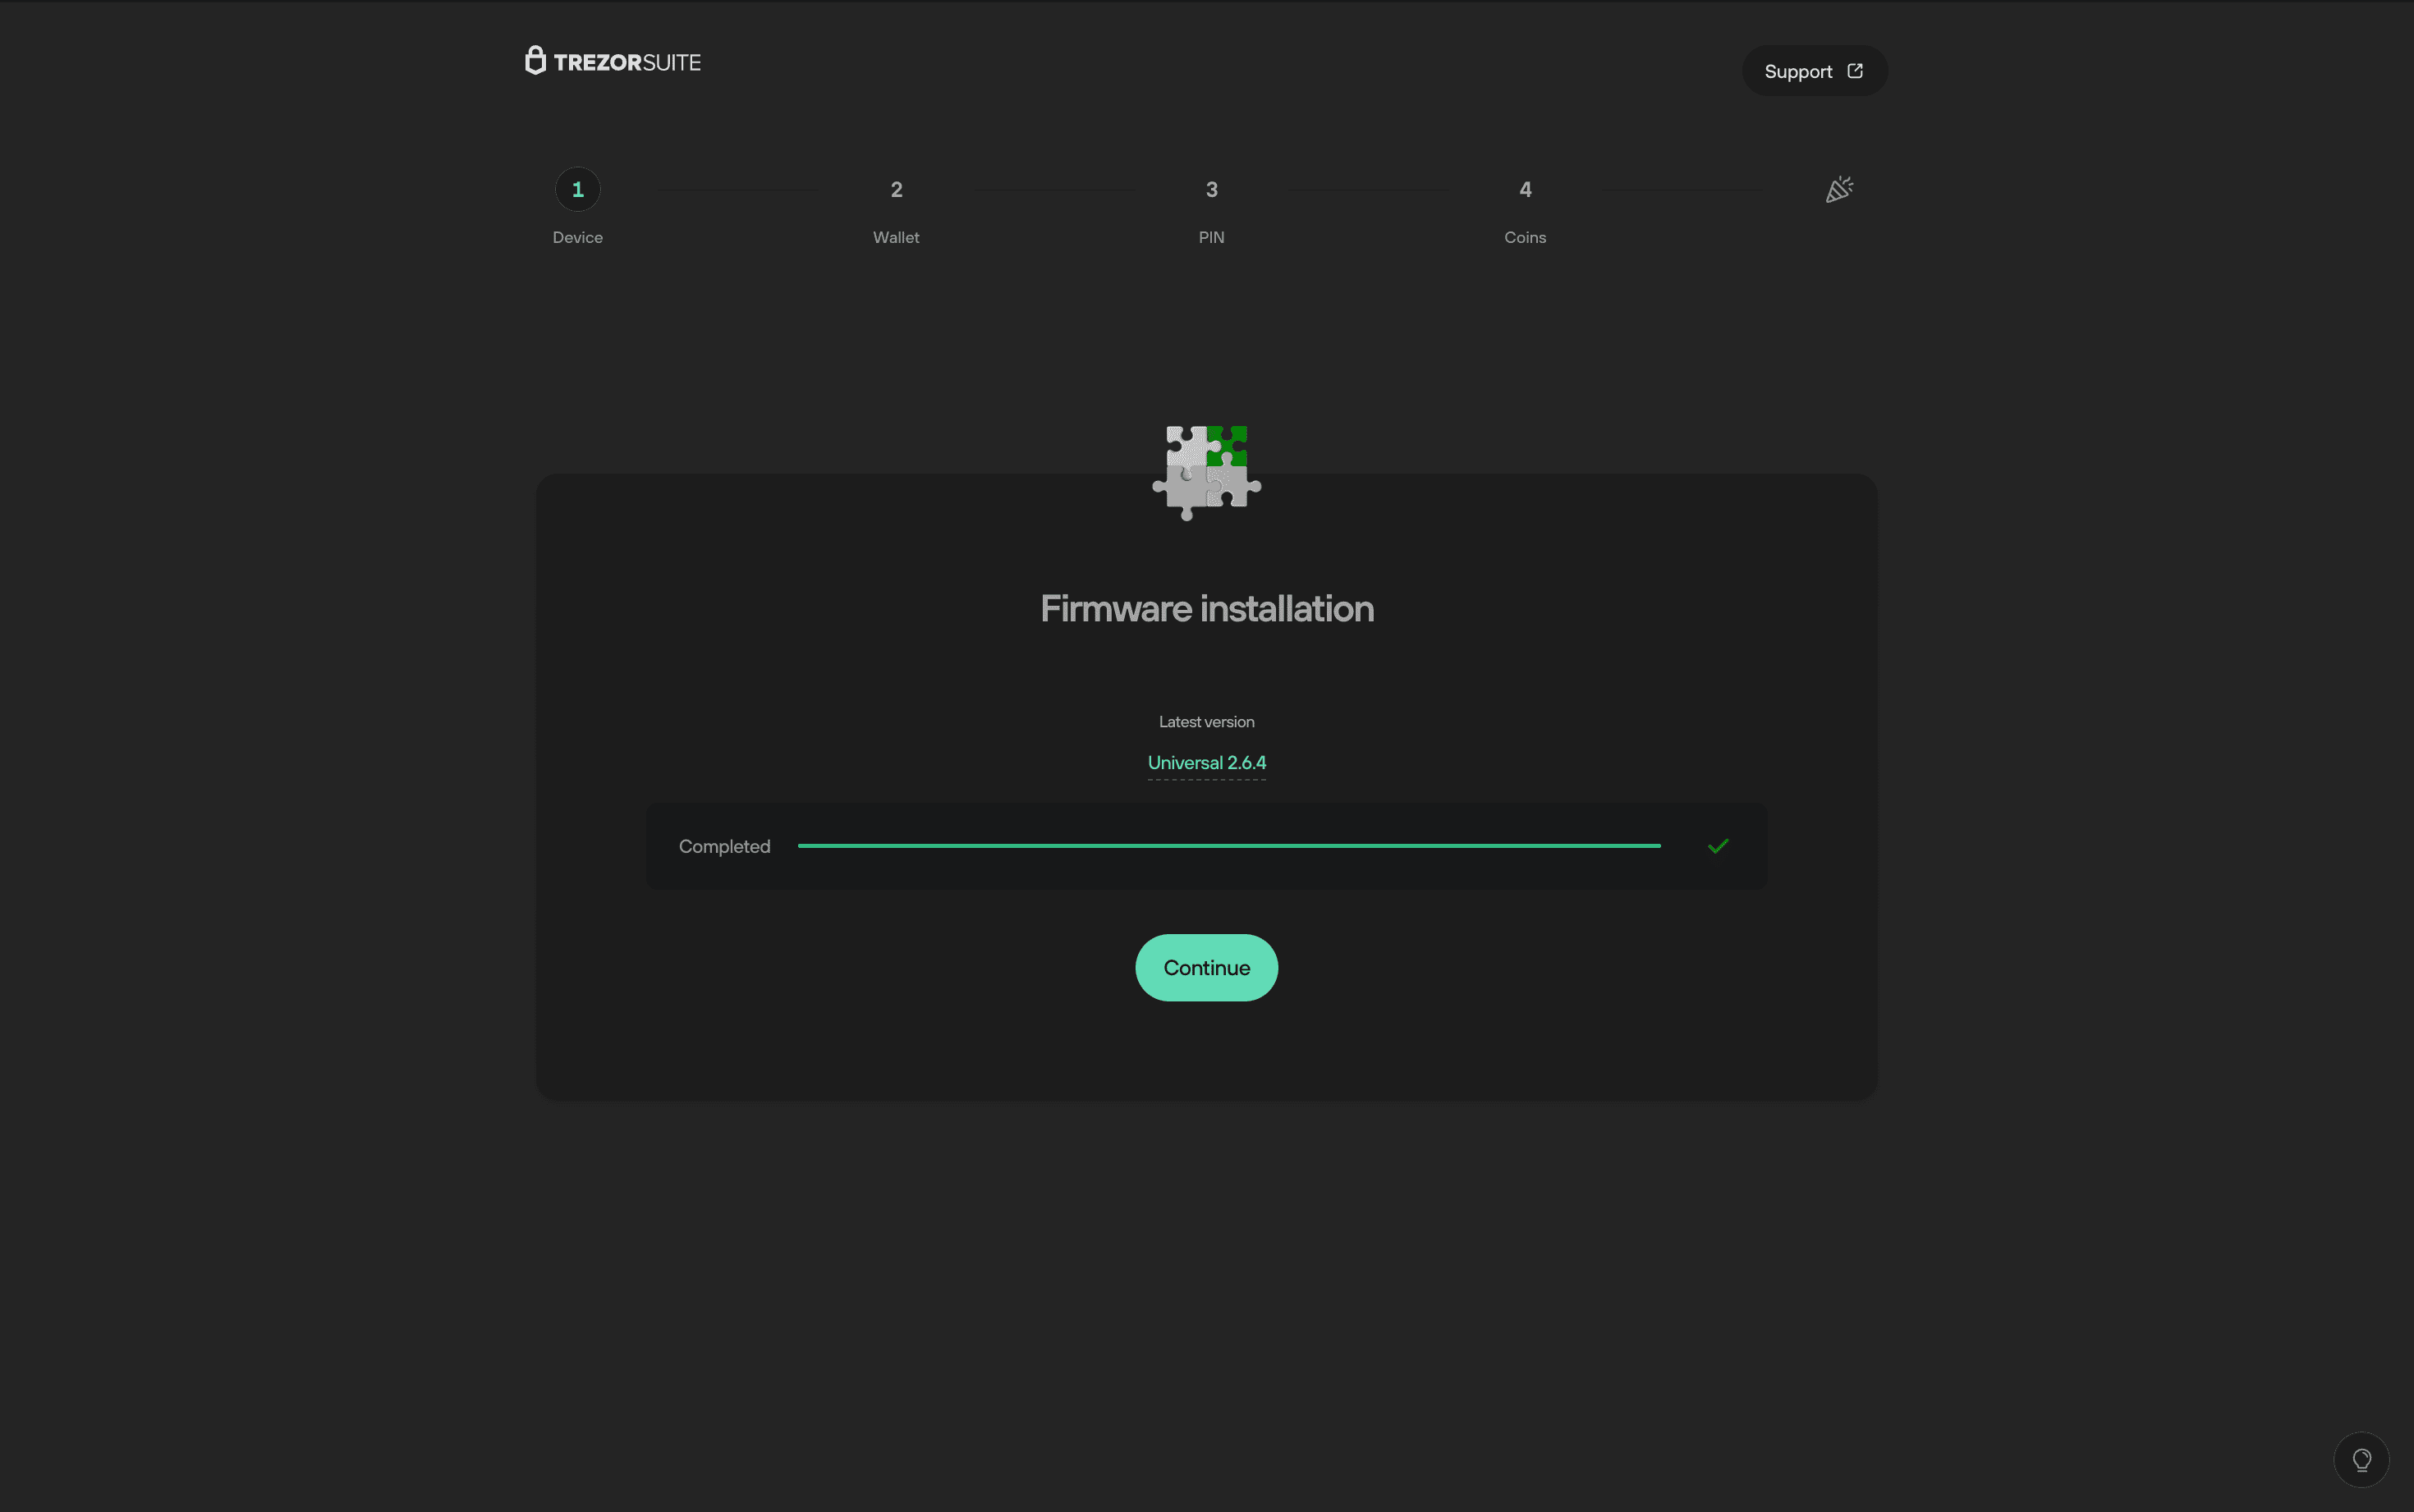
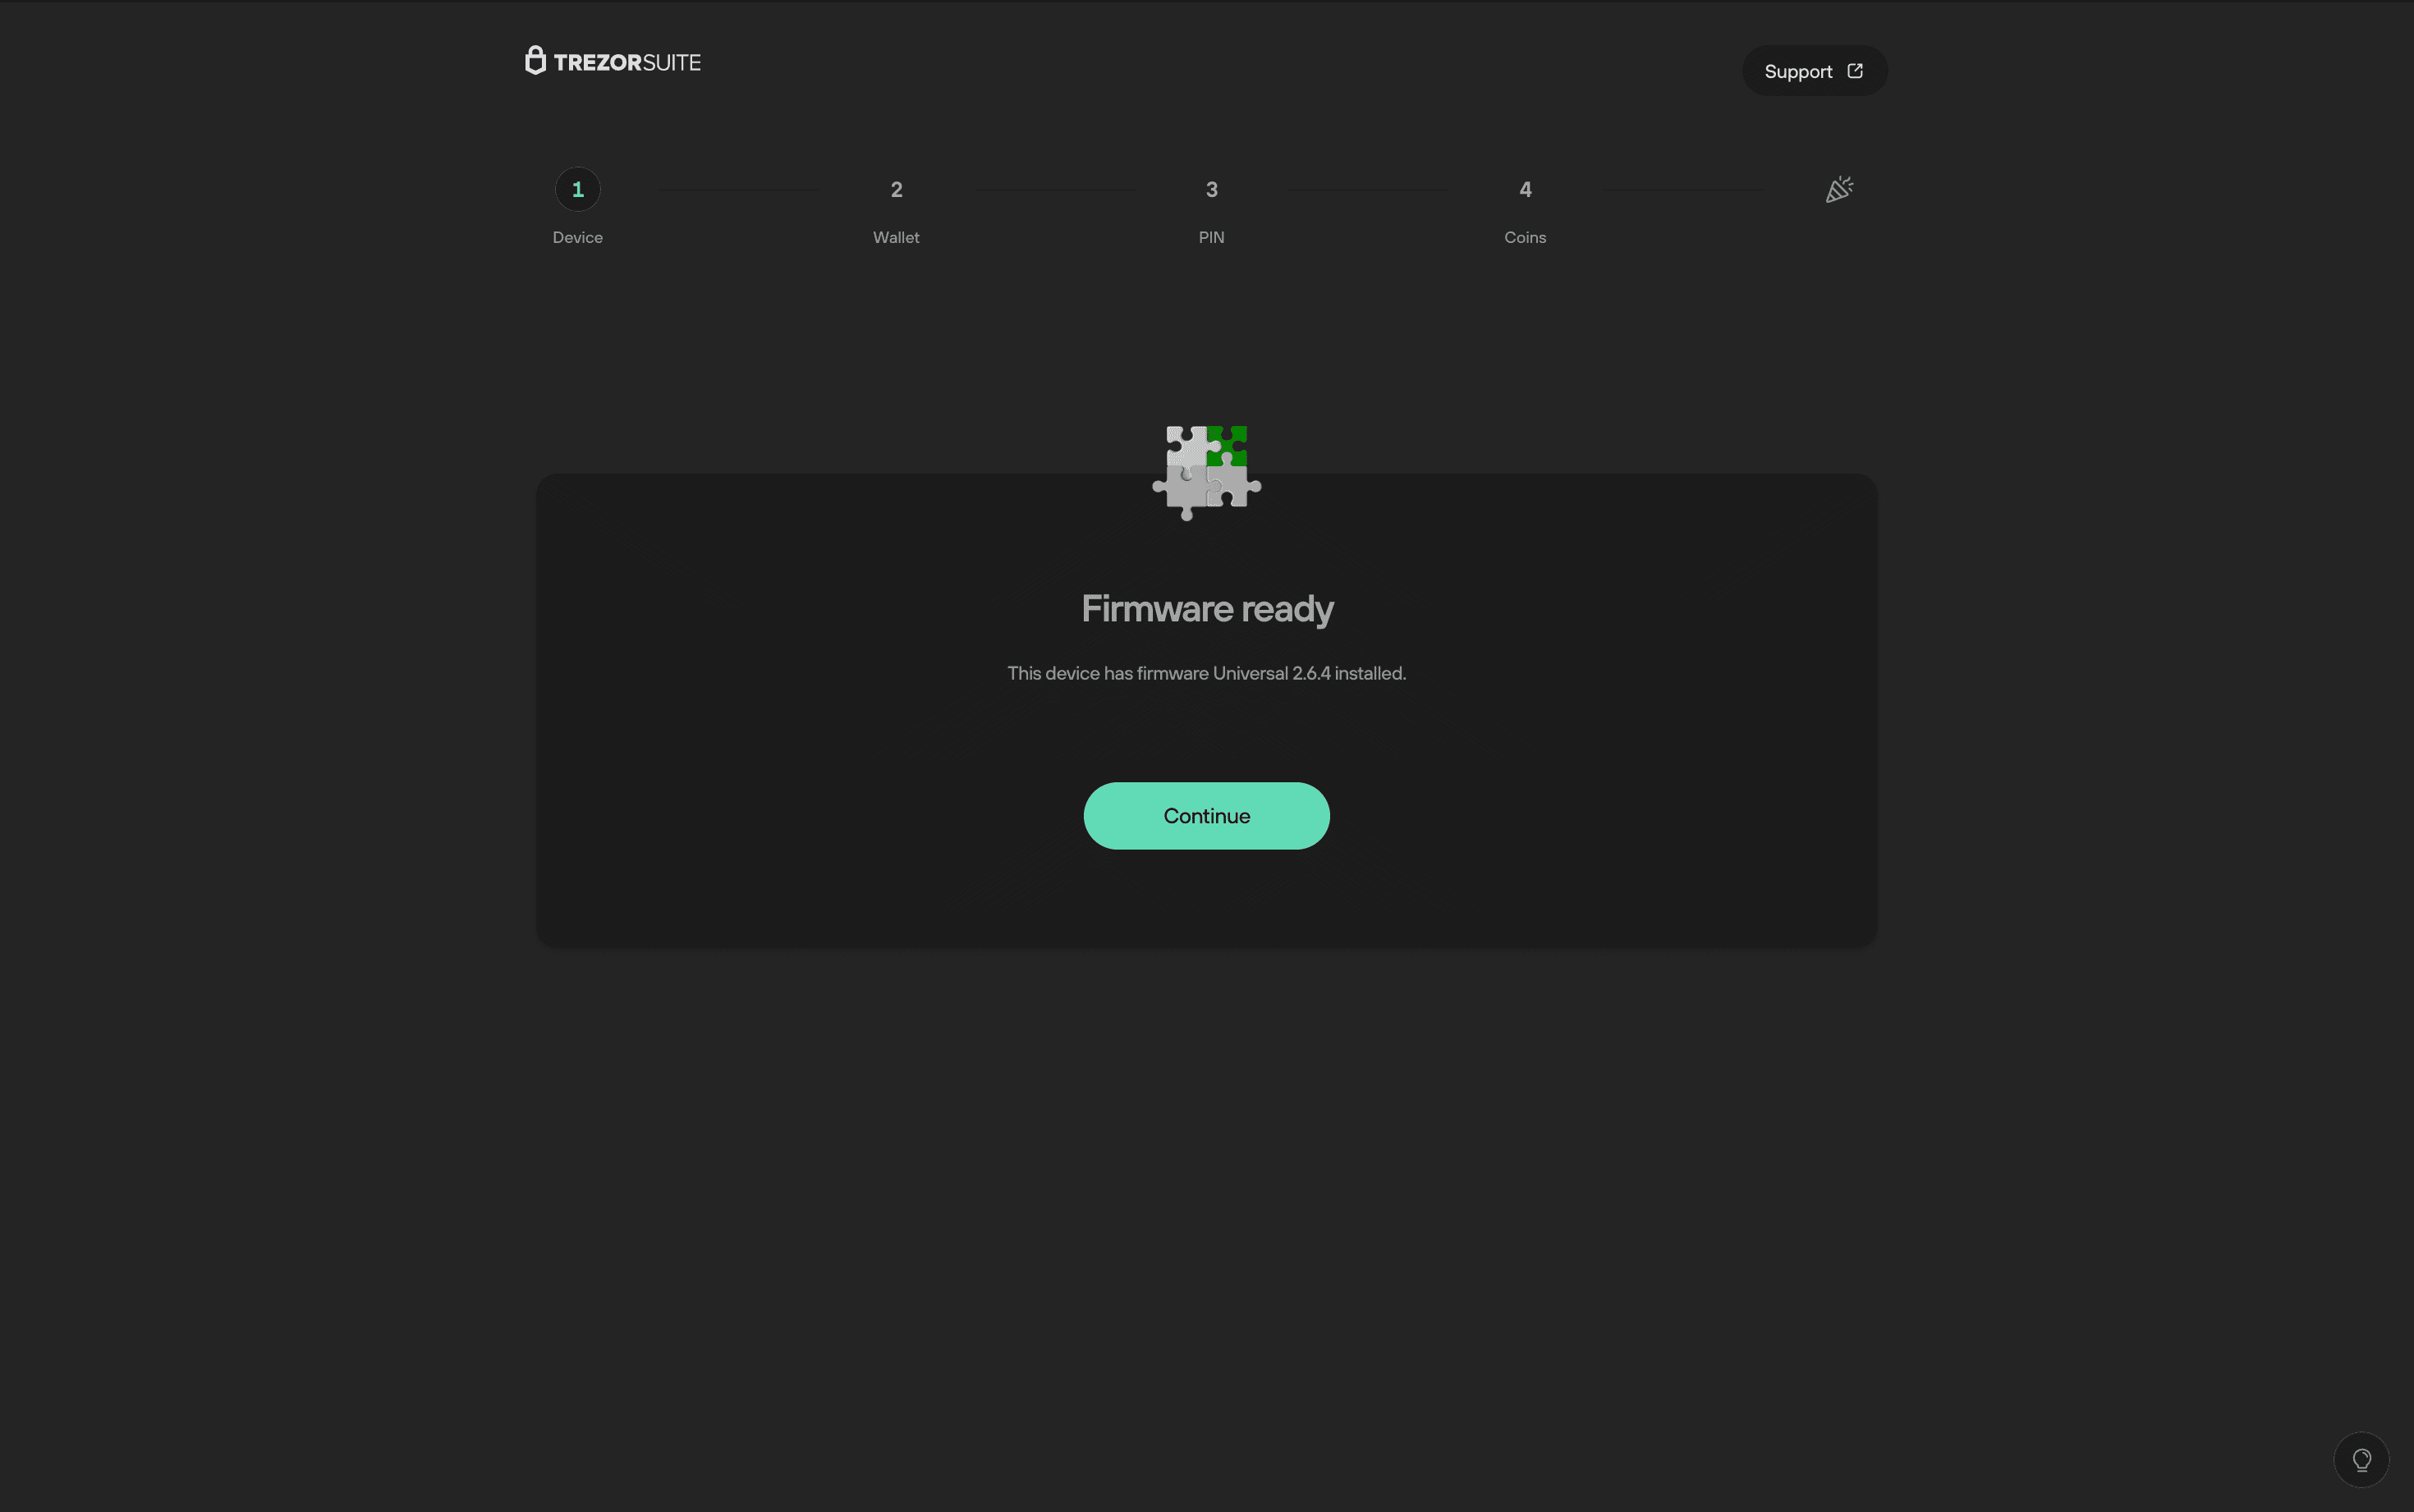
- Once the firmware installation is complete, click Continue.
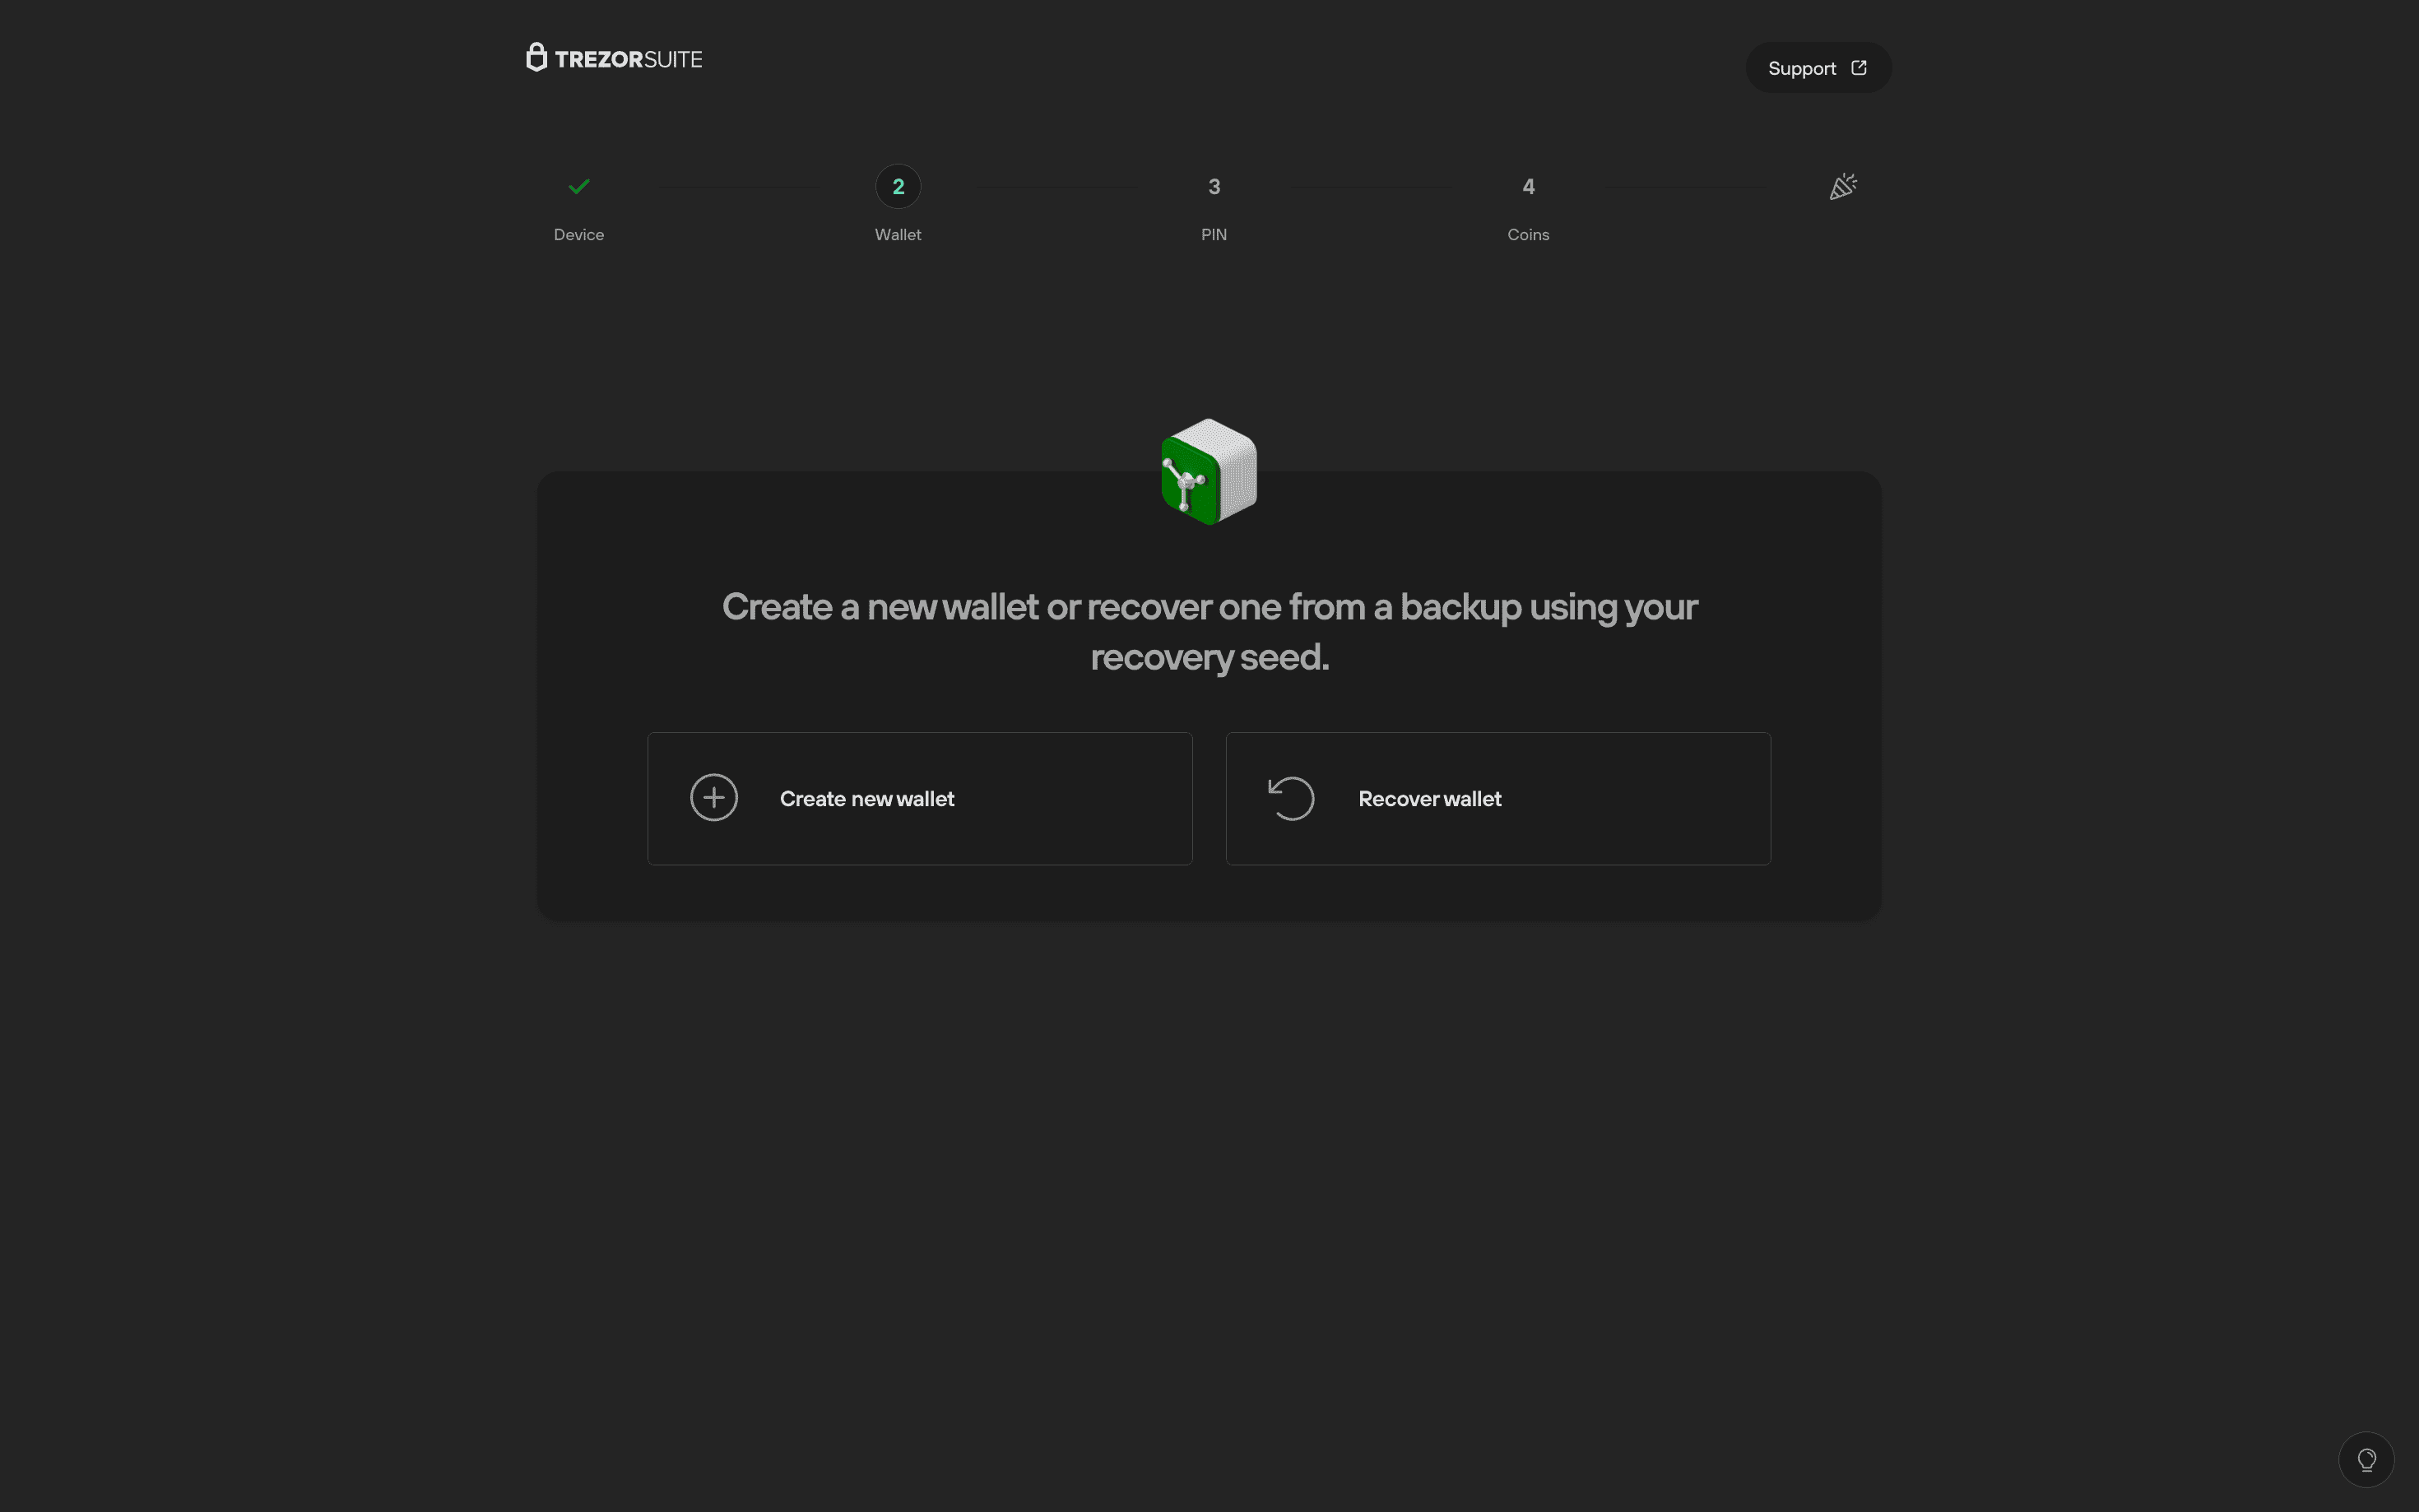
- If this is your first time setting up a Trezor, select Create new wallet. If you already have a wallet backup, choose Recover wallet to restore access to existing accounts.

After selecting Create new wallet, you can choose between Standard seed backup or Advanced Shamir backup. This guide covers the Standard seed backup process; the Shamir method is explained separately in our blog.
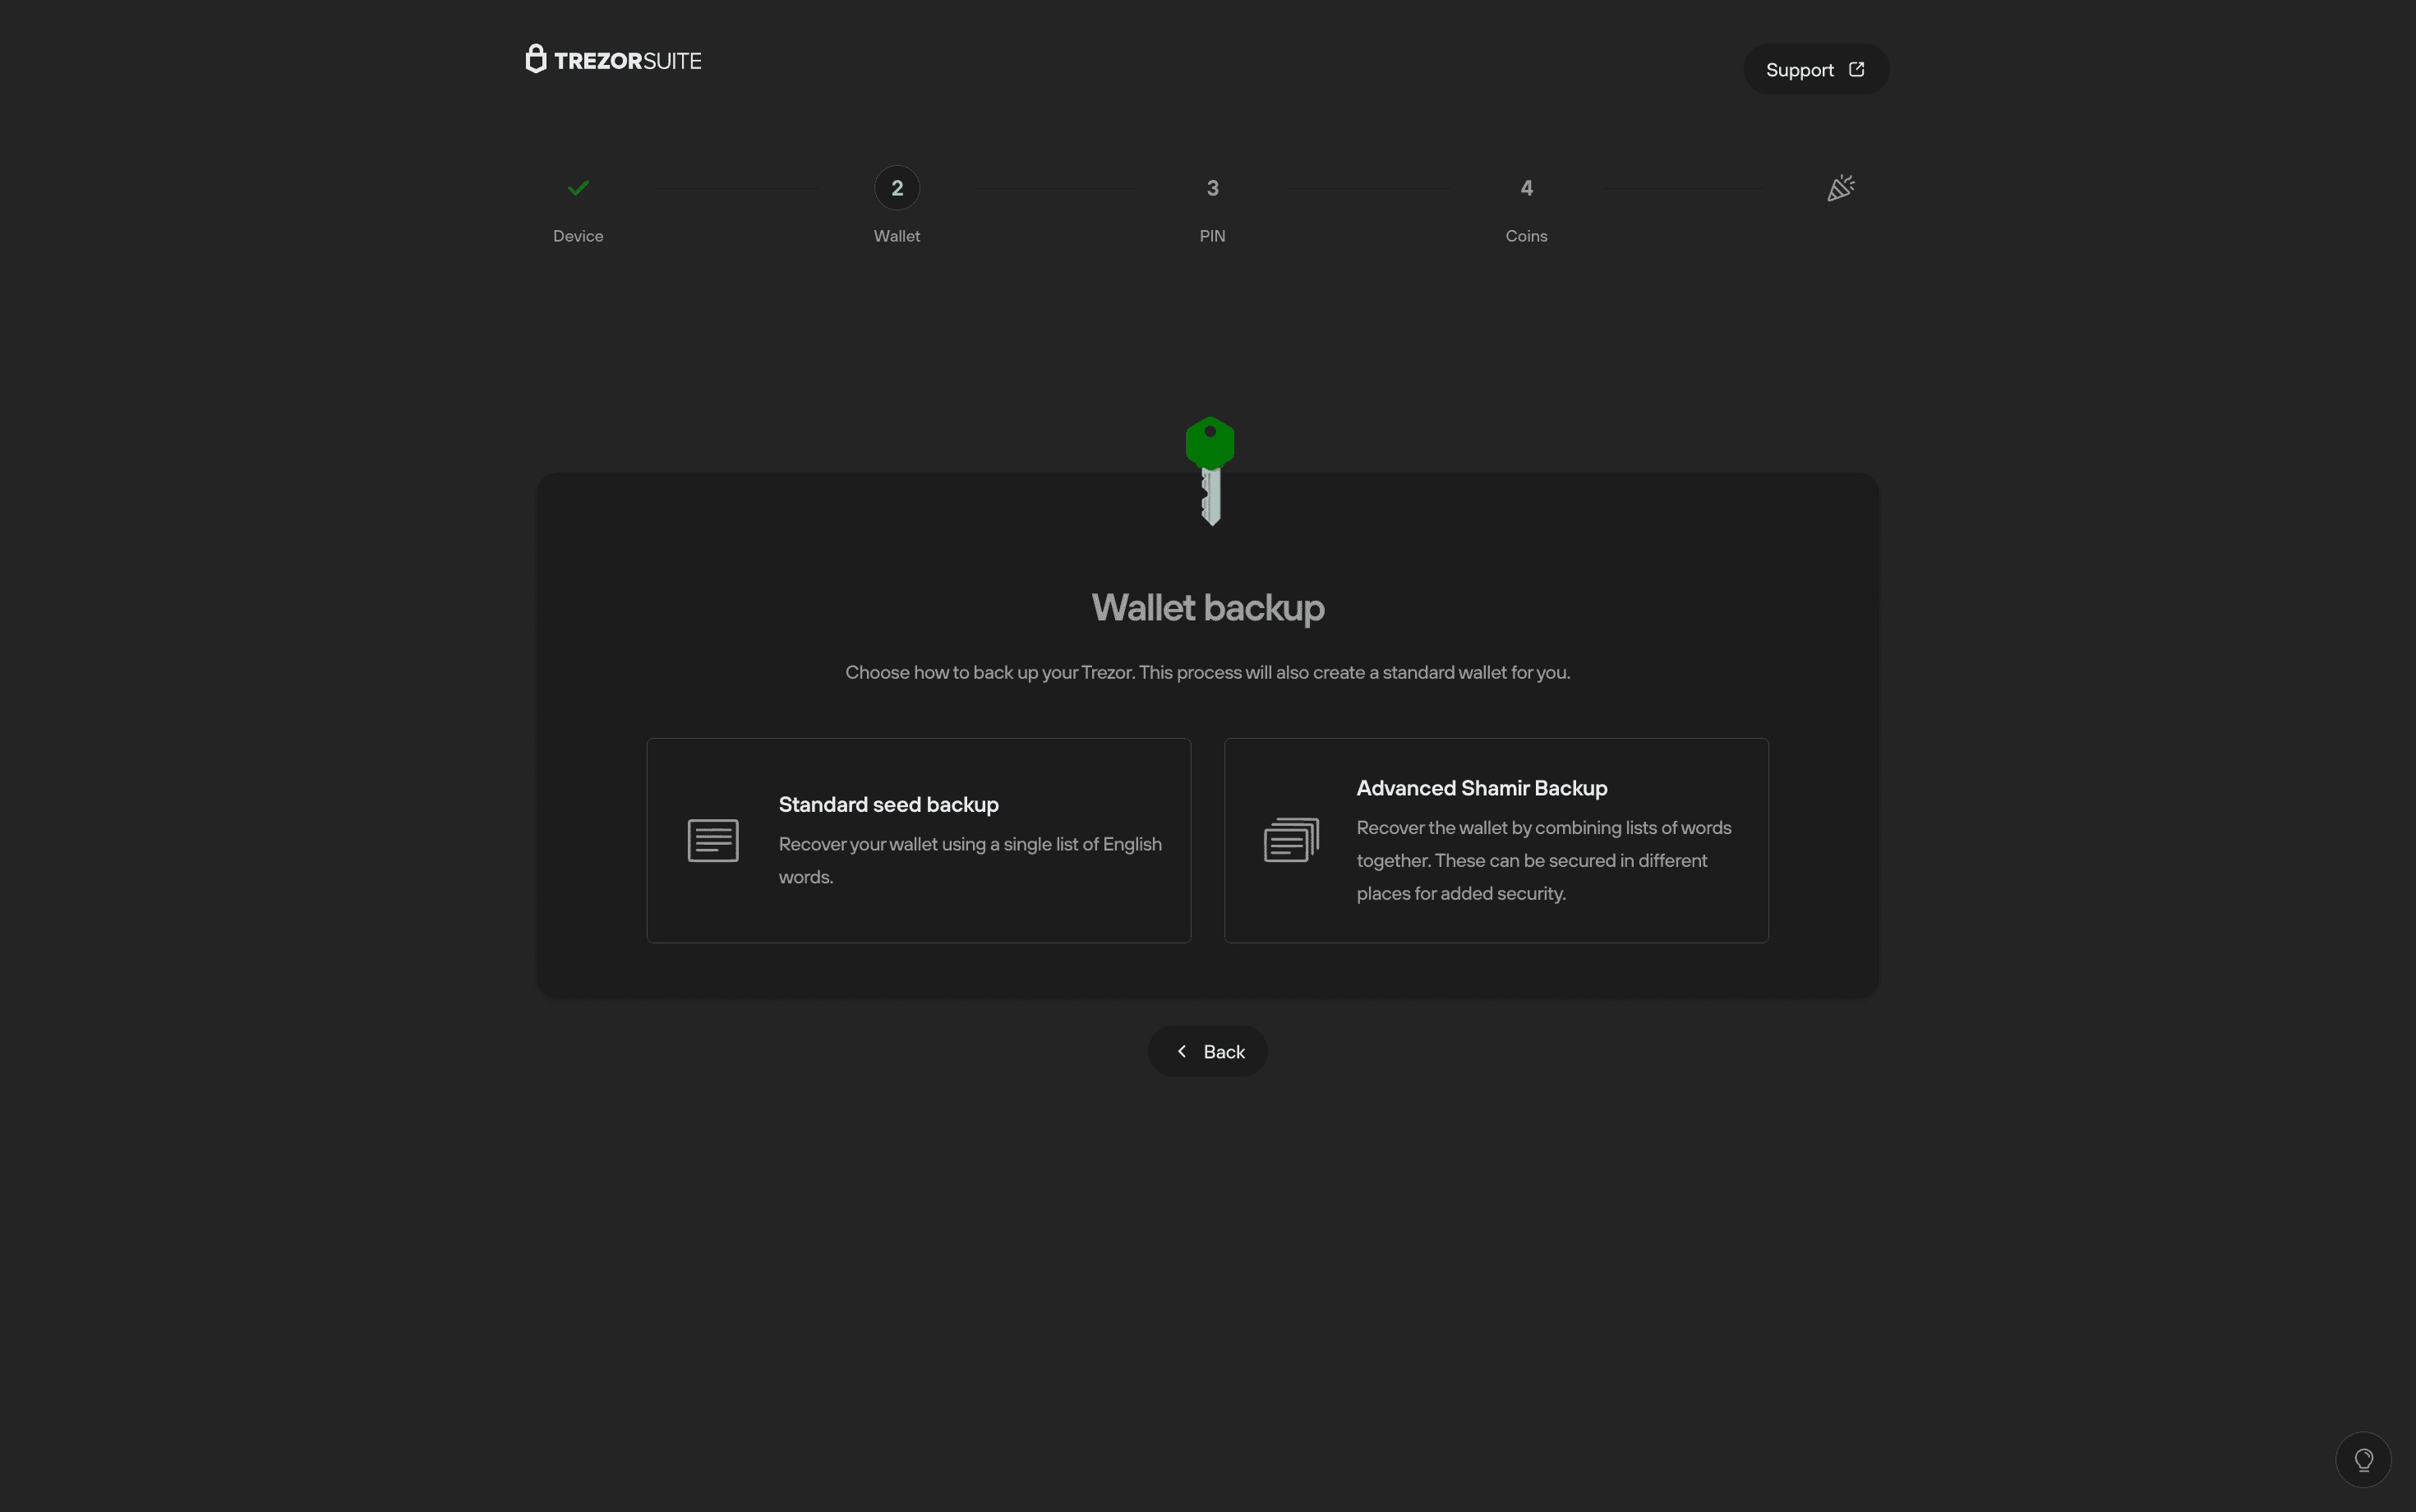
- After selecting Standard seed backup, confirm the action on your device by selecting Create wallet on the Trezor touchscreen.
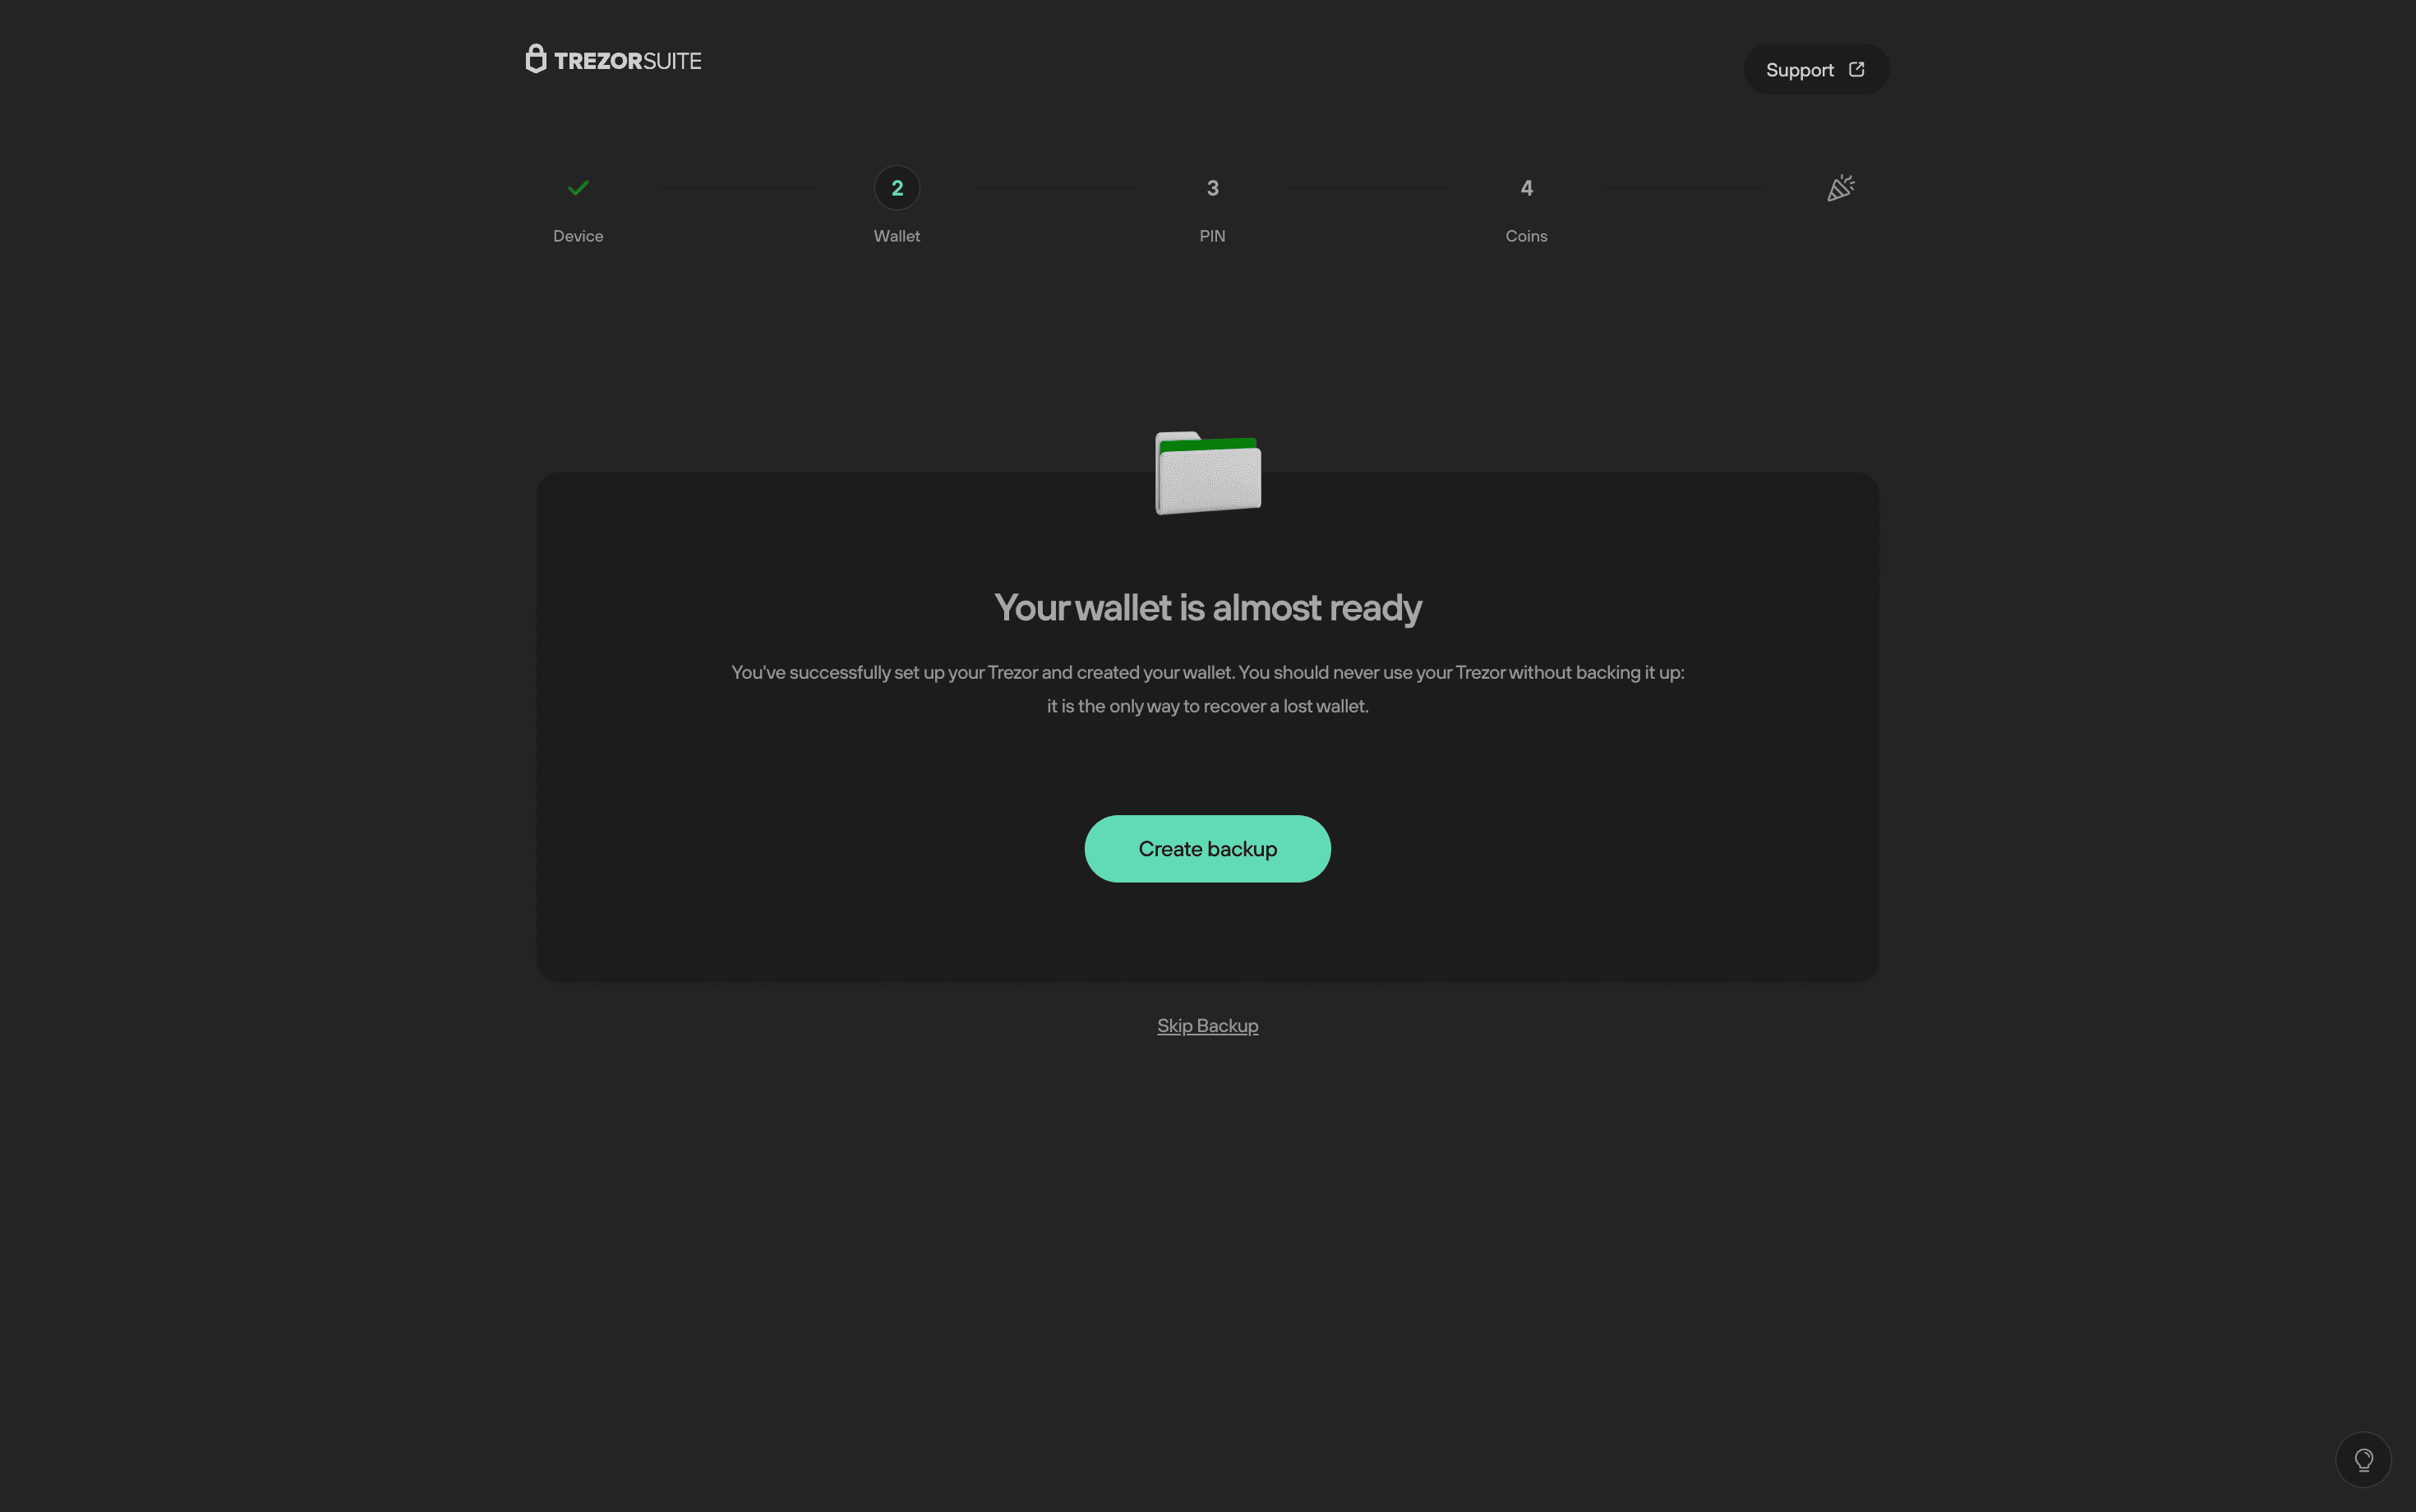
- The next step involves creating the backup—this means recording your recovery seed on the provided Recovery Seed Card. To begin, click Create backup.
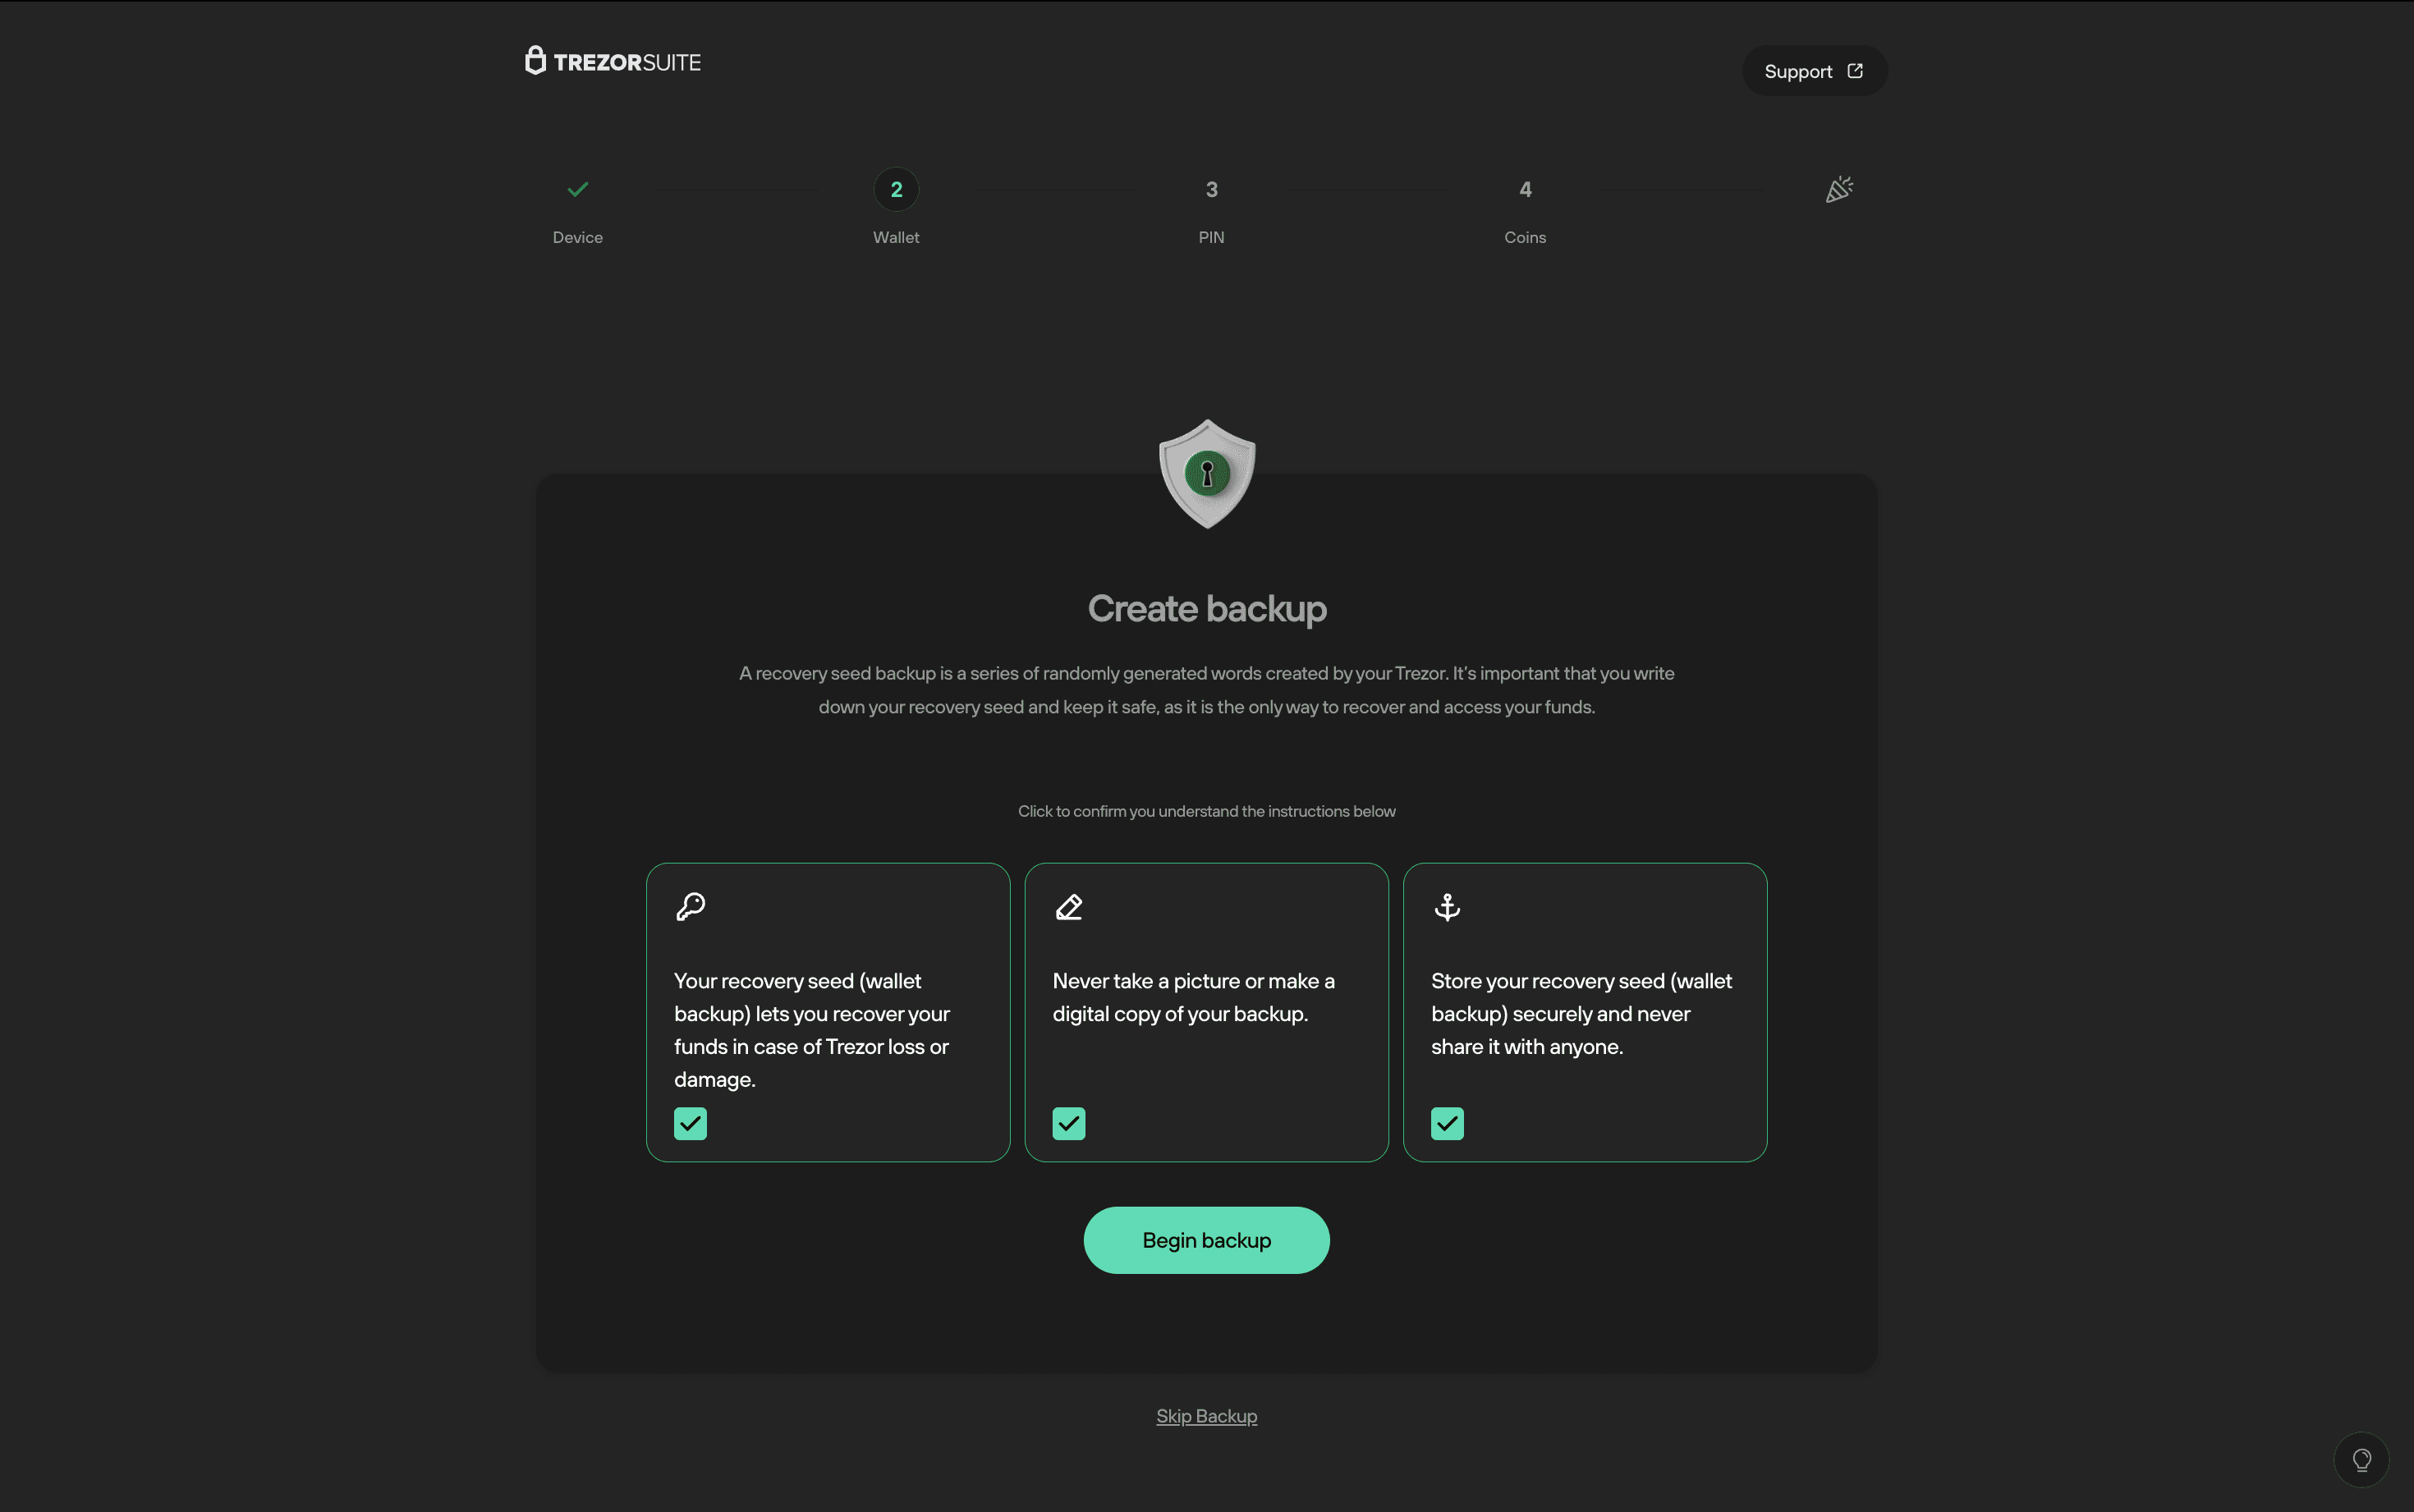
- You’ll then be prompted to confirm that you understand the backup instructions. Once all instructions have a green checkmark, click Begin backup.
- You must confirm the instruction "Never make a digital copy of your seed and never upload it online" using the device touchscreen. Press OK, I understand on your device.
- Your Trezor will then generate a list of words that you must write down in the correct order on the recovery seed card provided.
This list of words is the most important part of securing your Trezor and your crypto. Do not share this information with anyone, and keep it safely stored offline.
- Once you’ve recorded all the words in the correct order (12 words is the default for the Trezor Model T), hold the Hold to confirm button on the device touchscreen.
- You’ll then be asked to verify specific words from your recovery seed. After completing this, you’ll see the message "You have finished verifying your recovery seed". Click Continue.
- A final confirmation screen will display the message "Use your backup when you need to recover your wallet. Your backup is done." Click Continue.
- With the wallet backup complete, proceed with setting up a PIN to protect your device from unauthorized access.
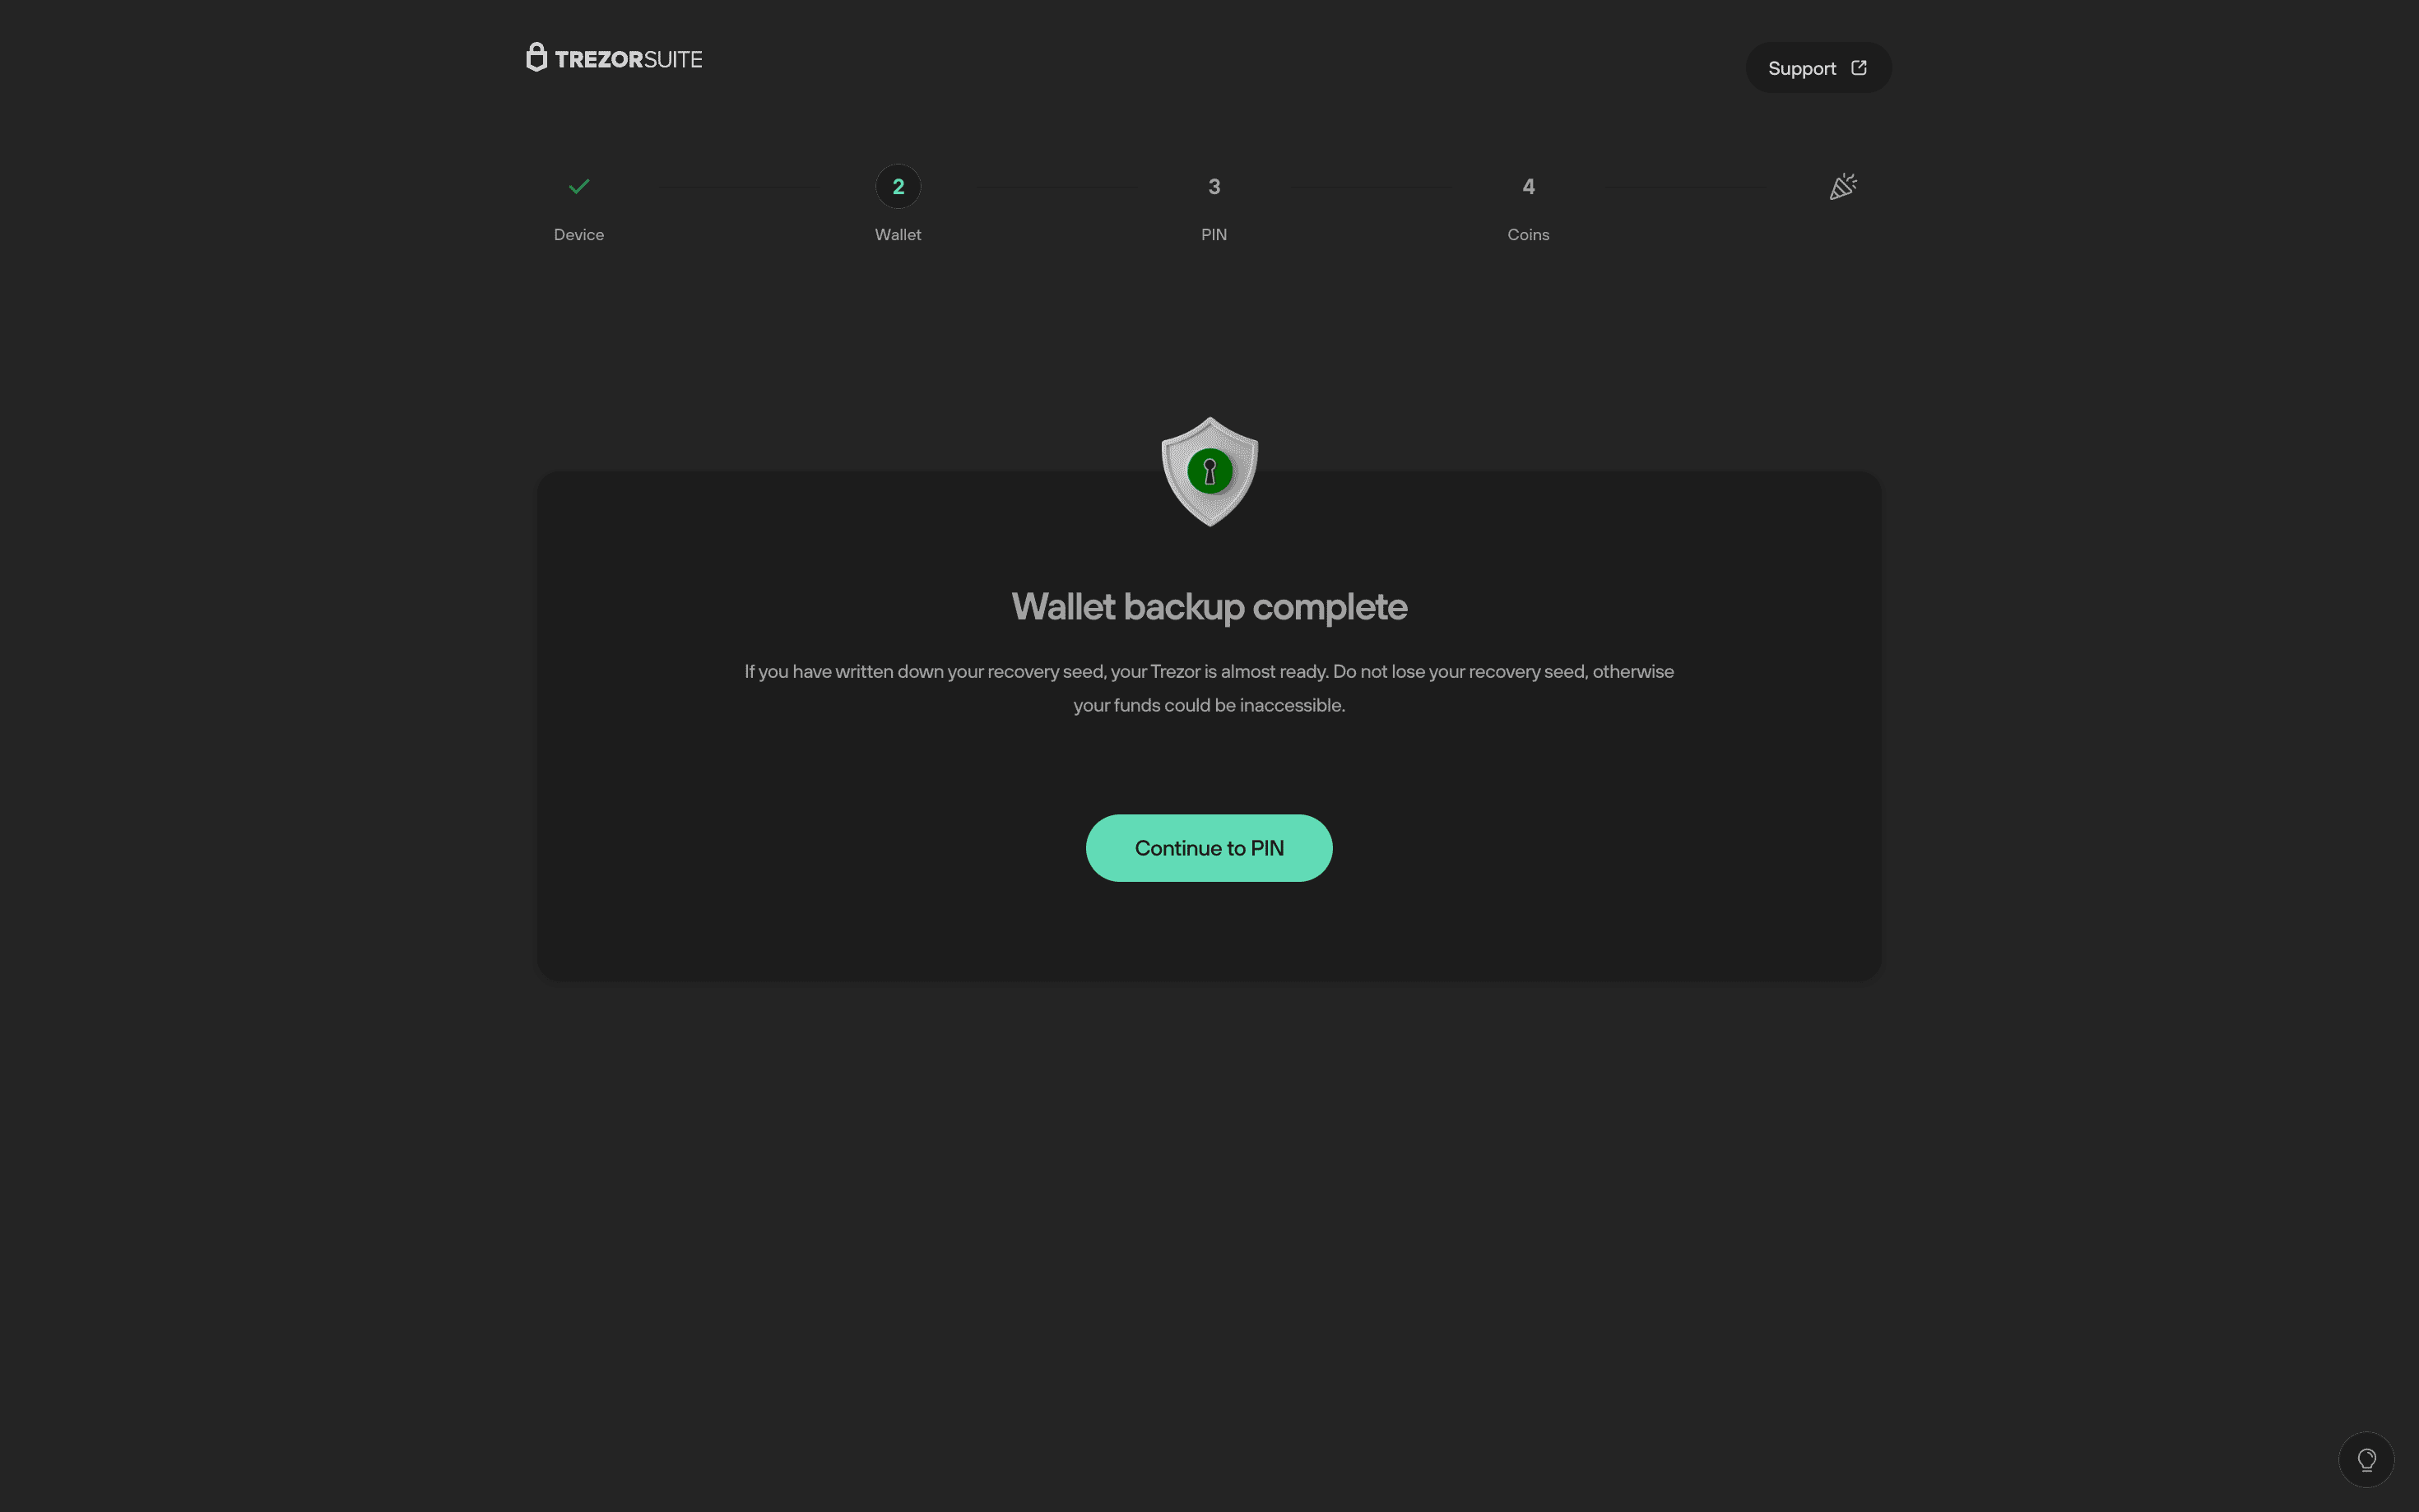
- In the "Wallet backup complete" window, click Continue to PIN.
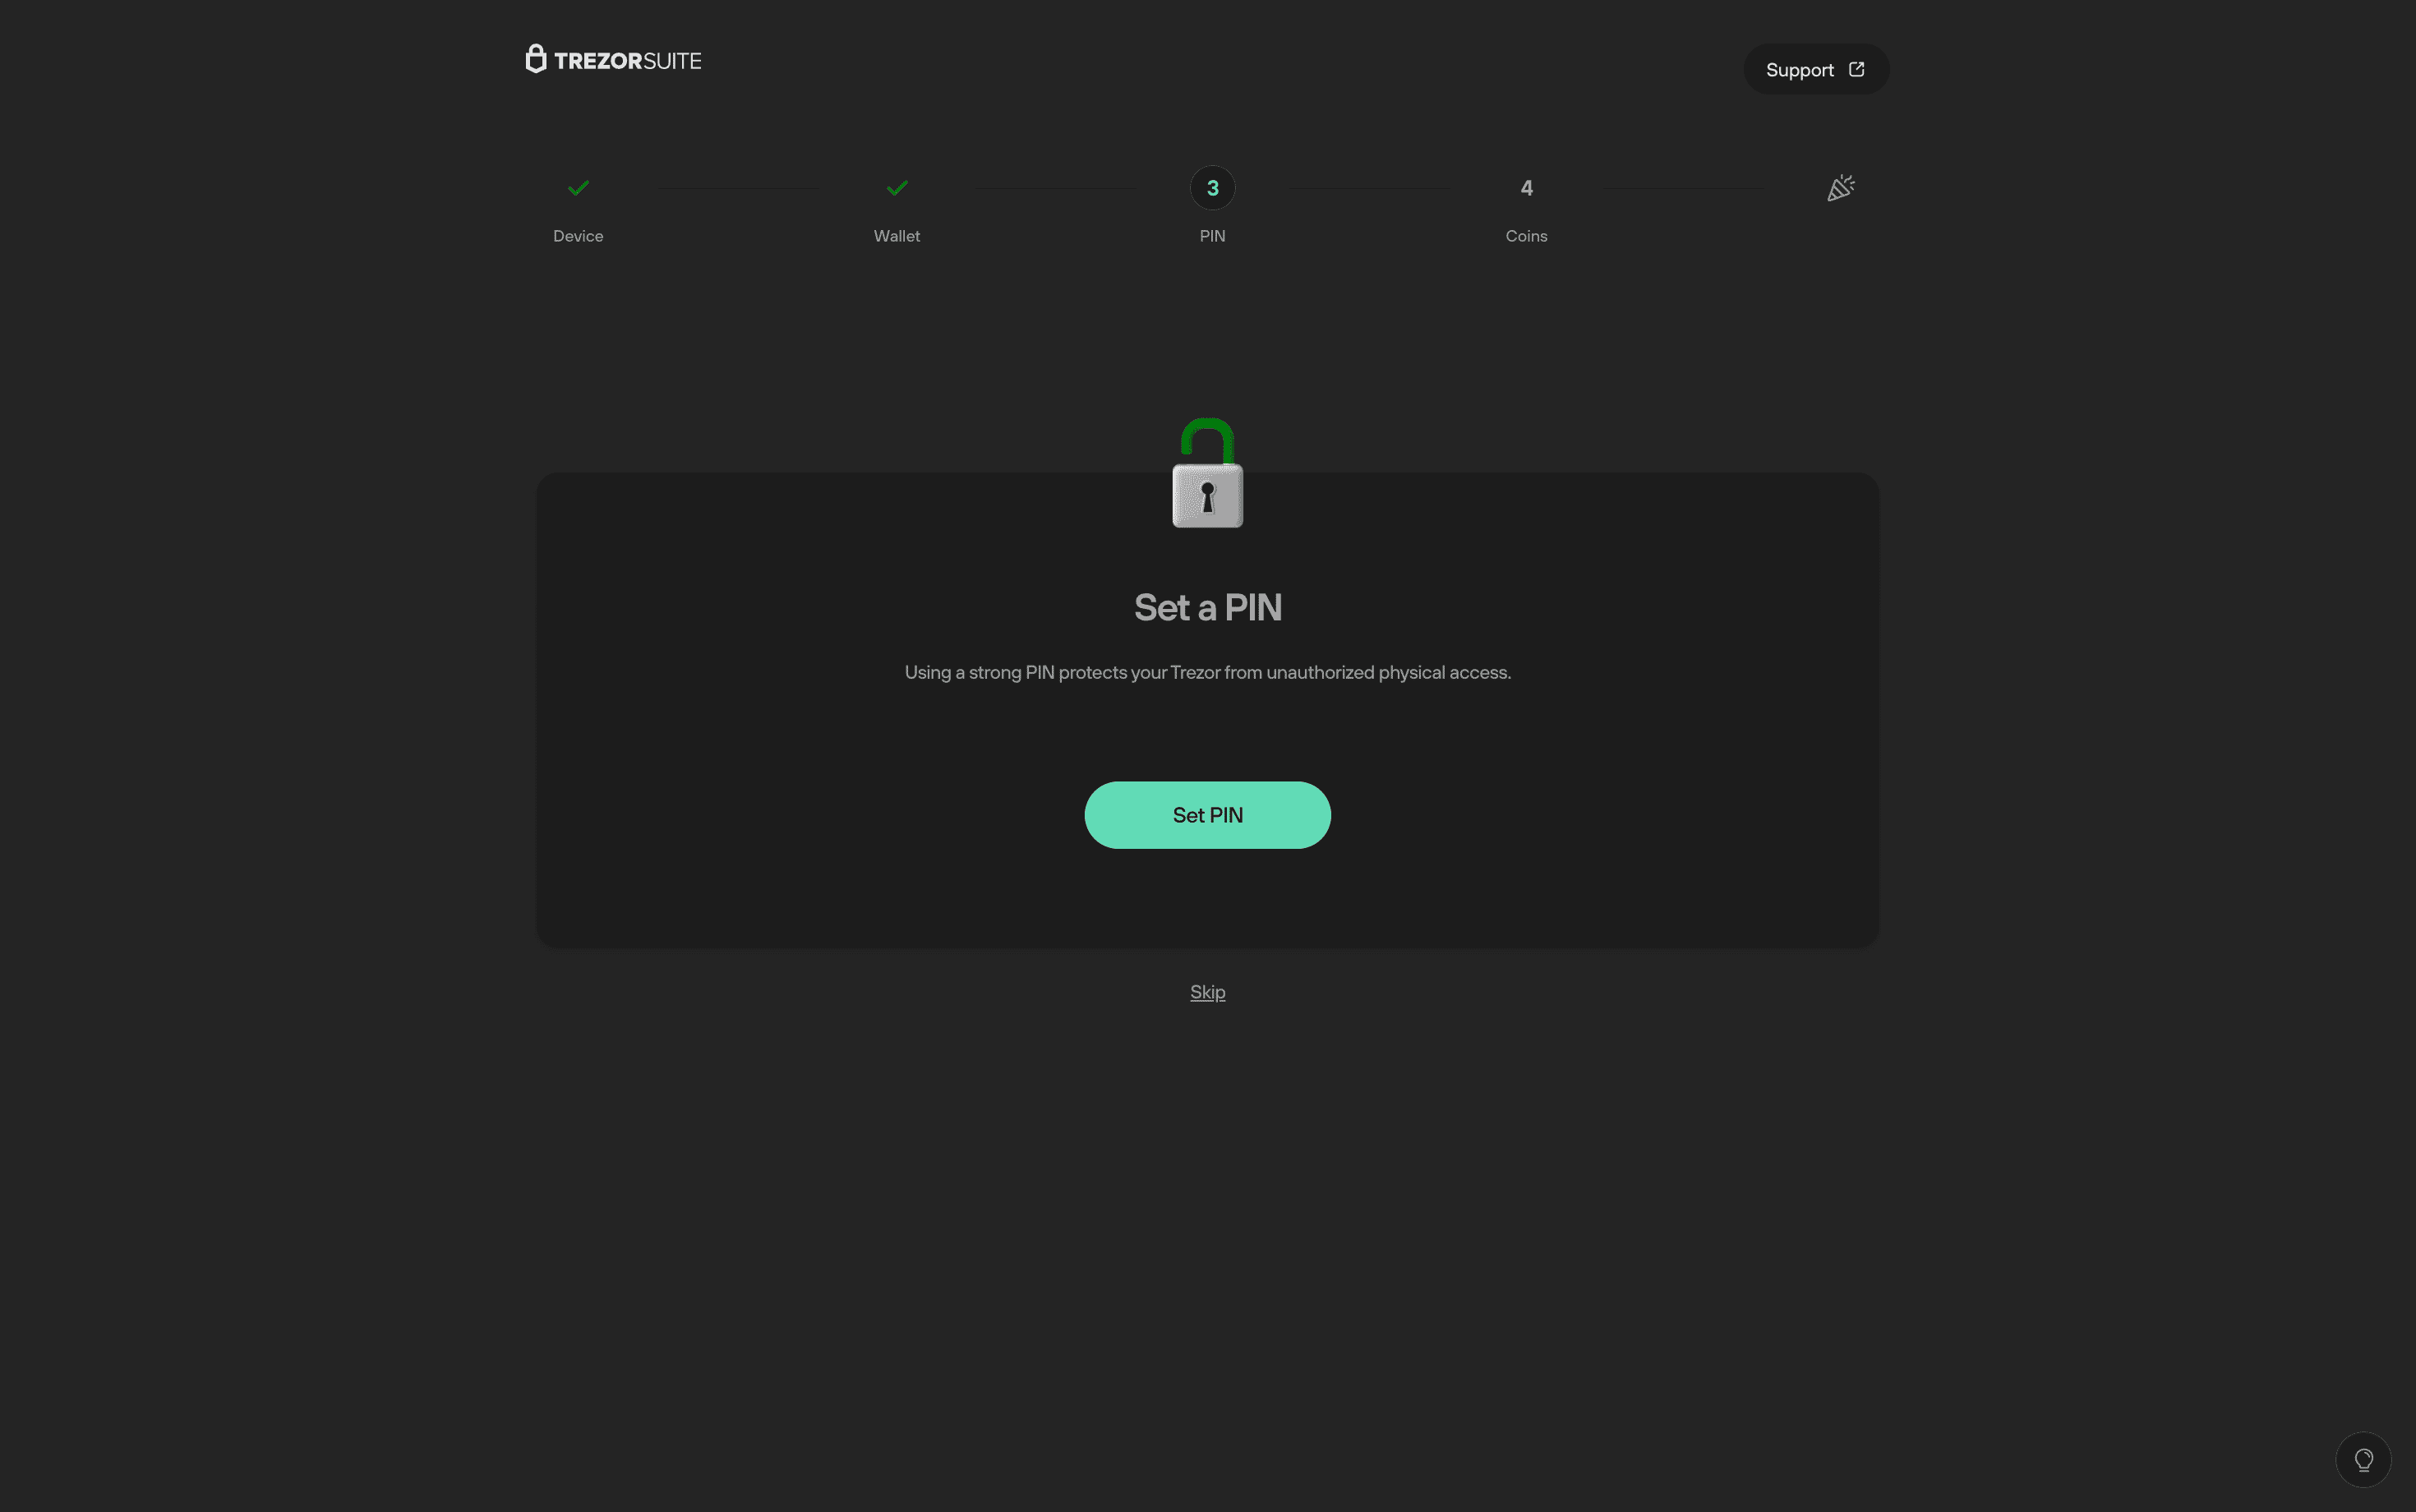
- In the "Set a PIN window", click on Set PIN:
- Your device will ask "Turn on PIN protection?"—press Turn on to confirm.
- Enter and confirm your new PIN directly on the Trezor Model T touchscreen. You will need to enter your PIN a second time to confirm it is correct.
- Once complete, your device will display "PIN protection turned on", and Trezor Suite will show the "PIN set" window.
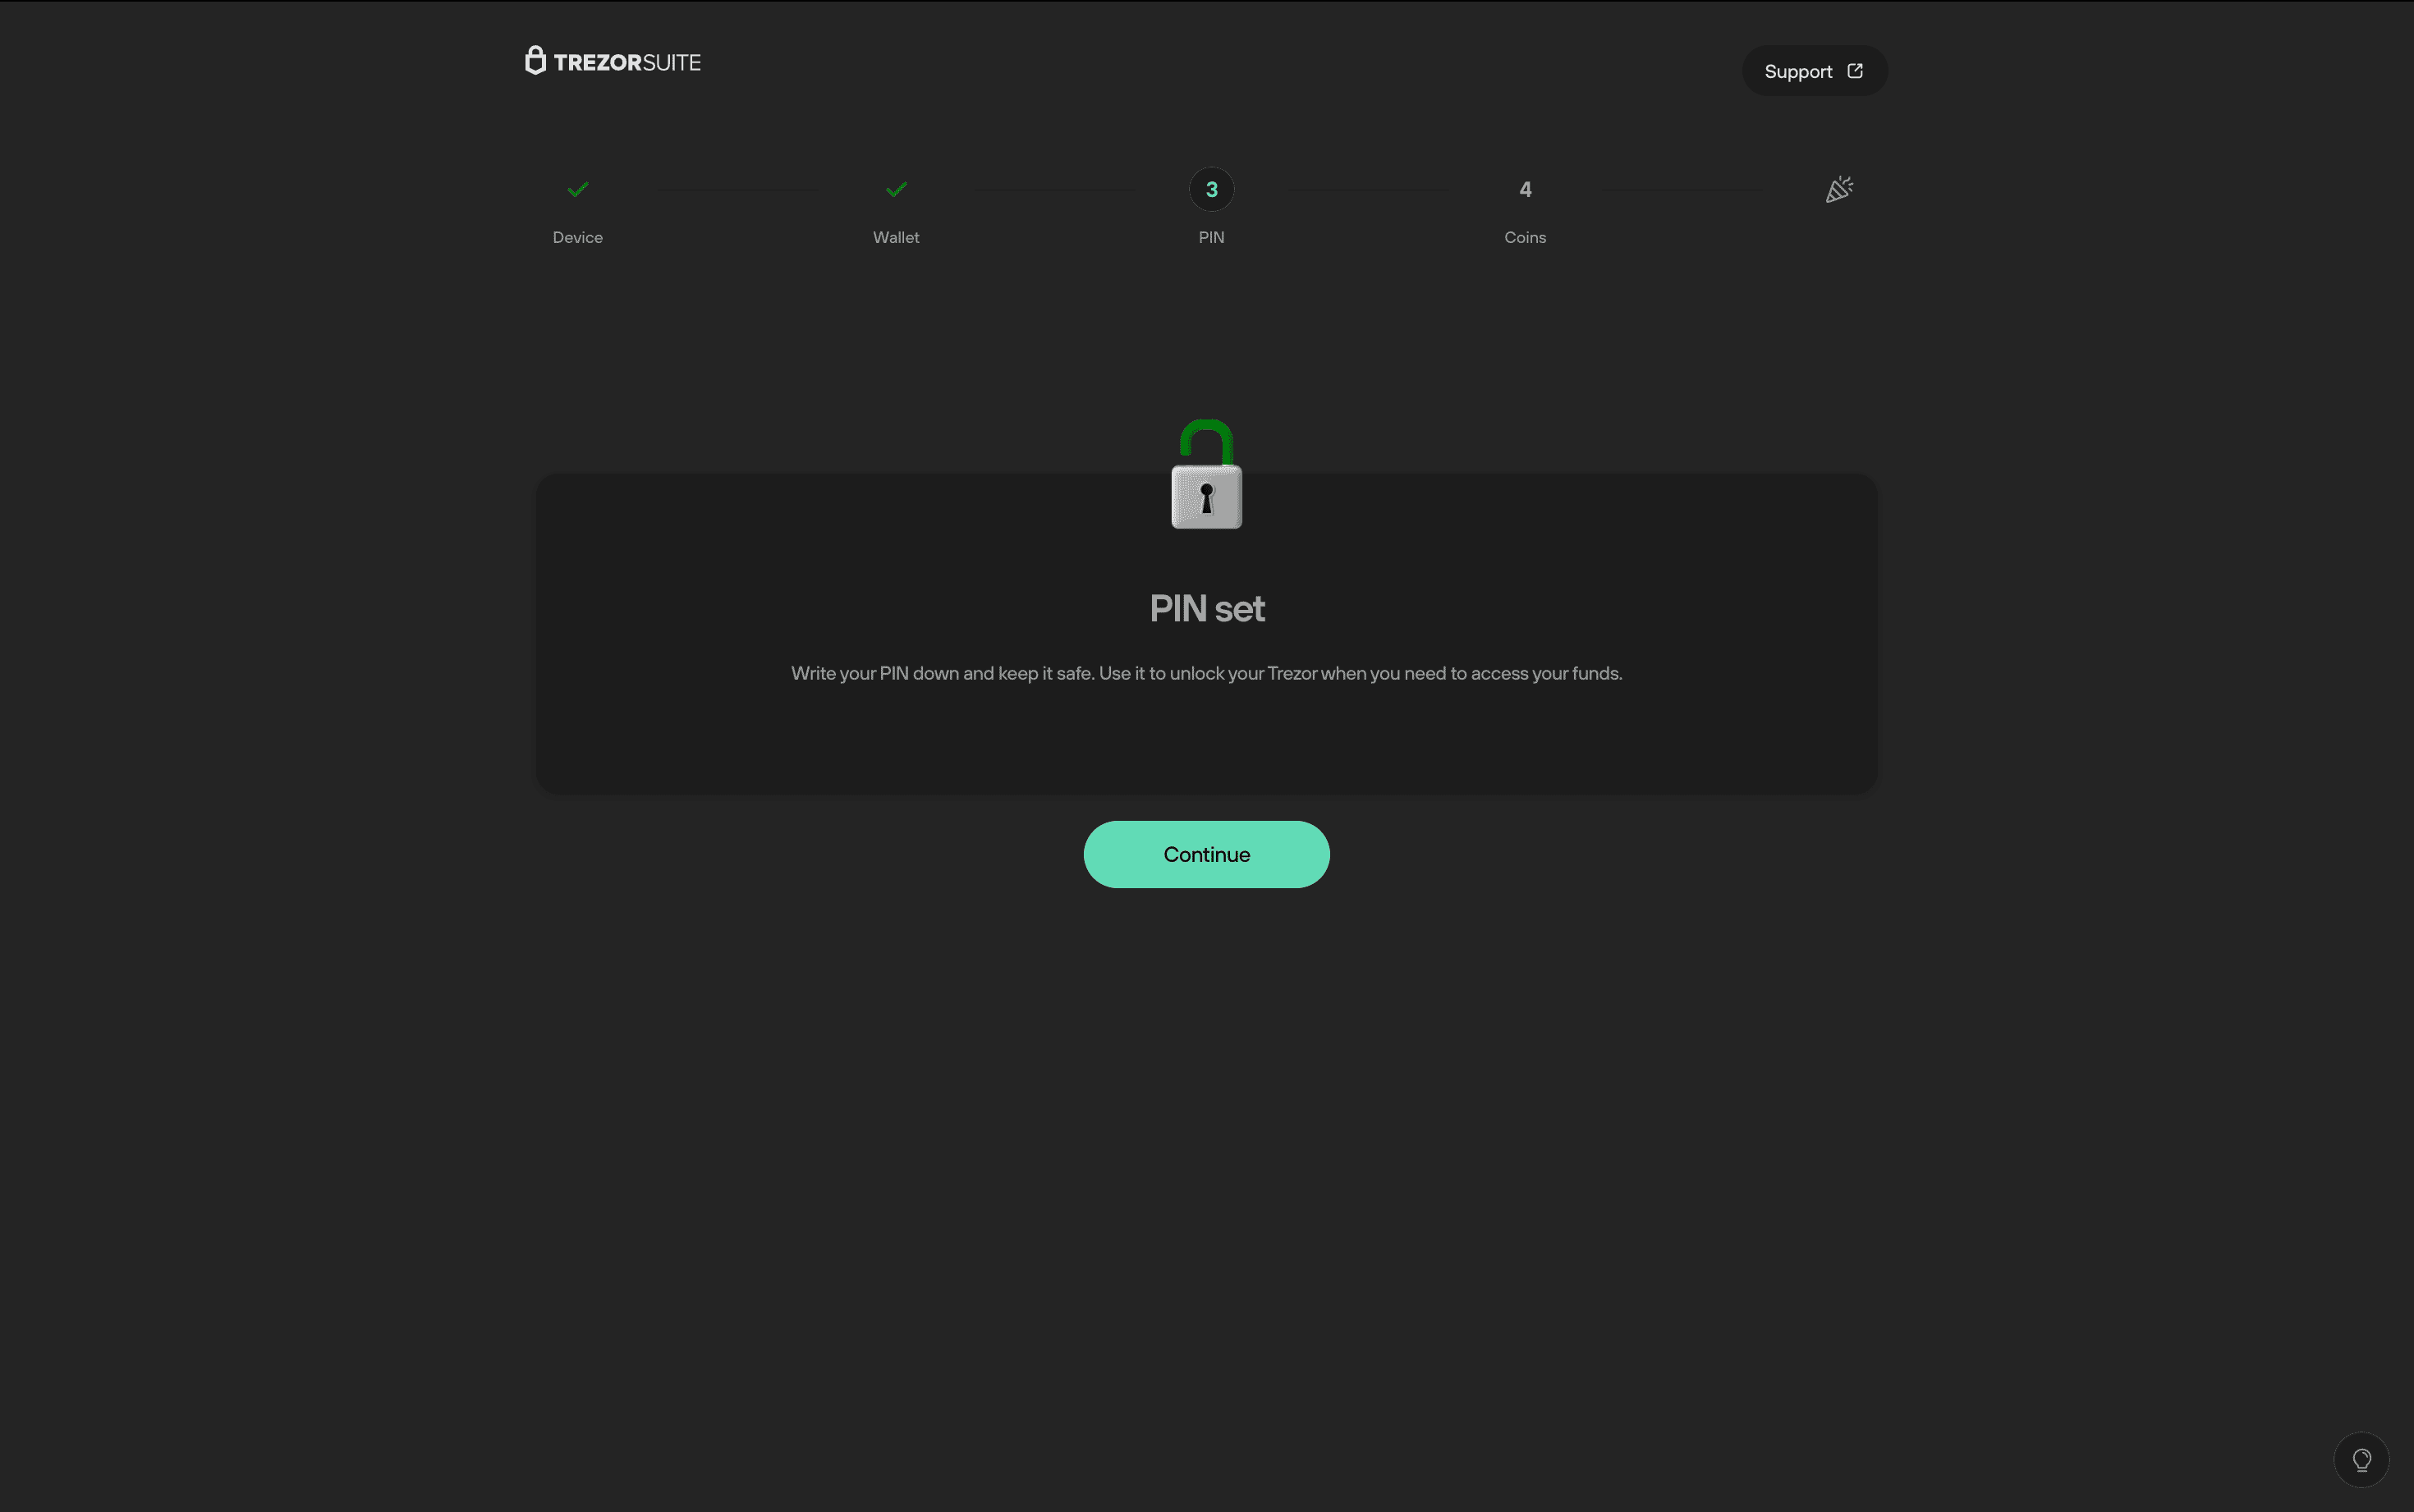
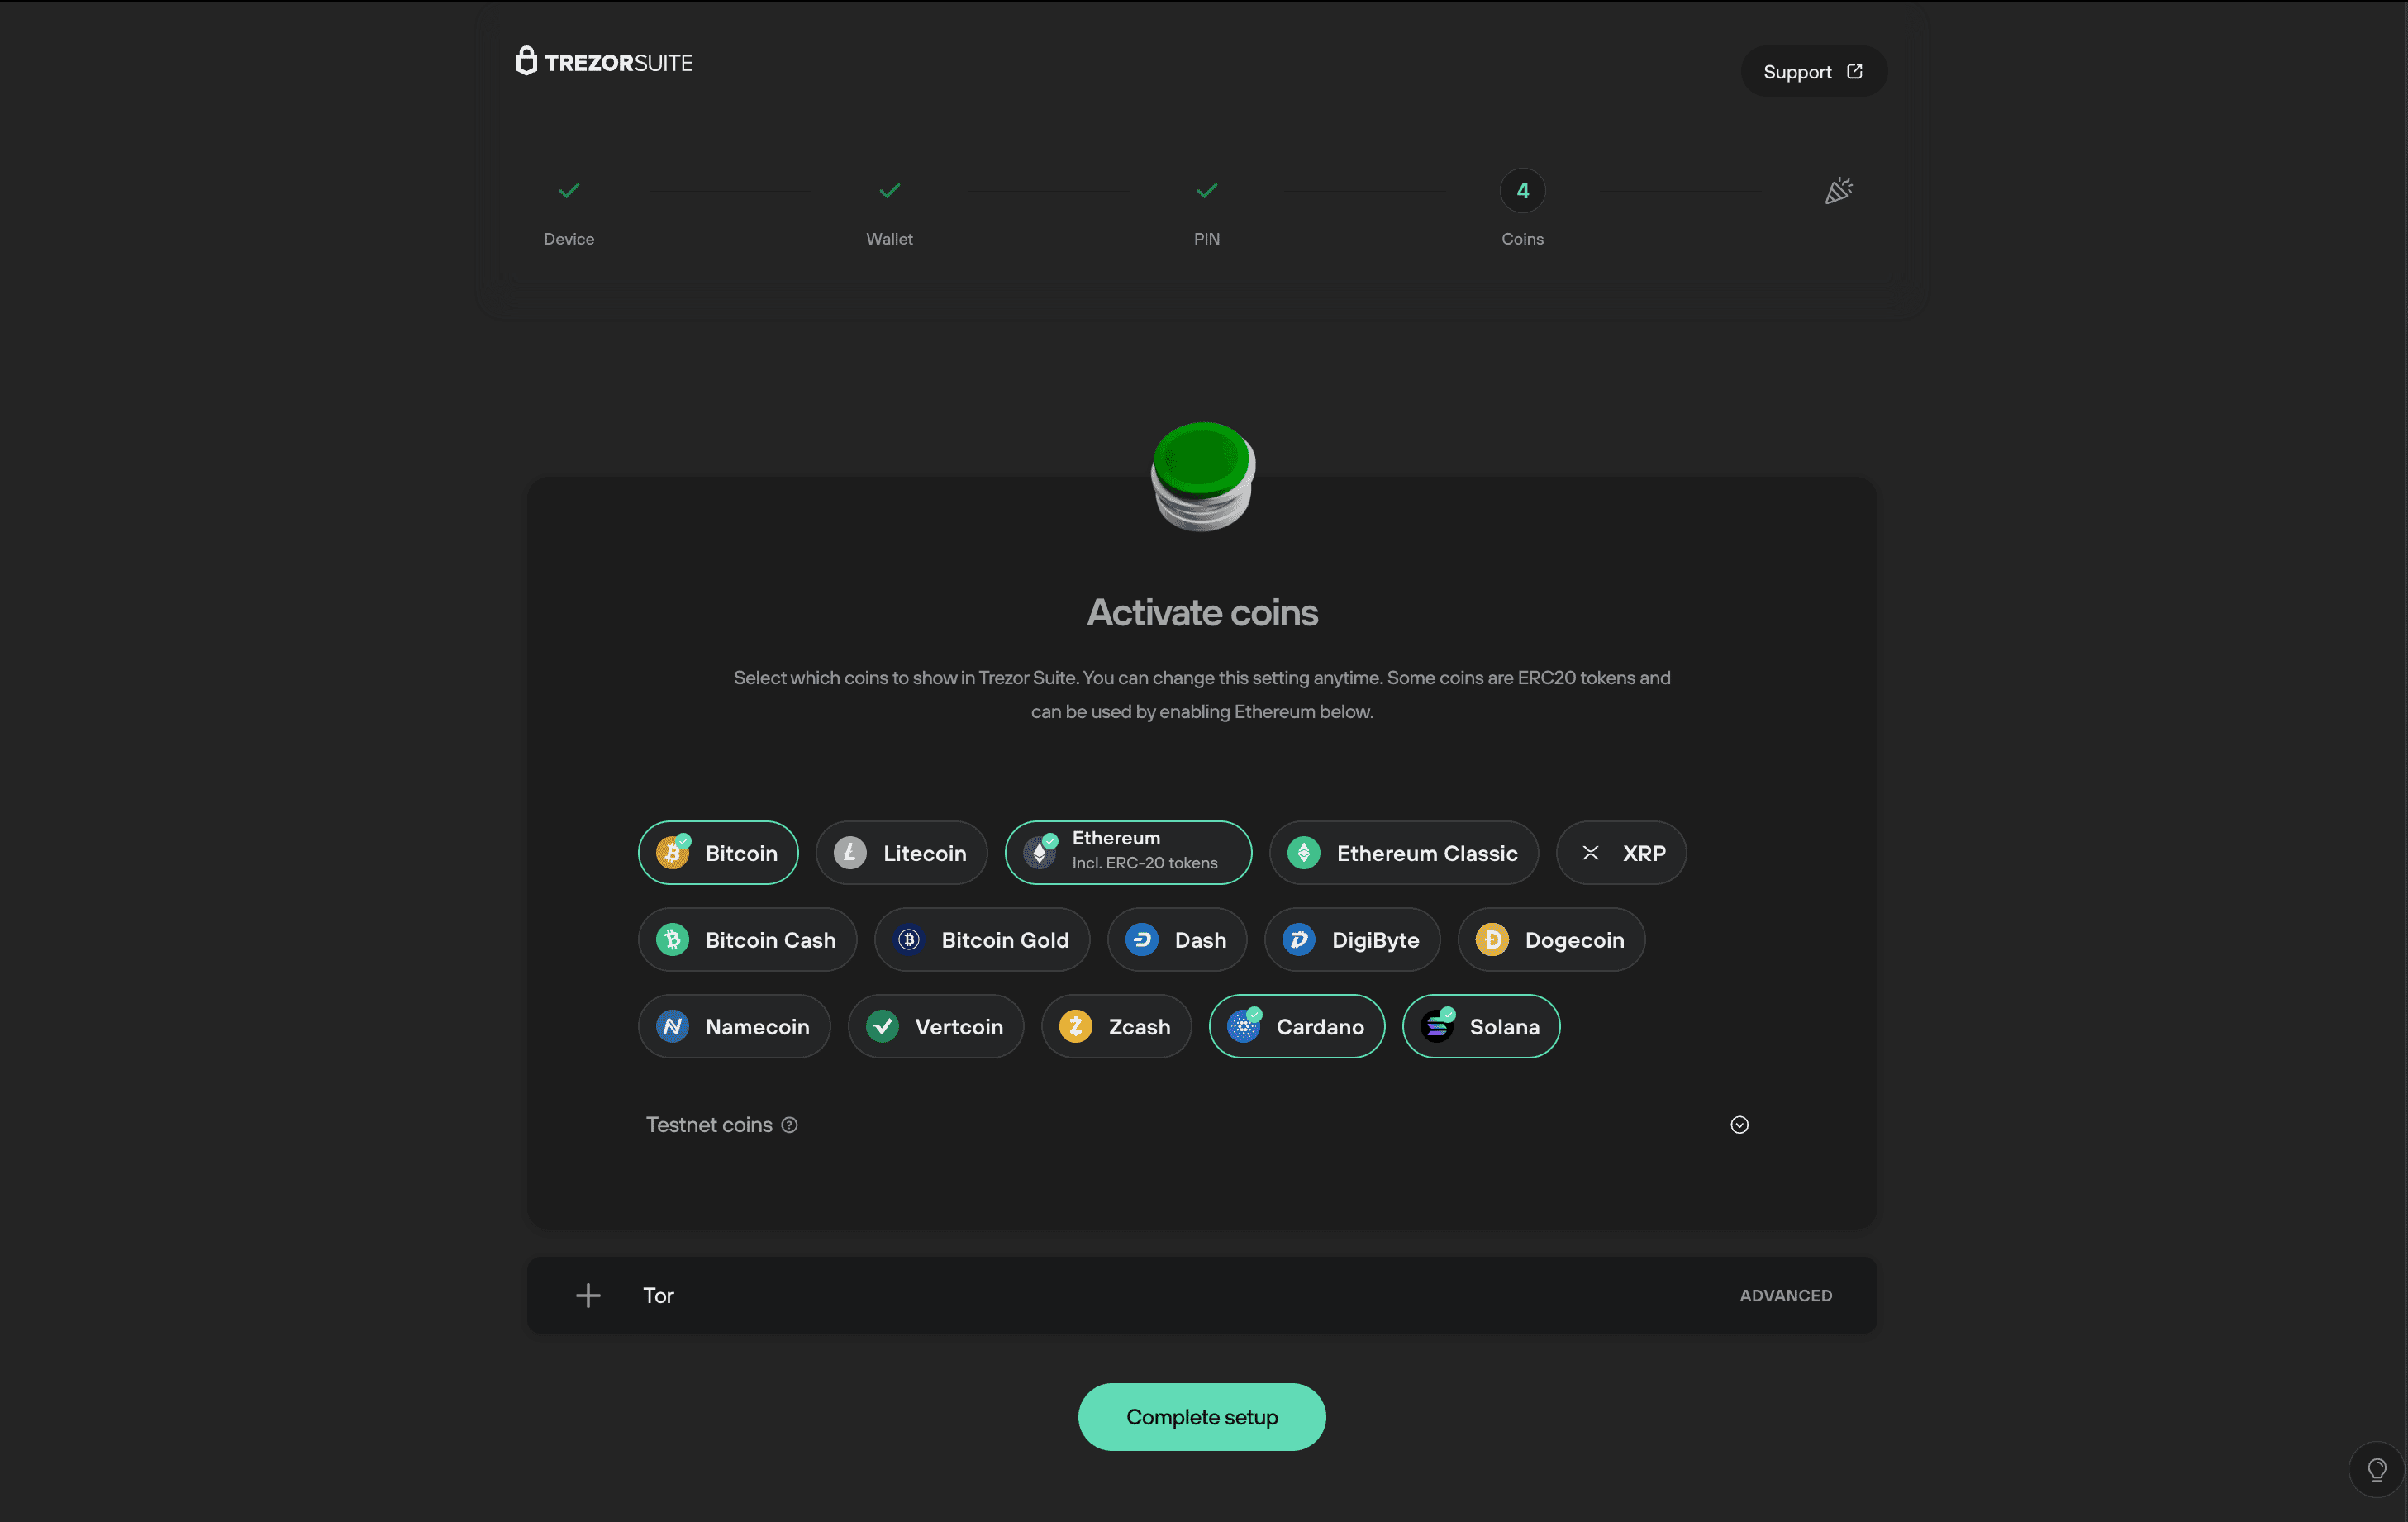
- Click Continue and you will be directed to the "Activate coins" window, where you can choose which cryptocurrencies to display in Trezor Suite. This can be changed anytime in Settings.
- Once you’ve selected your preferred coins, click Complete setup, and you’re all done!
- Click on Access Suite to get started:
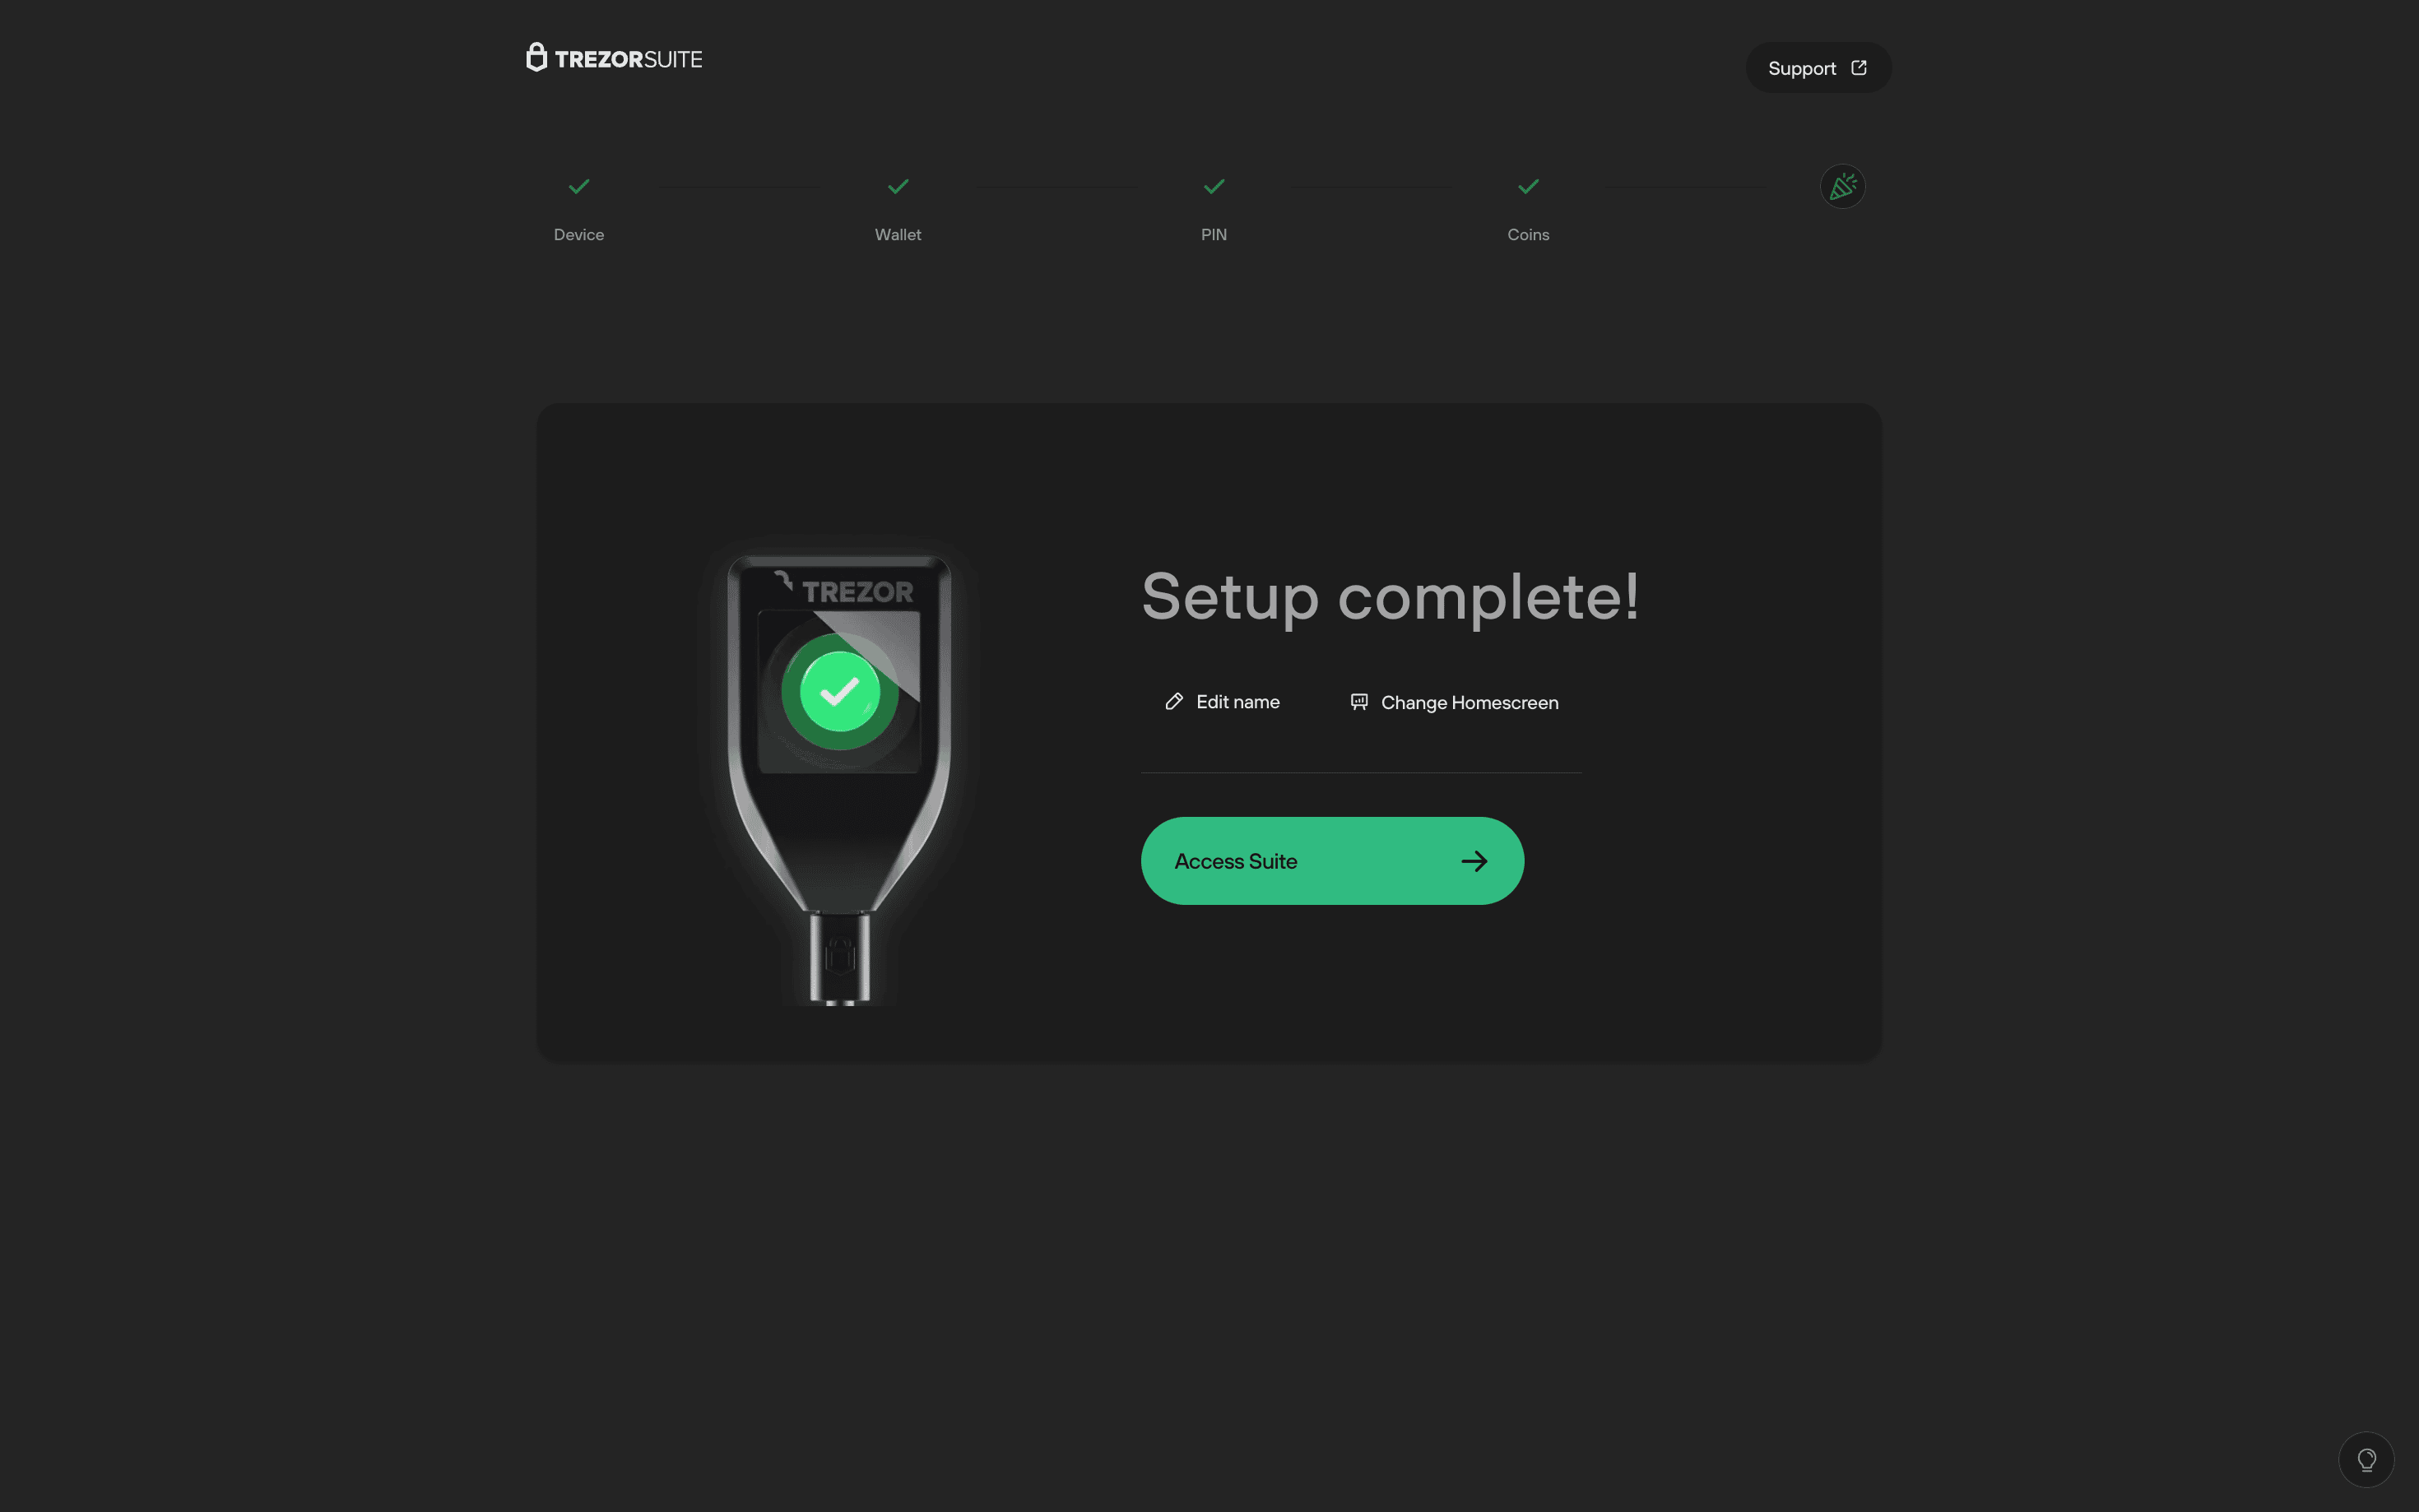
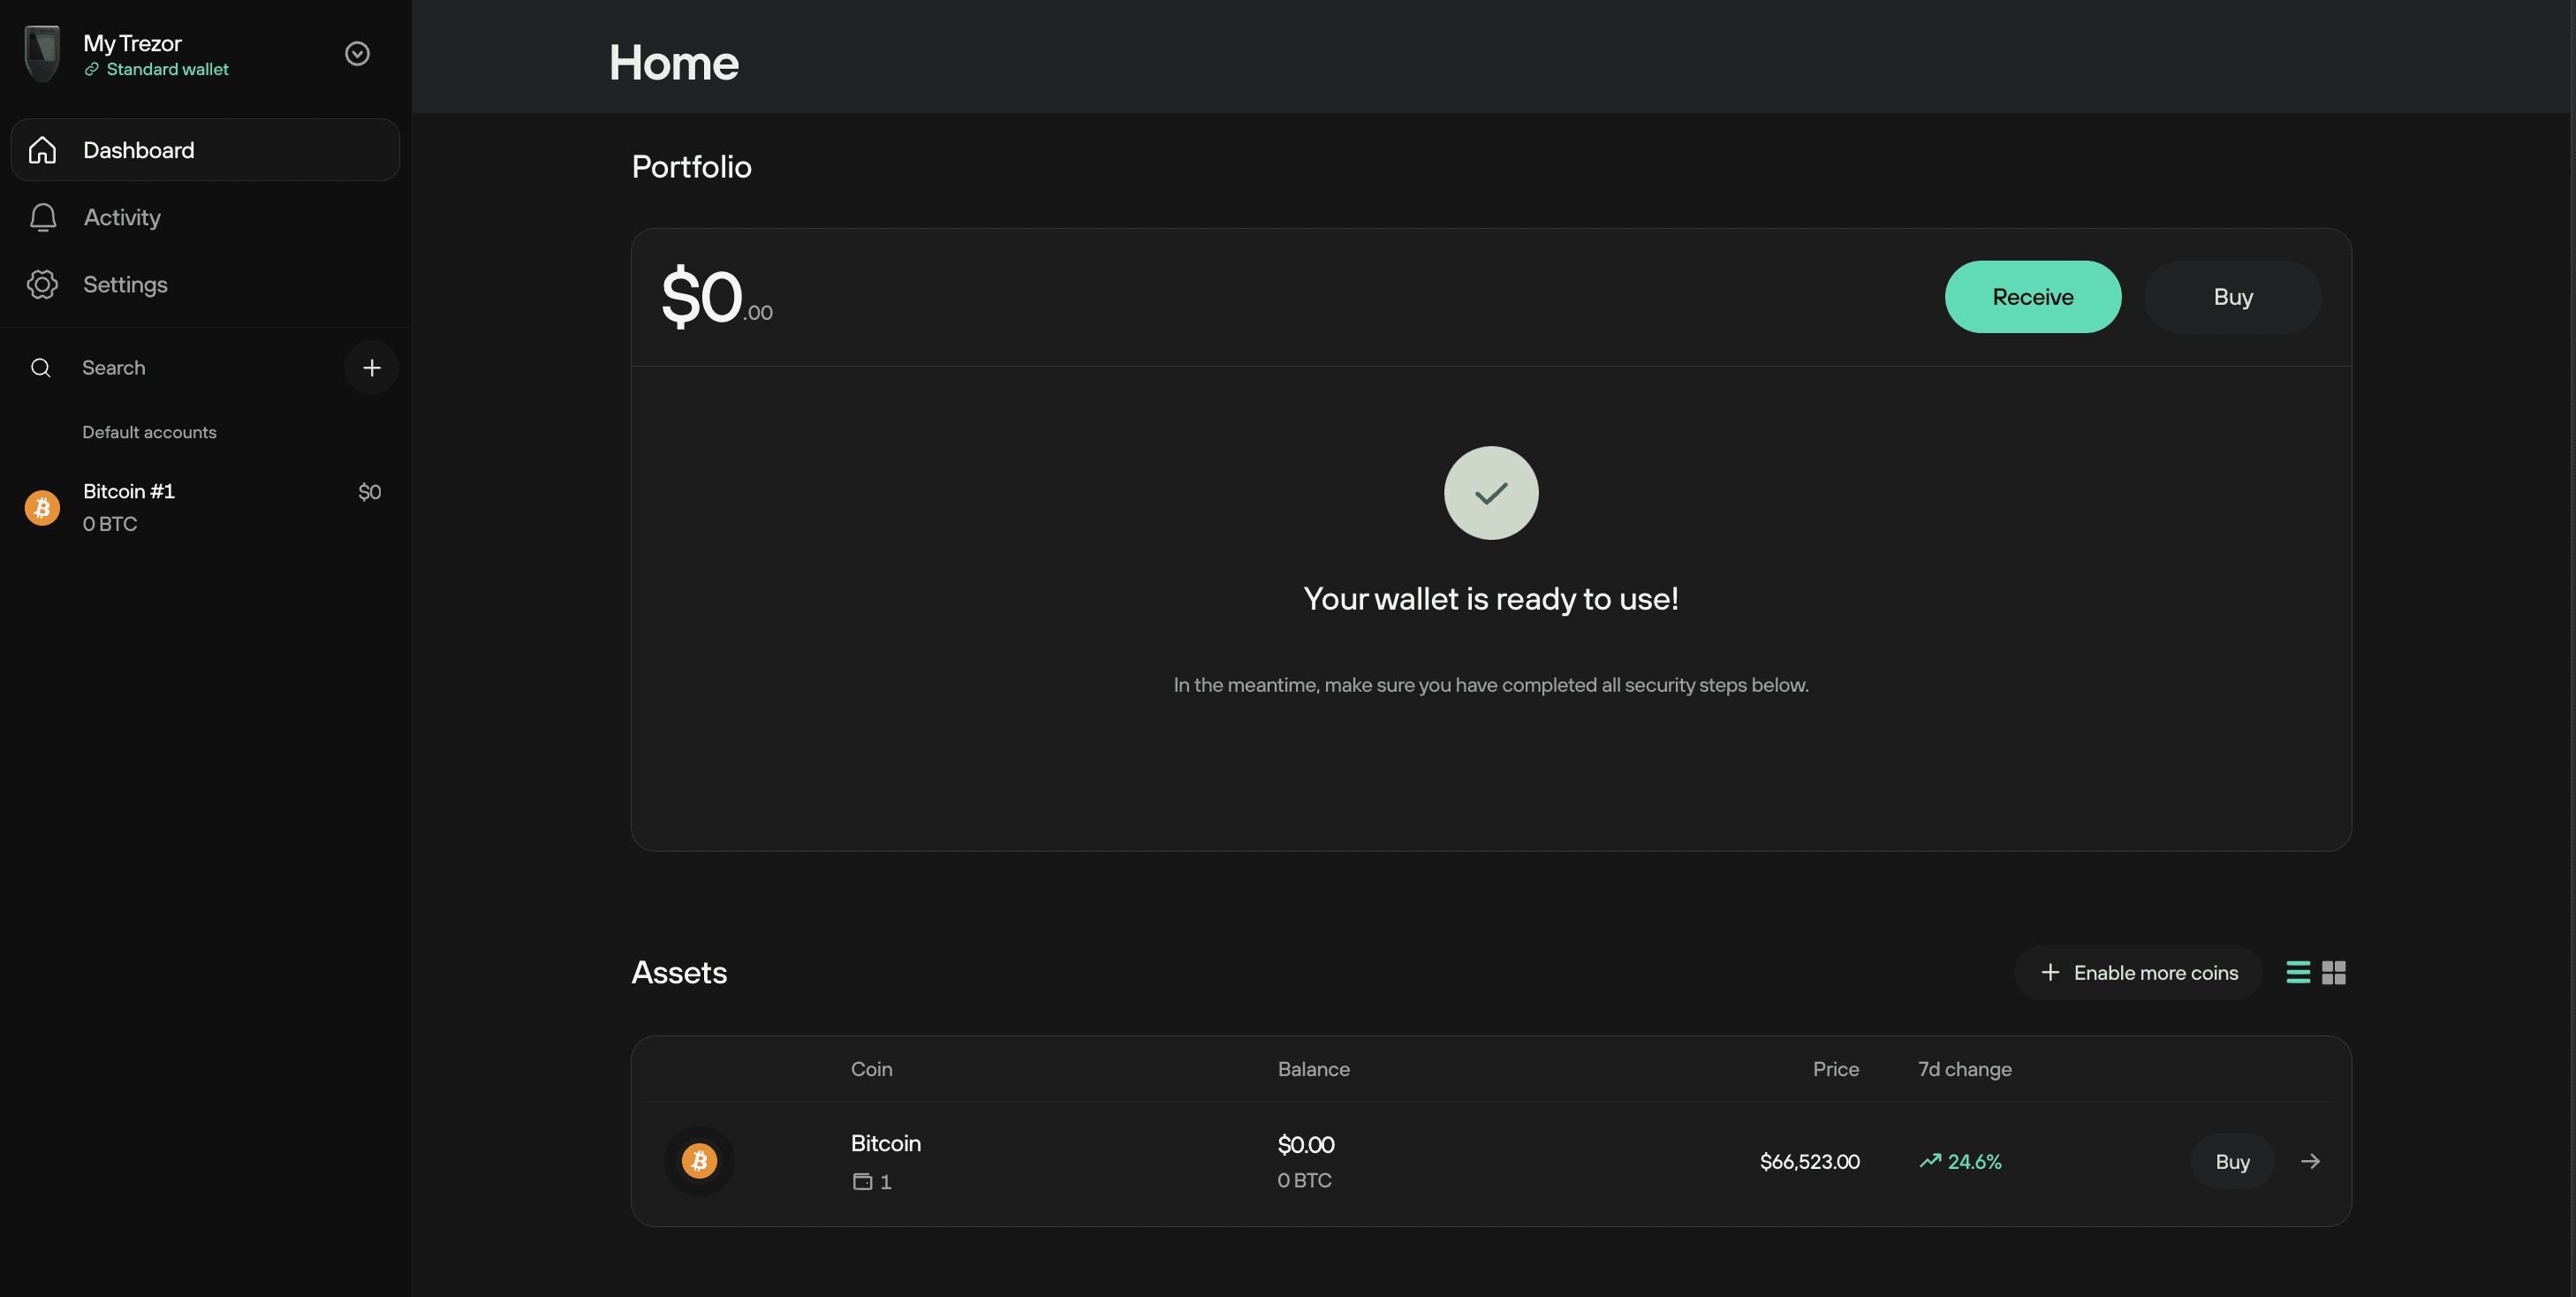
- Your setup is complete, and your wallet is ready to use.
To enhance the privacy and security of your crypto assets, we recommend using the passphrase feature. This enables you to create unique 'hidden' Passphrase wallets and control access to them, without requiring a second hardware wallet or wallet backup (recovery seed). This means your funds are safe, even if your backup is compromised. You can learn more in our Standard and Passphrase wallets article.
Recovering a Wallet
Do not enter your recovery seeds anywhere unless the physical Trezor device instructs you to do so, and you confirm your choice on your Trezor. Only trust the instructions on your Trezor device.
- If you have a new or empty Trezor Model T, you can restore an existing wallet using your recovery seed.
- If you're locked out due to a forgotten PIN, or you wish to load a different seed onto your device, you must first wipe the device and then proceed with recovery (see below).
- During the second stage of setting up your Trezor Model T (the first stage is installing the firmware), choose the "Recover wallet" option:
- After selecting "Recover wallet" you will see the "Recover wallet from seed" window, which informs you that the entire process is done using the device touchscreen.
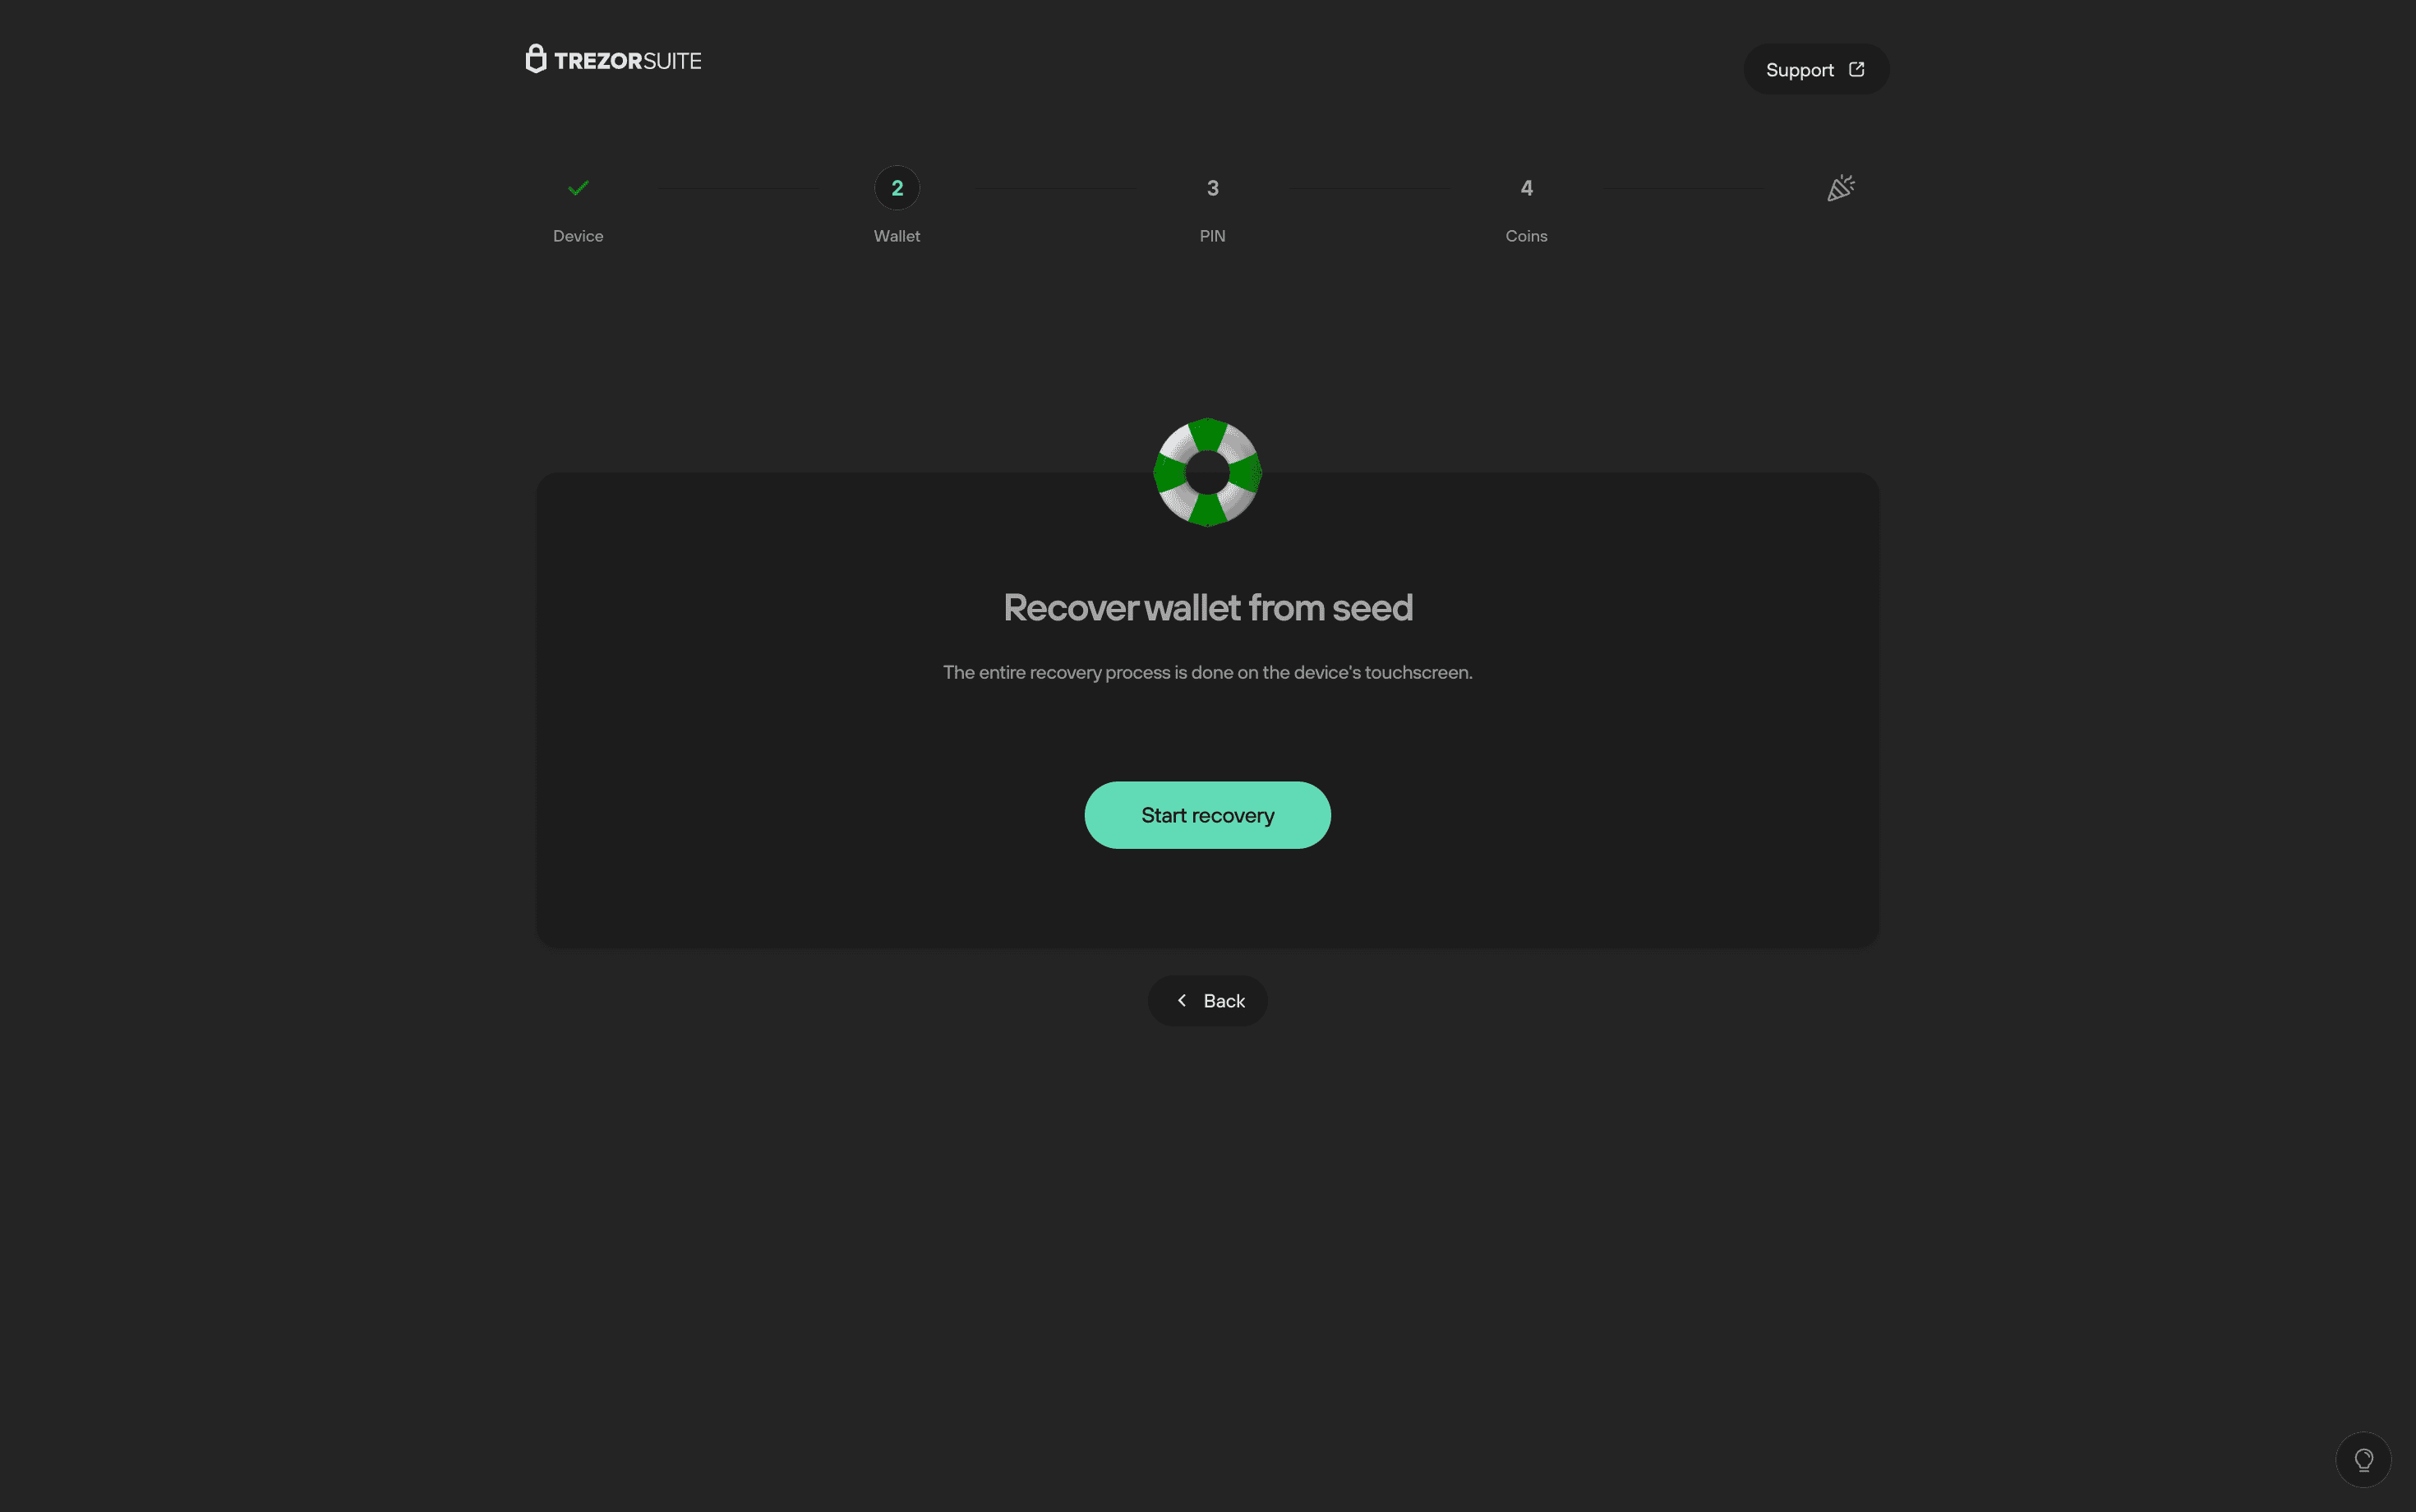
Click Start recovery and follow the device’s on-screen instructions:
- Confirm "Do you really want to recover a wallet?" using the device touchscreen
- Select the number of words in your recovery seed phrase using the device touchscreen (12 is the default number of words for the Trezor Model T recovery seed phrase)]
- Enter the recovery seed using the touchscreen
Once the process is complete, simply click on Continue in the "Recovery complete" window:
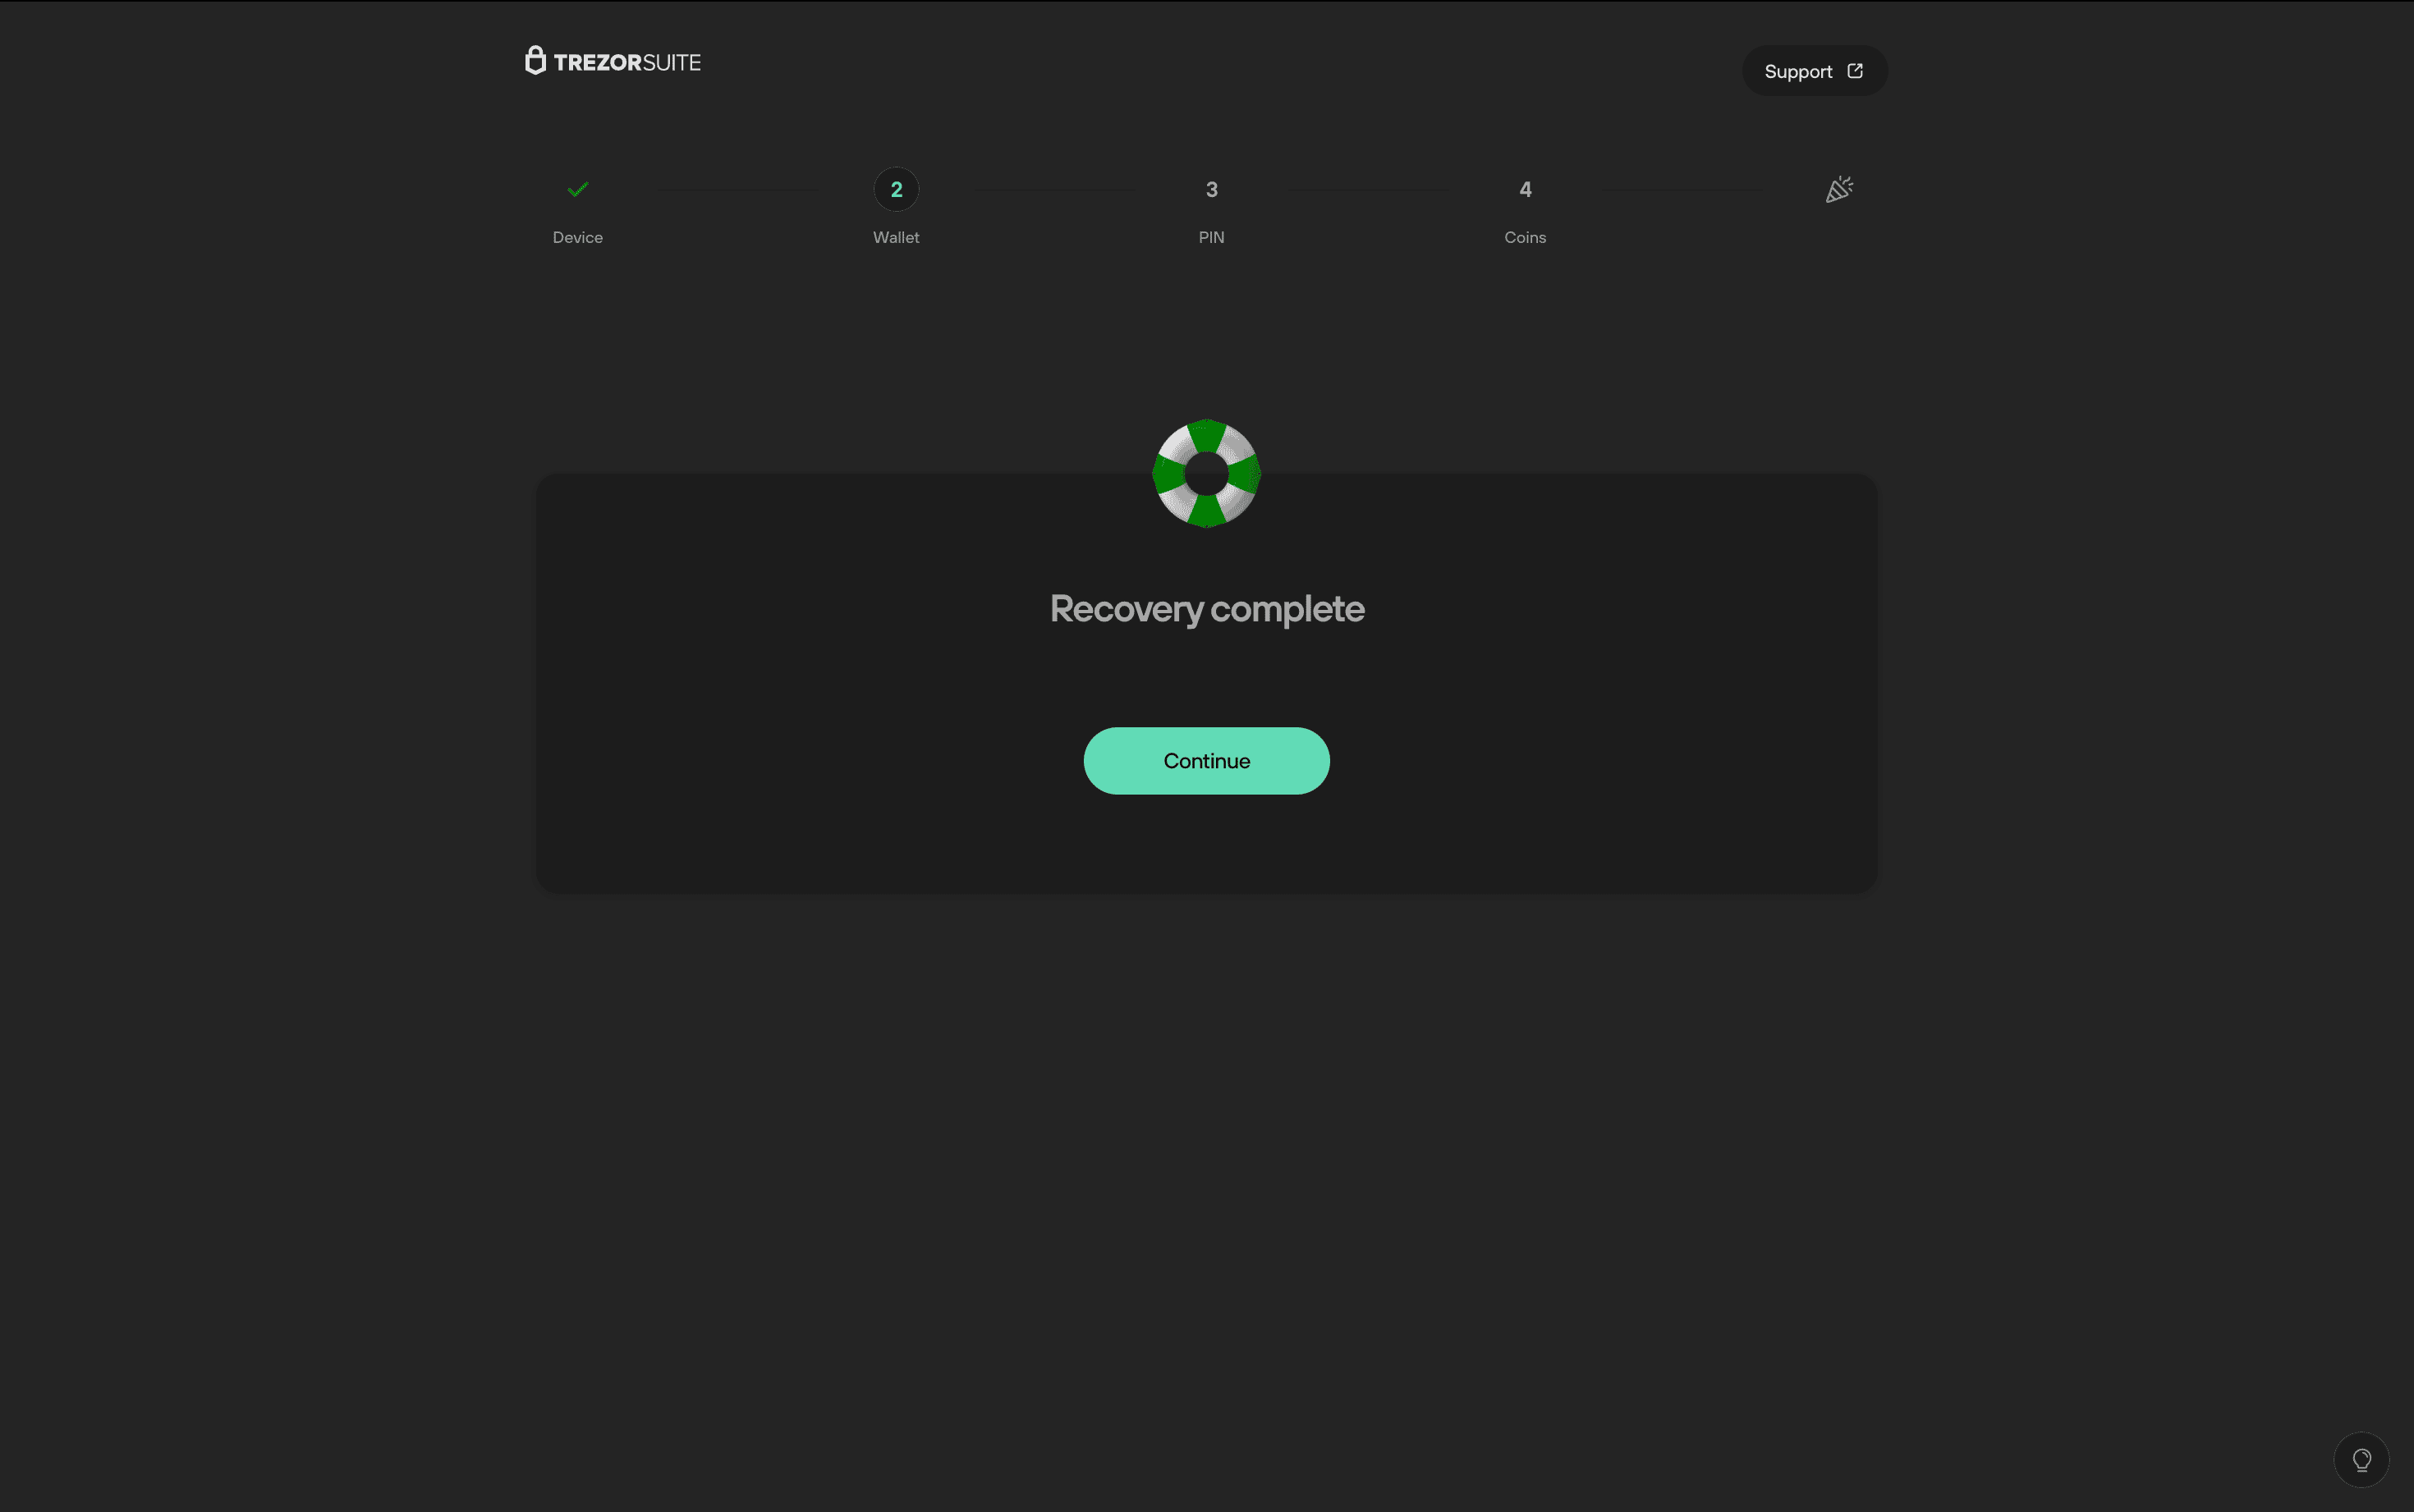
- After completing the remaining steps of the setup, you’ll be able to access the crypto funds held in the wallet associated with this recovery seed.
If you’re locked out of your device because you’ve forgotten your PIN, or you want to load a different recovery seed, you’ll need to either Factory reset or Wipe device. This introduces some small but important changes to the initialization process.
- If you’ve forgotten your PIN, you’ll need to reset the device in Bootloader mode by performing a Factory reset. This will erase the firmware along with all private information, including your PIN and recovery seed. Since this restores the device to its original factory condition, the setup process will be the same as for a new device.
- If you know your PIN and select Wipe device in Trezor Suite, you’ll still remove all of your private data (including PIN and recovery seed) but the firmware is not removed. In this case, the initialization process looks a little different.
- Once you reconnect your device, the first Security check window will now indicate that firmware is already installed.
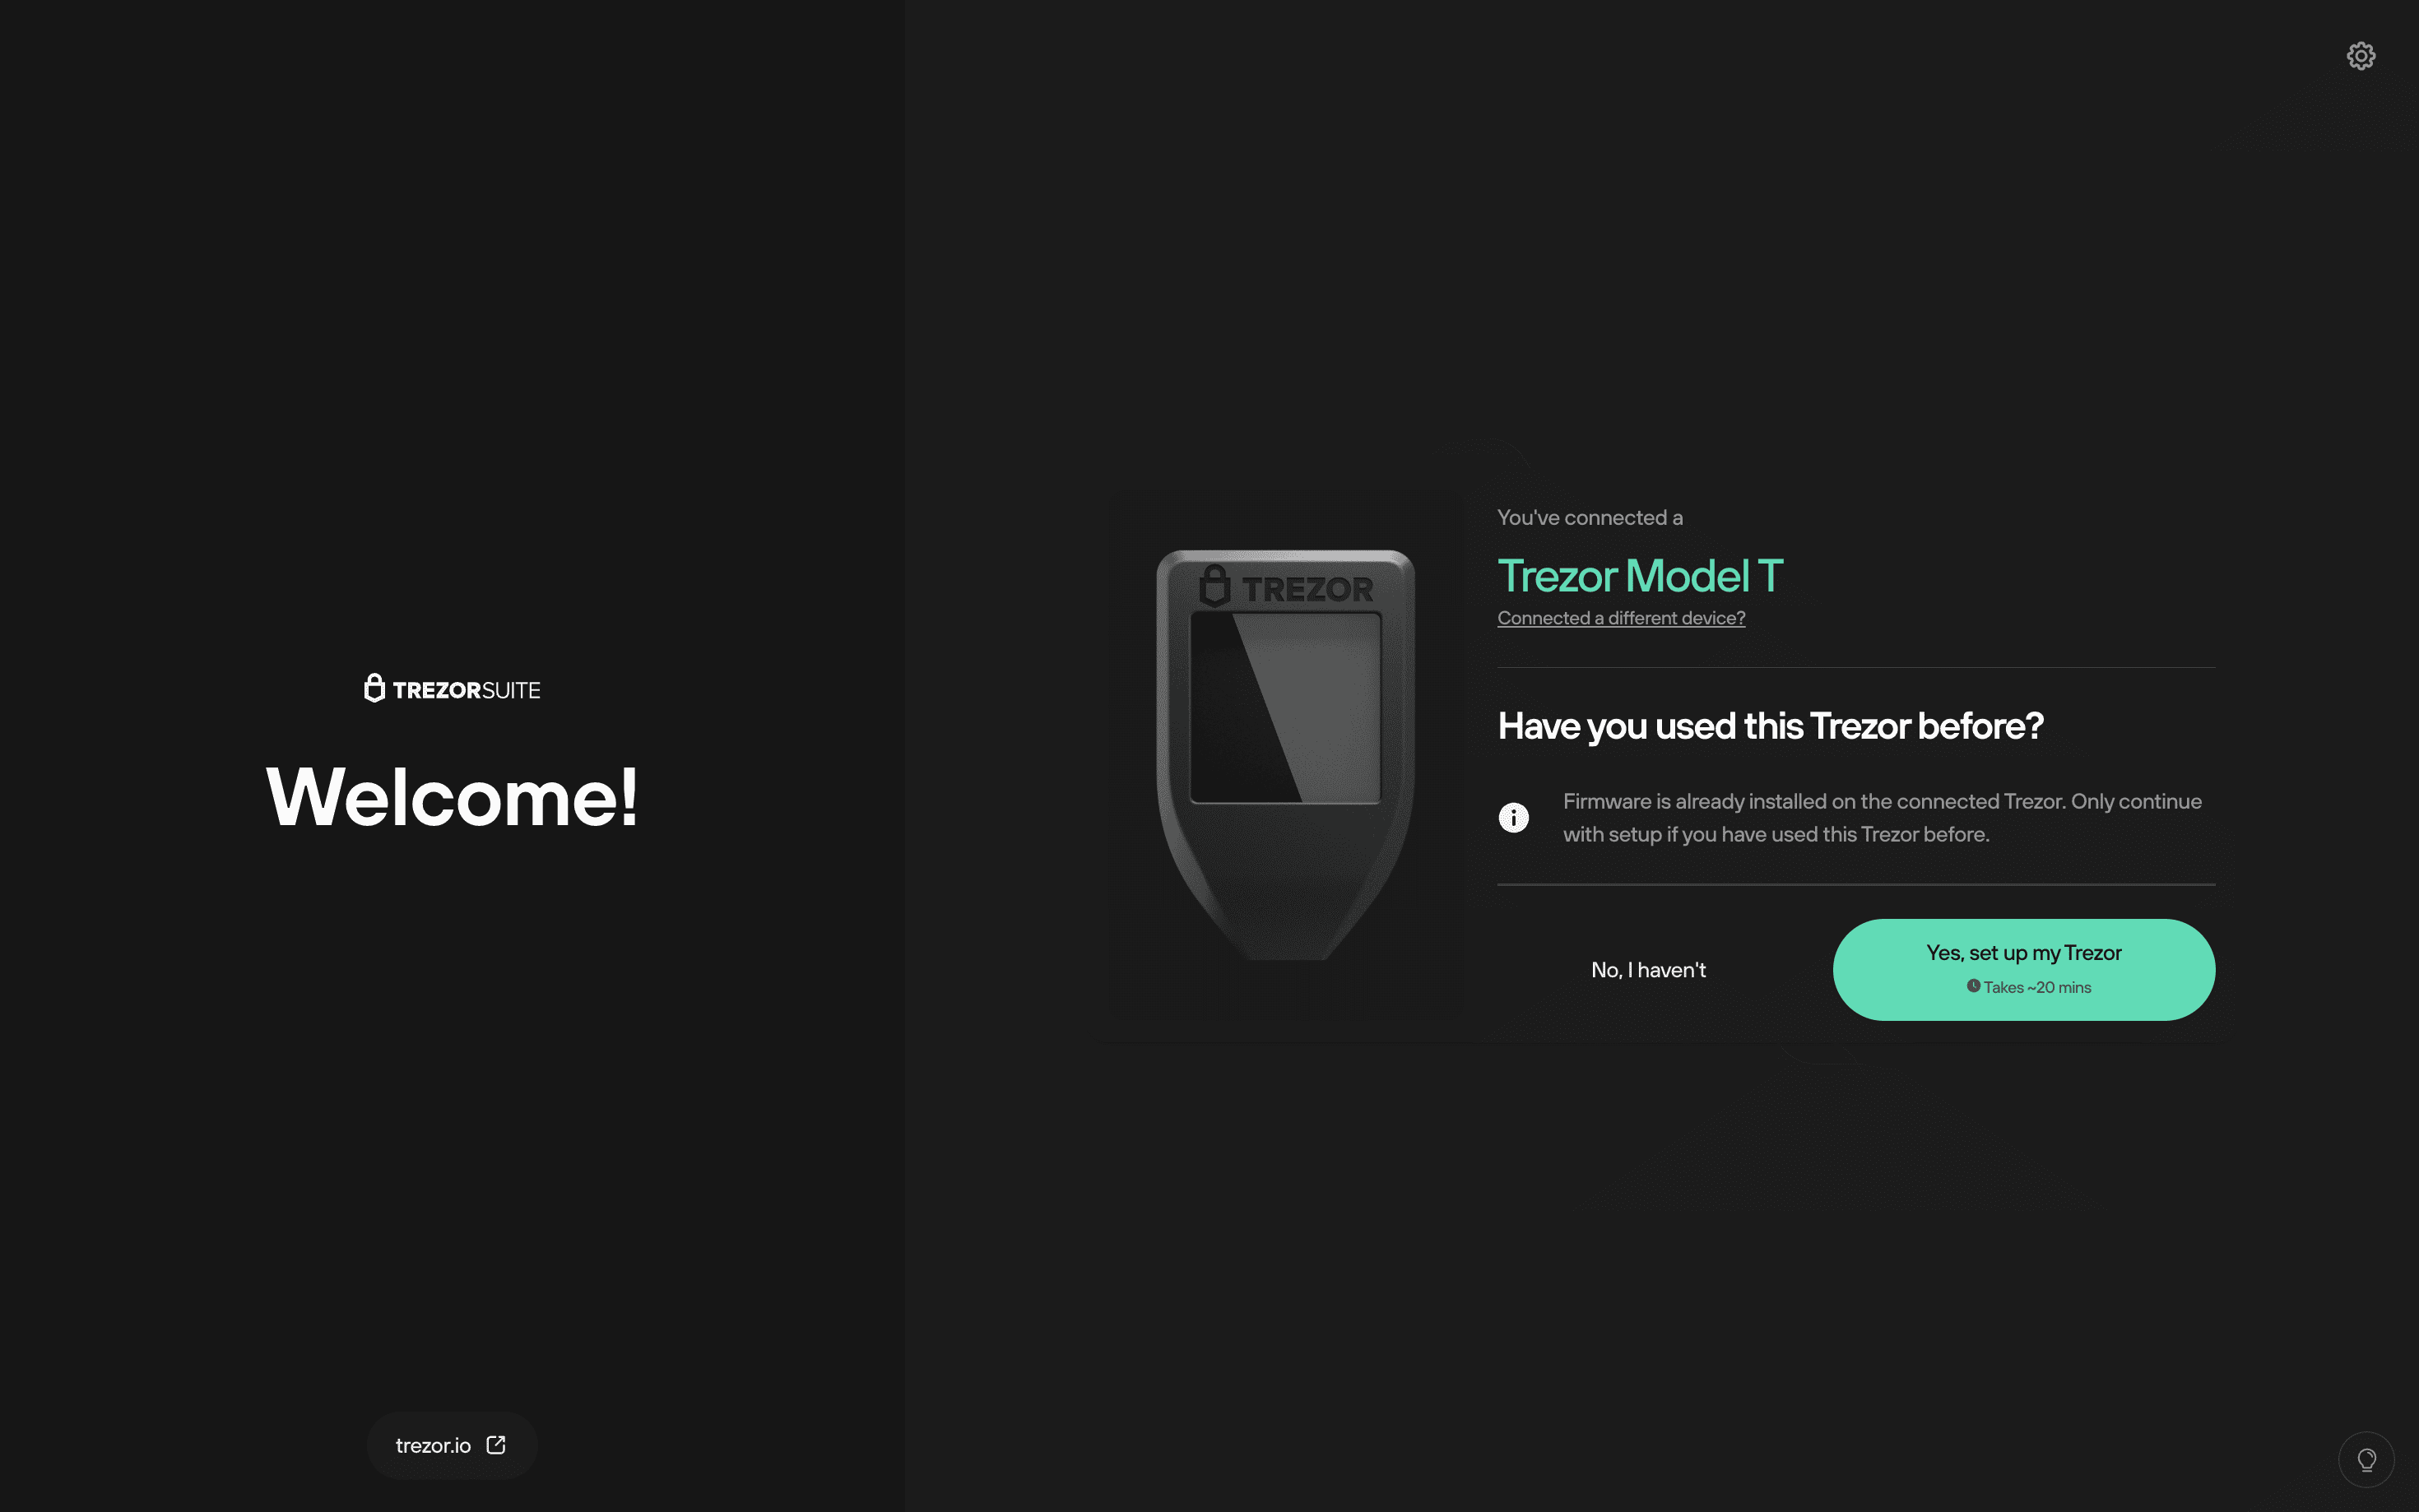
- The message displayed now tells you that firmware is already installed on the device you’ve just connected.
If you've never used the device before, do not proceed with setup. Instead, unplug the device and contact Customer Support to arrange a replacement.
- If you’ve already used the device and are sure that it’s safe to proceed, click Yes, set up my Trezor and you will then see the "Firmware ready" confirmation dialogue.
- Click Continue, and you’ll be presented with the same options as before: "Create new wallet" or "Recover wallet".
- From here, follow the same steps described earlier in this guide.
Setting a Custom Image as Your Trezor Model T Wallpaper
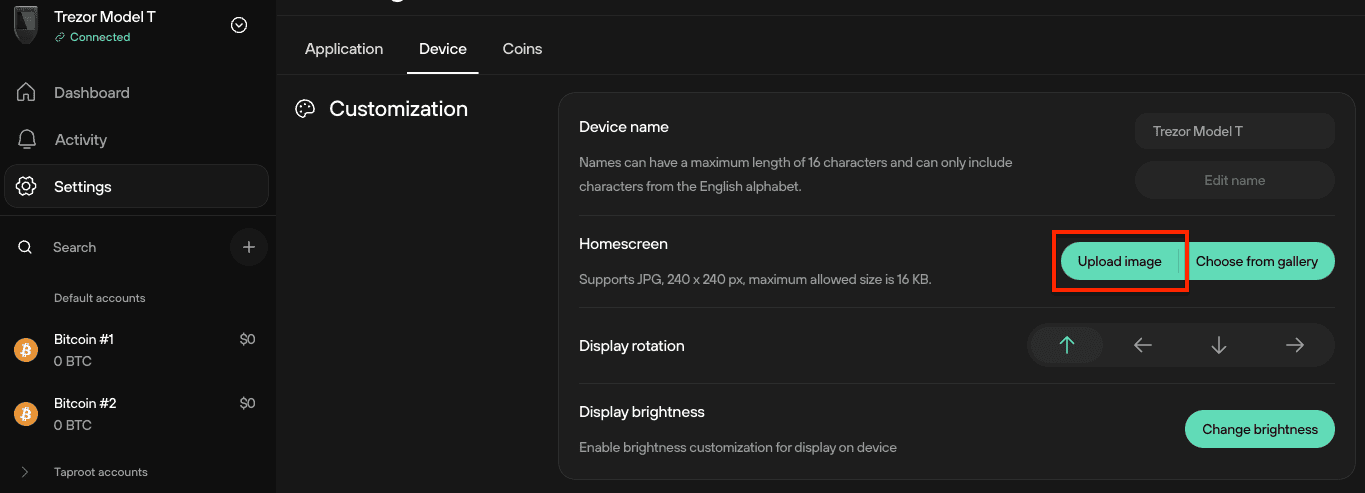
You can customize your Trezor Model T homescreen wallpaper by uploading a 240x240 pixel JPEG image (less than 16 KB).
To change the wallpaper, connect your Trezor Model T to Trezor Suite, and go to Settings > Device, scroll down to the Customization section, and select Upload image.
In the popup window, select the correct jpeg image. It will appear in Trezor Suite. Click on Change homescreen. You will be prompted by your Trezor Model T to confirm you wish to make this change. Confirm it on the Trezor Model T.

You now have a Trezor Model T with a custom homescreen wallpaper!
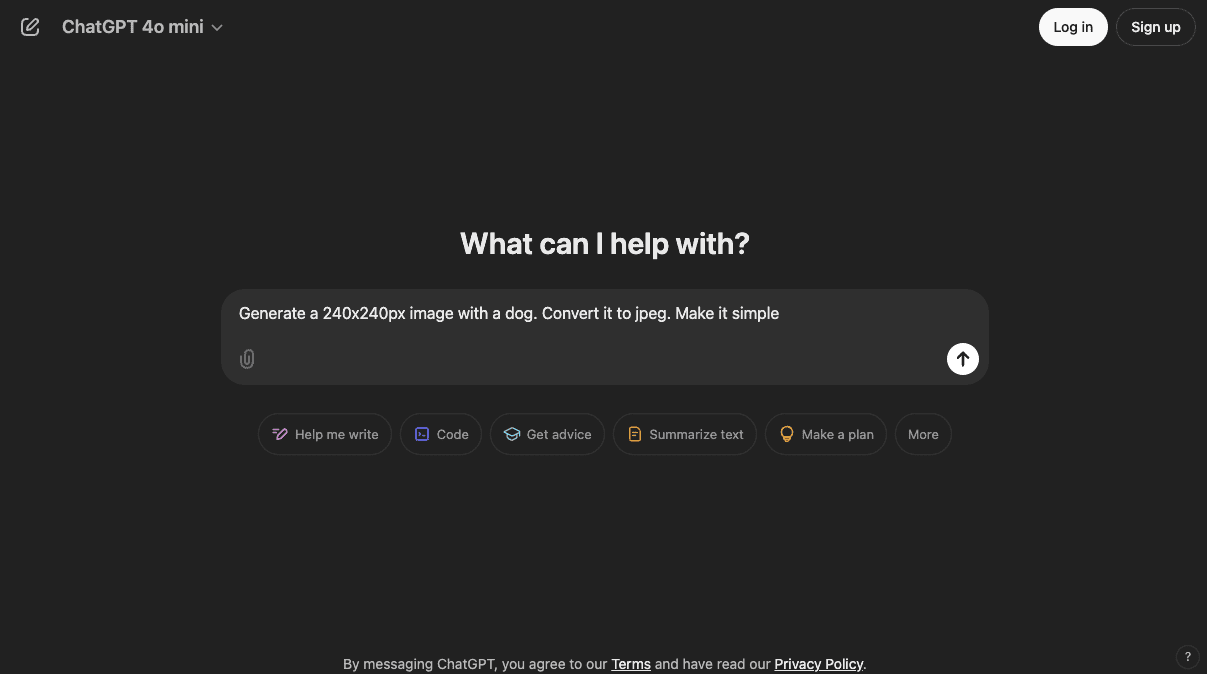
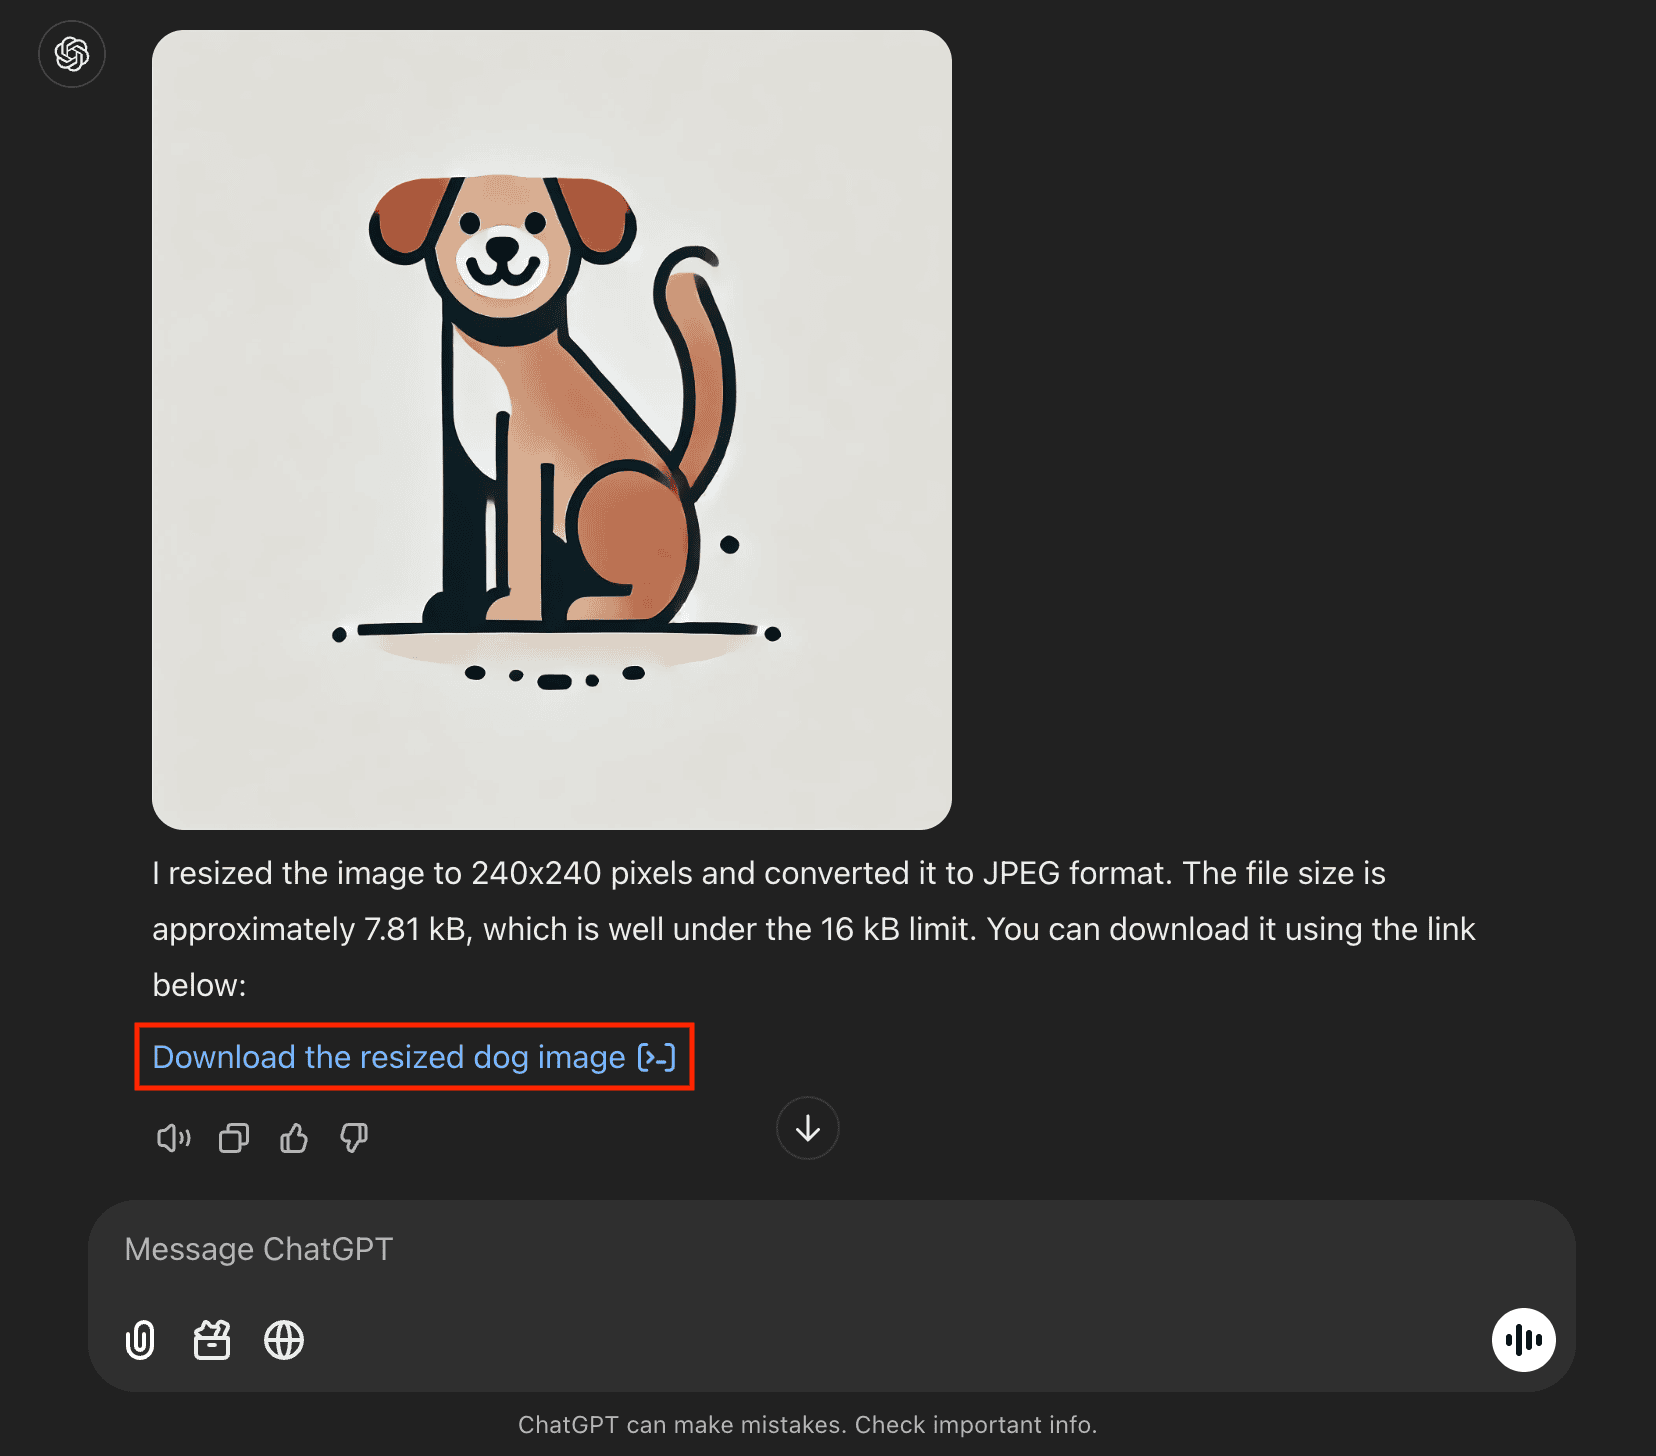
One simple way to create such an image for the Trezor Model T is through using an AI image generator that is able to create a jpeg format image, such as the one available via Open AI’s ChatGPT, which this guide will demonstrate using. This will ensure your image meets the display and formatting requirements of the device.
For example to create an image of a dog, open ChatGPT and enter the following prompt:
Generate a 240x240px image with a dog. Convert it to jpeg. Make it simple
ChatGPT will generate an image, and a link to download it as a jpeg. Click the link (not options under the image), to download it as a jpeg.
Follow the above instructions to load the downloaded image onto your Trezor Model T.