Recover a wallet with Shamir backup
This article aims to provide a simple step-by-step manual for recovering an existing wallet utilizing the Shamir backup feature.
- "Recovery" refers to the process of using recovery shares to restore and enable access to already existing accounts.
- For detailed information about the method of splitting the backup into multiple shares, see the Shamir Backup article.
Shamir backup is currently available for Trezor Model T, Trezor Safe 3 and Trezor Safe 5.
Preparing your Trezor for recovery
Your Trezor is ready for you to restore your wallet.
If you lost your PIN and need access to your accounts, or if you wish to load a different seed onto your device, you will need to wipe the memory of your Trezor. See the following articles for detailed instructions:
The entire recovery process is done directly on your Trezor, which you can operate using the touchscreen (Model T and Safe 5) or physical buttons (Safe 3).
Never type your recovery shares into a computer. If you find a website asking for the words of your backup in a straight sequence, it is probably a scam.
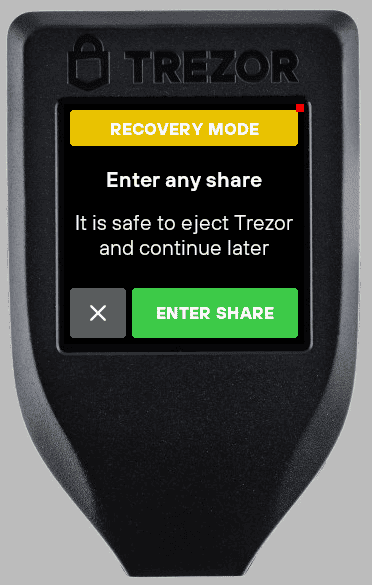
Your Trezor device will enter the recovery mode when you initiate the process. Once in recovery mode, the device will remember where you left it if you unplug the cable from your Trezor.
You can enter each recovery share one at a time, move geographically, and then continue the process after you plug your Trezor device into a power source (it can be a powerbank, mobile phone, or even just a plain electrical socket).
- Trezor Model T, Safe 3 or Safe 5
- Compatible supported operating system and configuration
- Internet connection for initiating the recovery process
- Required number of recovery shares to reach the threshold (determined while generating the wallet)
Recovering your wallet
The recovery process is demonstrated here using a Trezor Model T:
- Start Trezor Suite and connect your Trezor
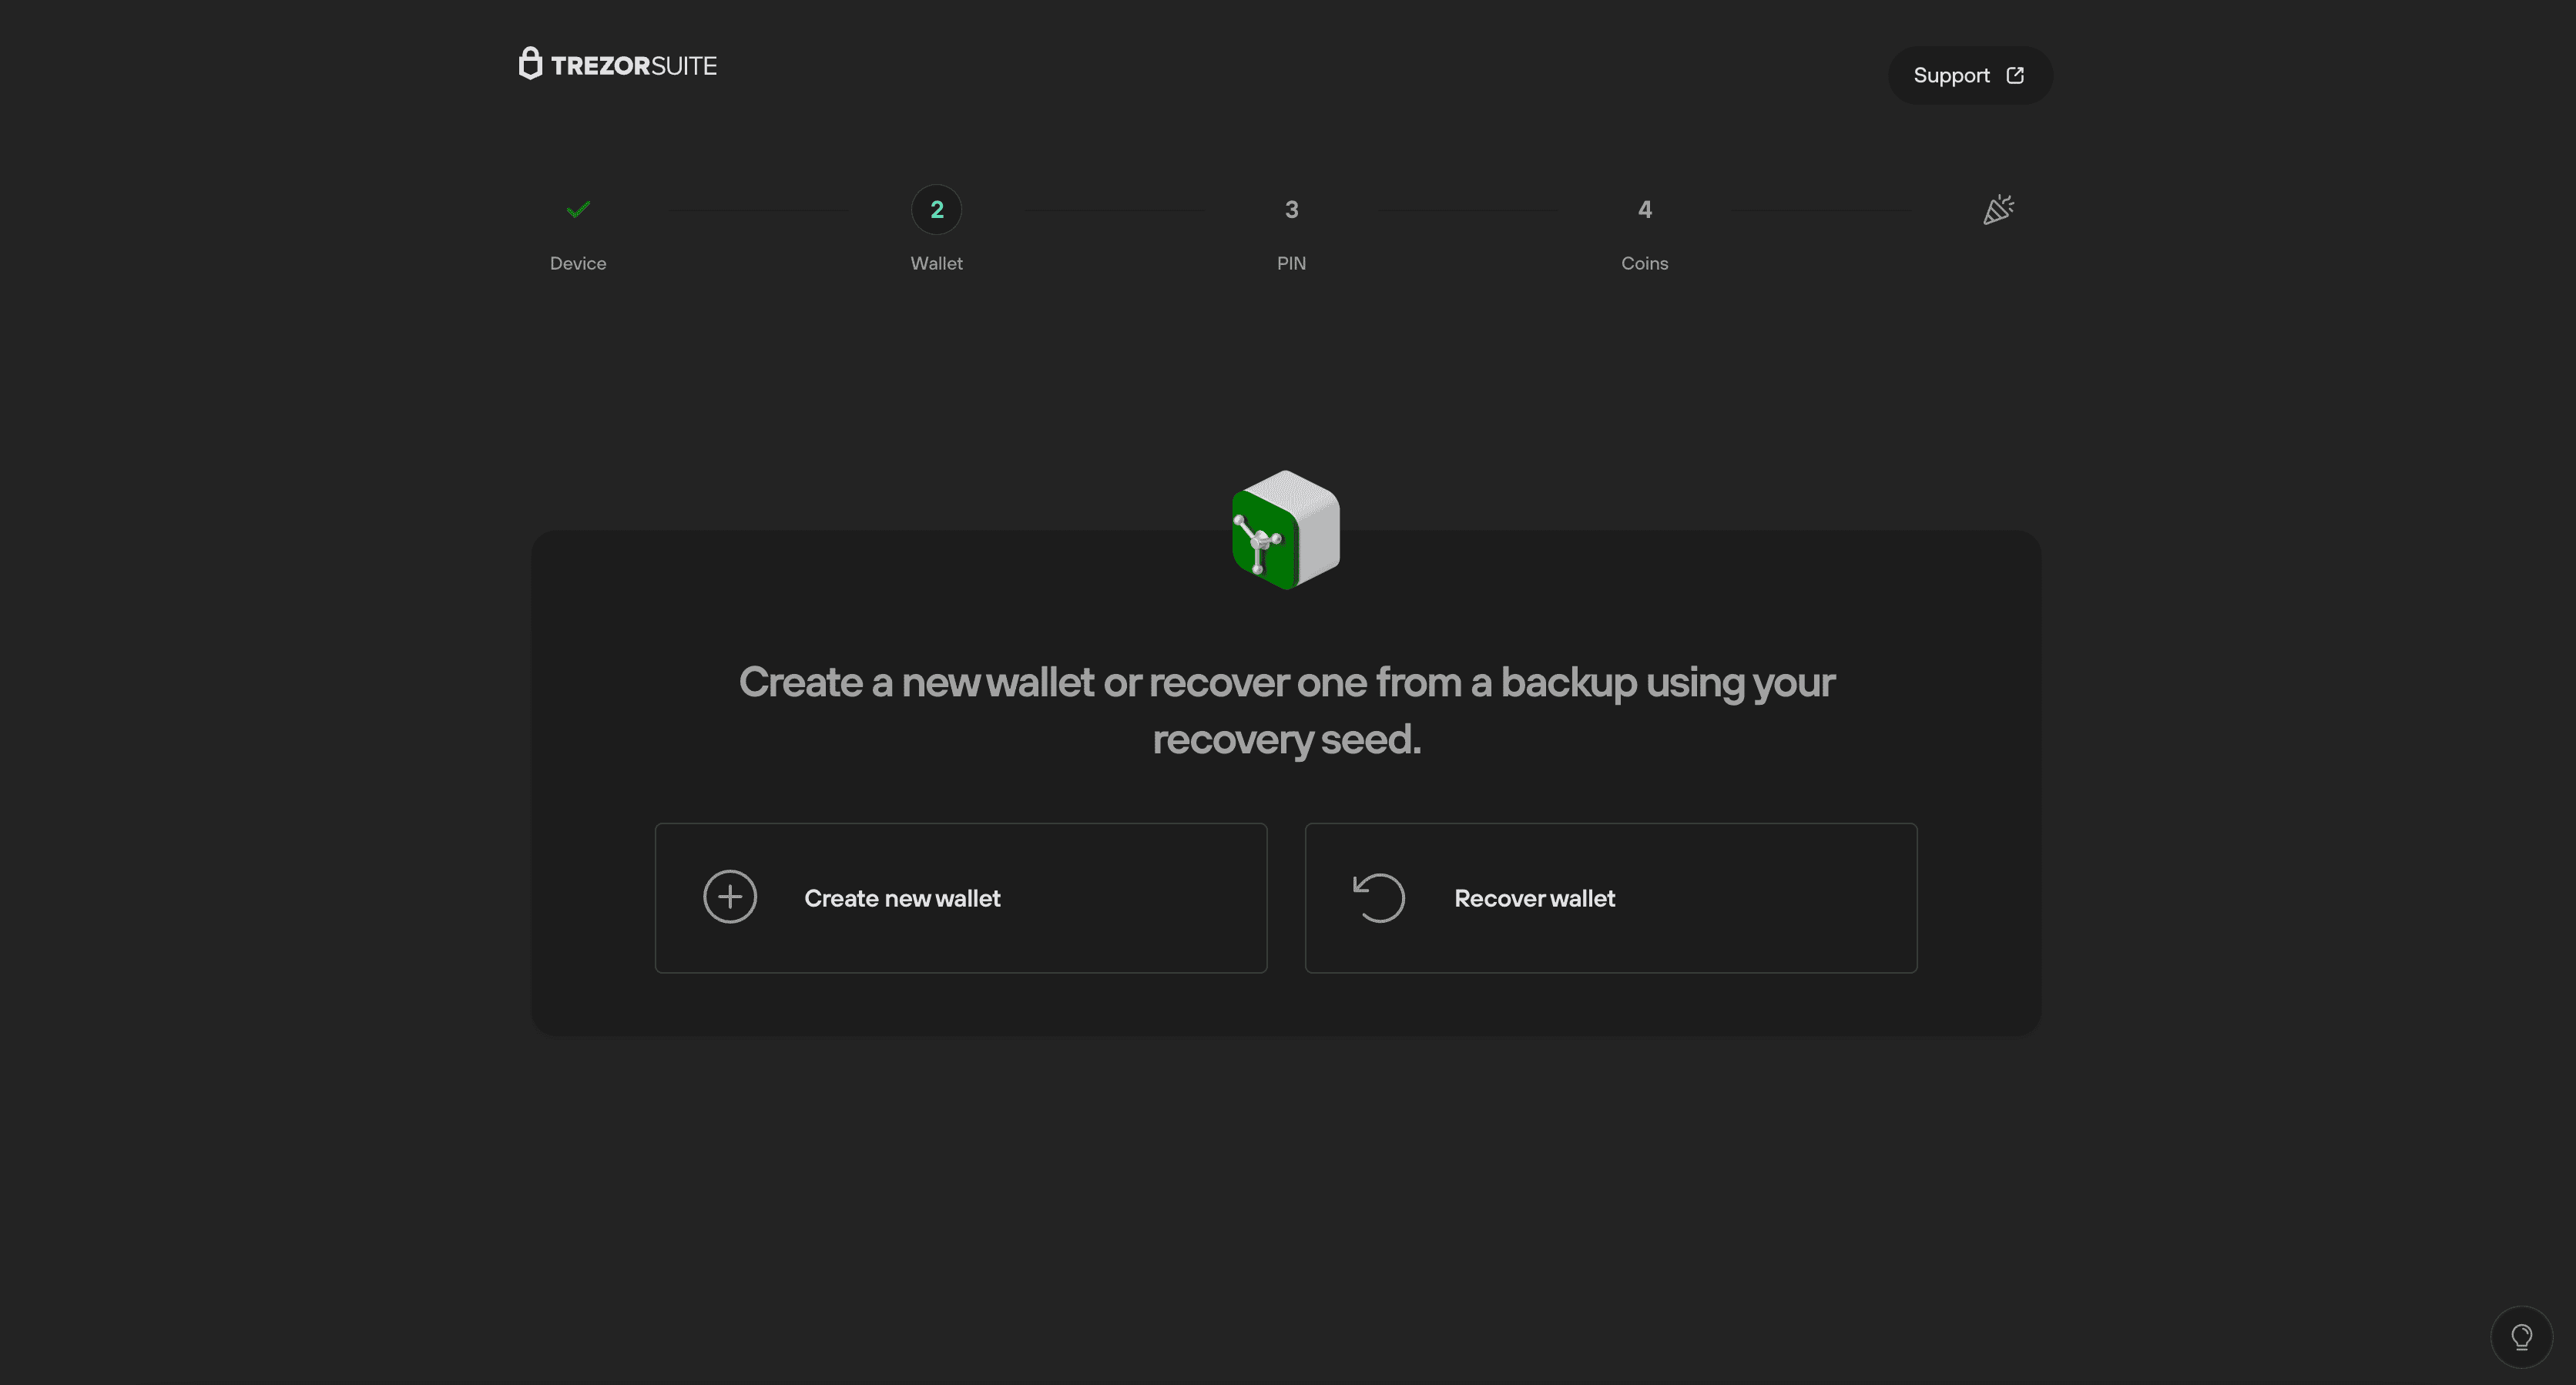
- After checking / updating device firmware, in the "Wallet" window click on "Recover wallet"
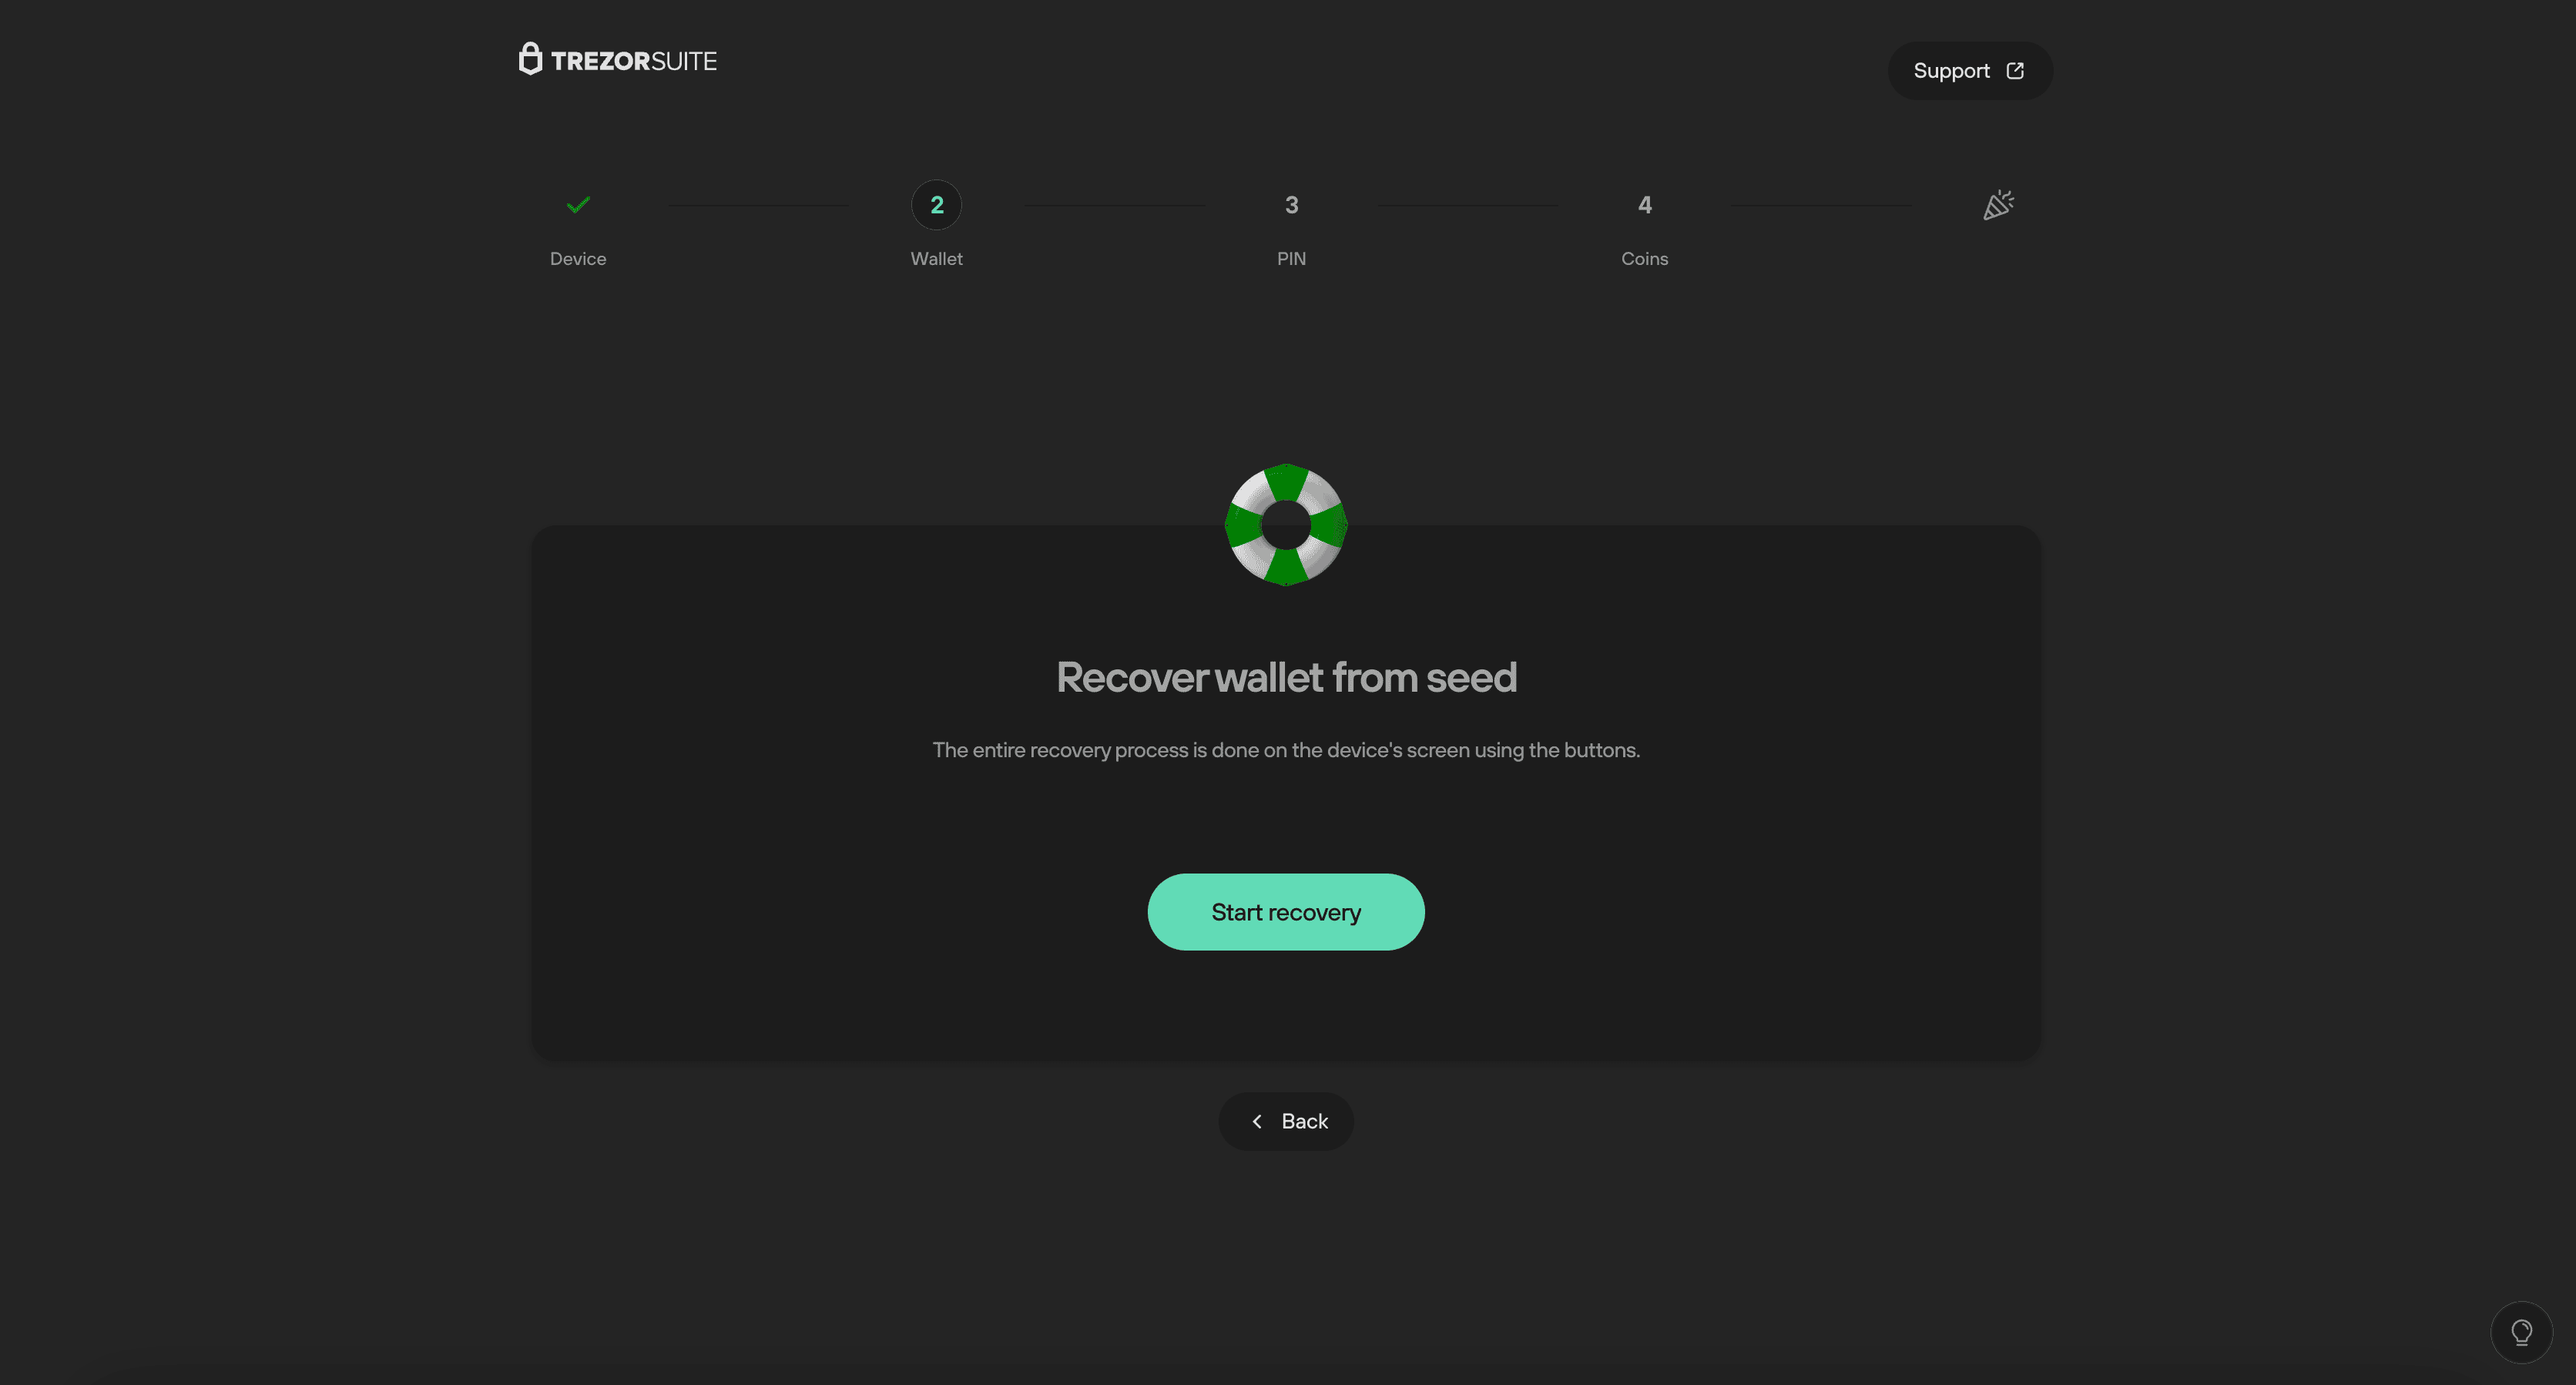
- Then click Start recovery:
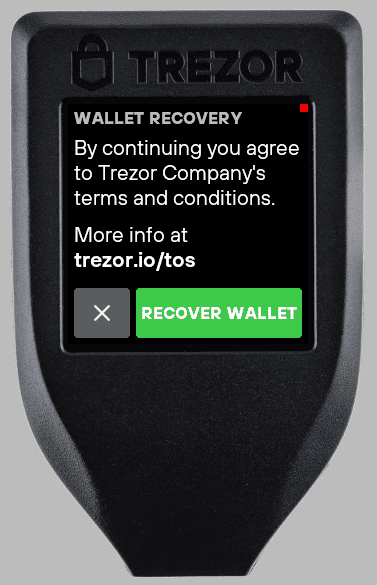
- You will then need to confirm that you want to begin wallet recovery on your Trezor:
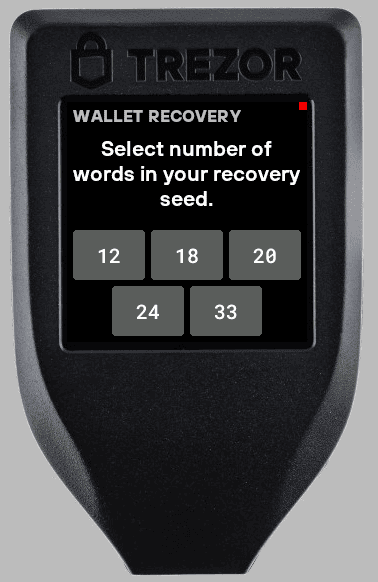
- First, press Select, and then choose the number of words in each of your recovery shares
- Then press Enter share and enter any one of your shares directly on your Trezor:
Recovery shares can be entered in any order. The words of the recovery shares have to be preserved and entered in a specific order for the share to be valid.
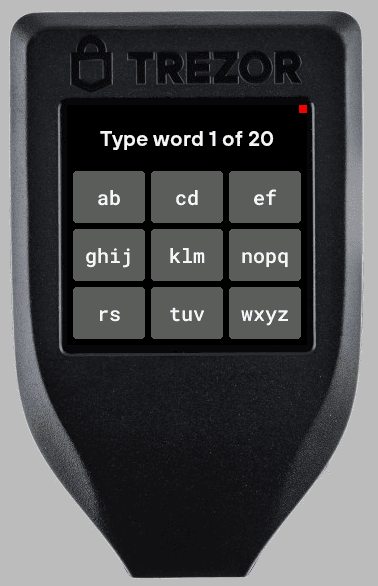
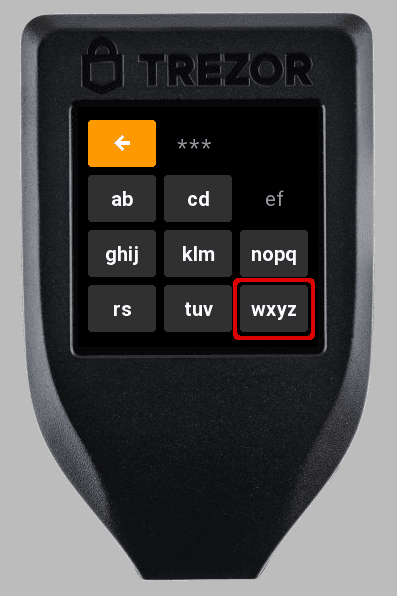
- Hint: once you've entered the first four letters, your Trezor device will 'autocomplete' the word to speed up the entry process. For example, if you want to enter the word "flexible"
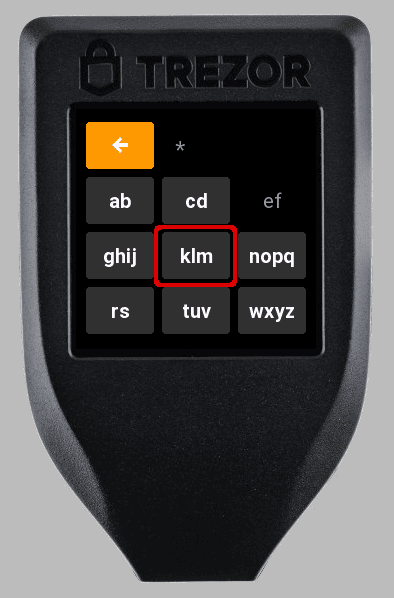
- Press the "ef" tile twice to enter the letter "F":

- Then, press the "klm" tile twice to enter the letter "L":
- Then the "ef" tile once to enter the letter "E":
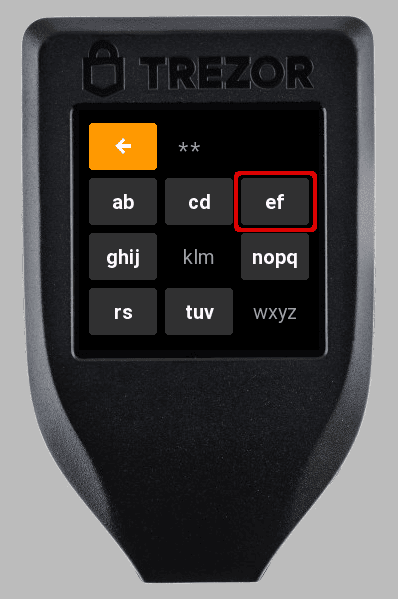
- Then the "wxyz" tile twice to enter the letter "X":
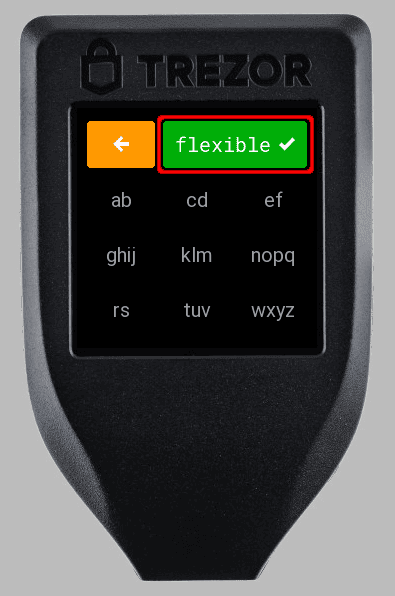
- The word "flexible" will be auto-completed by your Trezor; click on the green tile to enter the word:
- After successfully entering the first recovery share, your device will recognize the required threshold and let you know how many shares you still need to enter.
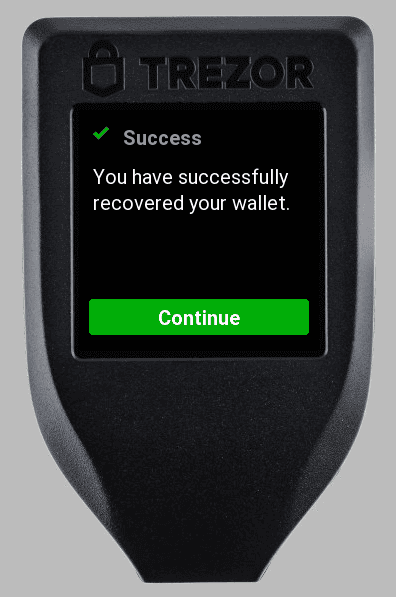
- Continue until you have entered the threshold number of shares. Once the process is complete, you will see the confirmation screen on your Trezor device. Click Continue to proceed with the rest of the device initialization process:
If you performed recovery externally, utilizing Recovery Mode, you can now connect your device to a computer and access your wallet.
You can learn more about using Shamir backup in this video: