Using your Trezor as a security key (FIDO2 & U2F)
Your Trezor can double as a hardware security key for two-factor authentication (2FA). When you log in to a service like Google or GitHub, your Trezor confirms the login with a physical tap on the device.
What are 2FA, U2F, and FIDO2?
These terms all describe the same idea at different levels:
- 2FA (two-factor authentication) is the general concept: using two forms of verification to log in, like your password plus a hardware key or a one time code.
- U2F (Universal 2nd Factor) was the original open standard for hardware-based 2FA. It's now considered legacy.
- FIDO2 is the current standard that replaced U2F. It does everything U2F did, plus it supports passwordless login with passkeys.
Most services today use FIDO2 under the hood, even when they label the feature "security key" or "2FA." You don't need to worry about which protocol is running. Your Trezor handles it automatically.
Why use your Trezor as a security key
Standard two-factor methods like authenticator apps and SMS codes can be intercepted. A hardware security key is resistant to phishing because the authentication happens directly between your device and the service.
- Phishing protection. Your Trezor verifies the identity of the website before signing the login challenge. A fake website at a different URL can't trick it.
- No codes to type. You confirm login with a tap on the device. There are no one-time codes that could be stolen or mistyped.
- Physical confirmation required. No one can authenticate as you without physical access to your Trezor.
- One backup covers everything. Your security key credentials are tied to your wallet backup, so they're protected by the same backup you already have.
Which Trezor devices are supported
| Device | U2F (second factor) | FIDO2 (passkeys & passwordless) |
|---|---|---|
| Trezor Safe 7 | Yes | Yes |
| Trezor Safe 5 | Yes | Yes |
| Trezor Safe 3 | Yes | Yes |
| Trezor Model T | Yes | Yes |
| Trezor Model One | Yes | No |
FIDO2 lets you use your Trezor as a passkey for passwordless login on supported services. U2F works only as a second factor alongside a password.
How to register your Trezor with Google
The process is similar across most services. Here's how it works with Google.
You can register your Trezor as a security key on many services, including GitHub, Dropbox, Facebook, and most password managers. Check passkeys.directory for a full list.
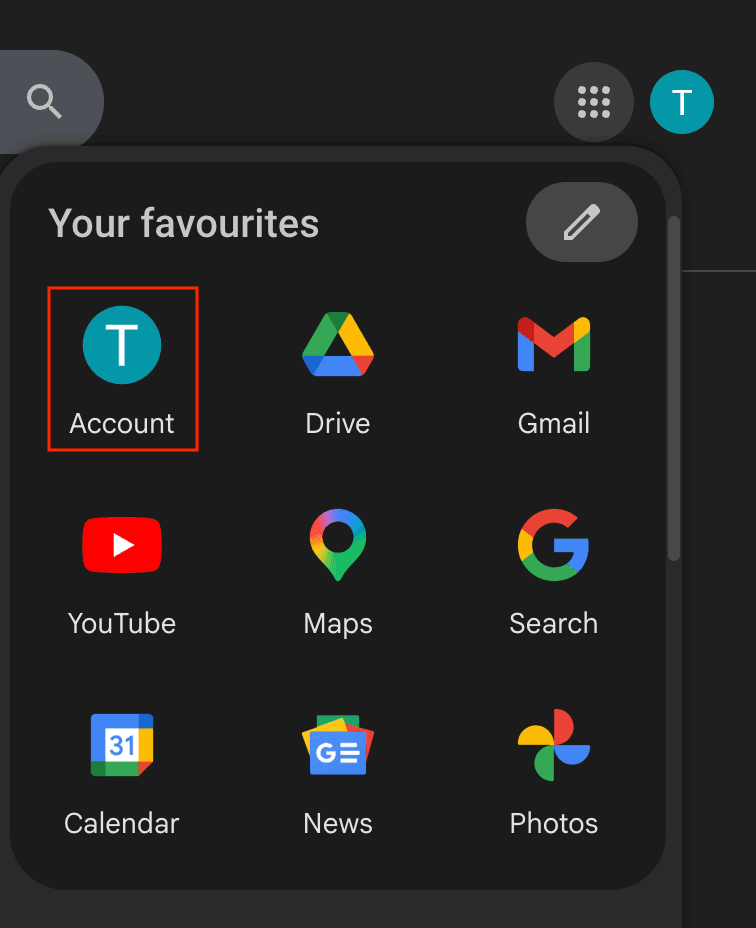
1. Open your Google Account settings
Go to Google.com, click your profile icon, and select Account.
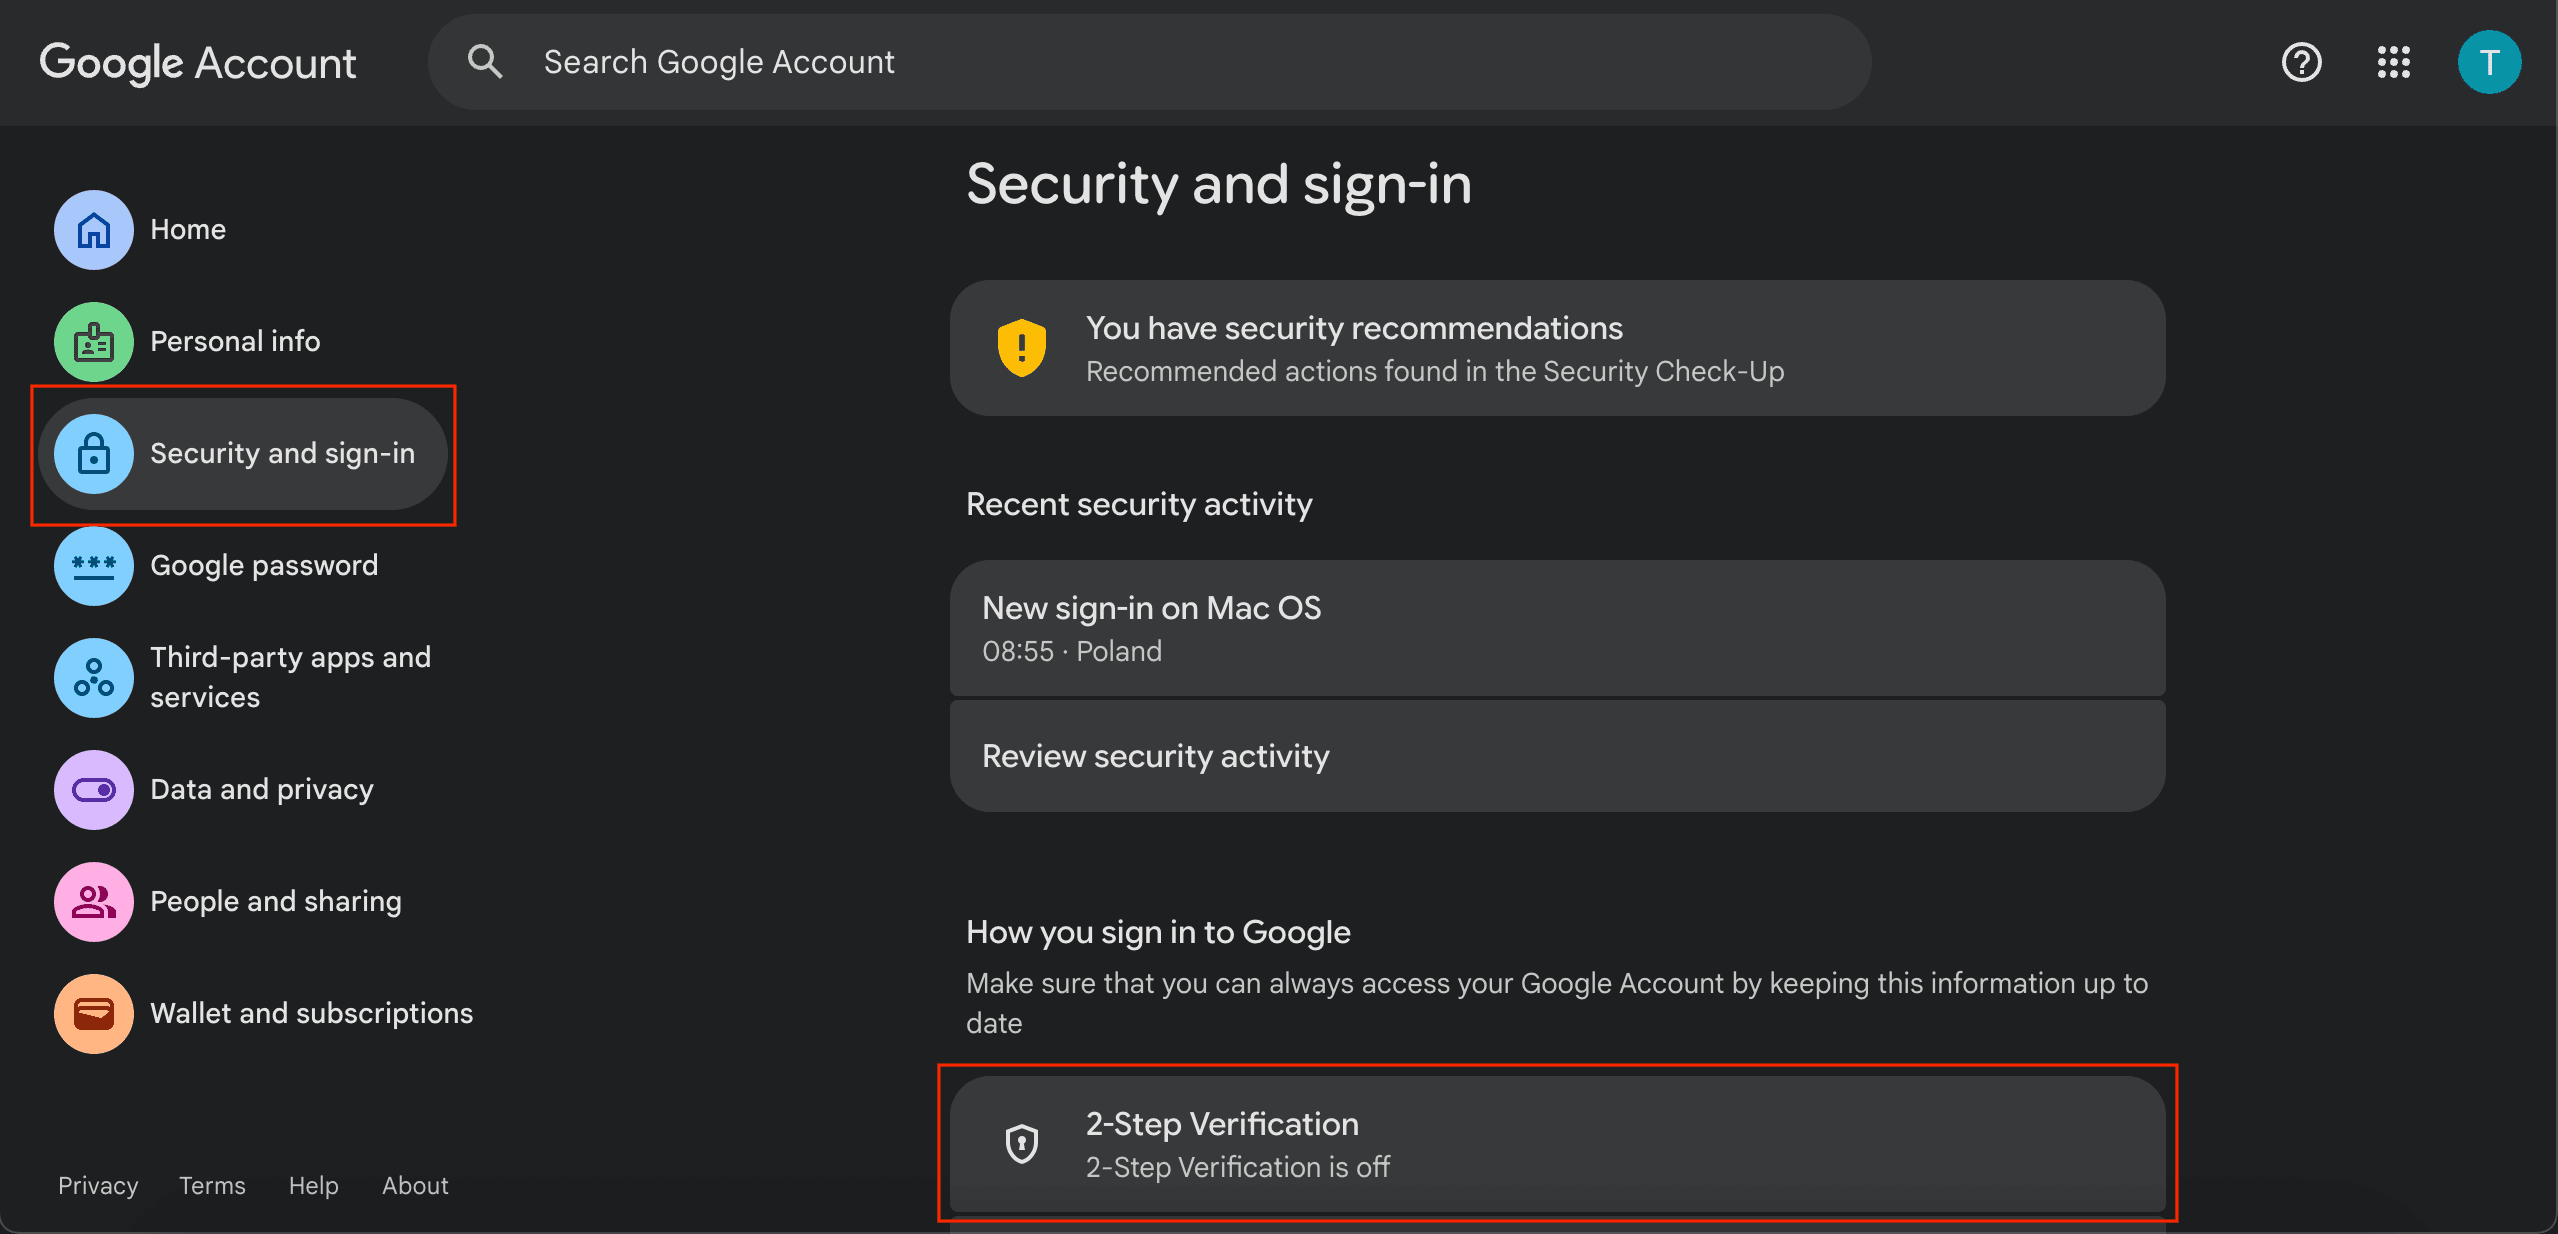
2. Go to Security and sign-in
In the left sidebar, click Security and sign-in. Scroll down to 2-Step Verification and enable it if you haven't already.
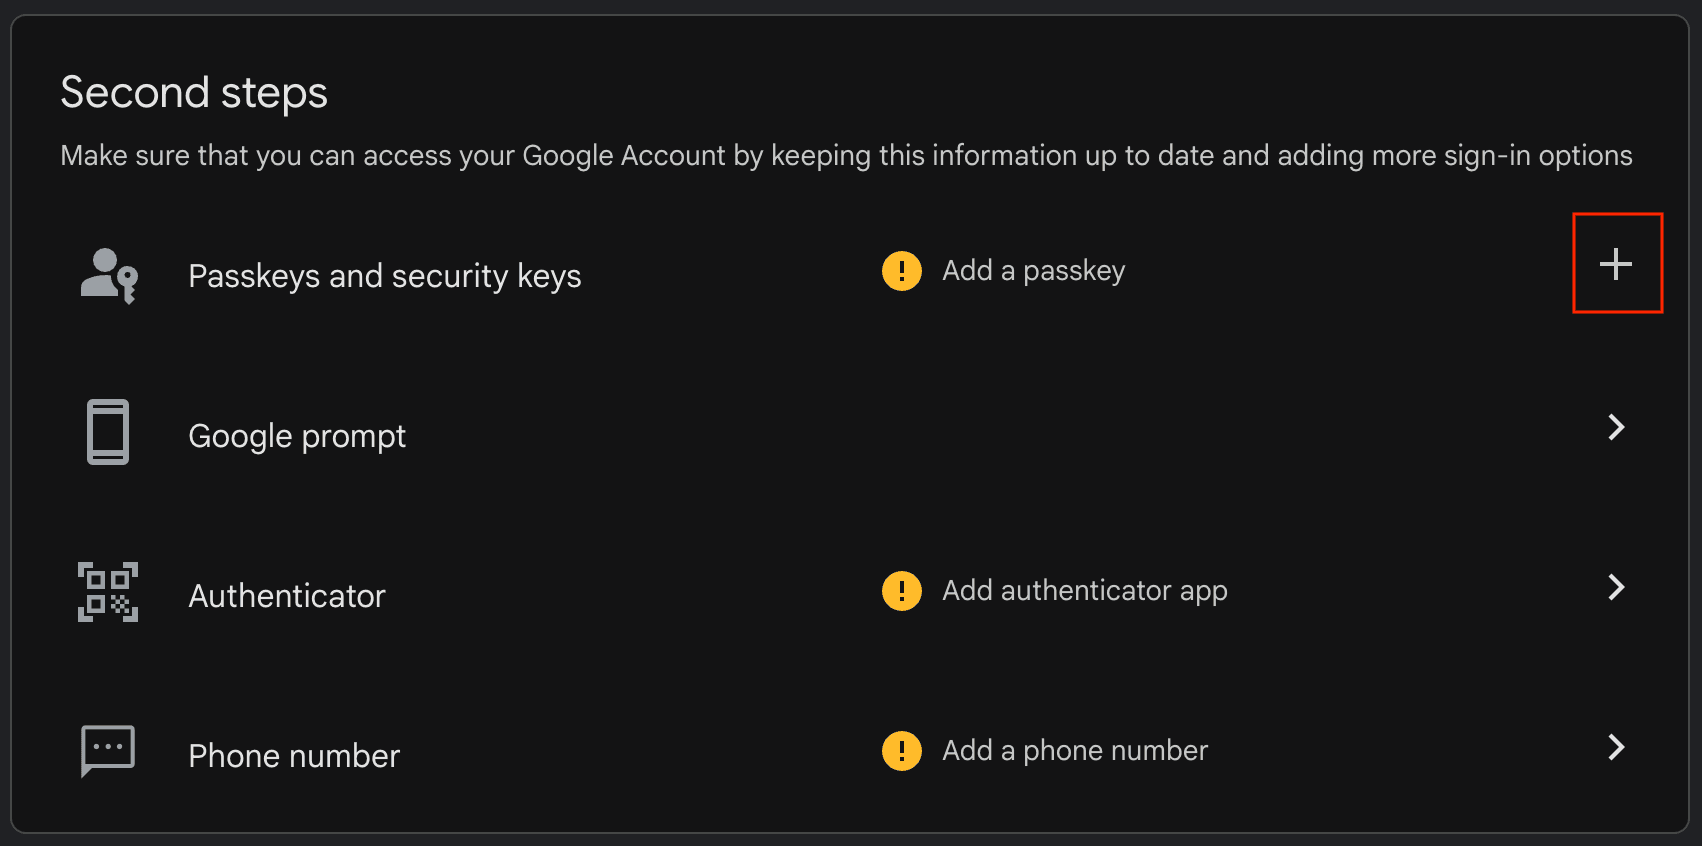
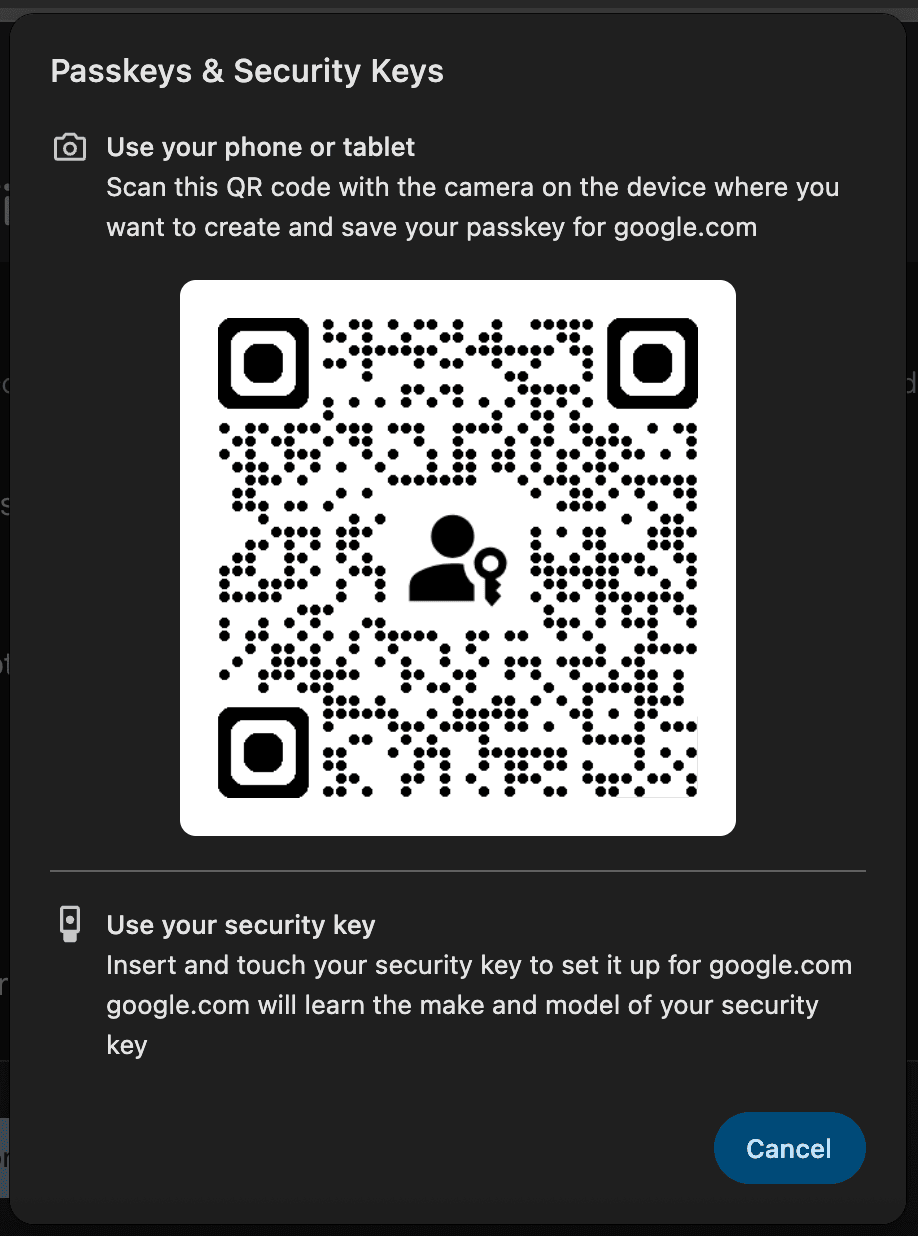
3. Add a passkey or security key
Under Second steps, find Passkeys and security keys and click the + icon to add one.
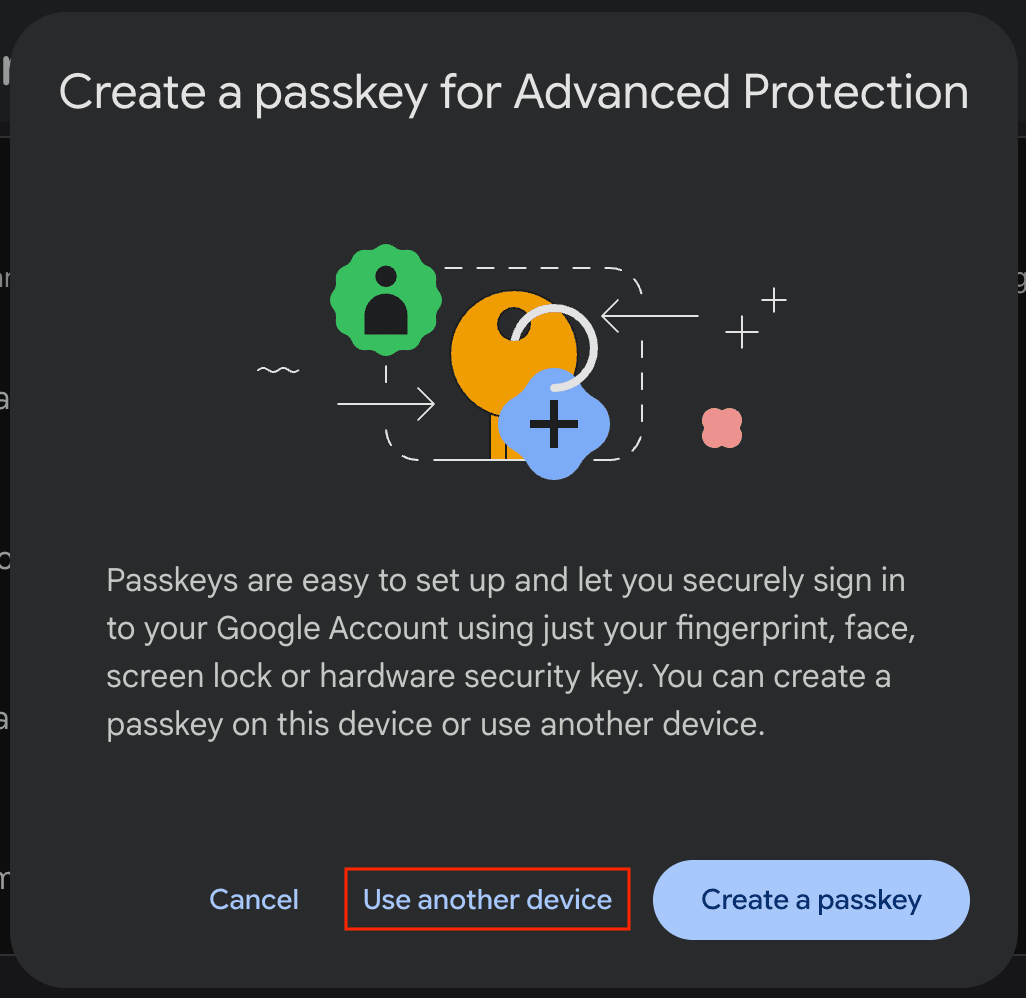
4. Choose to use another device
Google will offer to create a passkey. Click Use another device to register your Trezor instead.
5. Select "Use your security key"
Connect your Trezor via USB and unlock it with the PIN.
Your Trezor screen will show FIDO2 Register along with the service URL and the email address you are registering.
Verify the details are correct, then tap Confirm on your Trezor.
6. Done
Google will confirm that your passkey has been created. Click Done.
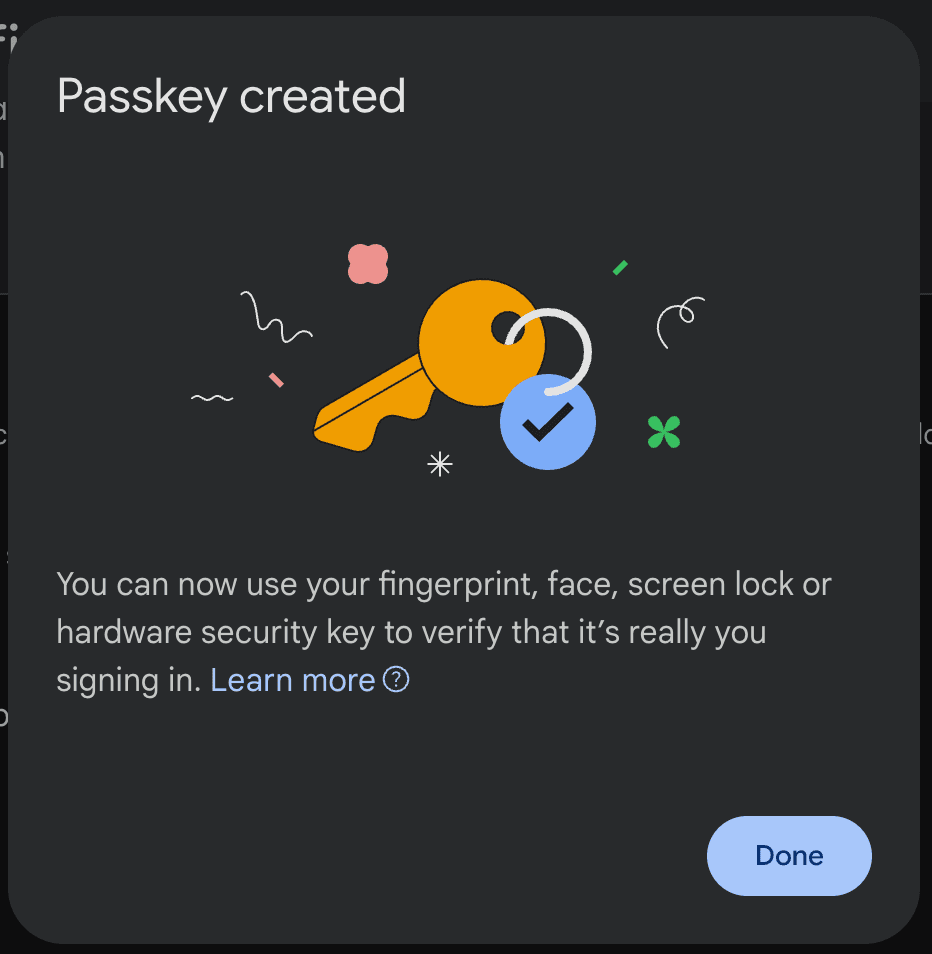
The next time you sign in, Google will ask you to confirm with your Trezor.
What happens if you lose your Trezor
It depends on how you registered.
U2F security key registrations are derived from your wallet backup. Restore your backup on a new Trezor and they work again automatically.
FIDO2 passkeys (like the Google setup in this guide) are stored on the device itself. If your Trezor is wiped or lost, you'll need to re-register with the service.
Always set up a backup login method (like a recovery code or phone number) alongside your Trezor, so you can still access your accounts if your device is unavailable.
Advanced credential management with trezorctl
For most users, security key registration and login happens entirely in the browser. No command-line tools are needed.
If you use FIDO2 resident credentials (passkeys stored on your Trezor), you can manage and back them up using trezorctl. This is optional and intended for advanced users.
For more information and a comprehensive list of commands, please visit Using trezorctl commands.
Install or update trezorctl:
pip3 install --upgrade trezor
List stored credentials:
trezorctl fido credentials list
Back up a credential:
Copy the Credential ID from the list output. This ID is encrypted with your wallet backup, so it's safe to store as a text file on your computer.
Restore a credential after recovery:
trezorctl fido credentials add <CREDENTIAL_ID>
Remove a credential:
trezorctl fido credentials remove -i <INDEX>
FAQ
What's the difference between a security key and a passkey?
A security key is used as a second factor alongside your password. A passkey replaces your password entirely. Both use FIDO2. Your Trezor (Safe 7, Safe 5, Safe 3, Model T) supports both modes.
Can I use my Trezor Safe 7 as a security key over Bluetooth?
No. Trezor Safe 7 supports FIDO2 and U2F only over USB. Connect your device with the USB-C cable when registering or signing in with a security key or passkey.
Does my Trezor Model One work as a security key?
Yes, but only as a U2F second factor. The Model One doesn't support FIDO2 features like passkeys or passwordless login.
Do all browsers support this?
Yes. Chrome, Firefox, Edge, Safari, and all major browsers support FIDO2 and U2F natively. No extensions or special configuration needed.
Can I use my Trezor to authenticate Linux sudo commands?
Yes. Add this line to the end of /etc/pam.d/sudo:
auth required pam_u2f.so authfile=/etc/u2f_mappings cue
After saving, open a new terminal and run a sudo command. You'll be asked for your password and then prompted to confirm on your Trezor.