Veuillez noter : nos articles ne sont actuellement disponibles qu’en anglais.
Connect Trezor Suite to your own node
Connect Trezor Suite to your own node from Settings, then Networks. Trezor Suite then reads the blockchain only through your server, which gives you more privacy and lets you verify your balances and transactions independently.
To learn what a node is, see What is a node?. For the backend behind most coins, see What is Blockbook?.
Using your own node is optional. By default, Trezor Suite connects to open-source servers run by Trezor that don't log your activity. If you're happy with that, you don't need to change anything.
Blockbook or Electrum: which server type?
When you connect your own node, Trezor Suite offers two server types:
- Blockbook, available for every coin that uses a Blockbook backend
- Electrum, available for Bitcoin only
Pick Blockbook if you run a Blockbook instance, or Electrum if your Bitcoin node exposes an Electrum server. The steps below cover both.
How to connect to your node
Before you start, make sure your node is fully synced and reachable, and that your Trezor is connected and unlocked.
Choose Desktop or Mobile app below
Desktop
Open the backend settings
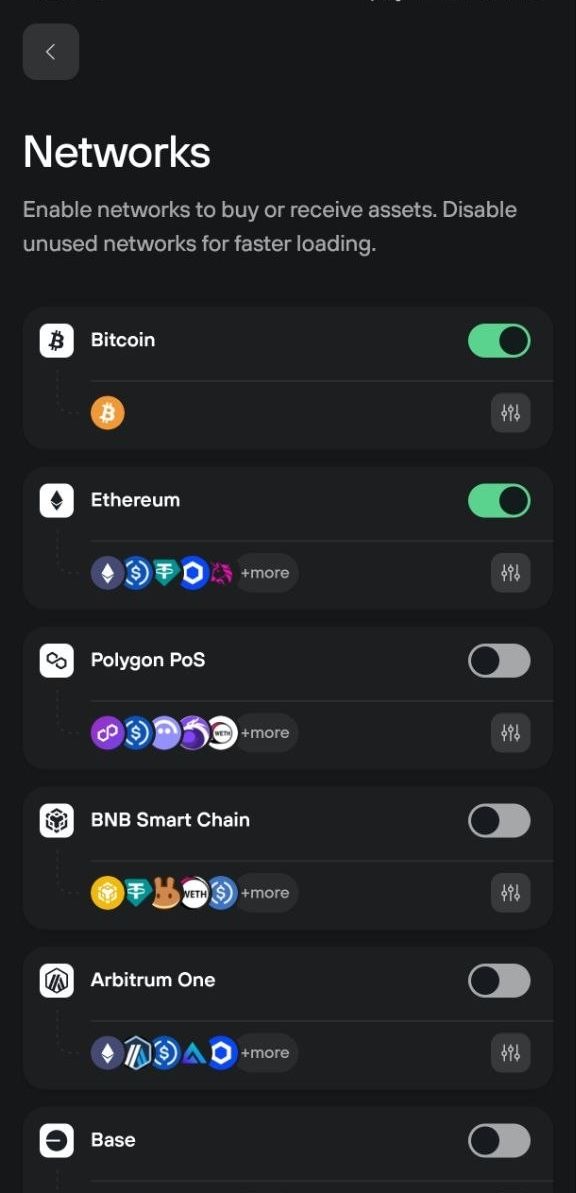
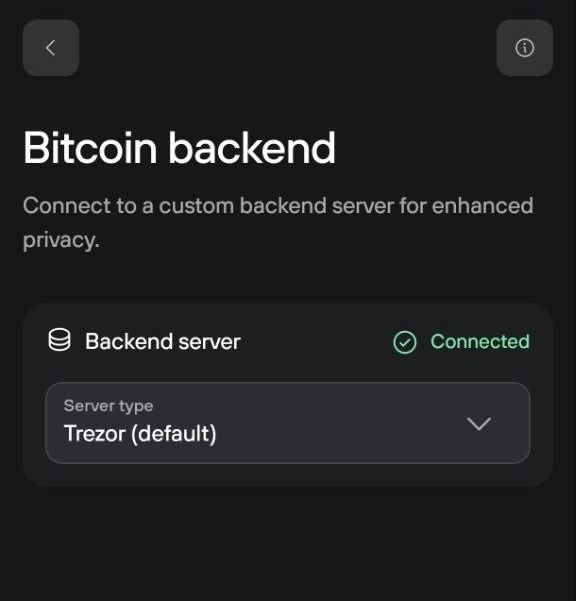
Go to Settings, then Networks. Click the sliders icon next to any network to open its backend settings.
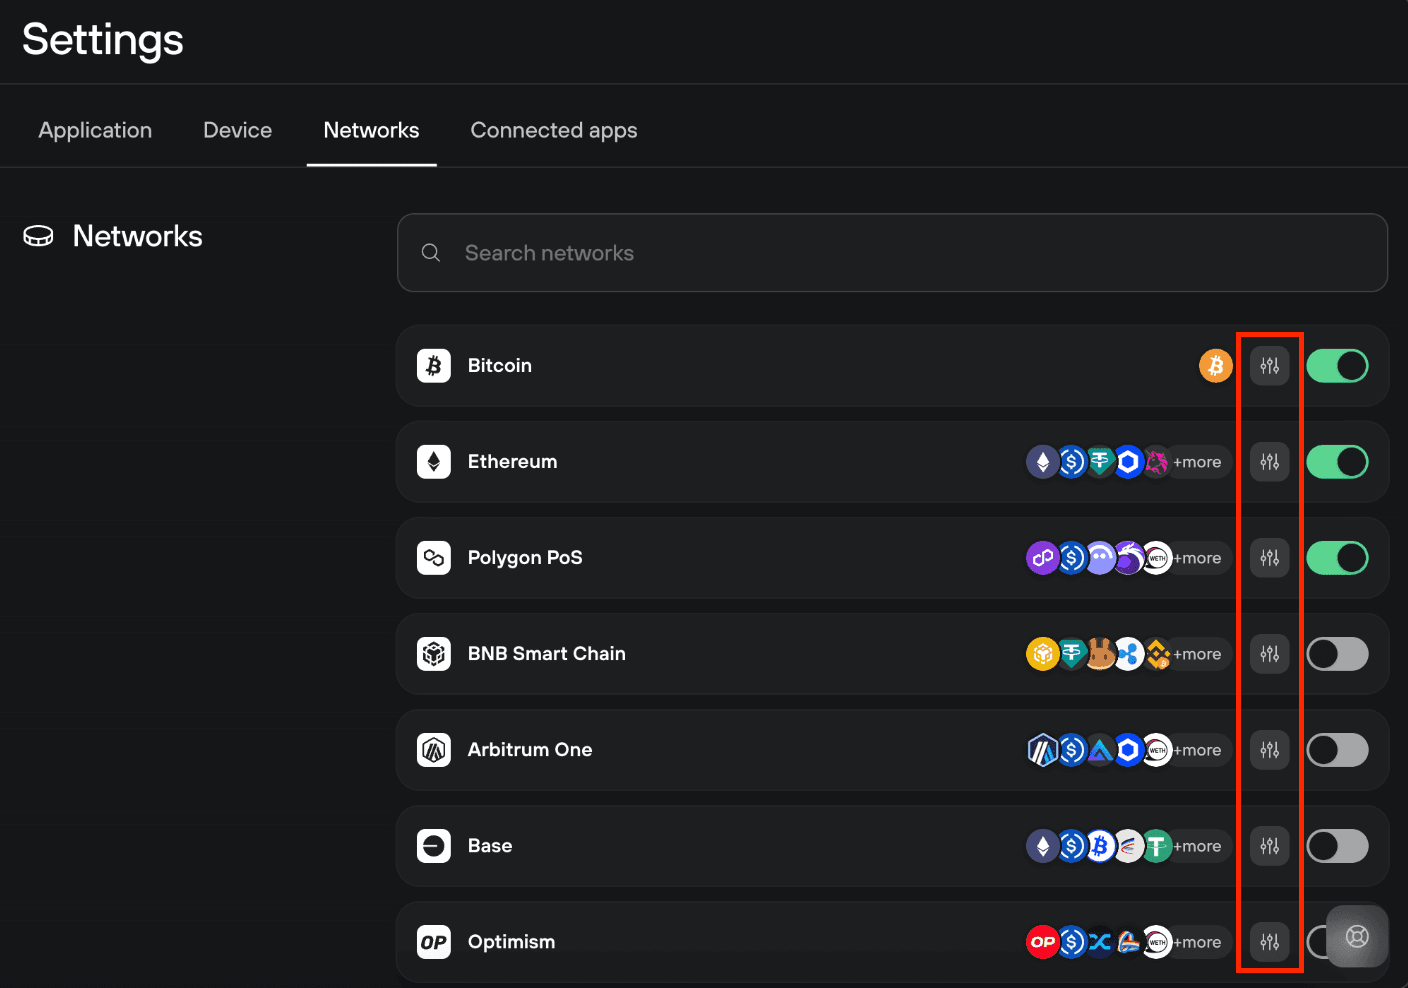
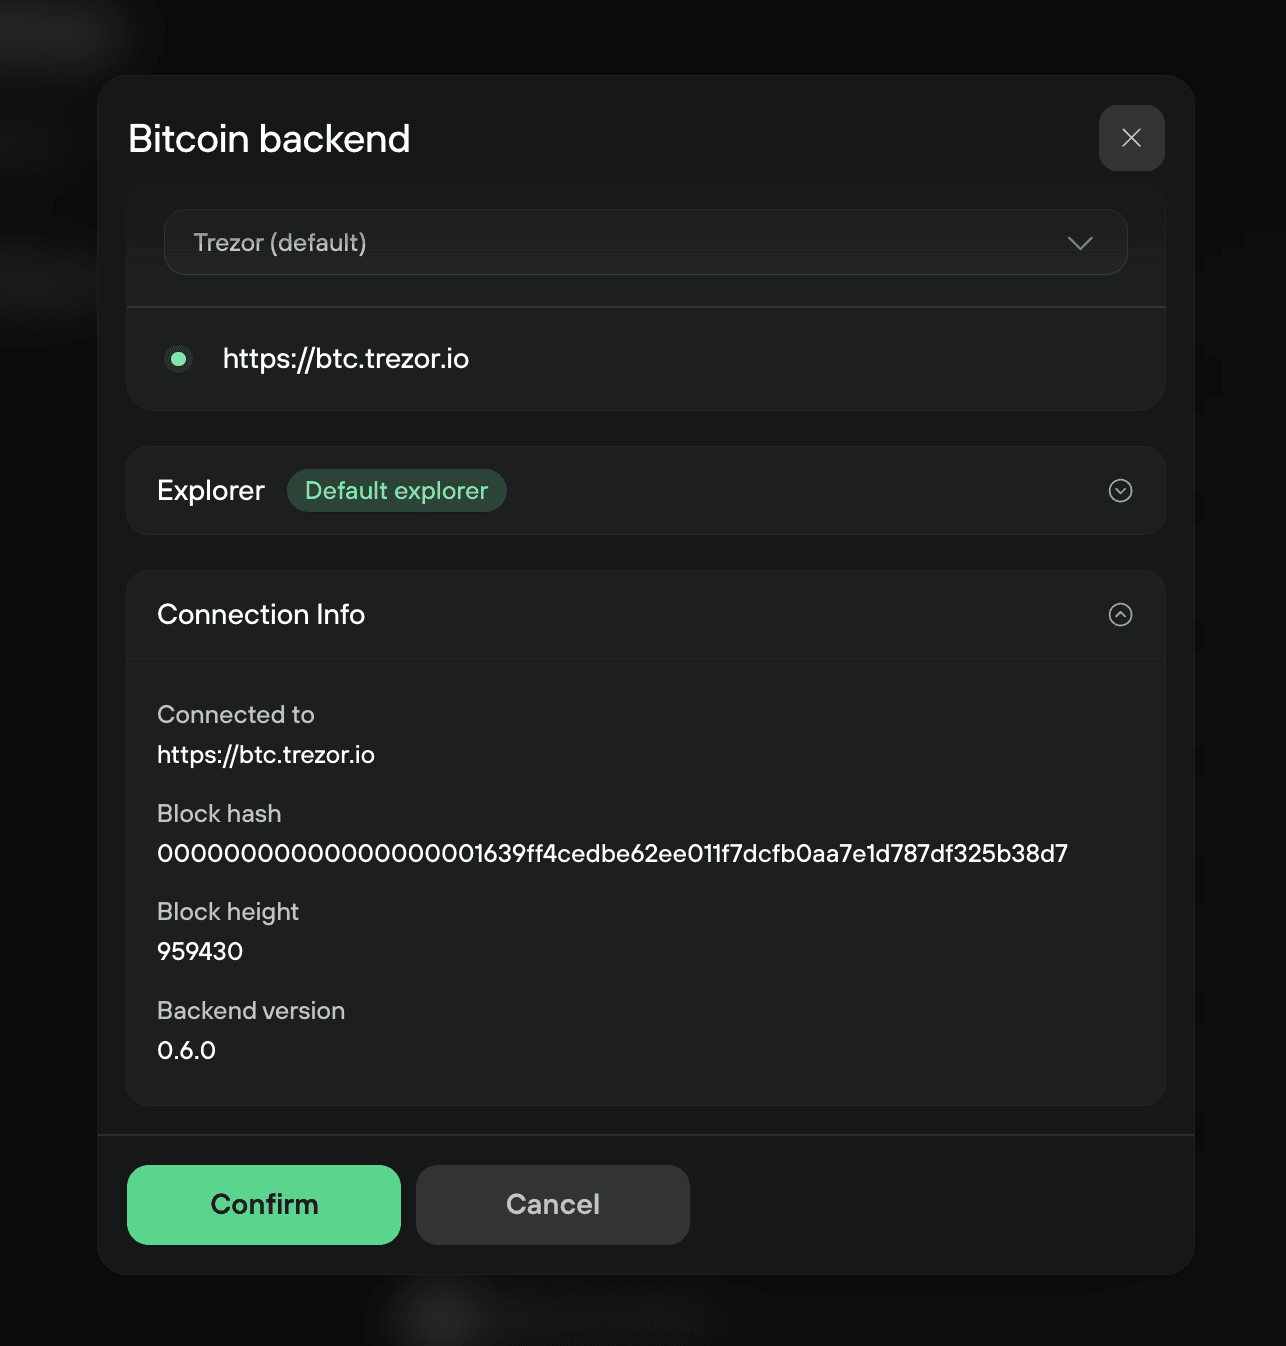
The Bitcoin backend window opens.
Choose a server type
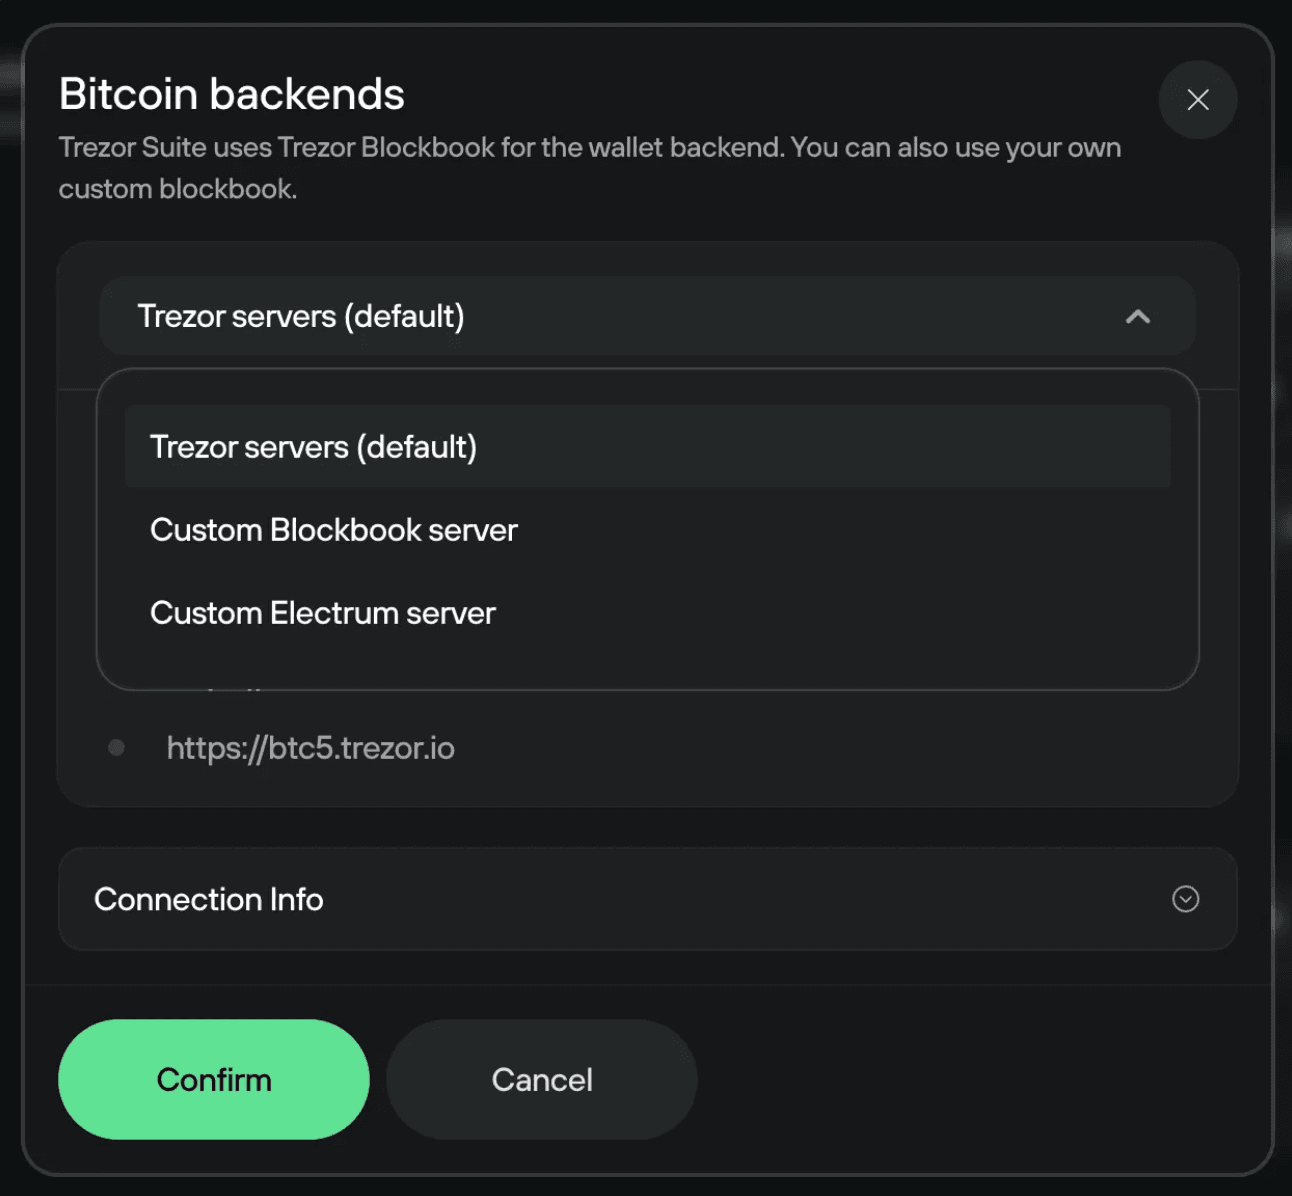
Open the dropdown at the top and pick your server type:
- Trezor (default)
- Custom Blockbook server
- Custom Electrum server (Bitcoin only)
Custom Blockbook server
Enter the full URL of your Blockbook instance, then select Confirm
Example: https://btc.trezor.io
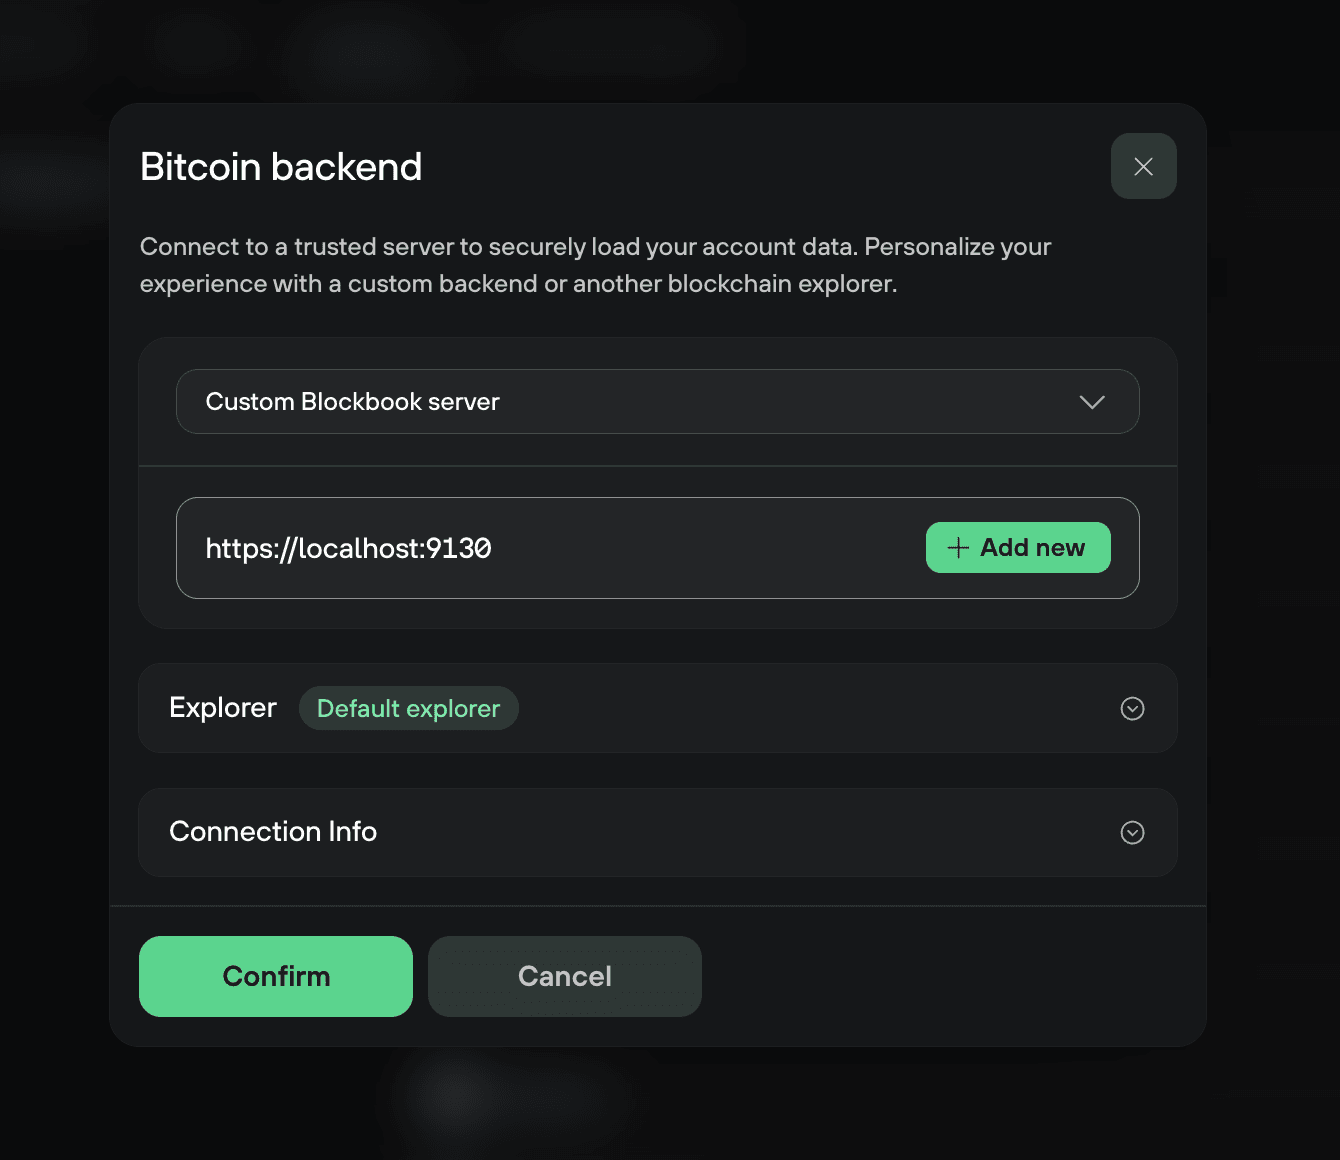
Blockbook uses a self-signed certificate. Before you connect, open your server's address in a browser, confirm the certificate, then add the address in Trezor Suite.
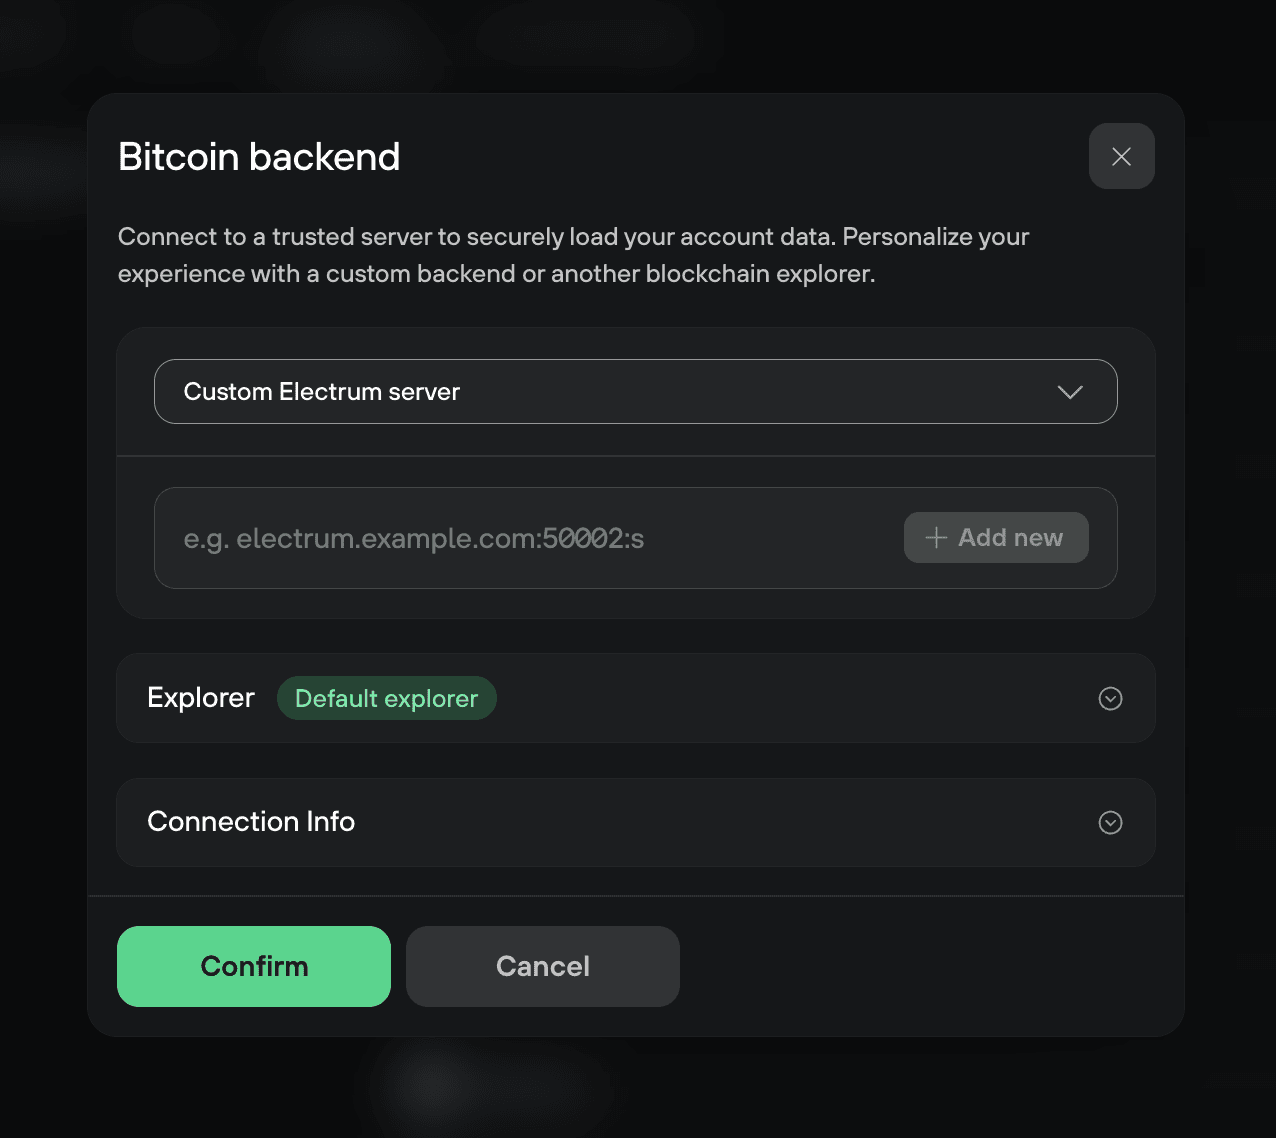
Custom Electrum server (Bitcoin)
Enter your Electrum server address, then select Confirm. Use this format: host:port:protocol
Examples:
192.168.1.100:50001:t(local network, TCP, unencrypted)192.168.1.100:50002:s(local network, SSL, encrypted)abc123def.onion:50001:t(Tor, TCP)[2001:db8::1]:50001:t(IPv6, TCP)[2001:db8::1]:50002:s(IPv6, SSL)
Confirm and check the connection
Select Confirm. To verify you're connected, expand Connection Info. It shows the server you're connected to, the latest block hash and height, and the backend version.
Set a custom block explorer (optional)
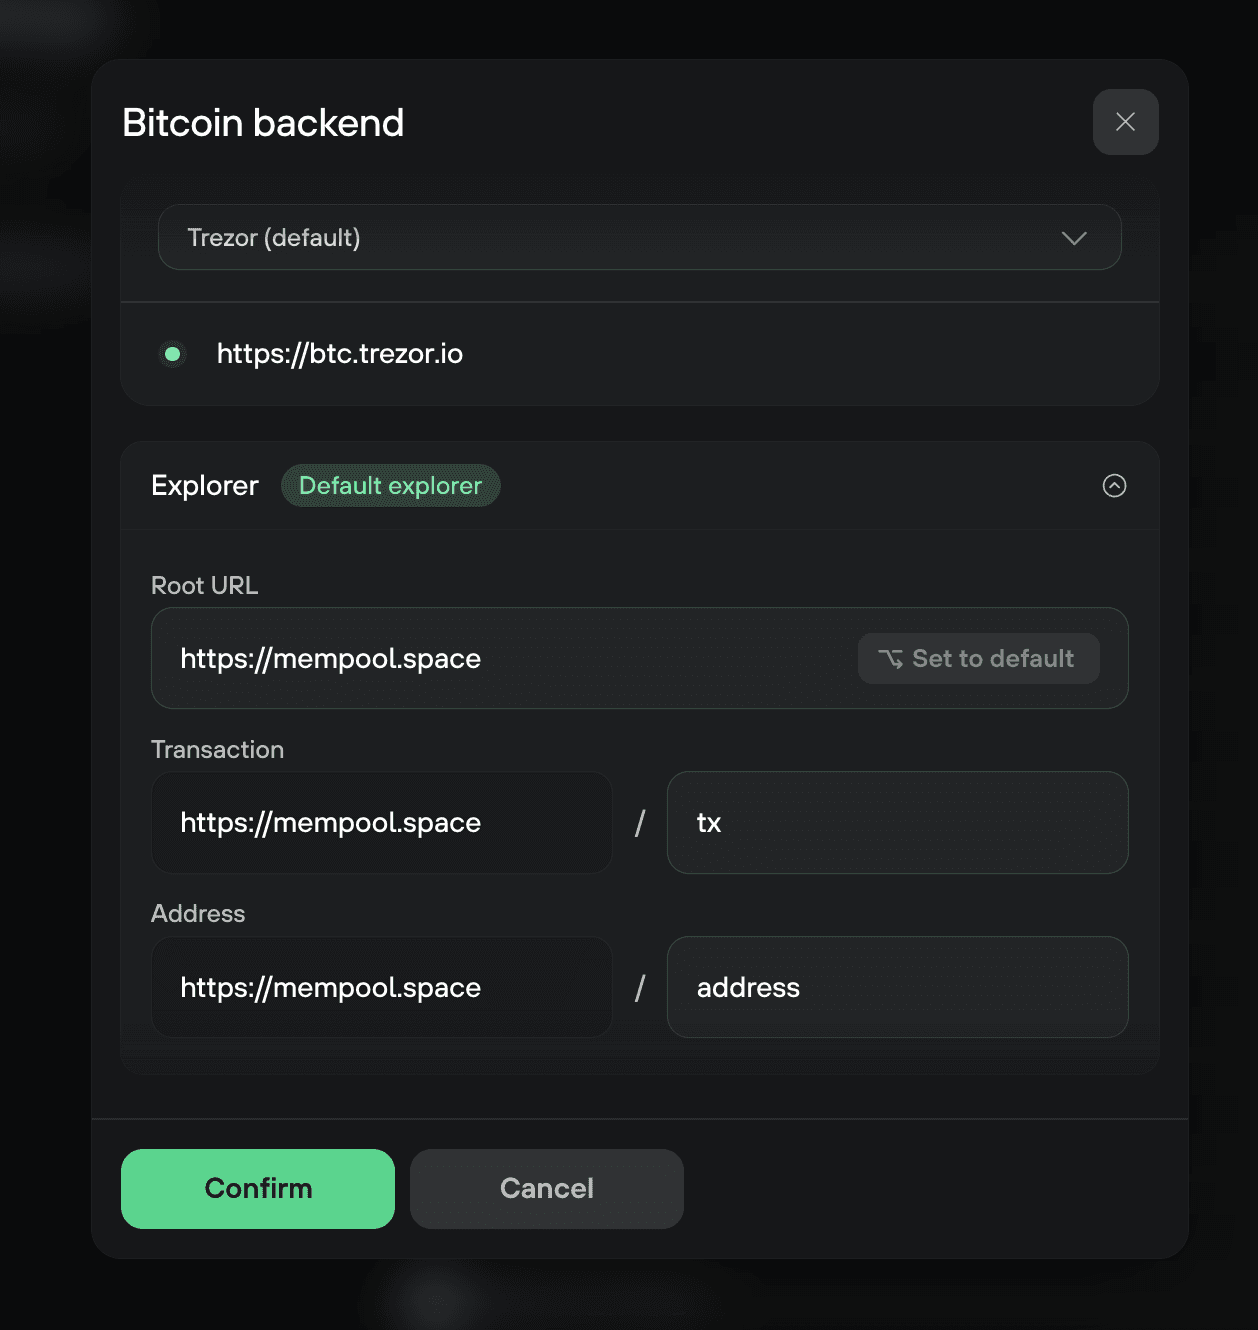
On desktop you can also change which external explorer opens when you select a transaction or address. In the same window, expand Explorer and edit the Root URL, plus the transaction and address paths if your explorer uses a different format.
This only changes where external links open. It doesn't affect balances, history, or fees. Select Confirm when done.
Switch back to the default servers
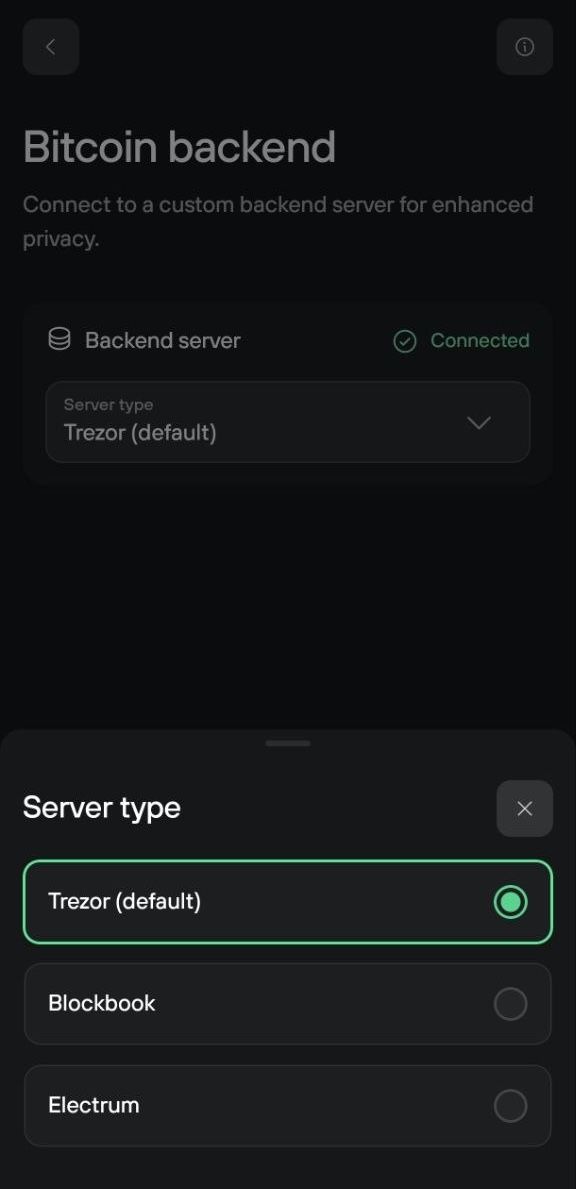
To return to the default servers, reopen the backend settings for the coin, open the server type dropdown (desktop) or Server type picker (mobile), and select Trezor (default). Trezor Suite reconnects to the default backend right away.
Connect to a node over Tor
If your node is only reachable over Tor, turn on Tor in Trezor Suite first, then enter your node's .onion address as the server.
For Electrum, include it in the host:port:protocol format, for example abc123def.onion:50001:t.
For the full steps, see Using Tor in Trezor Suite to protect your privacy.