Install custom firmware on Trezor Safe 7
This guide explains how to install custom firmware on your Trezor Safe 7 using Trezor Suite. You might need this to downgrade to an older firmware version, or to install universal firmware on a Bitcoin-only device.
Before you start, please note that we do not recommend installing custom firmware or downgrading your firmware, unless there is a strong reason for it.
This procedure could erase your Trezor device's memory and may make it unusable. Never use this process unless you really know what you are doing!
Check your current firmware version
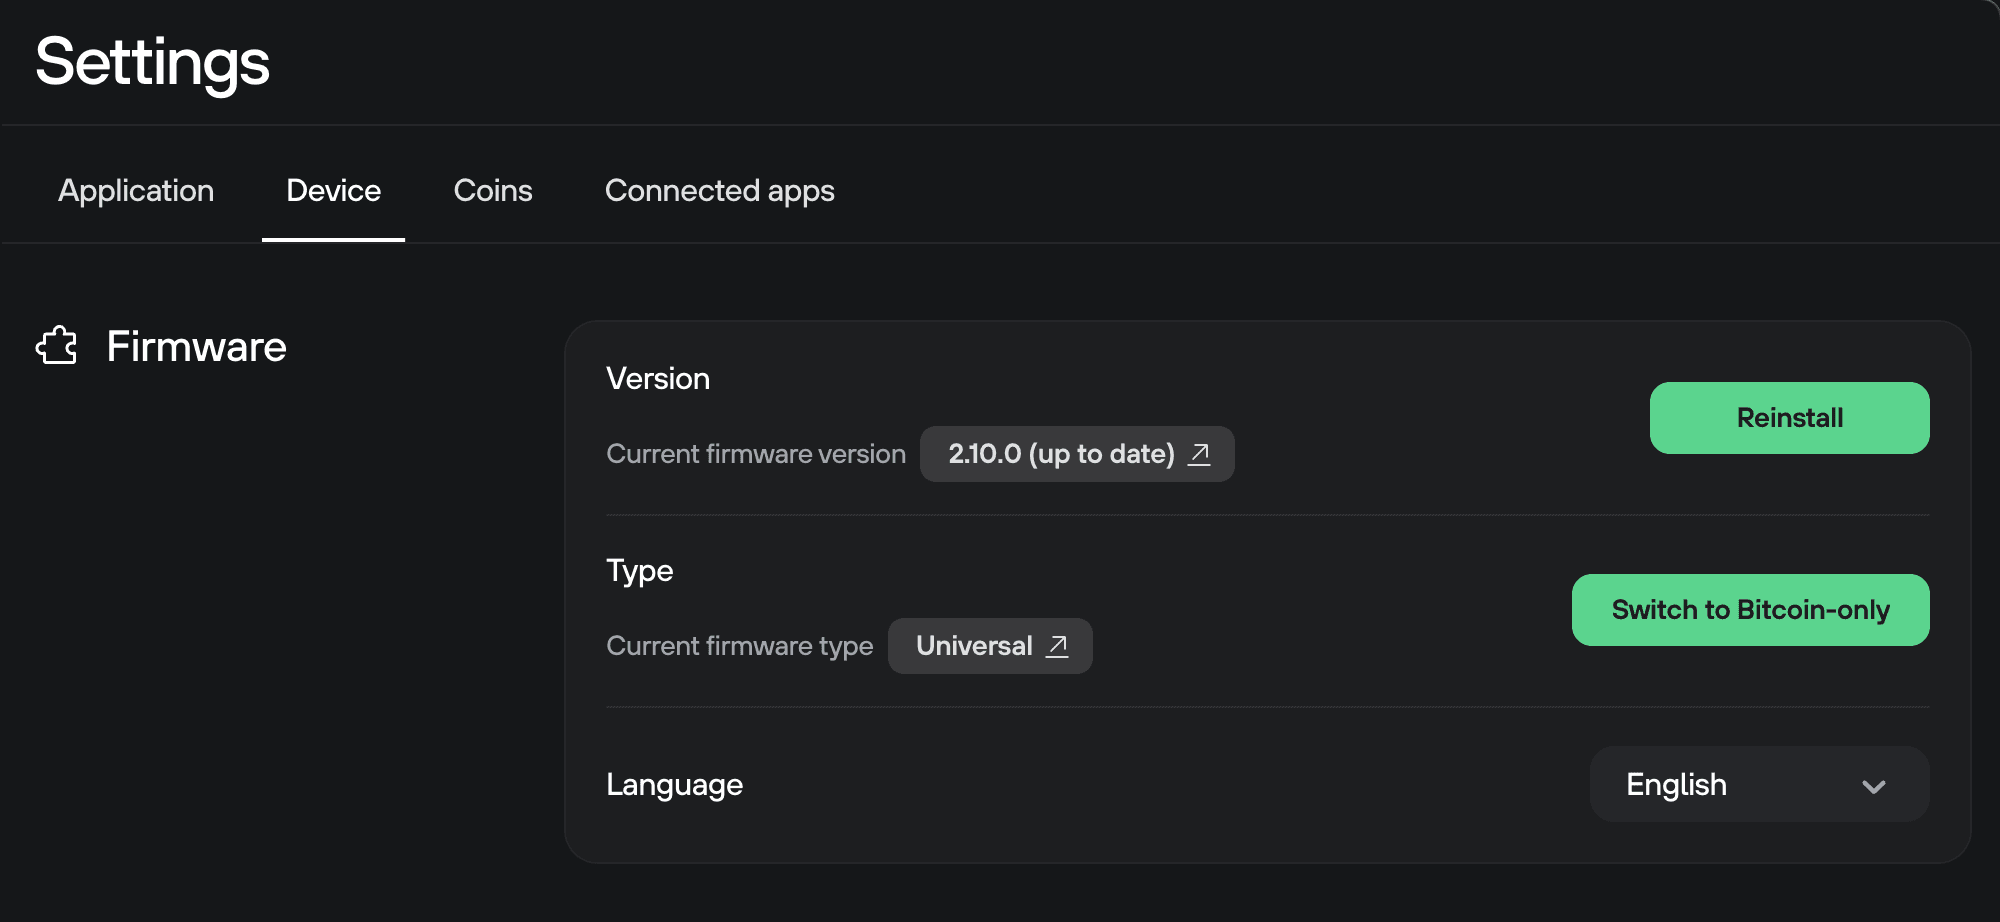
Open Trezor Suite, go to Settings (top-left corner), and select the Device tab. Scroll down to the Firmware section to see your installed version and type.
How to install custom firmware
1. Open the Install custom firmware window
Click the Settings icon in the top-left corner of Trezor Suite.
Select the Device tab, and scroll down to the Danger Area section. Under Install custom firmware, click Install.
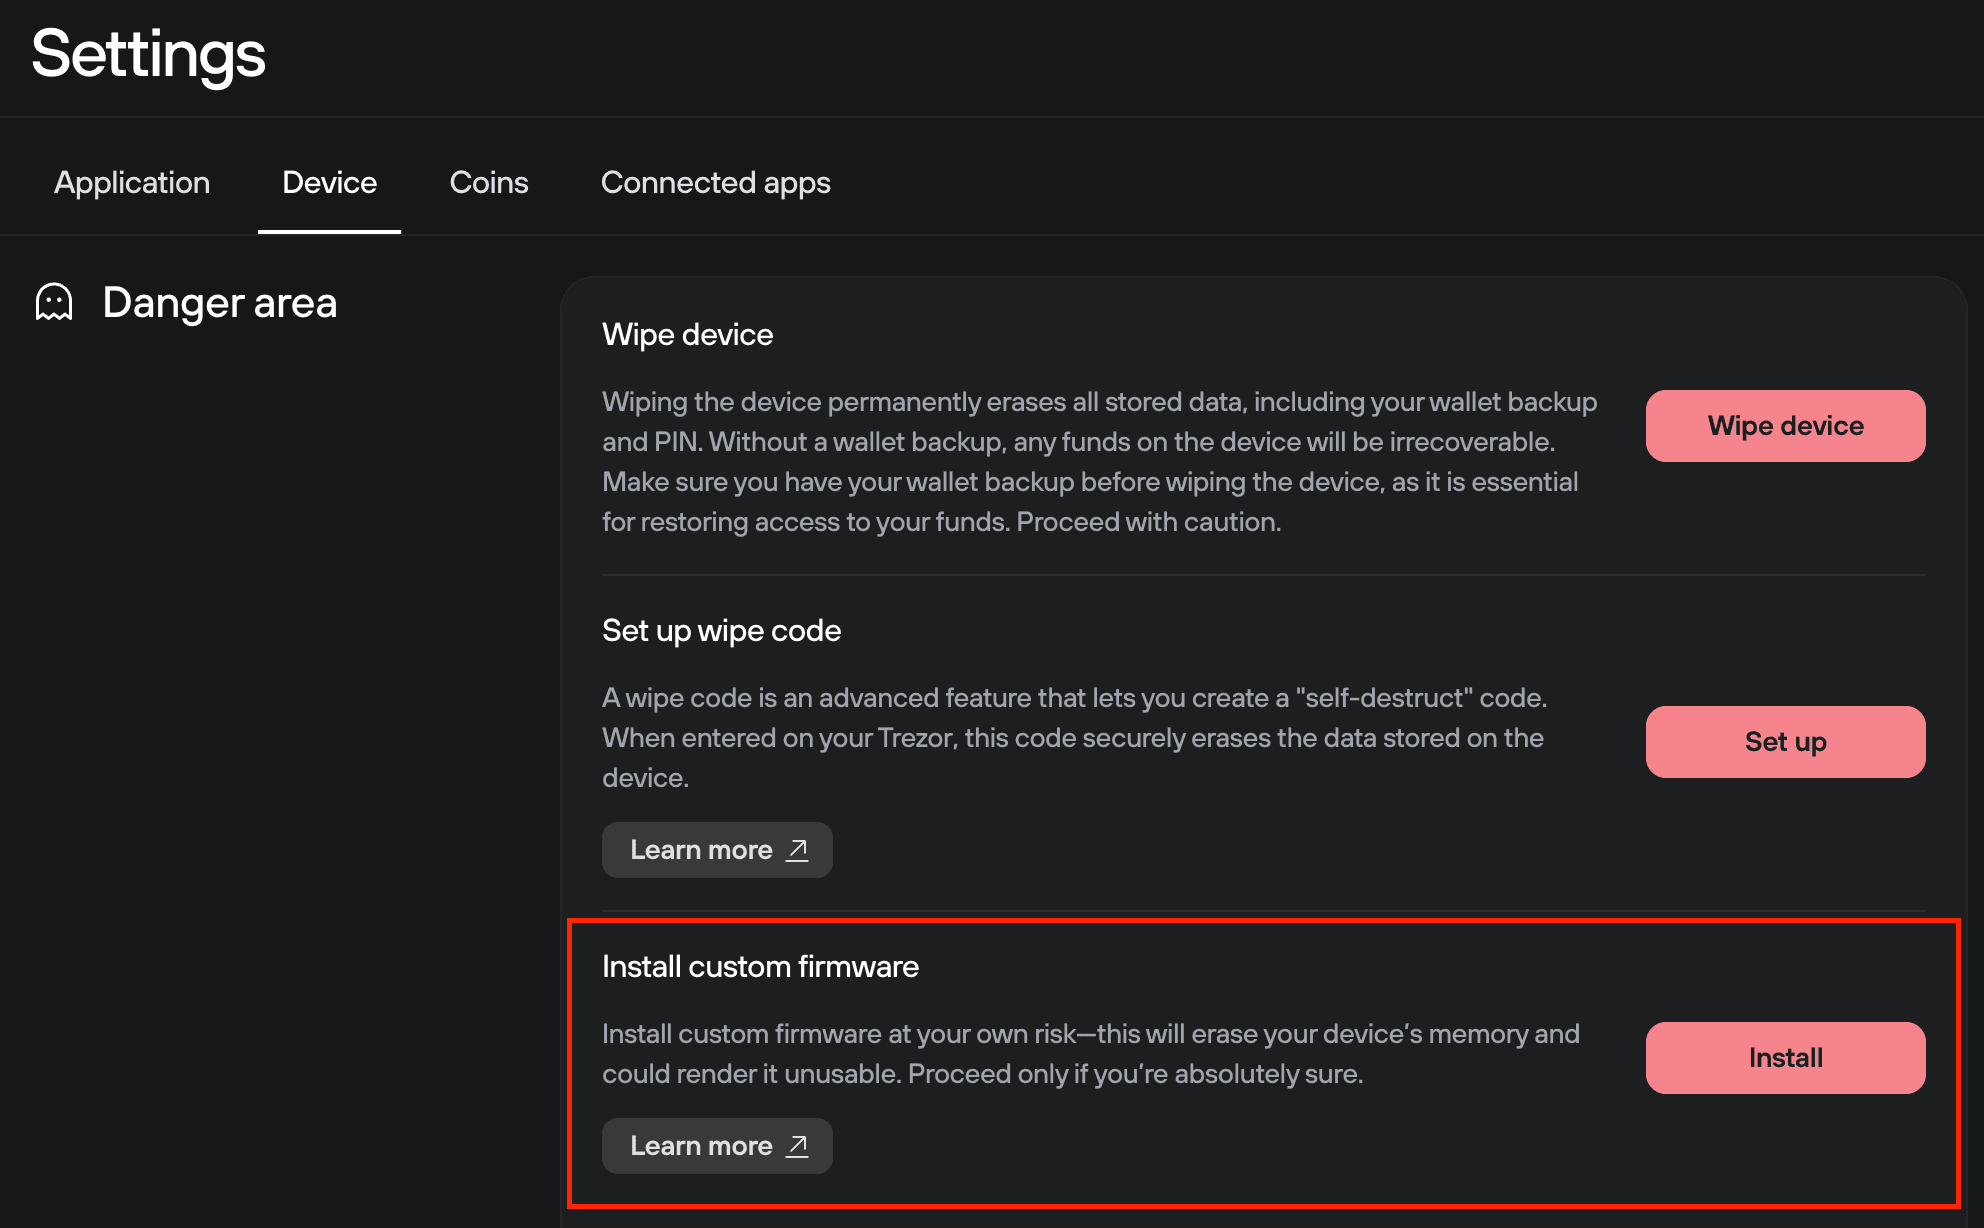
The Install custom firmware window will open.
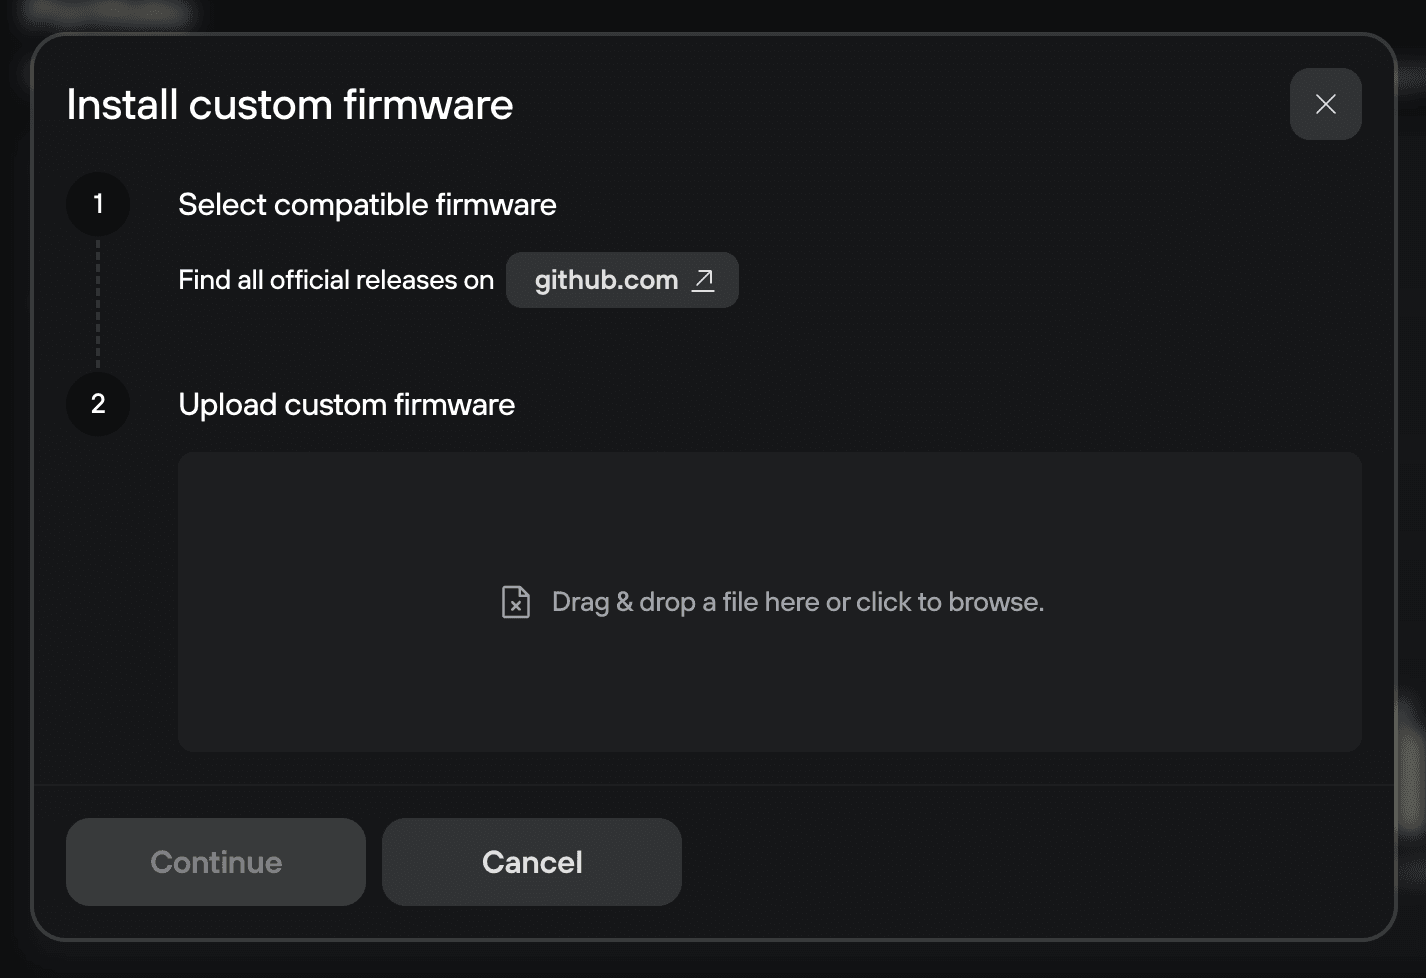
2. Download the firmware file from GitHub
Click the github.com link in the window. This opens the Trezor firmware repository for your device.
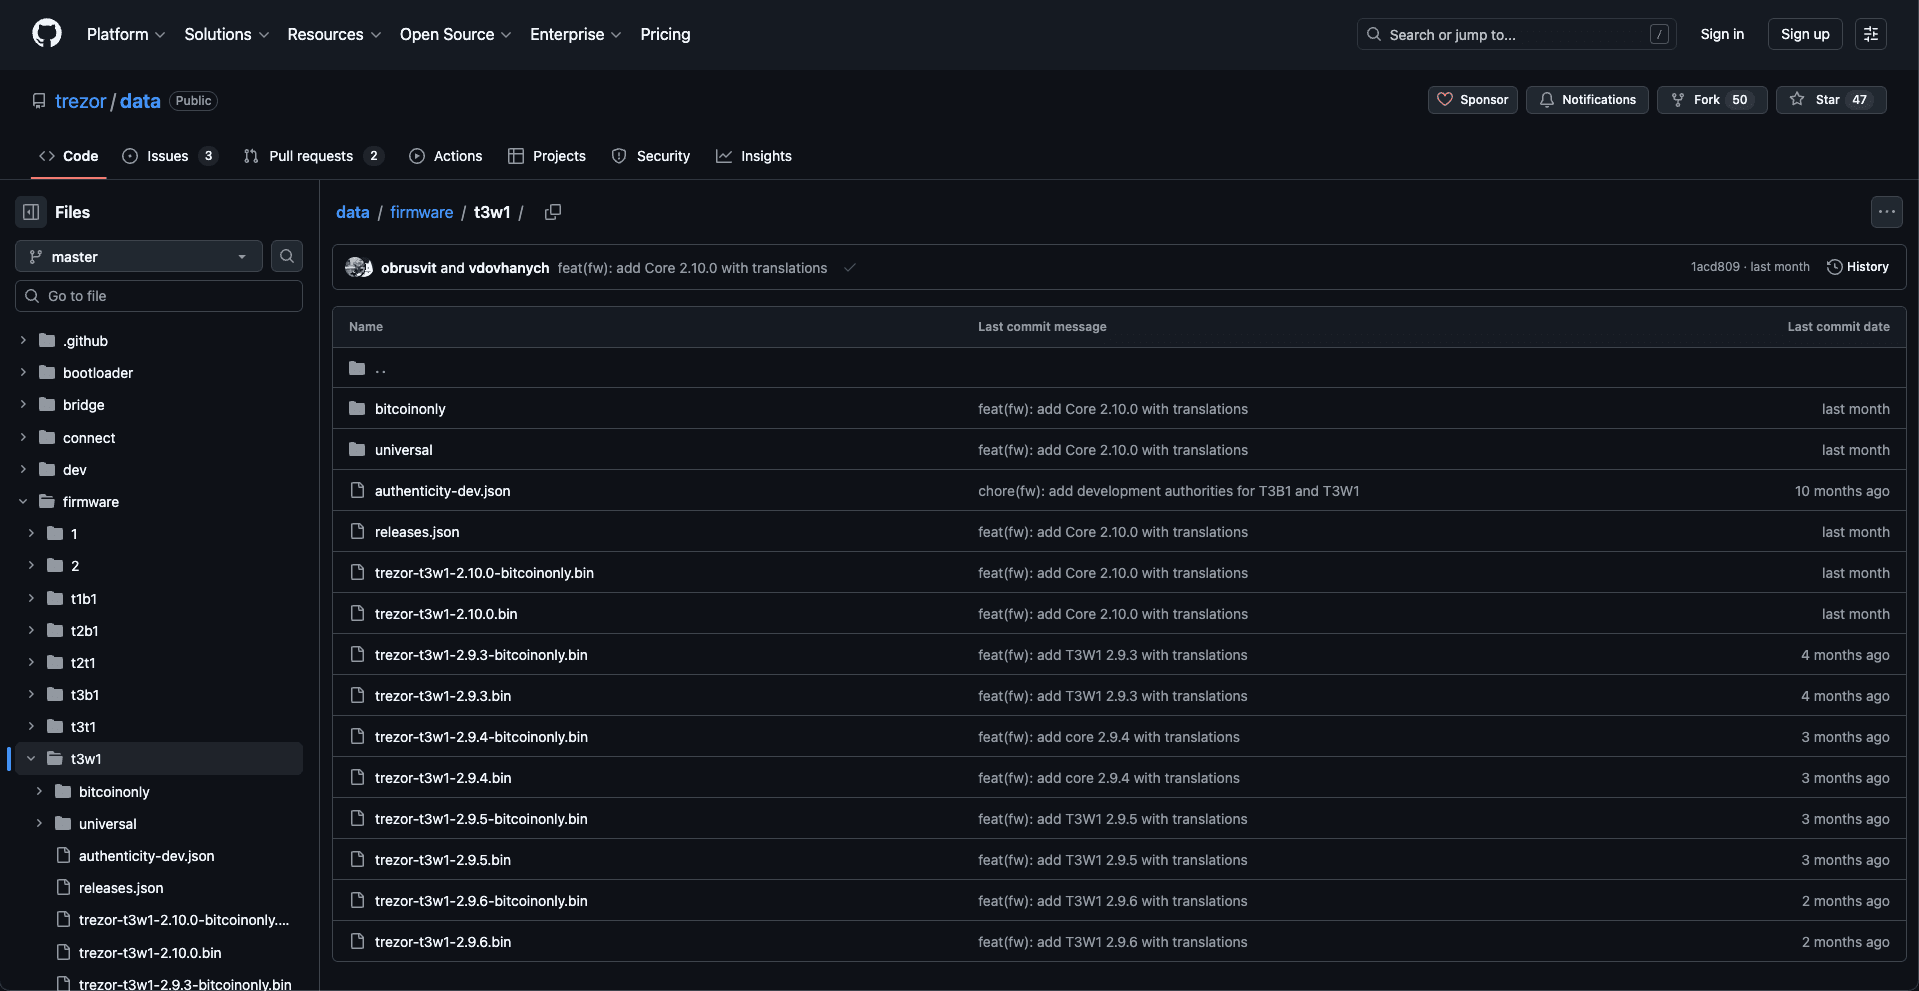
Find the firmware version you want to install. Download the correct .bin file to your computer.

3. Upload the firmware file
Drag and drop the .bin file into the dashed upload box. Or click the box and select the file manually.
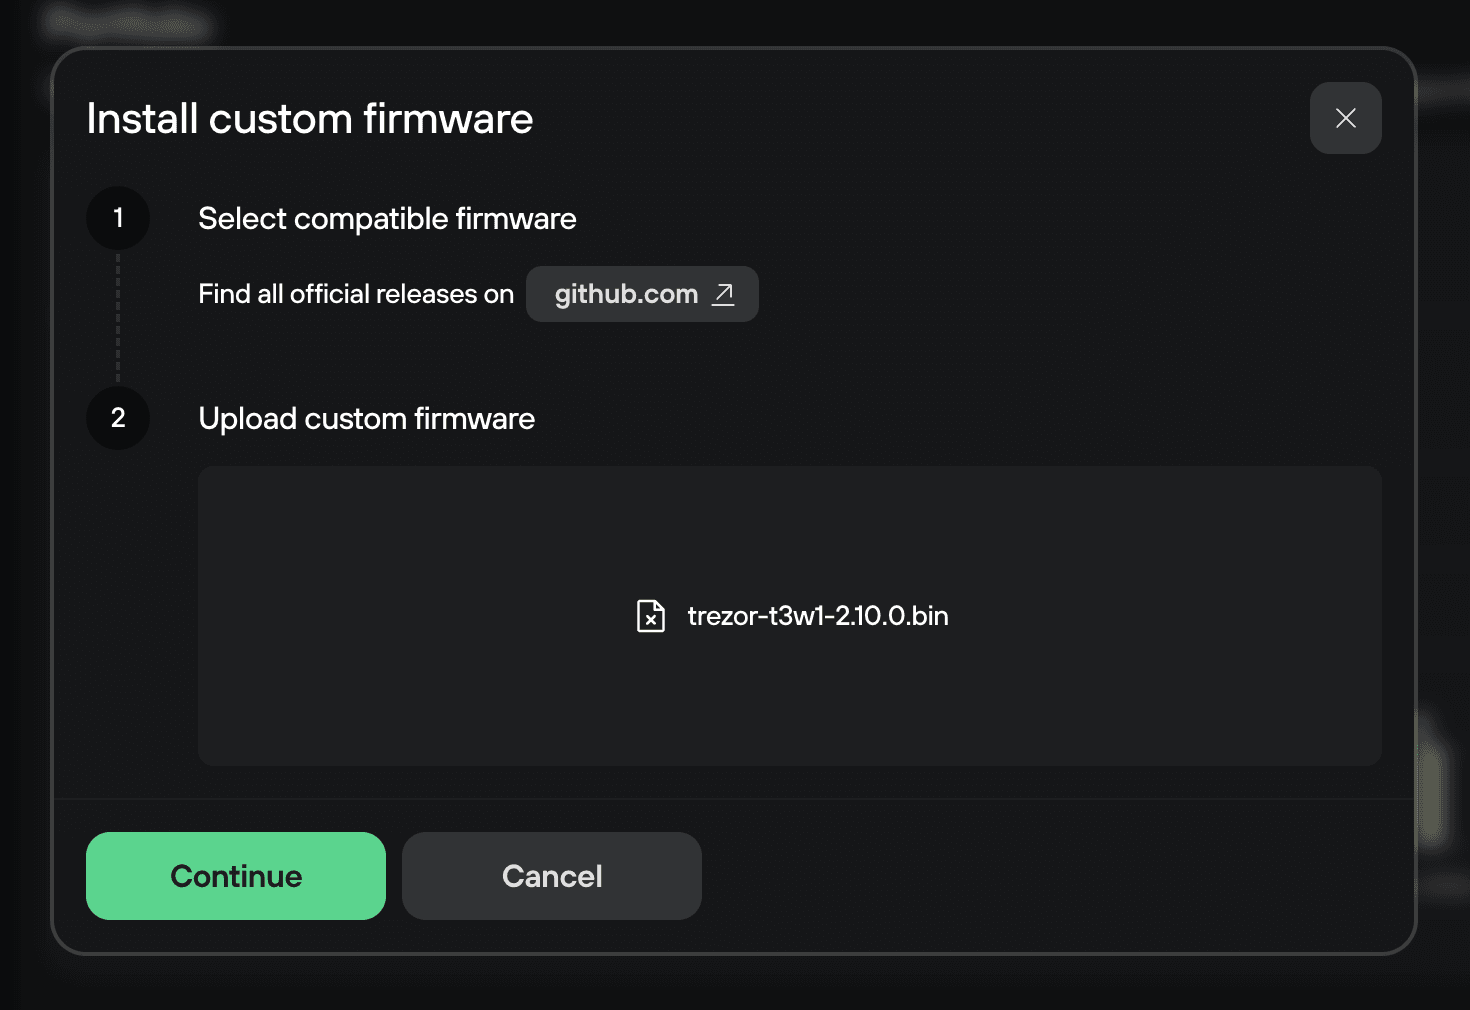
4. Install the firmware
Click Continue. A security checkpoint will appear.
Confirm that you have your wallet backup ready. Check "Yes, I do!" and click Install firmware
In some cases this process will erase your wallet from the device. Without your wallet backup, your funds cannot be recovered.

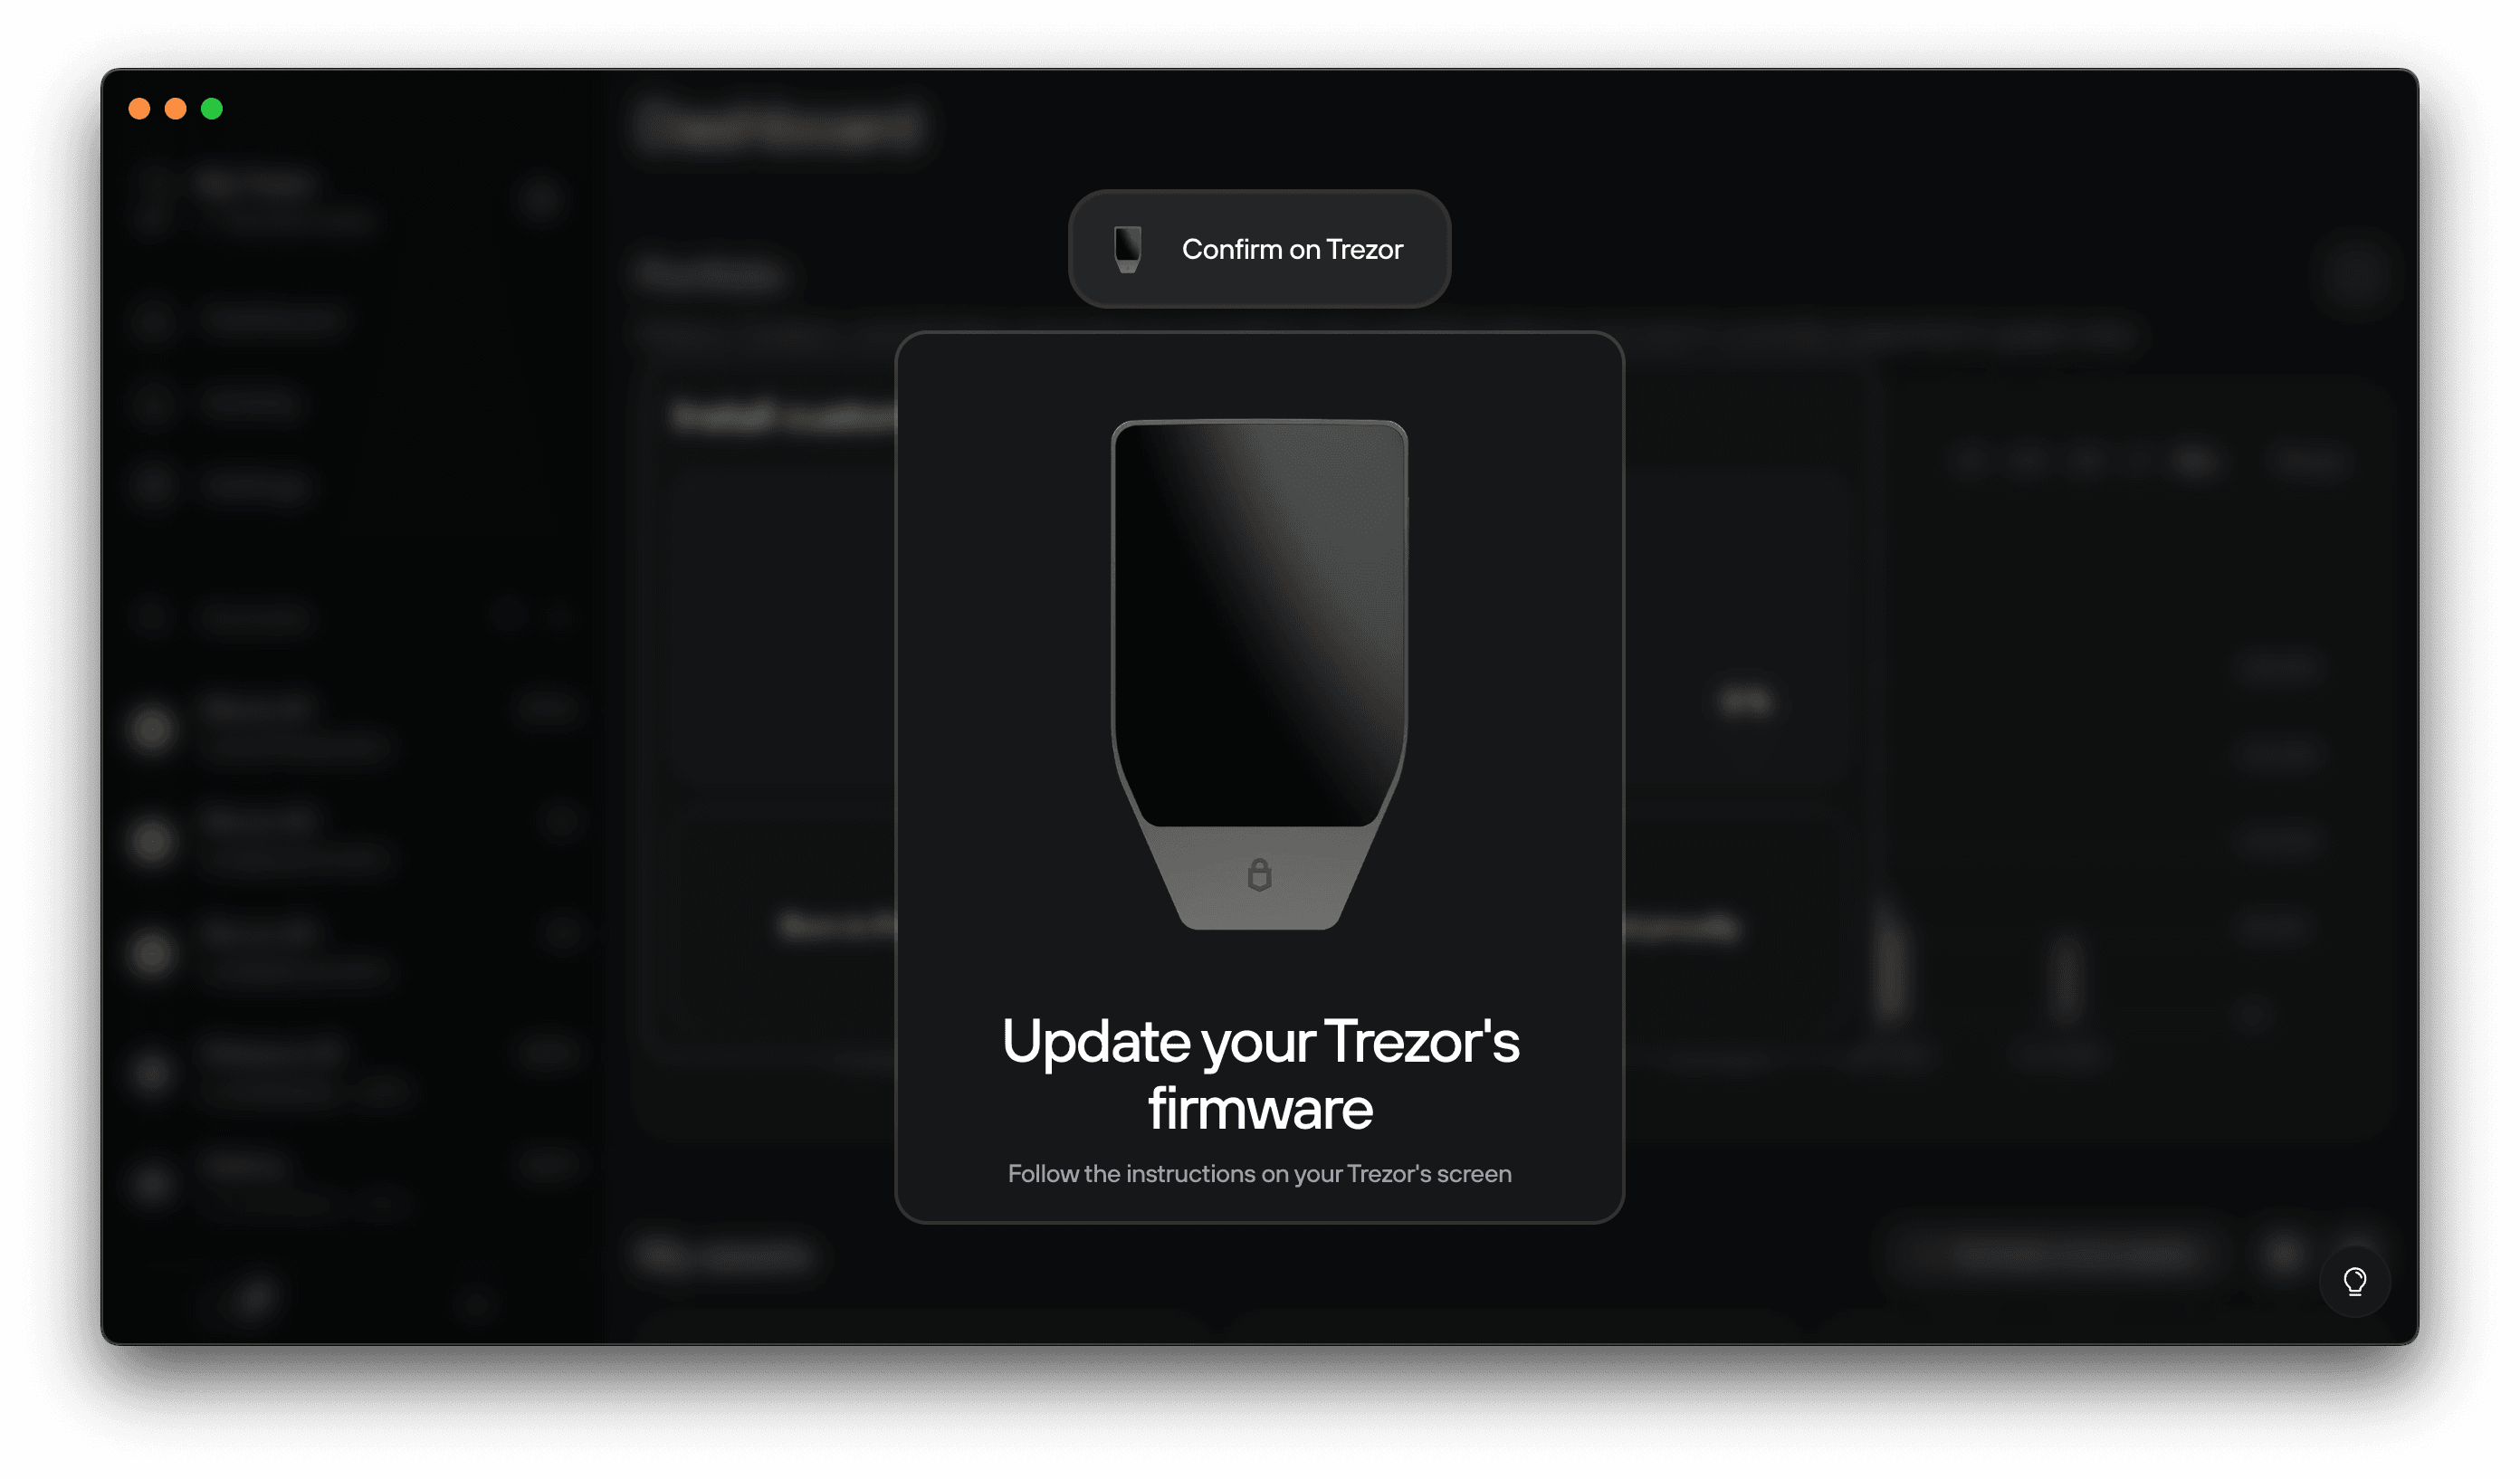
5. Reboot into bootloader mode
Follow the on-screen prompts to confirm the action on your Trezor Safe 7. Your device will reboot into bootloader mode automatically.
Confirm once more on the device when prompted.
6. Finish the process
Once the installation completes, your Trezor will ask for your PIN. Enter it to confirm. Click Close to finish.
Returning to the latest firmware version
After downgrading, Trezor Suite will show an update banner in the bottom-left corner.
To return to the latest firmware version, click Update now and follow the steps.
Upgrading to the latest version is automated and does not require downloading any files manually.
Trezor Safe 7 downgrade options
| Installed firmware | Downgrade possible? |
|---|---|
| 2.12.1 | Yes, to 2.12.0 only. Wallet is not erased. |
| 2.12.0 | No |
| 2.11.1 | Yes, to 2.11.0 only. Wallet is not erased. |
| 2.11.0 | No |
| 2.10.0 | Yes, but always erases the wallet. Downgrading to 2.9.6 and then upgrading back to 2.10.0 may cause a "red screen" error displaying "Wrong PIN". To fix this, perform a factory reset from the bootloader. |
| 2.9.6 | Yes — to 2.9.5, 2.9.4, or 2.9.3. Wallet is not erased. |
| 2.9.5 | Yes — to 2.9.4 or 2.9.3. Wallet is not erased. |
| 2.9.4 | Yes — to 2.9.3. Wallet is not erased. |
| 2.9.3 | No |