Importante: los artículos de nuestro blog solo están disponibles en inglés de momento.
Manage accounts in Trezor Suite
Trezor Suite organizes your crypto into accounts. Each account covers one network, holds its own addresses, and keeps its own balance and transaction history.
This article explains how accounts in Trezor Suite work, how many you can have, and how to add and view them on desktop and mobile.
What an account is
An account is a separate set of addresses inside your wallet, dedicated to a single network. Your Bitcoin accounts hold bitcoin. Your Ethereum accounts hold ETH and any ERC-20 tokens you receive.
Every account derives from the same wallet backup, so one backup restores all of them. Each account has its own extended public key (XPUB), its own addresses, and its own history.
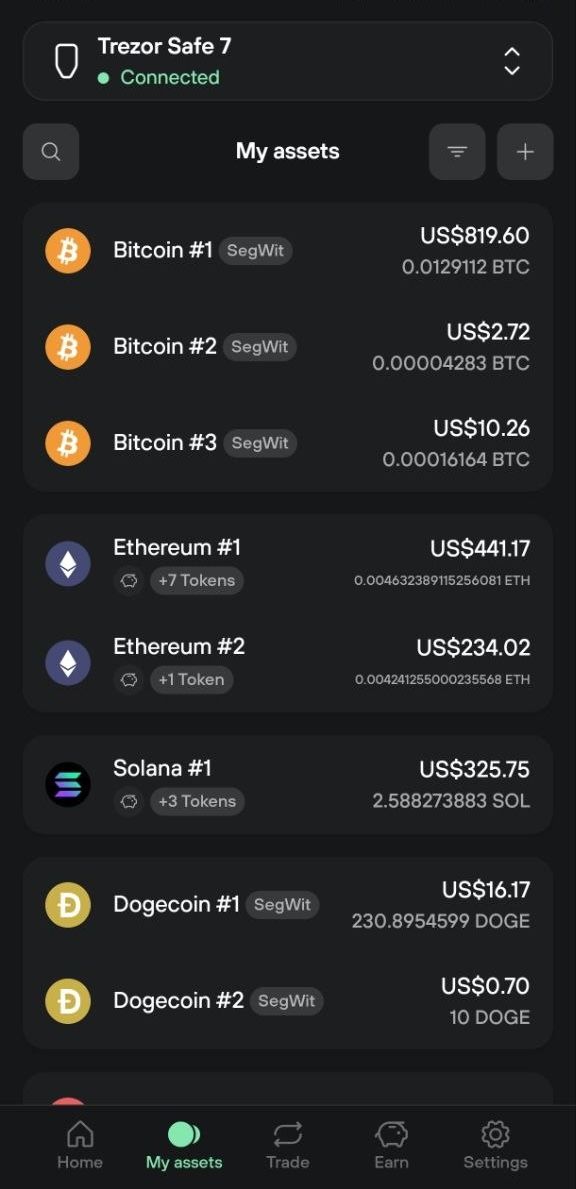
Trezor Suite names accounts by network and number: Bitcoin #1, Bitcoin #2, Ethereum #1, and so on.
Accounts are not the same as wallets. Another wallet with another wallet backup has its own separate accounts, and so does a passphrase wallet. See What is a passphrase?
Account types
Some networks offer more than one account type. The type sets the address format the account uses.
Bitcoin has four:
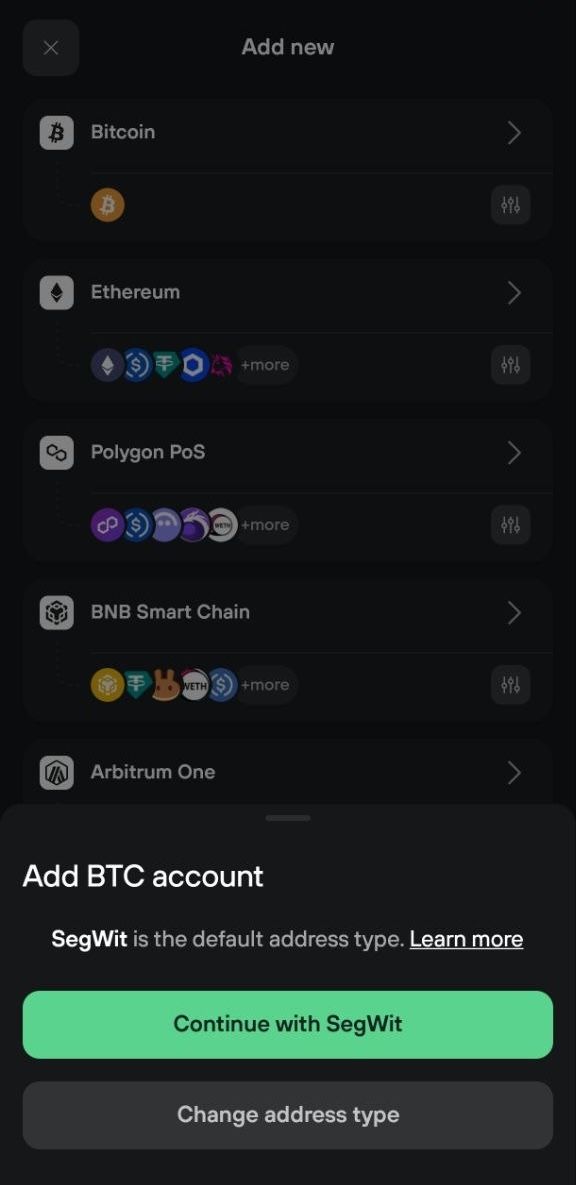
- SegWit (BIP84, P2WPKH, Bech32), the default in Trezor Suite
- Taproot (BIP86, P2TR, Bech32m)
- Legacy SegWit (BIP49, P2SH-P2WPKH, Base58)
- Legacy (BIP44, P2PKH, Base58)
SegWit works for almost everyone. Fees are lower than the older formats and support is wide. Choose a different type only if a service you use requires it.
Litecoin and Dogecoin also have multiple account types. Pick the type when you create the account, because an existing account cannot be converted to another type.
For what each format does and how to recognize the addresses, see Bitcoin account types: SegWit, Legacy, and Taproot explained.
How many accounts you can have
Your Trezor device places no limit on the number of accounts. Trezor Suite applies a rule rather than a fixed number, and the rule depends on the network.
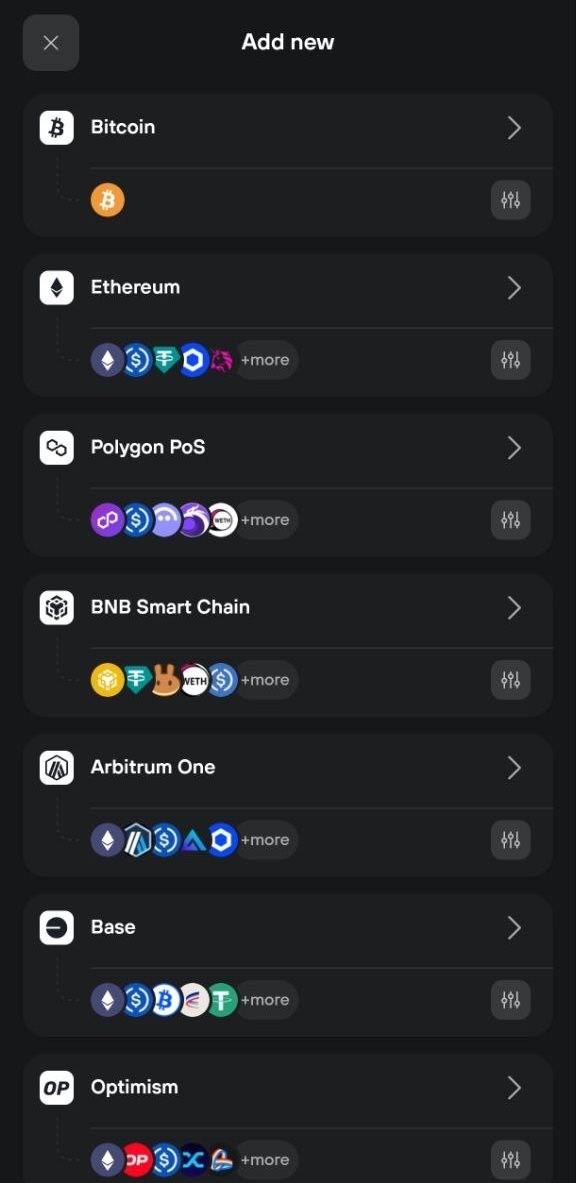
On Ethereum and EVM networks such as Polygon PoS, BNB Smart Chain, Arbitrum One, Base and Optimism, you can add accounts freely.
On every other network, including Bitcoin, Litecoin, Dogecoin, Cardano, Solana, XRP, Stellar and Tron, a new account becomes available only once the previous one has a transaction history. Trezor Suite will not let you stack empty accounts.
Where a network offers several account types, this applies to each type on its own.
Managing accounts on desktop
View your accounts
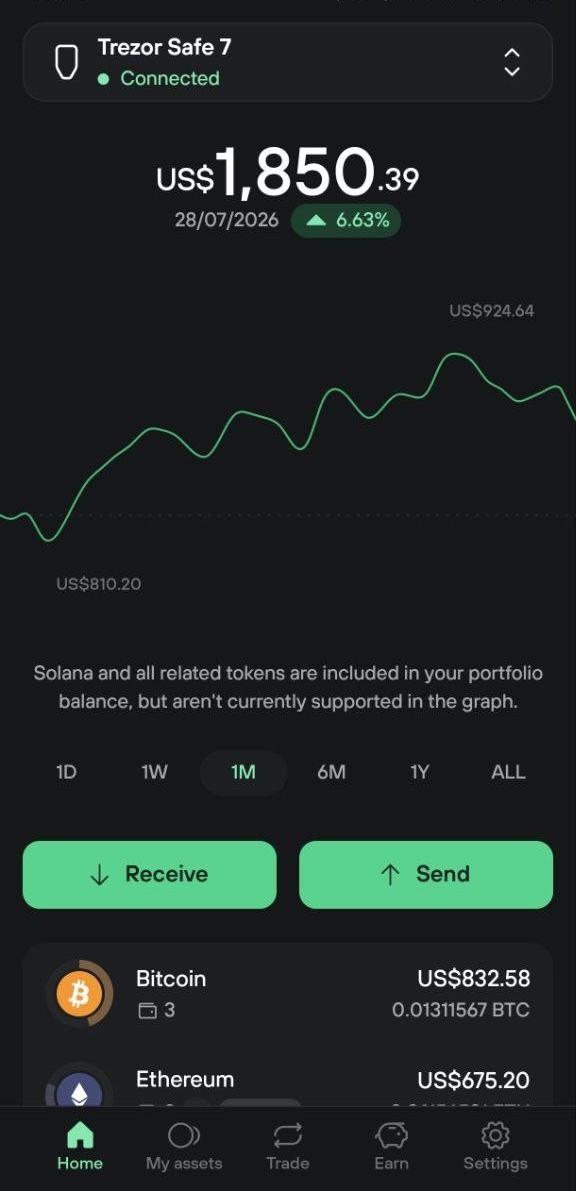
Your accounts appear under Accounts in the left sidebar, with the balance next to each one. Use the search and filter icons above the list to narrow it down.
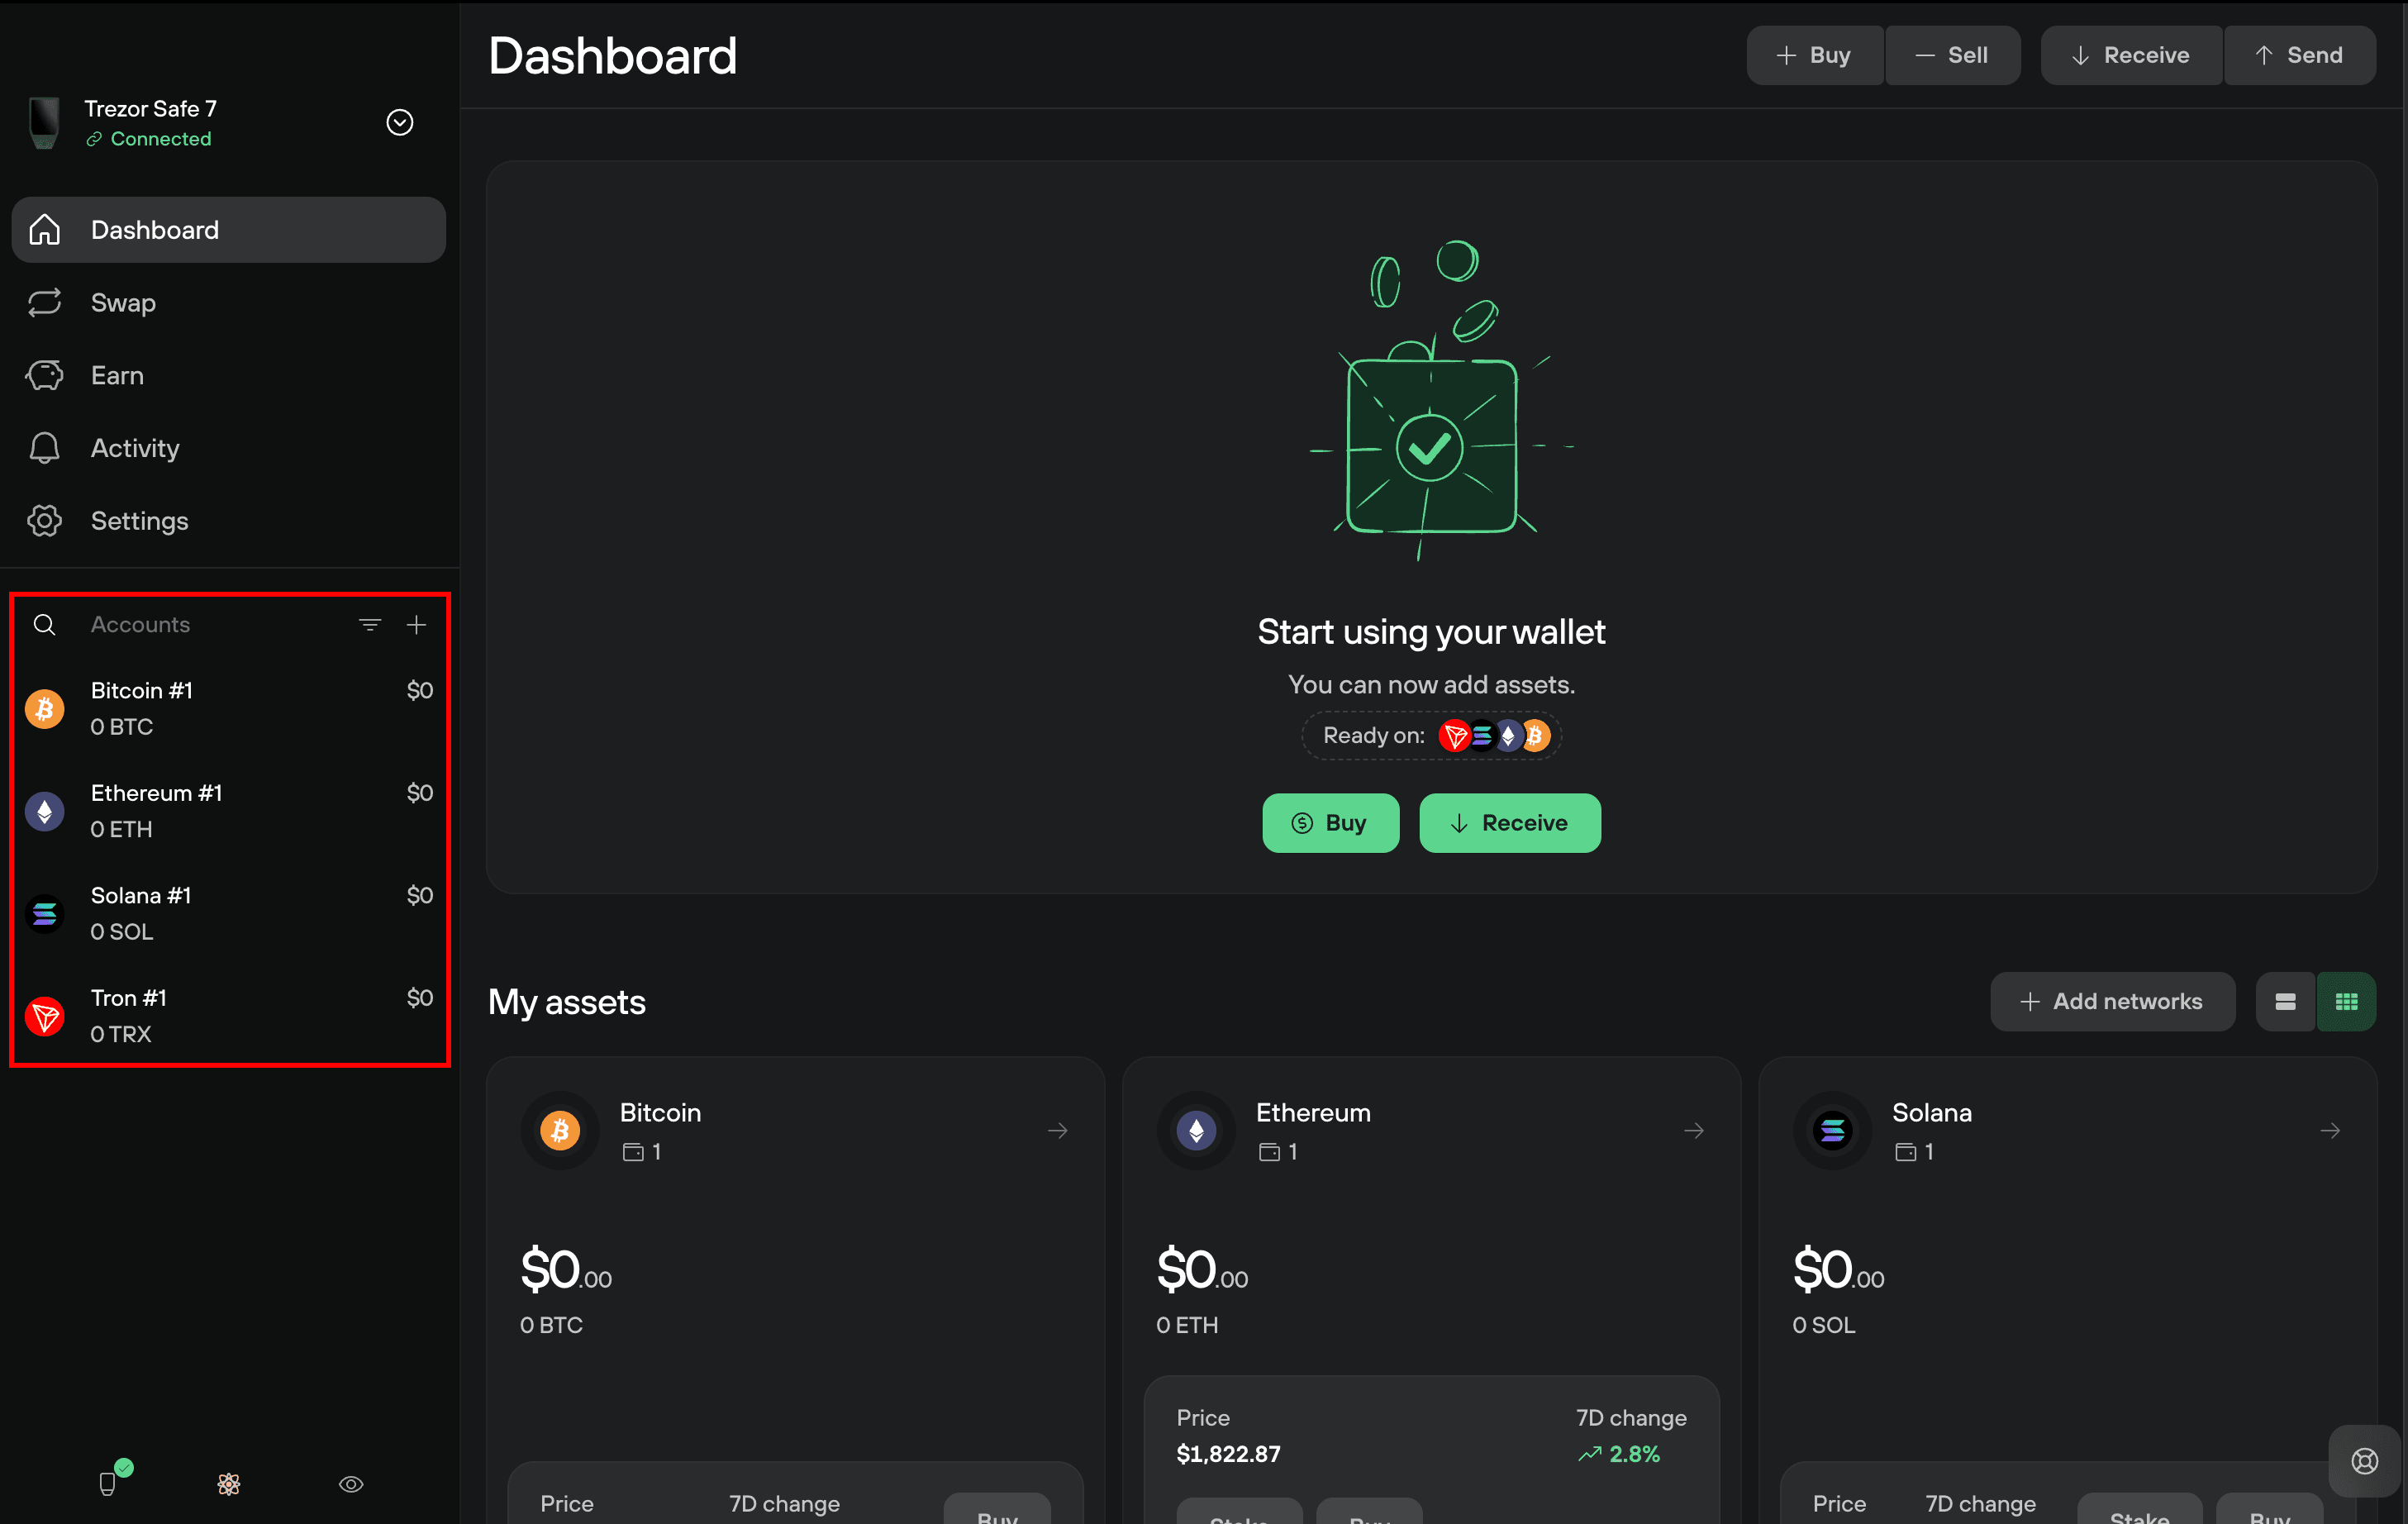
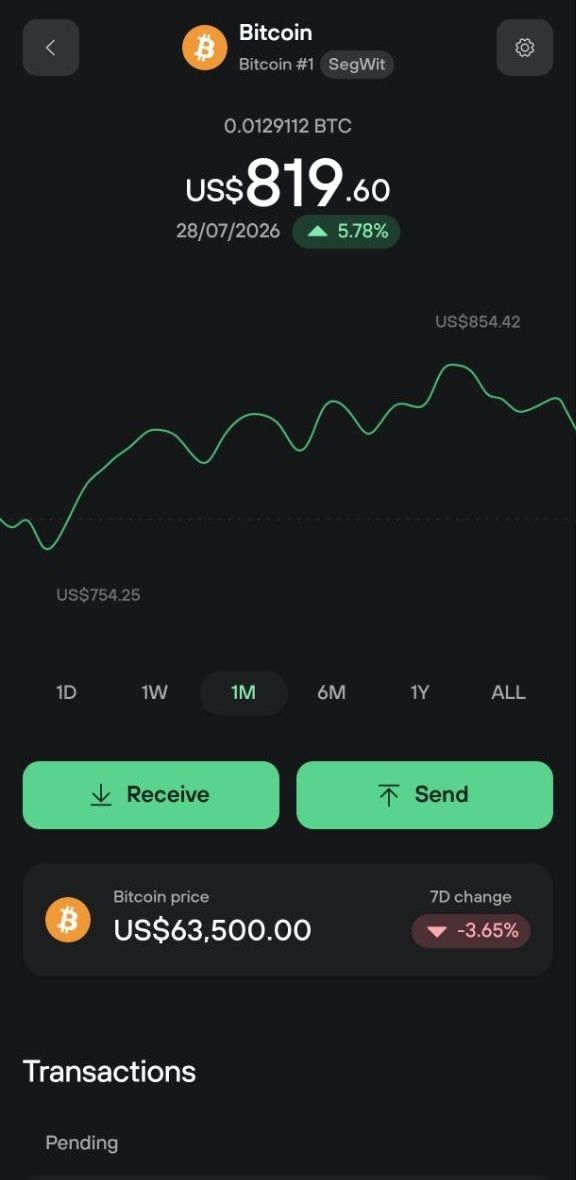
Click an account to open it. The Overview tab shows the balance, a chart over a time range you choose, and the transaction list, which you can download.
An account with no transactions shows a No transactions message, with options to buy or receive that coin.
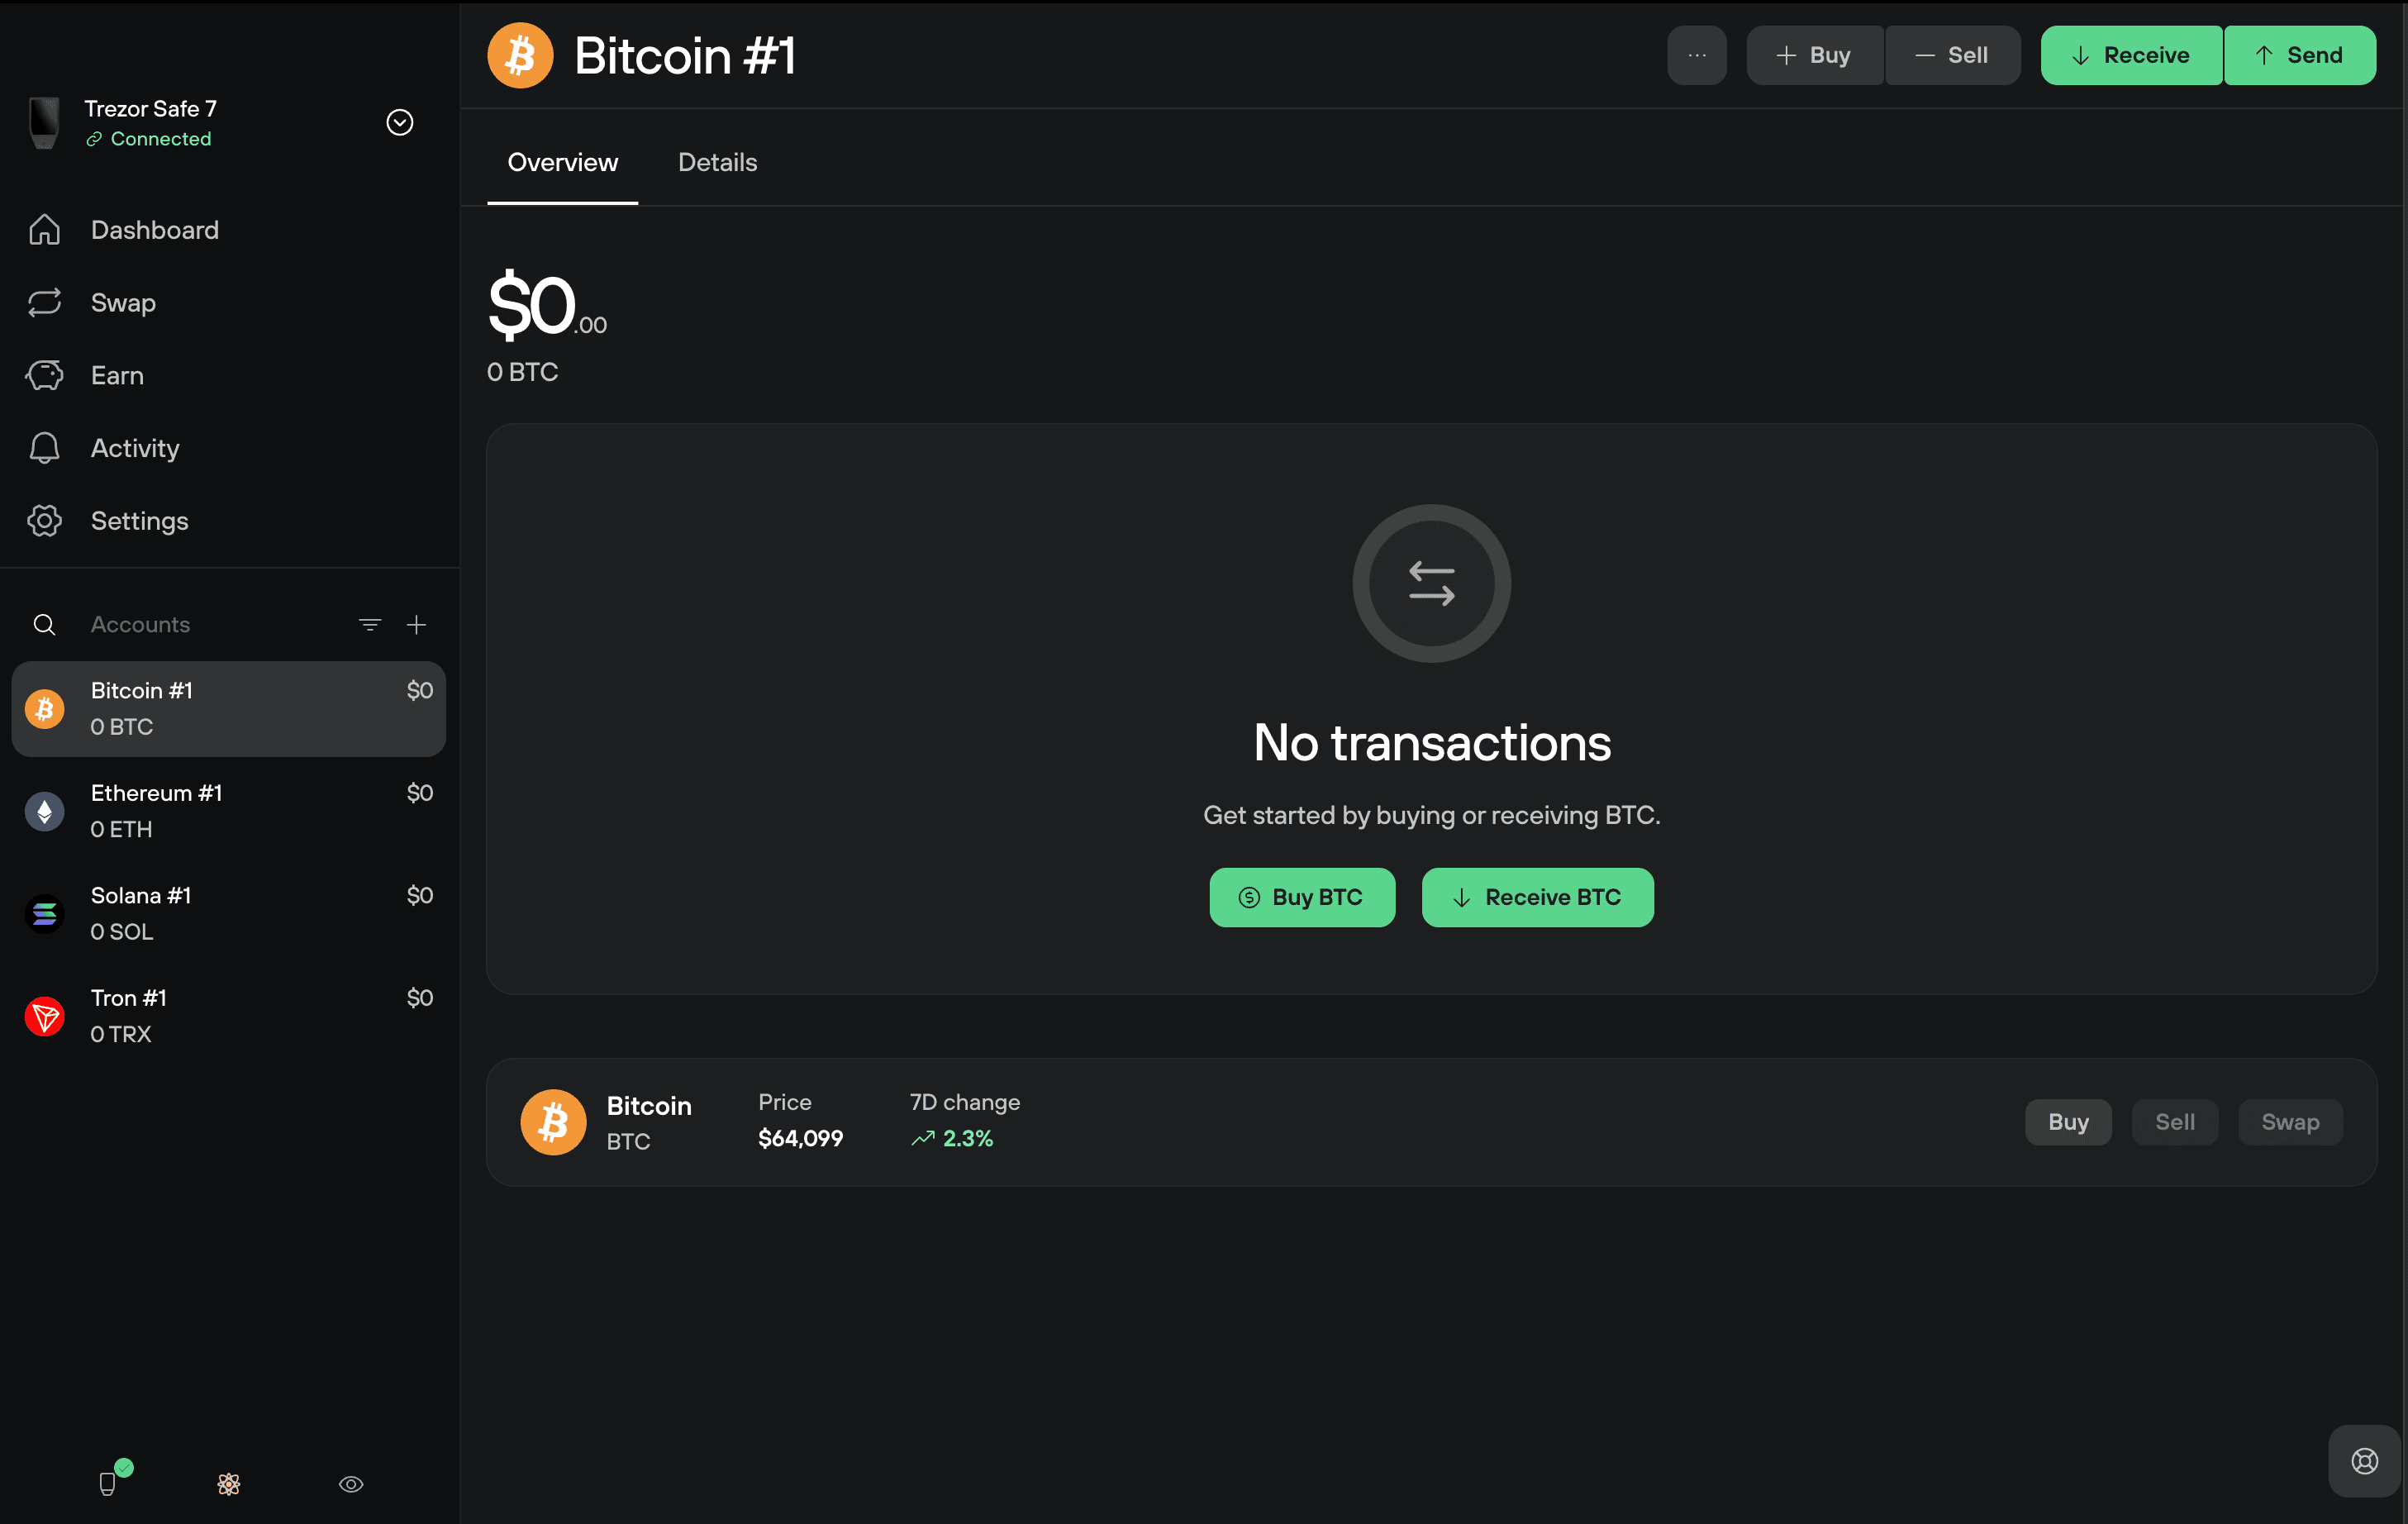
Check which account is selected before you send or receive. Every transaction in Trezor Suite belongs to one specific account.
Check account details
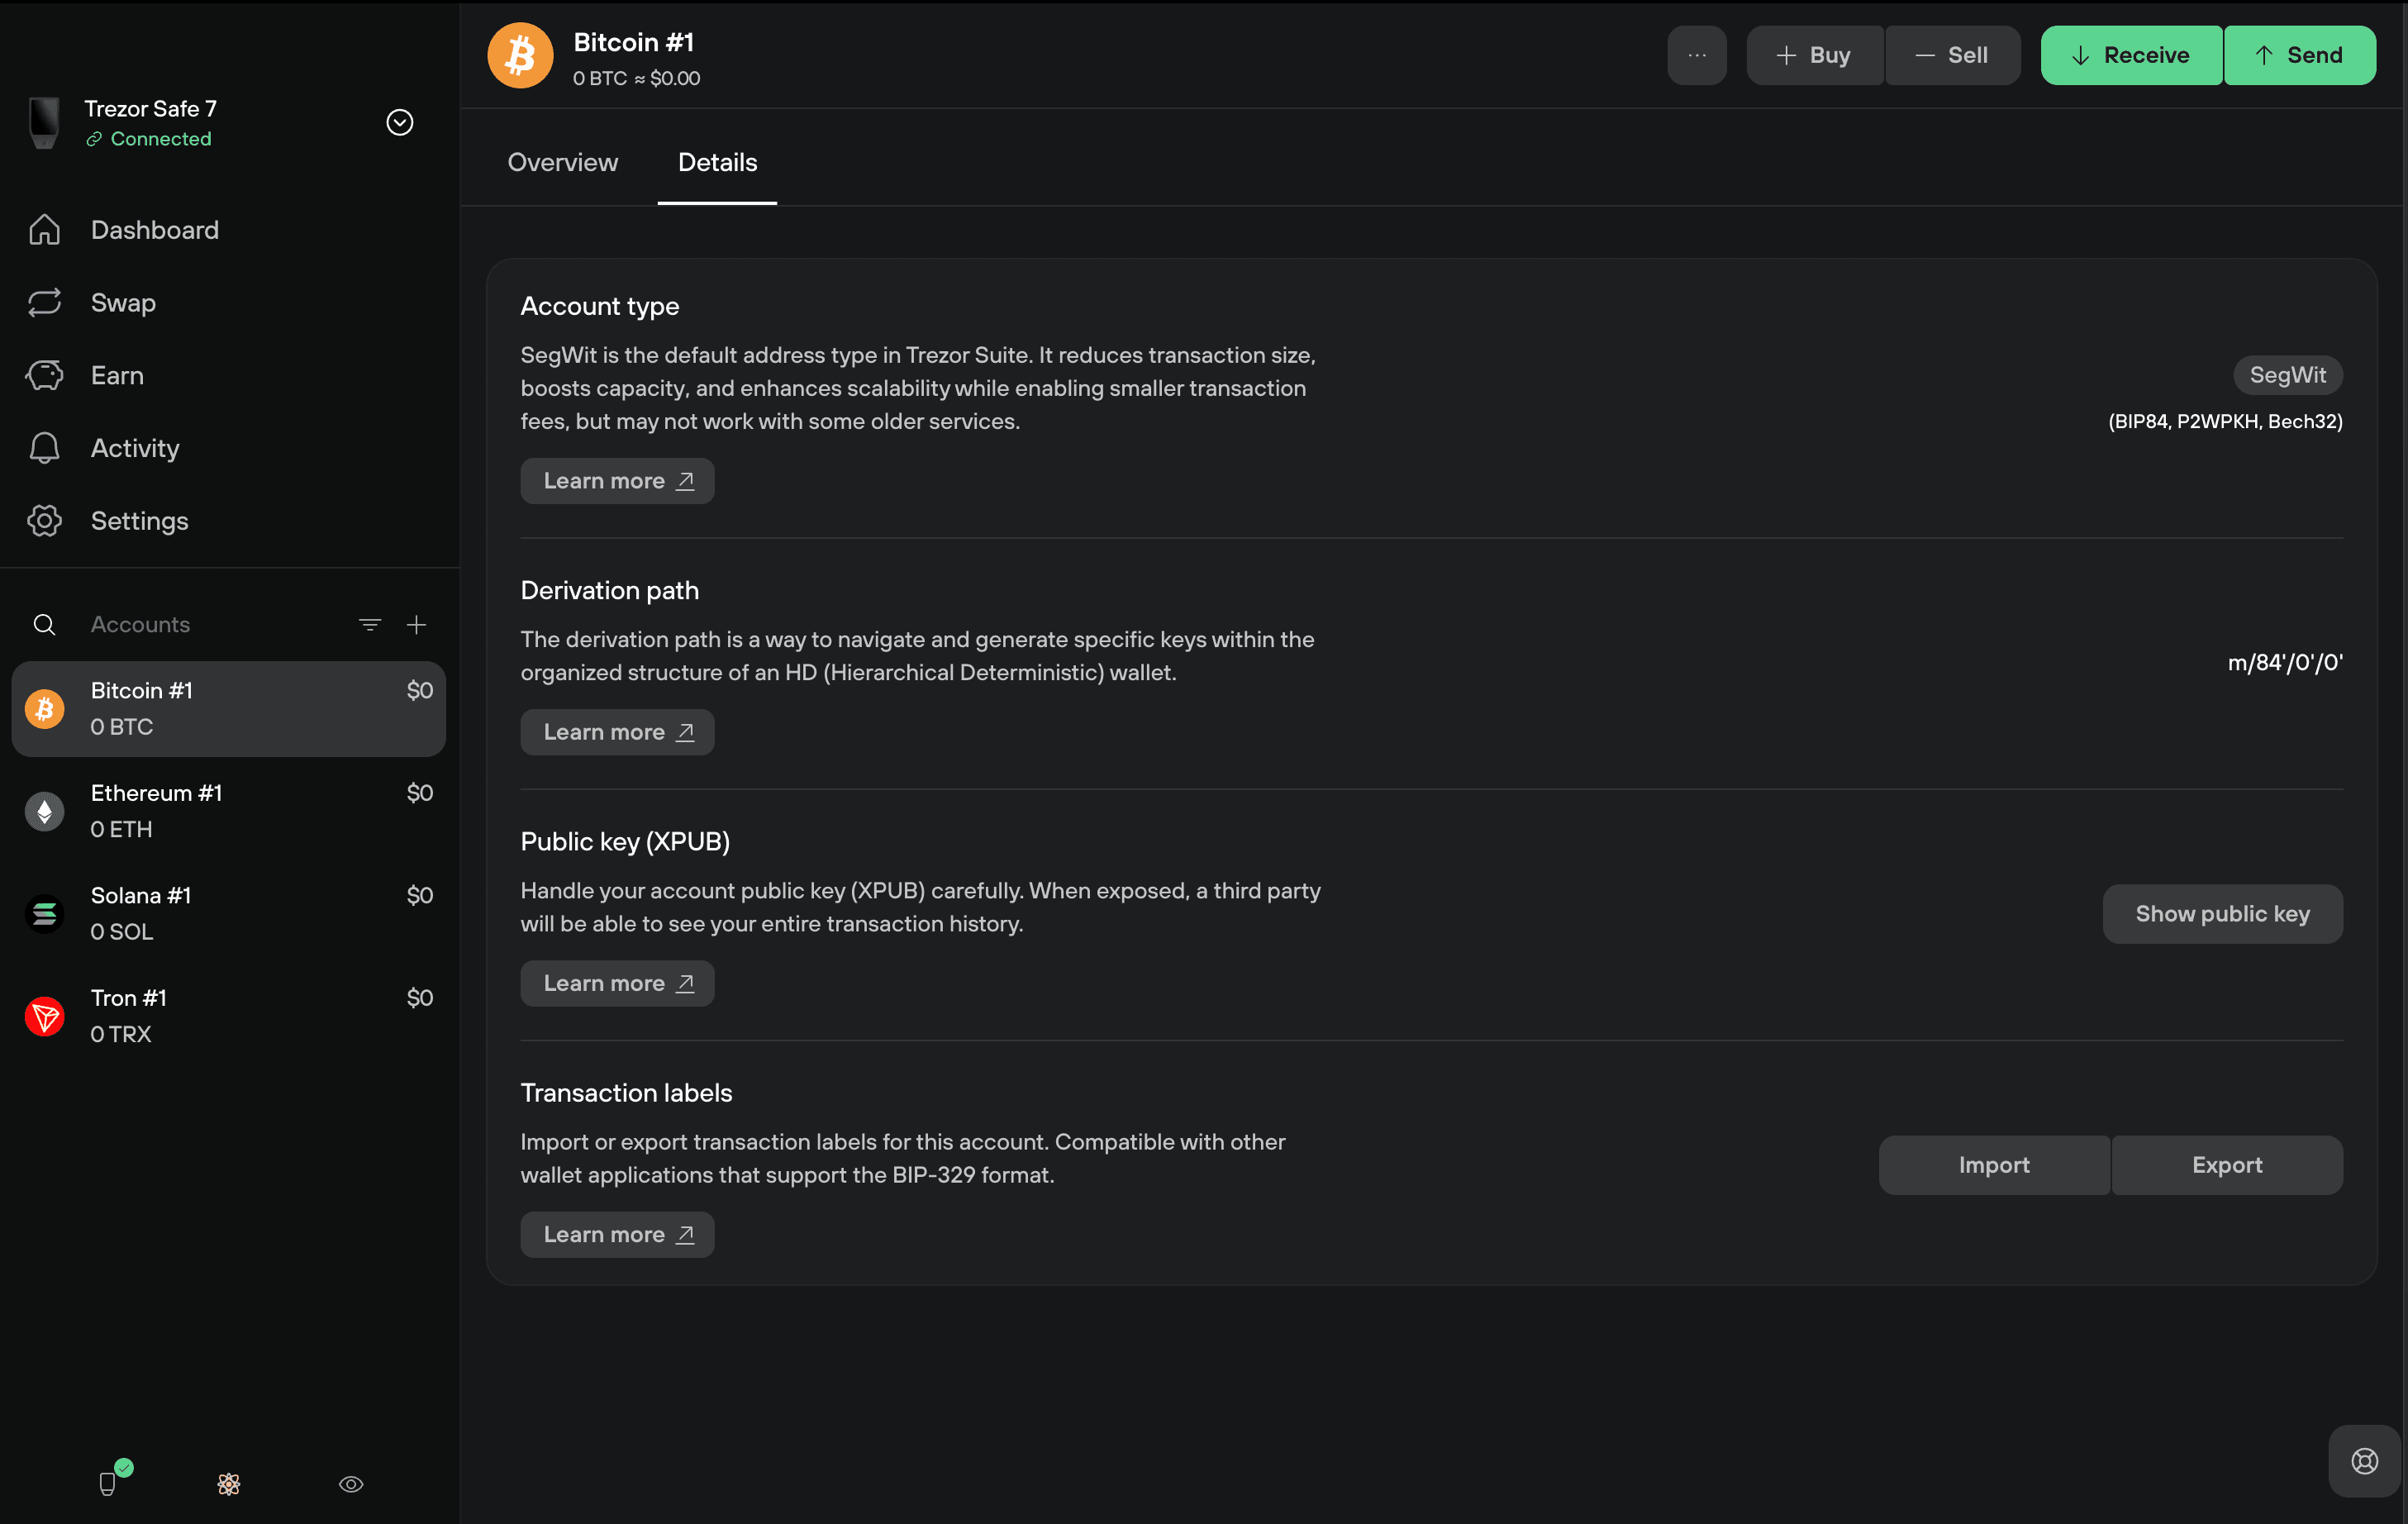
The Details tab shows the account type, the derivation path, and the account's public key (XPUB). You can also import and export transaction labels here, using a format other compatible wallets can read too (BIP-329).
Add an account
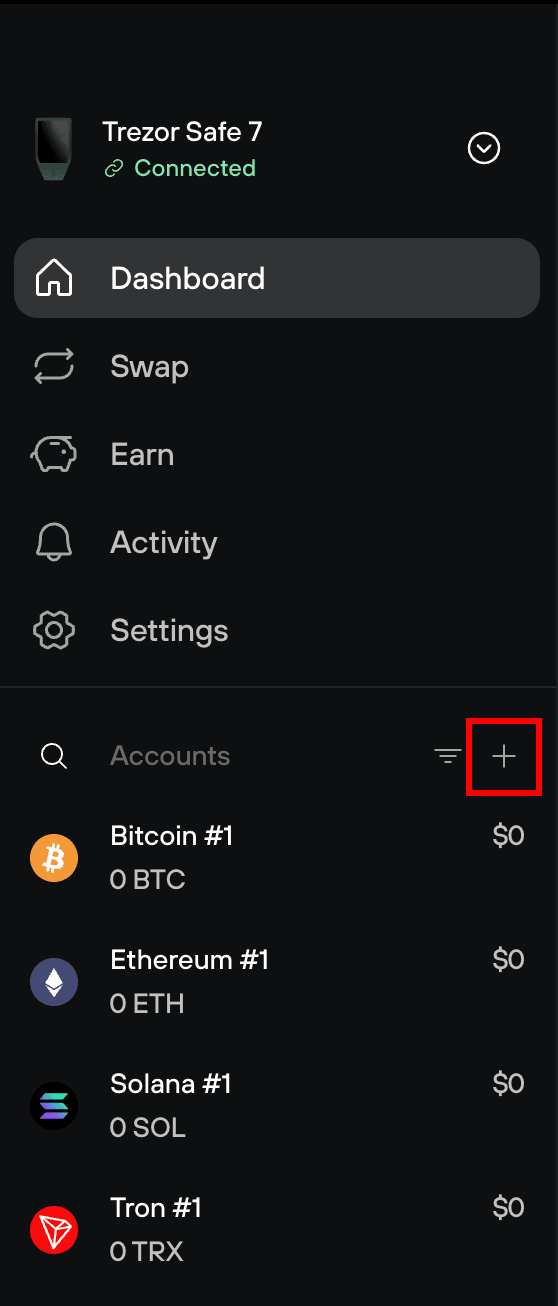
Click the plus icon next to Accounts in the sidebar.
The Add account window groups networks into two lists: ones that are already active, and ones that Trezor Suite activates for you when you add the account. Search by name if the list is long.
Click Add next to the network you want.
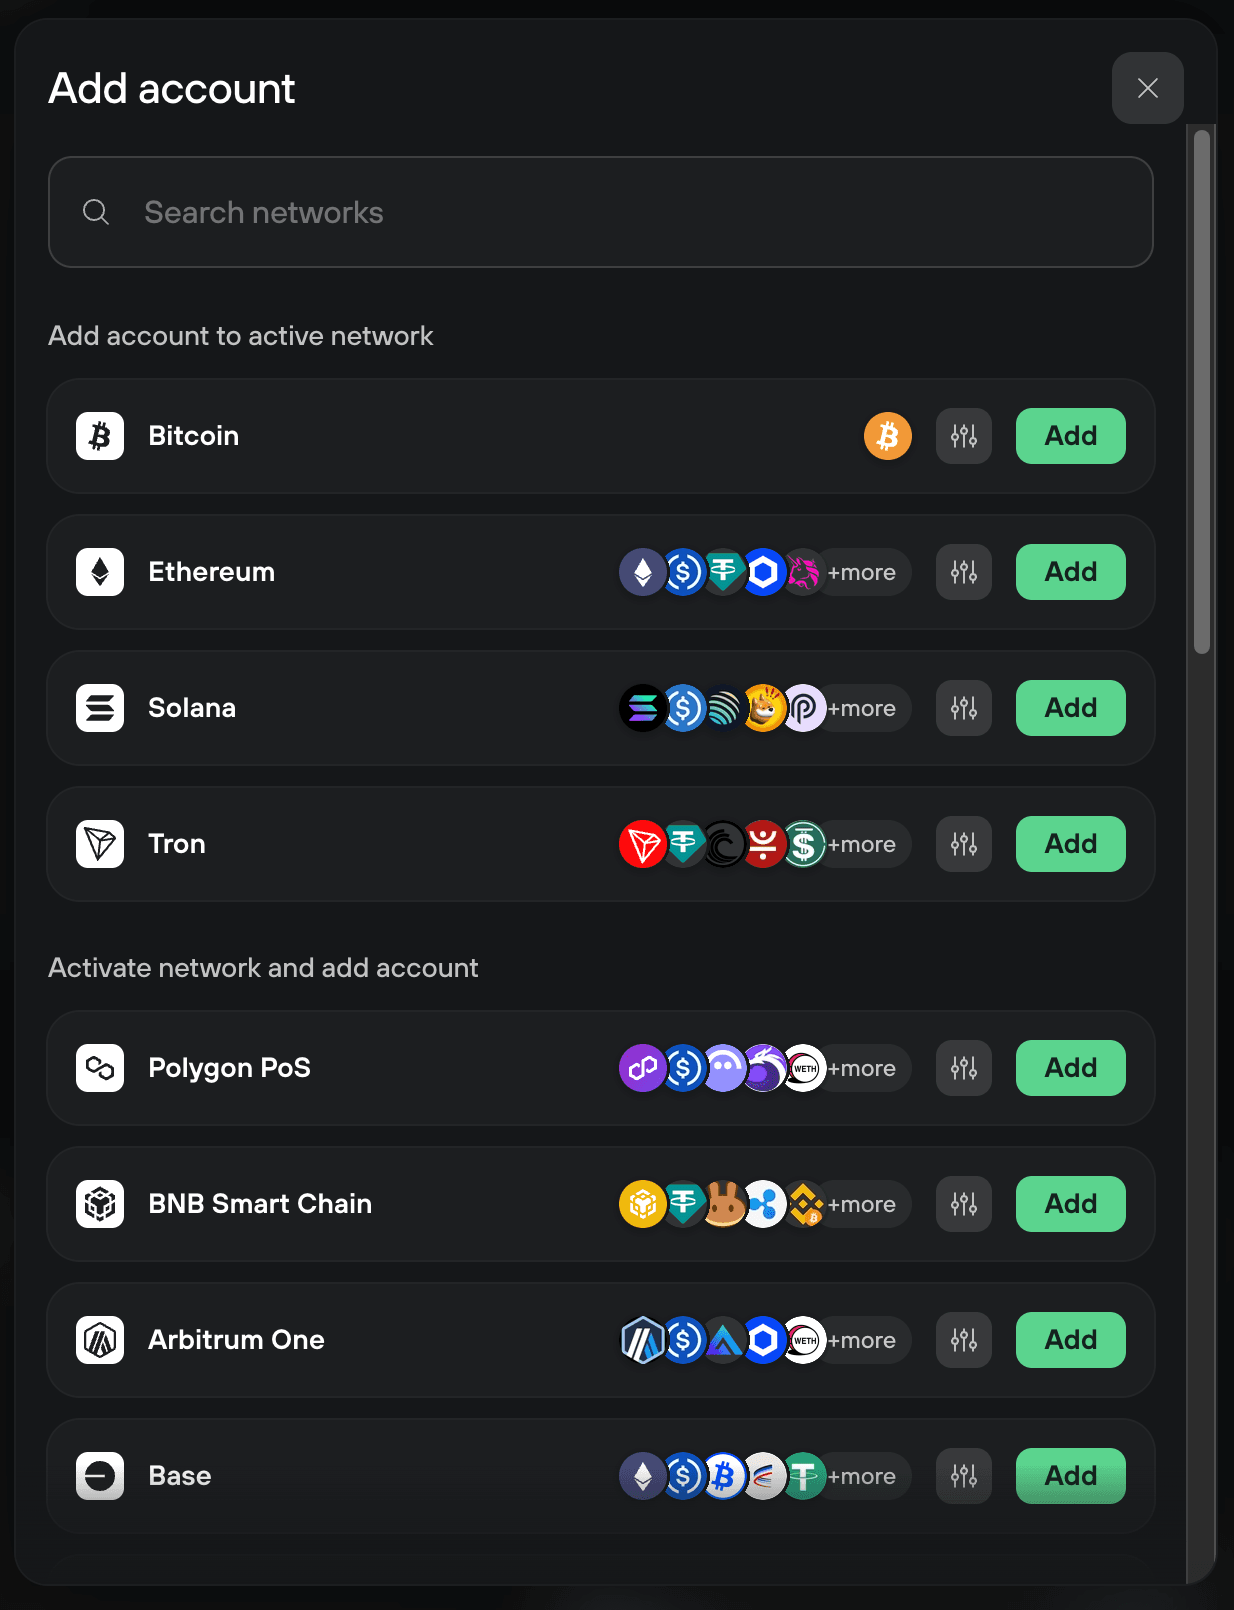
The new account appears in the sidebar, ready to use.
You can also add an account from the Receive button in the top right of the dashboard.
To turn networks on or off in bulk instead, use Settings → Networks. See Trezor Suite Settings. For the full list of what Trezor supports, visit trezor.io/coins.
Accounts and privacy
Each account has its own XPUB and its own addresses. Trezor Suite never combines coins from two different accounts in one transaction, so your accounts stay separate on the blockchain unless you link them yourself.
Sending funds from one of your accounts to another links them. That transfer is public, and anyone looking at it can see both accounts belong to the same person.
Anyone who holds an account's XPUB can see its full transaction history and every address it has used. Share it only when you have a reason to. See What is a public key (XPUB)? and Use new address for each transaction.
Name your accounts
Trezor Suite numbers accounts by default. Turn on labeling to give them names that mean something to you, such as Savings or Spending. You control where labels are stored, and they never leave your own storage. See Labels in Trezor Suite.
Move funds between your own accounts
Send from one account to a receiving address of the other, exactly as you would send to anyone else. You pay the standard network fee and the transfer is recorded on-chain.
See Send crypto in Trezor Suite and Receive crypto in Trezor Suite.