Bitte beachten: Unsere Artikel sind derzeit nur auf Englisch verfügbar.
Connect Rabby Wallet to your Trezor
Use Rabby Wallet with your Trezor to manage Ethereum and EVM assets while your private keys stay on the device.
What is Rabby Wallet?
Rabby Wallet is a non-custodial wallet for Ethereum and other EVM networks. When you pair it with your Trezor, you can use EVM networks, including ones that are not available in Trezor Suite. Every transaction is still approved on your device.
How to connect Rabby Wallet to your Trezor
Do not enter your Trezor wallet backup into Rabby Wallet or any app, website, or extension. Once those words are typed into connected software, they are no longer offline, and your wallet's security is weakened.
1. Open Trezor Suite and connect your Trezor
Open Trezor Suite on your computer. Plug in your Trezor with a cable, or connect over Bluetooth if it supports it. Unlock it with your PIN.
If you use a passphrase, enter it when you unlock your Trezor. Your passphrase wallet is separate, so pair with the passphrase active to see its accounts. For more information, read our article Using a passphrase wallet in Trezor Suite.
2. Open Rabby Wallet and pair with Trezor
Install the Rabby Wallet browser extension only from Rabby Wallet's official site or the browser store listing linked there, since fake wallet extensions are used to steal funds.
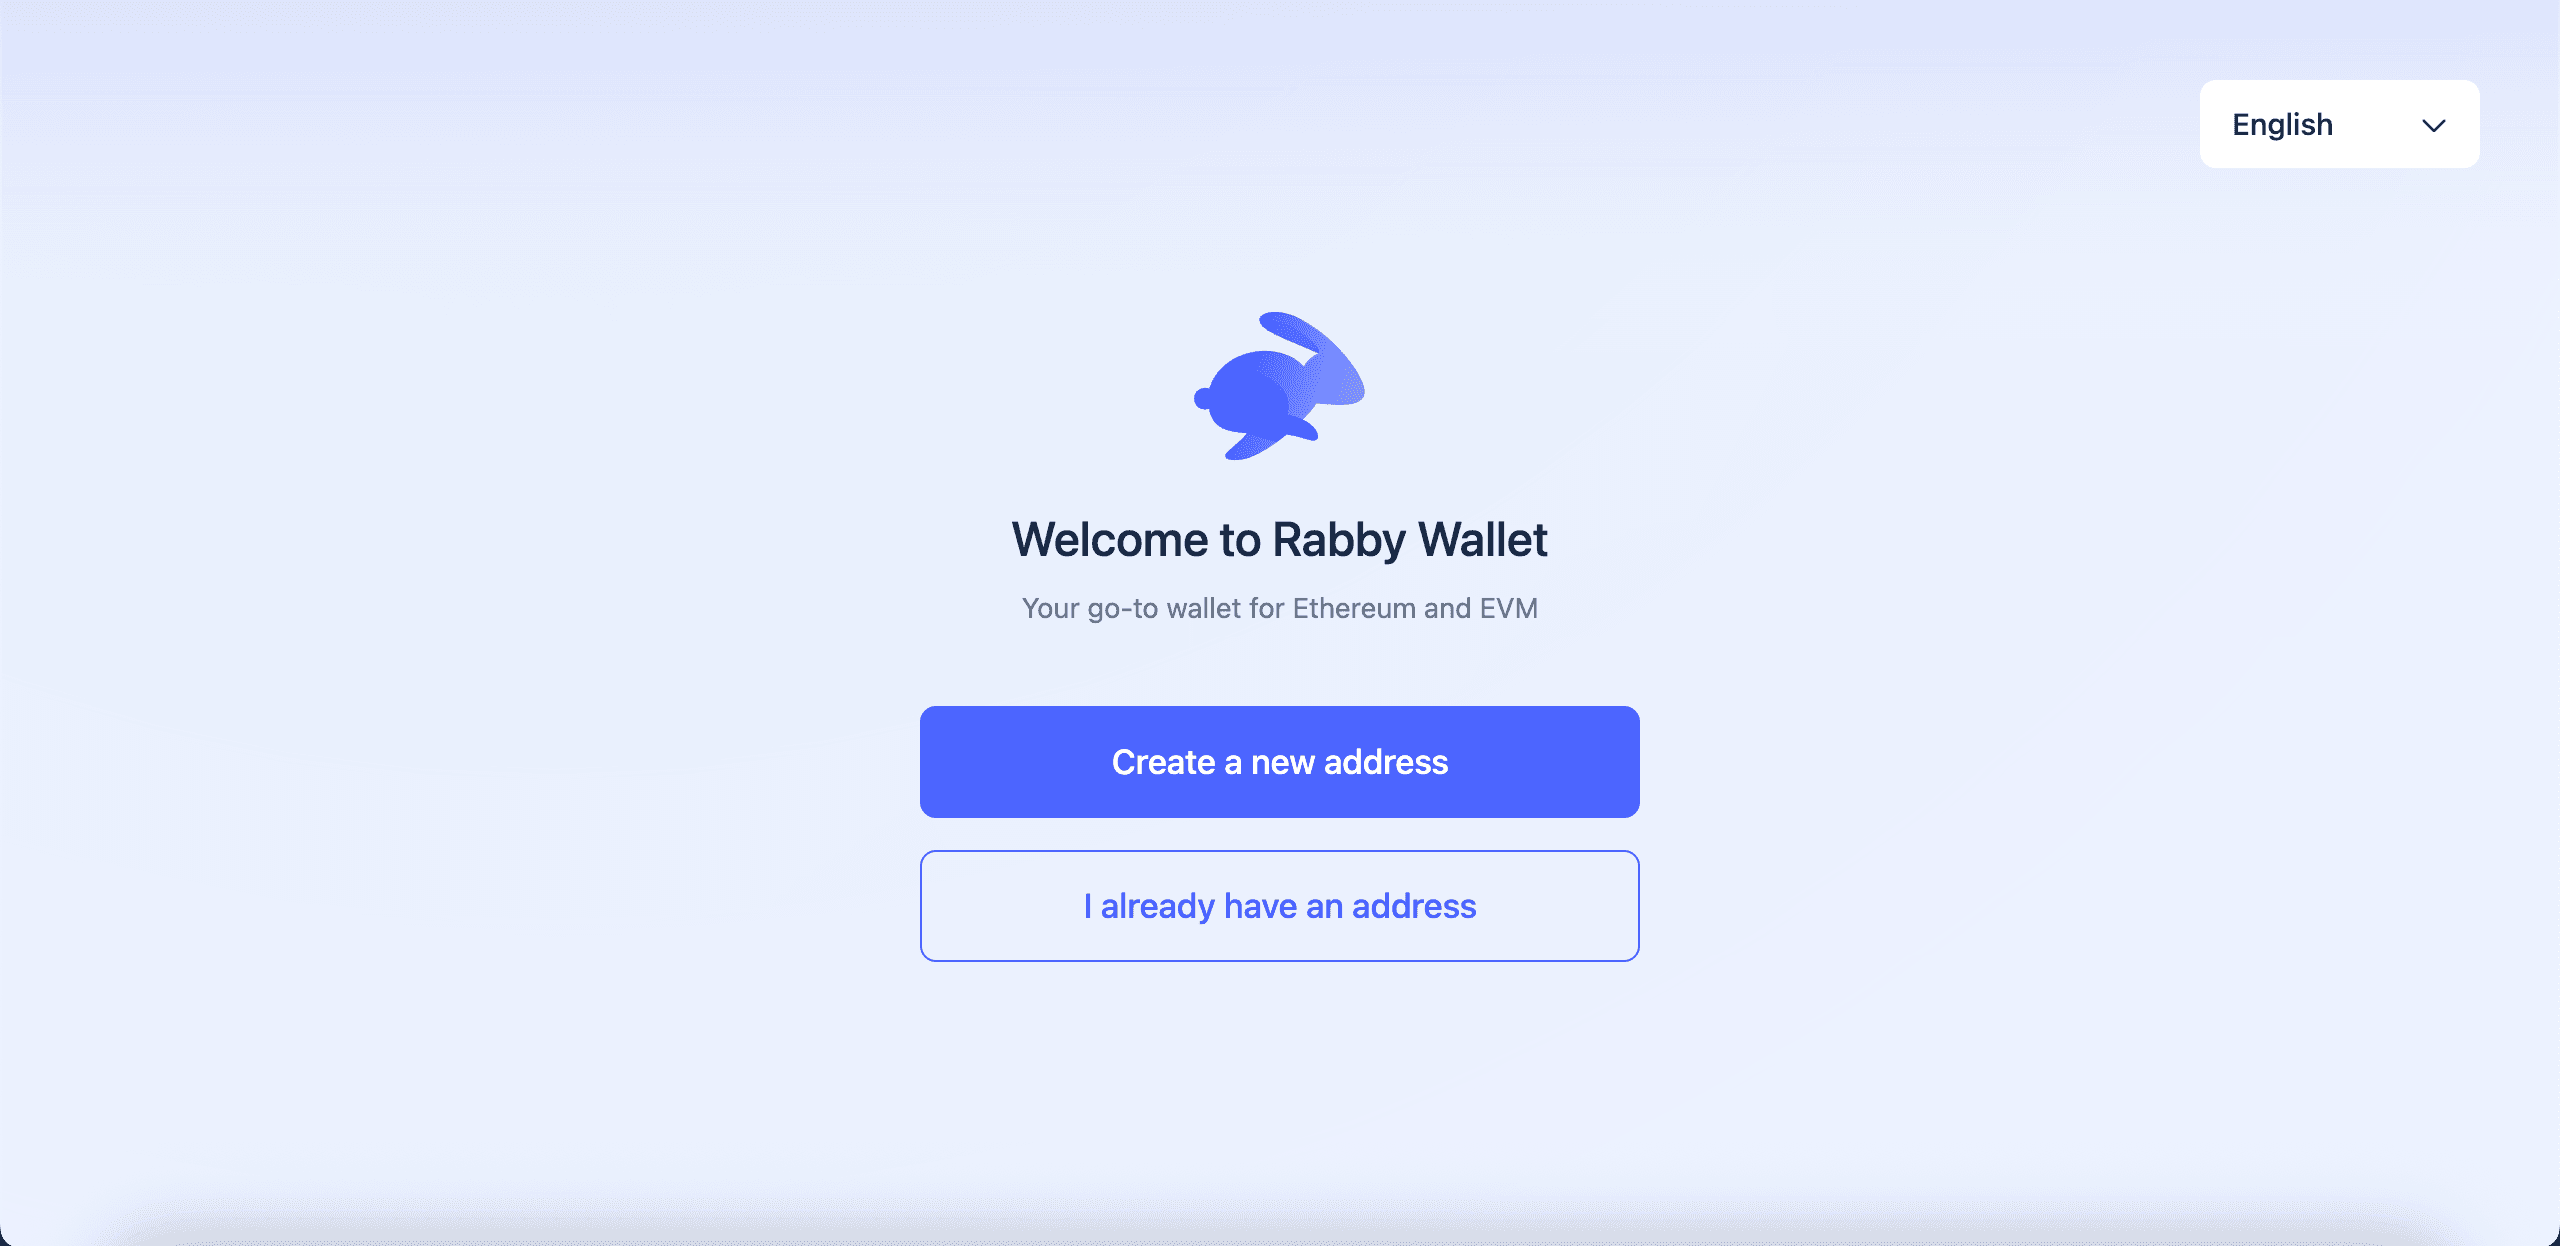
When Rabby Wallet opens, select I already have an address. You don't need to create a Rabby Wallet address to use your Trezor.
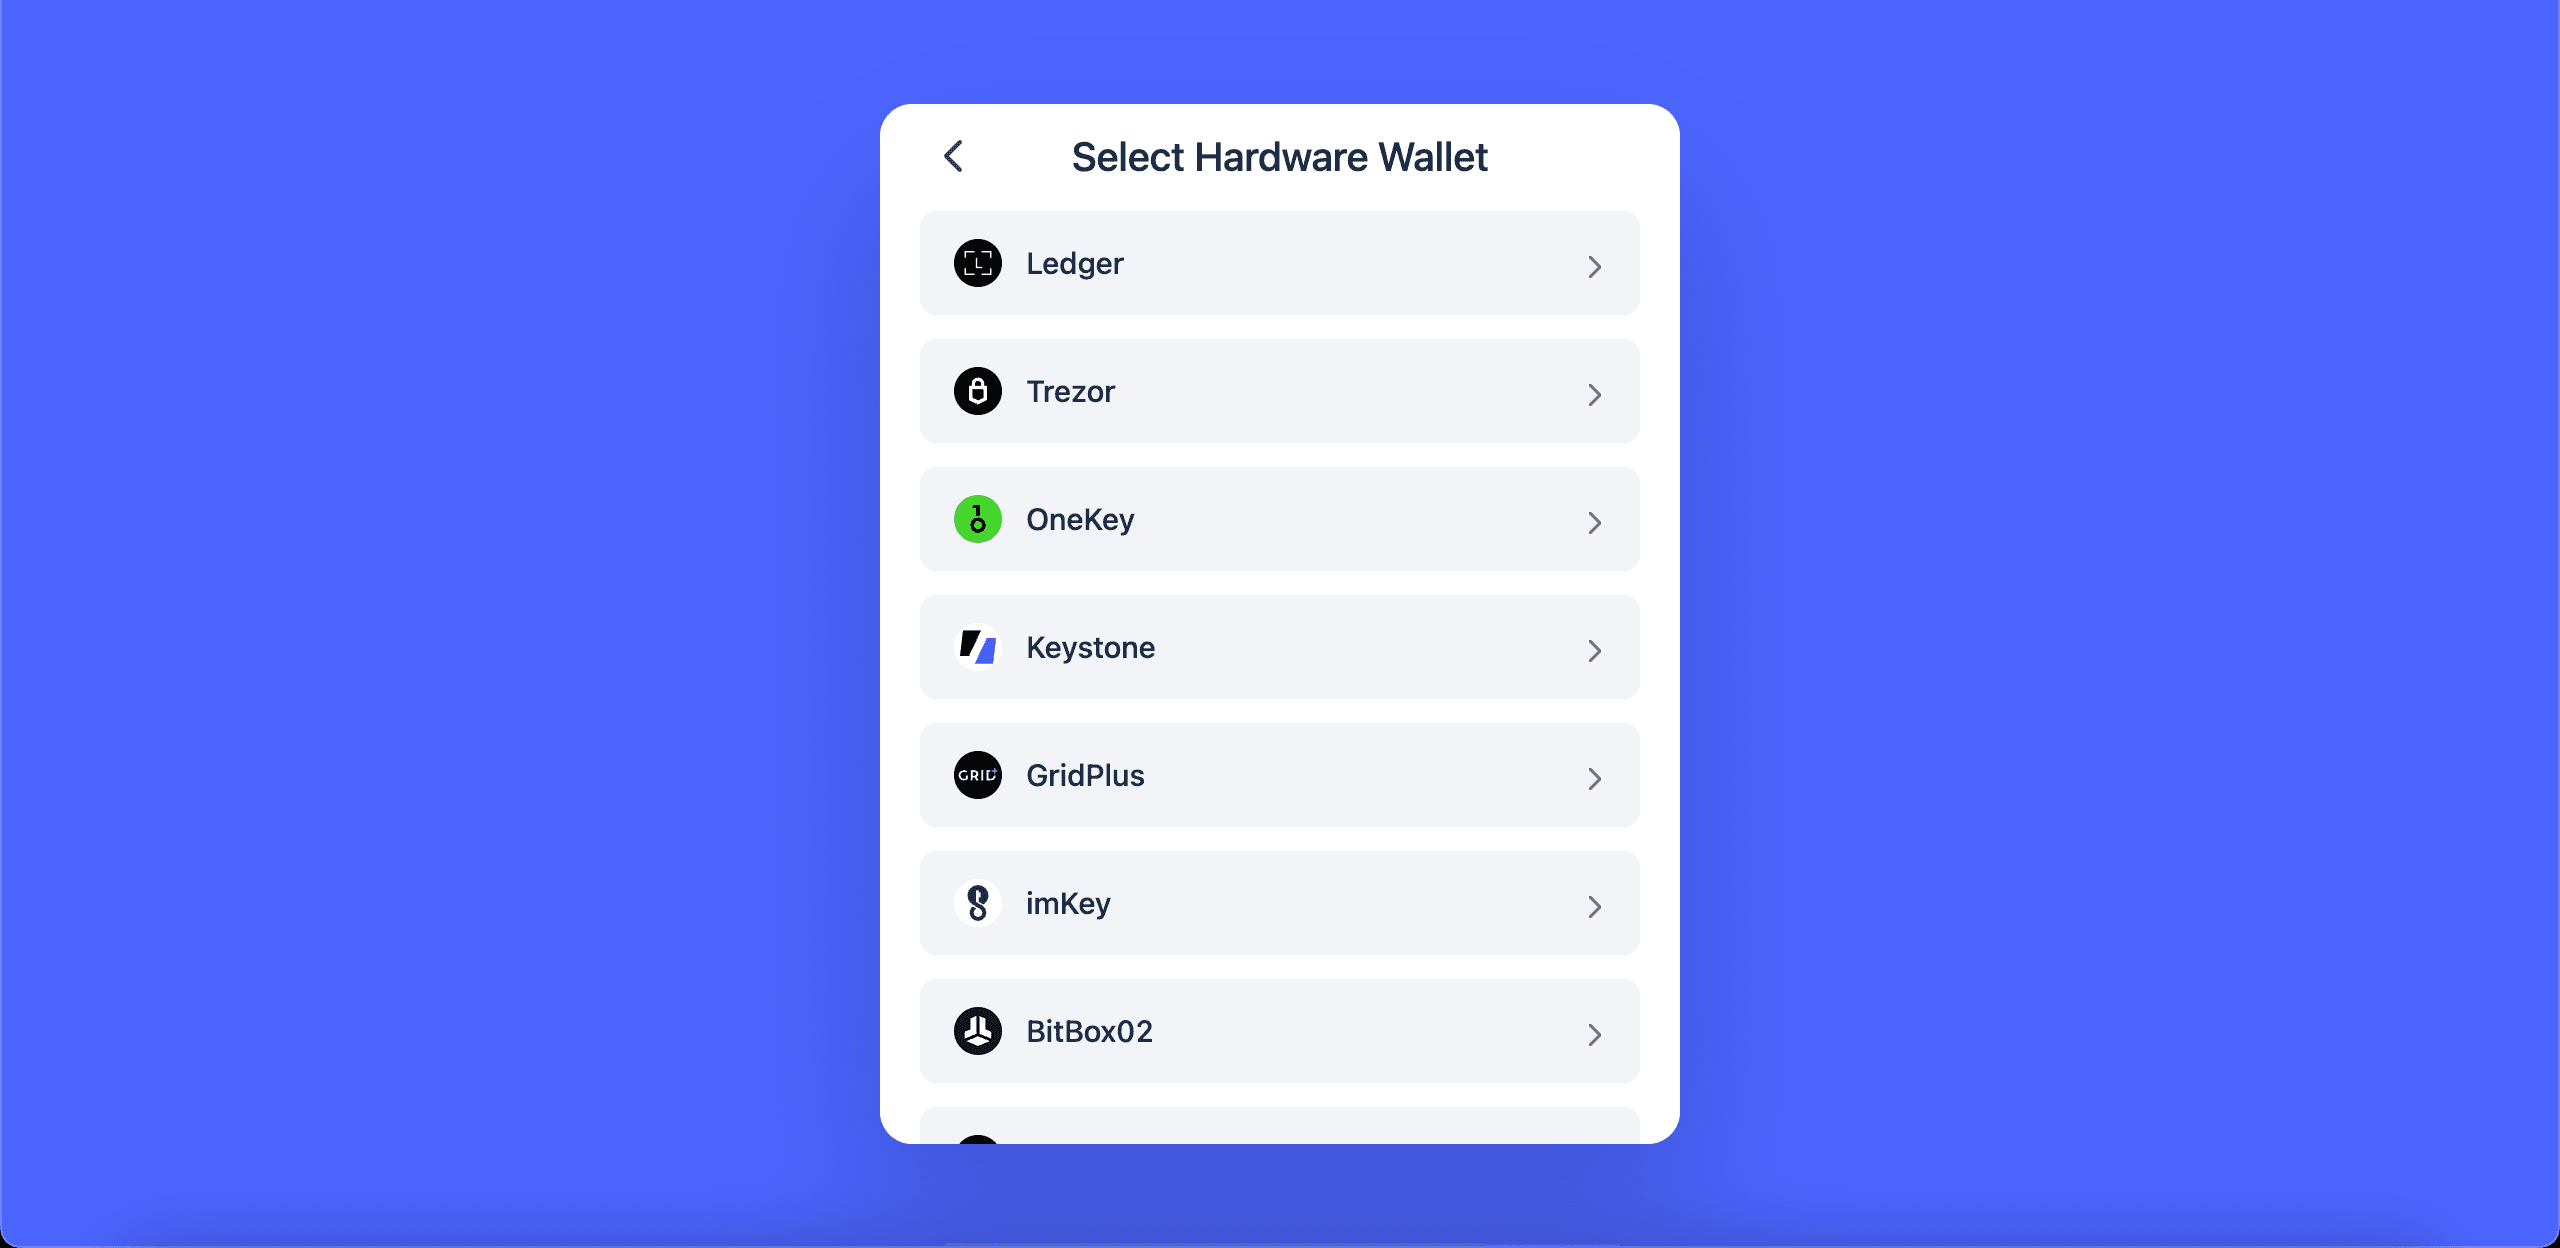
Select Hardware Wallet, then Trezor.
Rabby Wallet asks you to set a password. This password only unlocks Rabby Wallet on your computer, and Rabby Wallet cannot reset it.
This password only unlocks Rabby Wallet on your computer, and it does not control the funds on your Trezor. If you forget it, your Trezor accounts are not affected, and you can reach them again by reinstalling Rabby Wallet and connecting your Trezor.
Select Connect Trezor.
3. Approve the connection in Trezor Suite
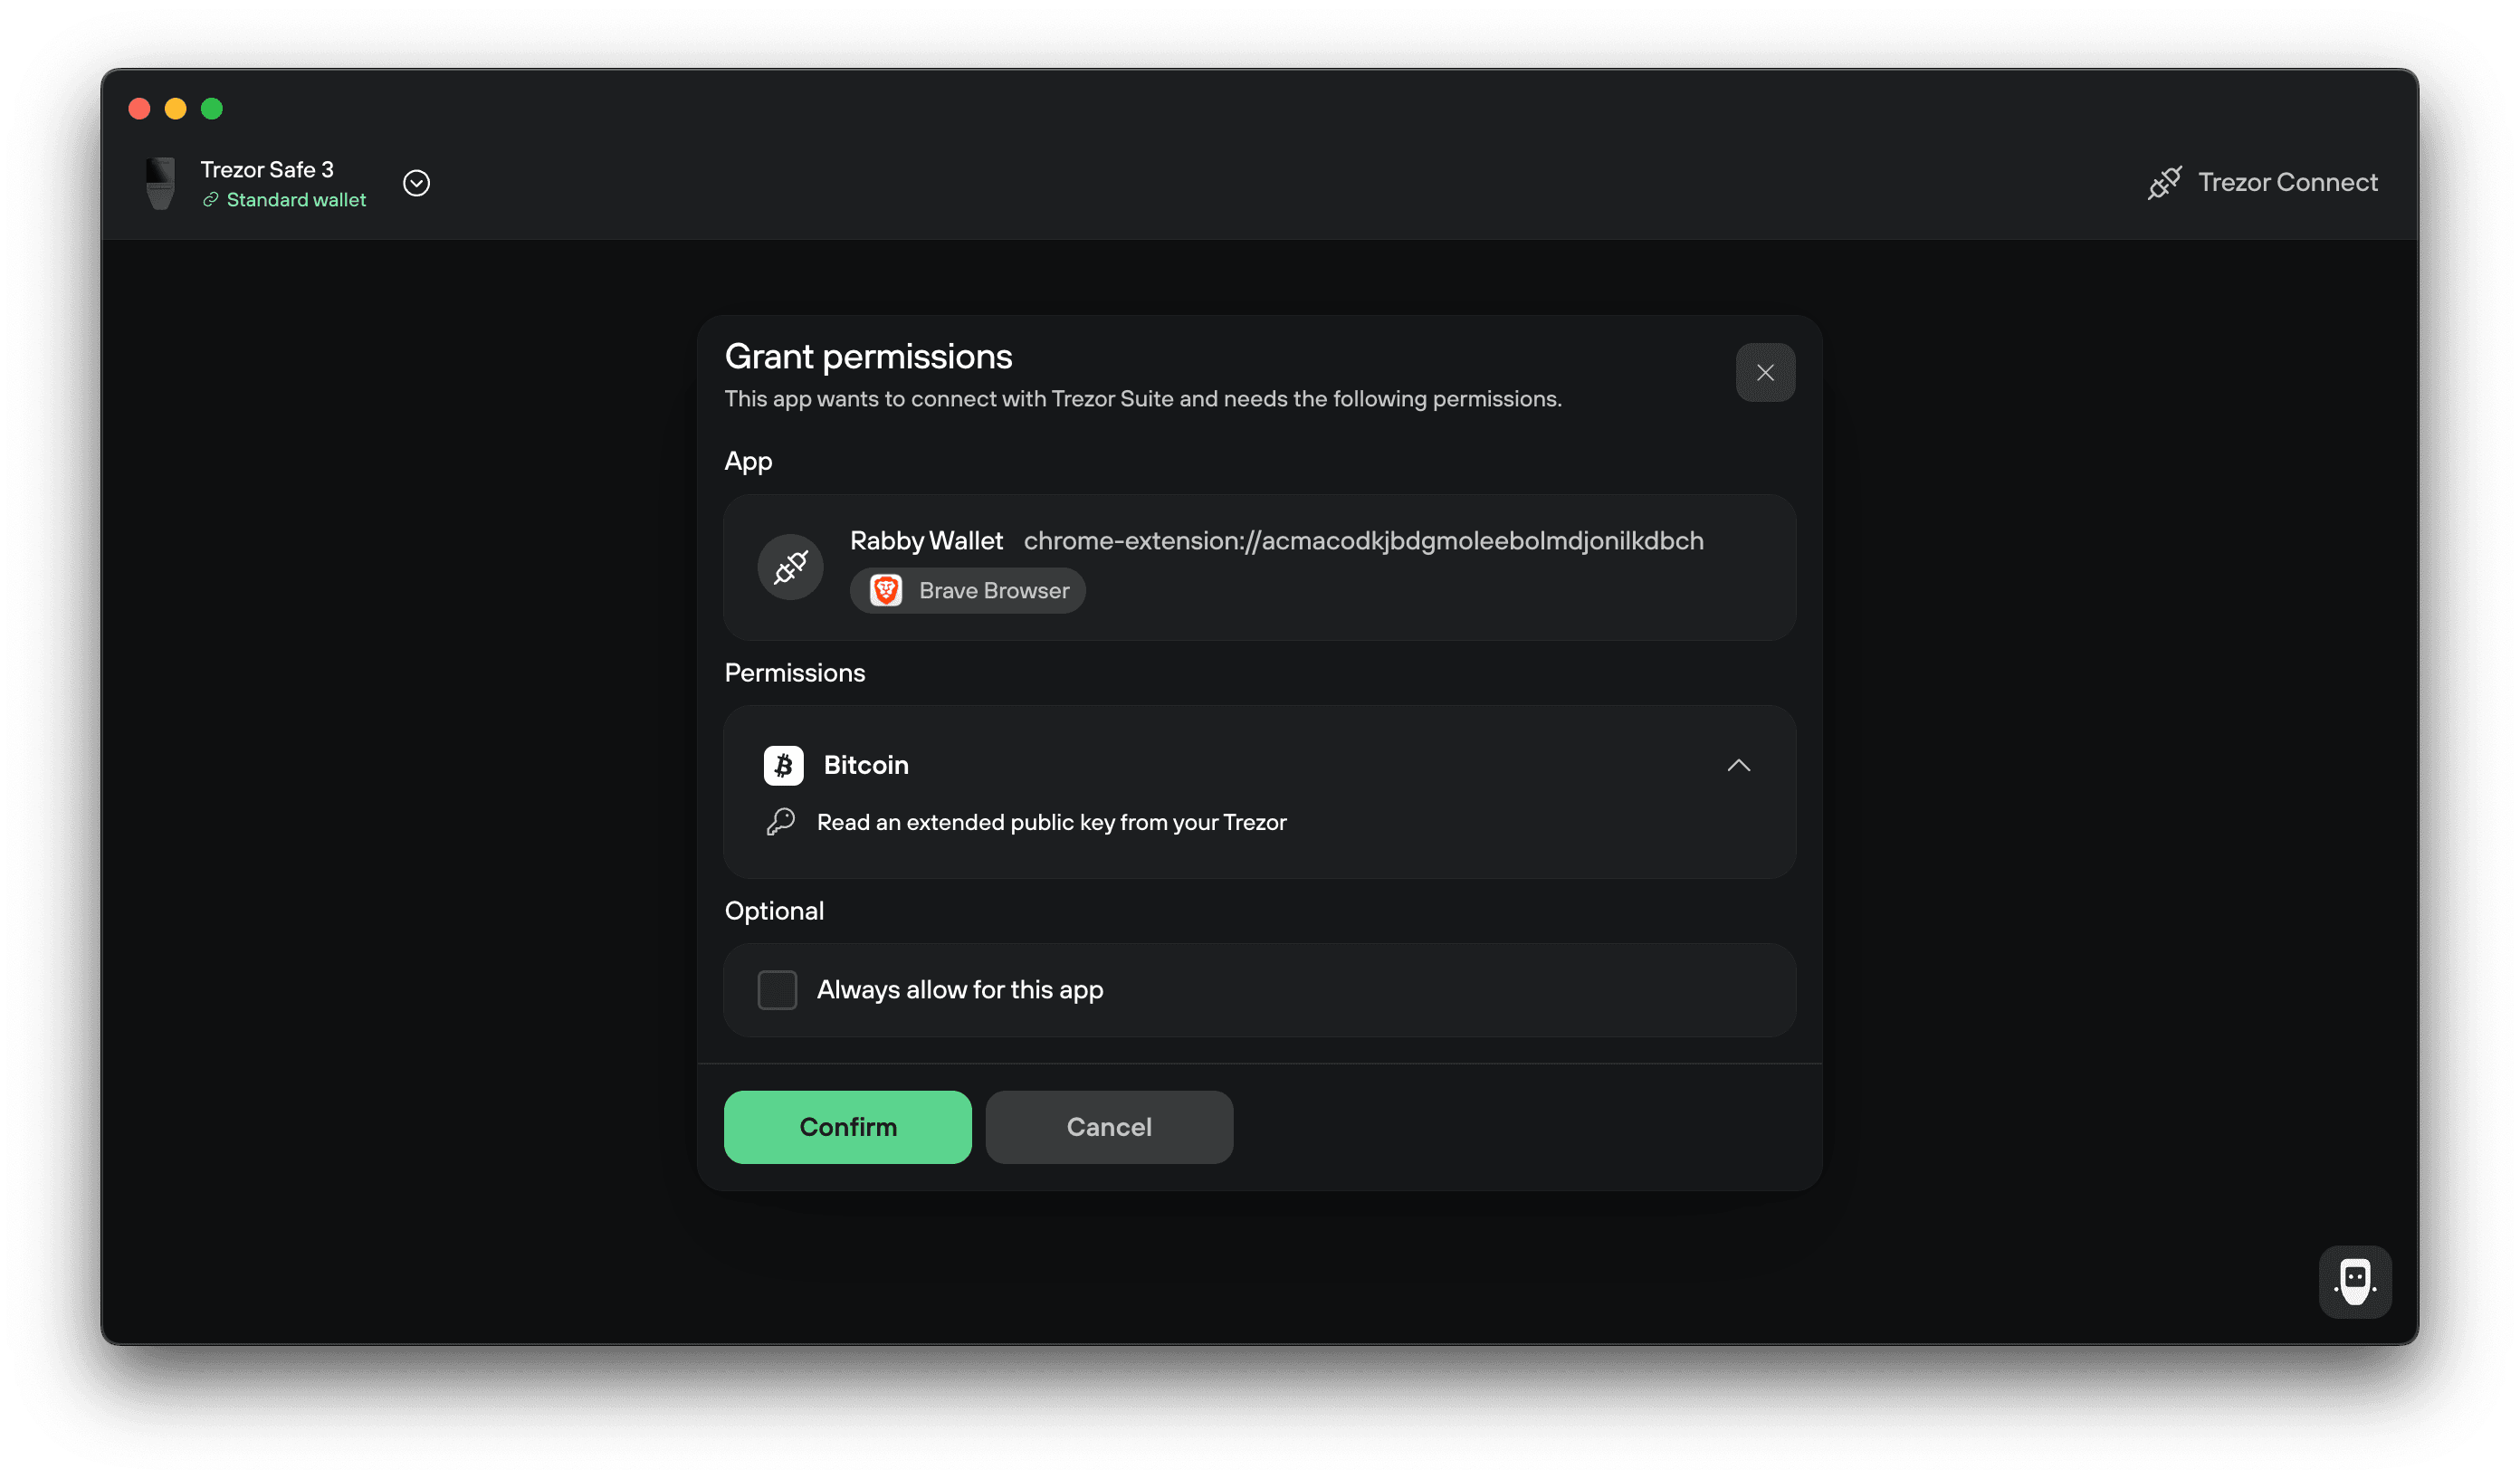
Rabby Wallet opens Trezor Connect in Trezor Suite. Review the permission request and select Confirm. You can select Always allow for this app to skip this step next time.
Trezor Suite then shows the accounts that will be shared. Only your public keys are shared. Your private keys never leave the Trezor, which is why you confirm every outgoing transaction on the device. Select Confirm.
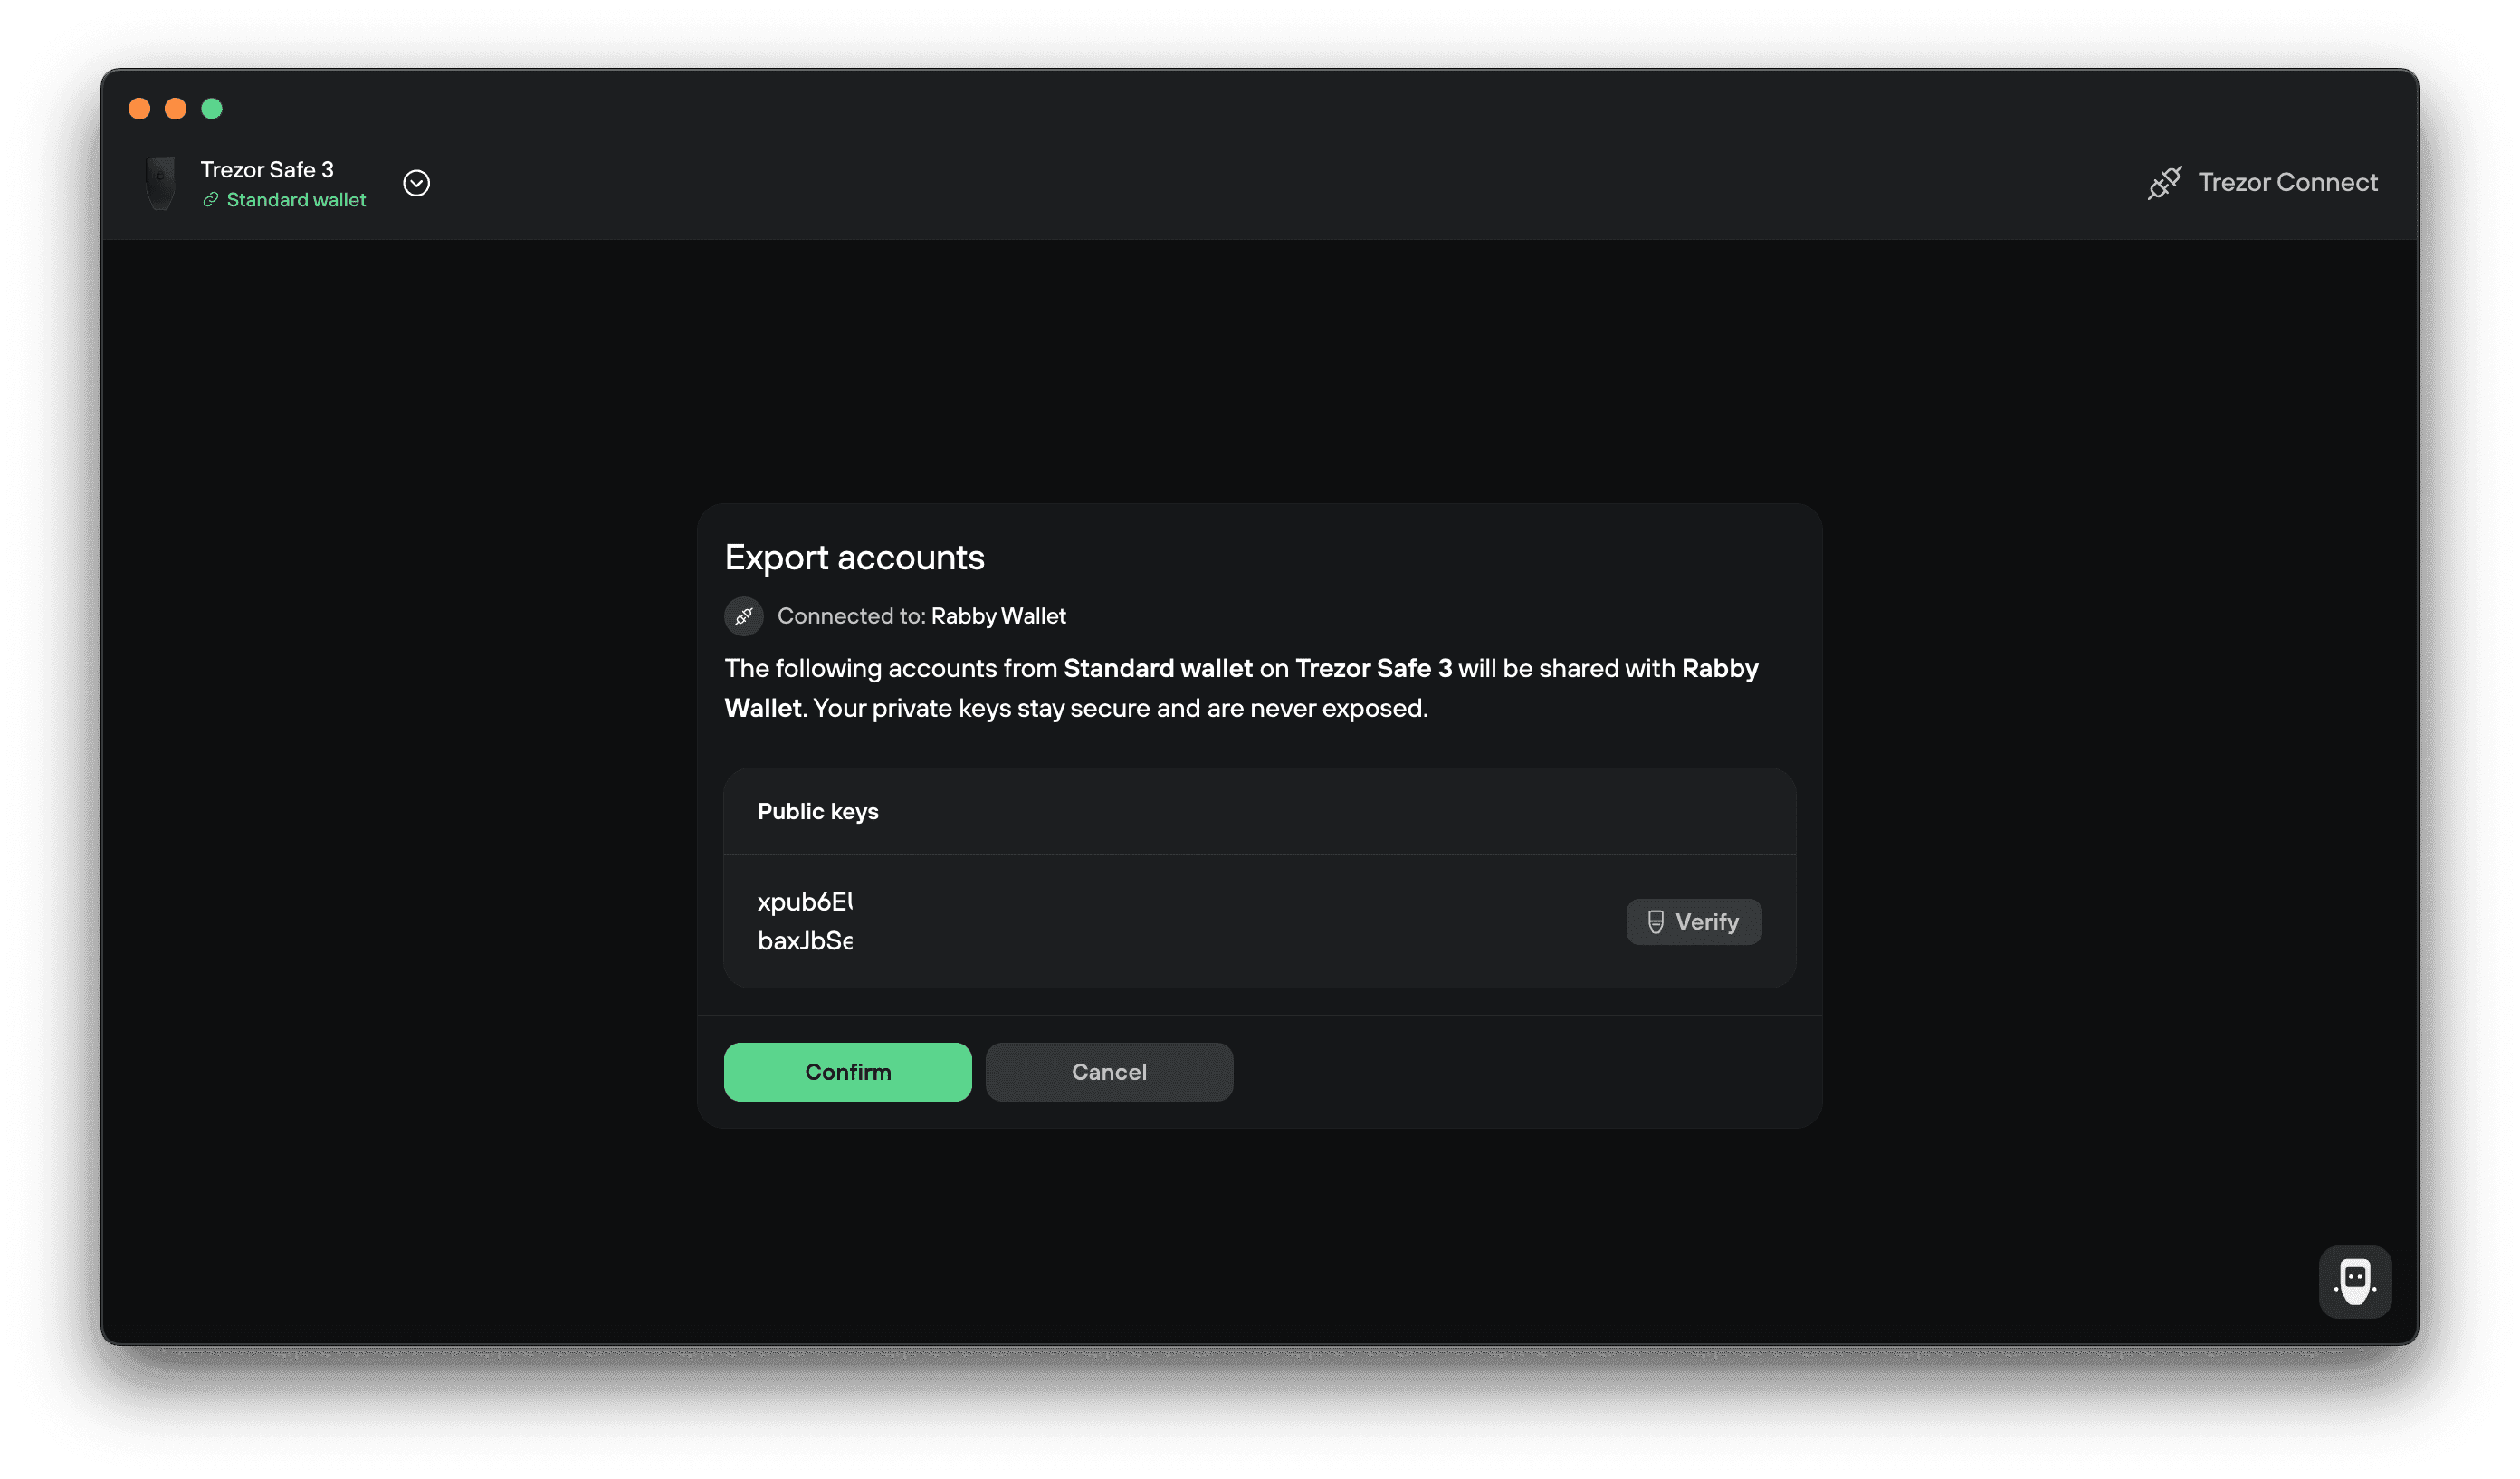
Trezor Suite confirms the export. Select Verify to check that the key shown in Trezor Suite matches the one on your Trezor screen, then select Close.
4. Finish in Rabby Wallet
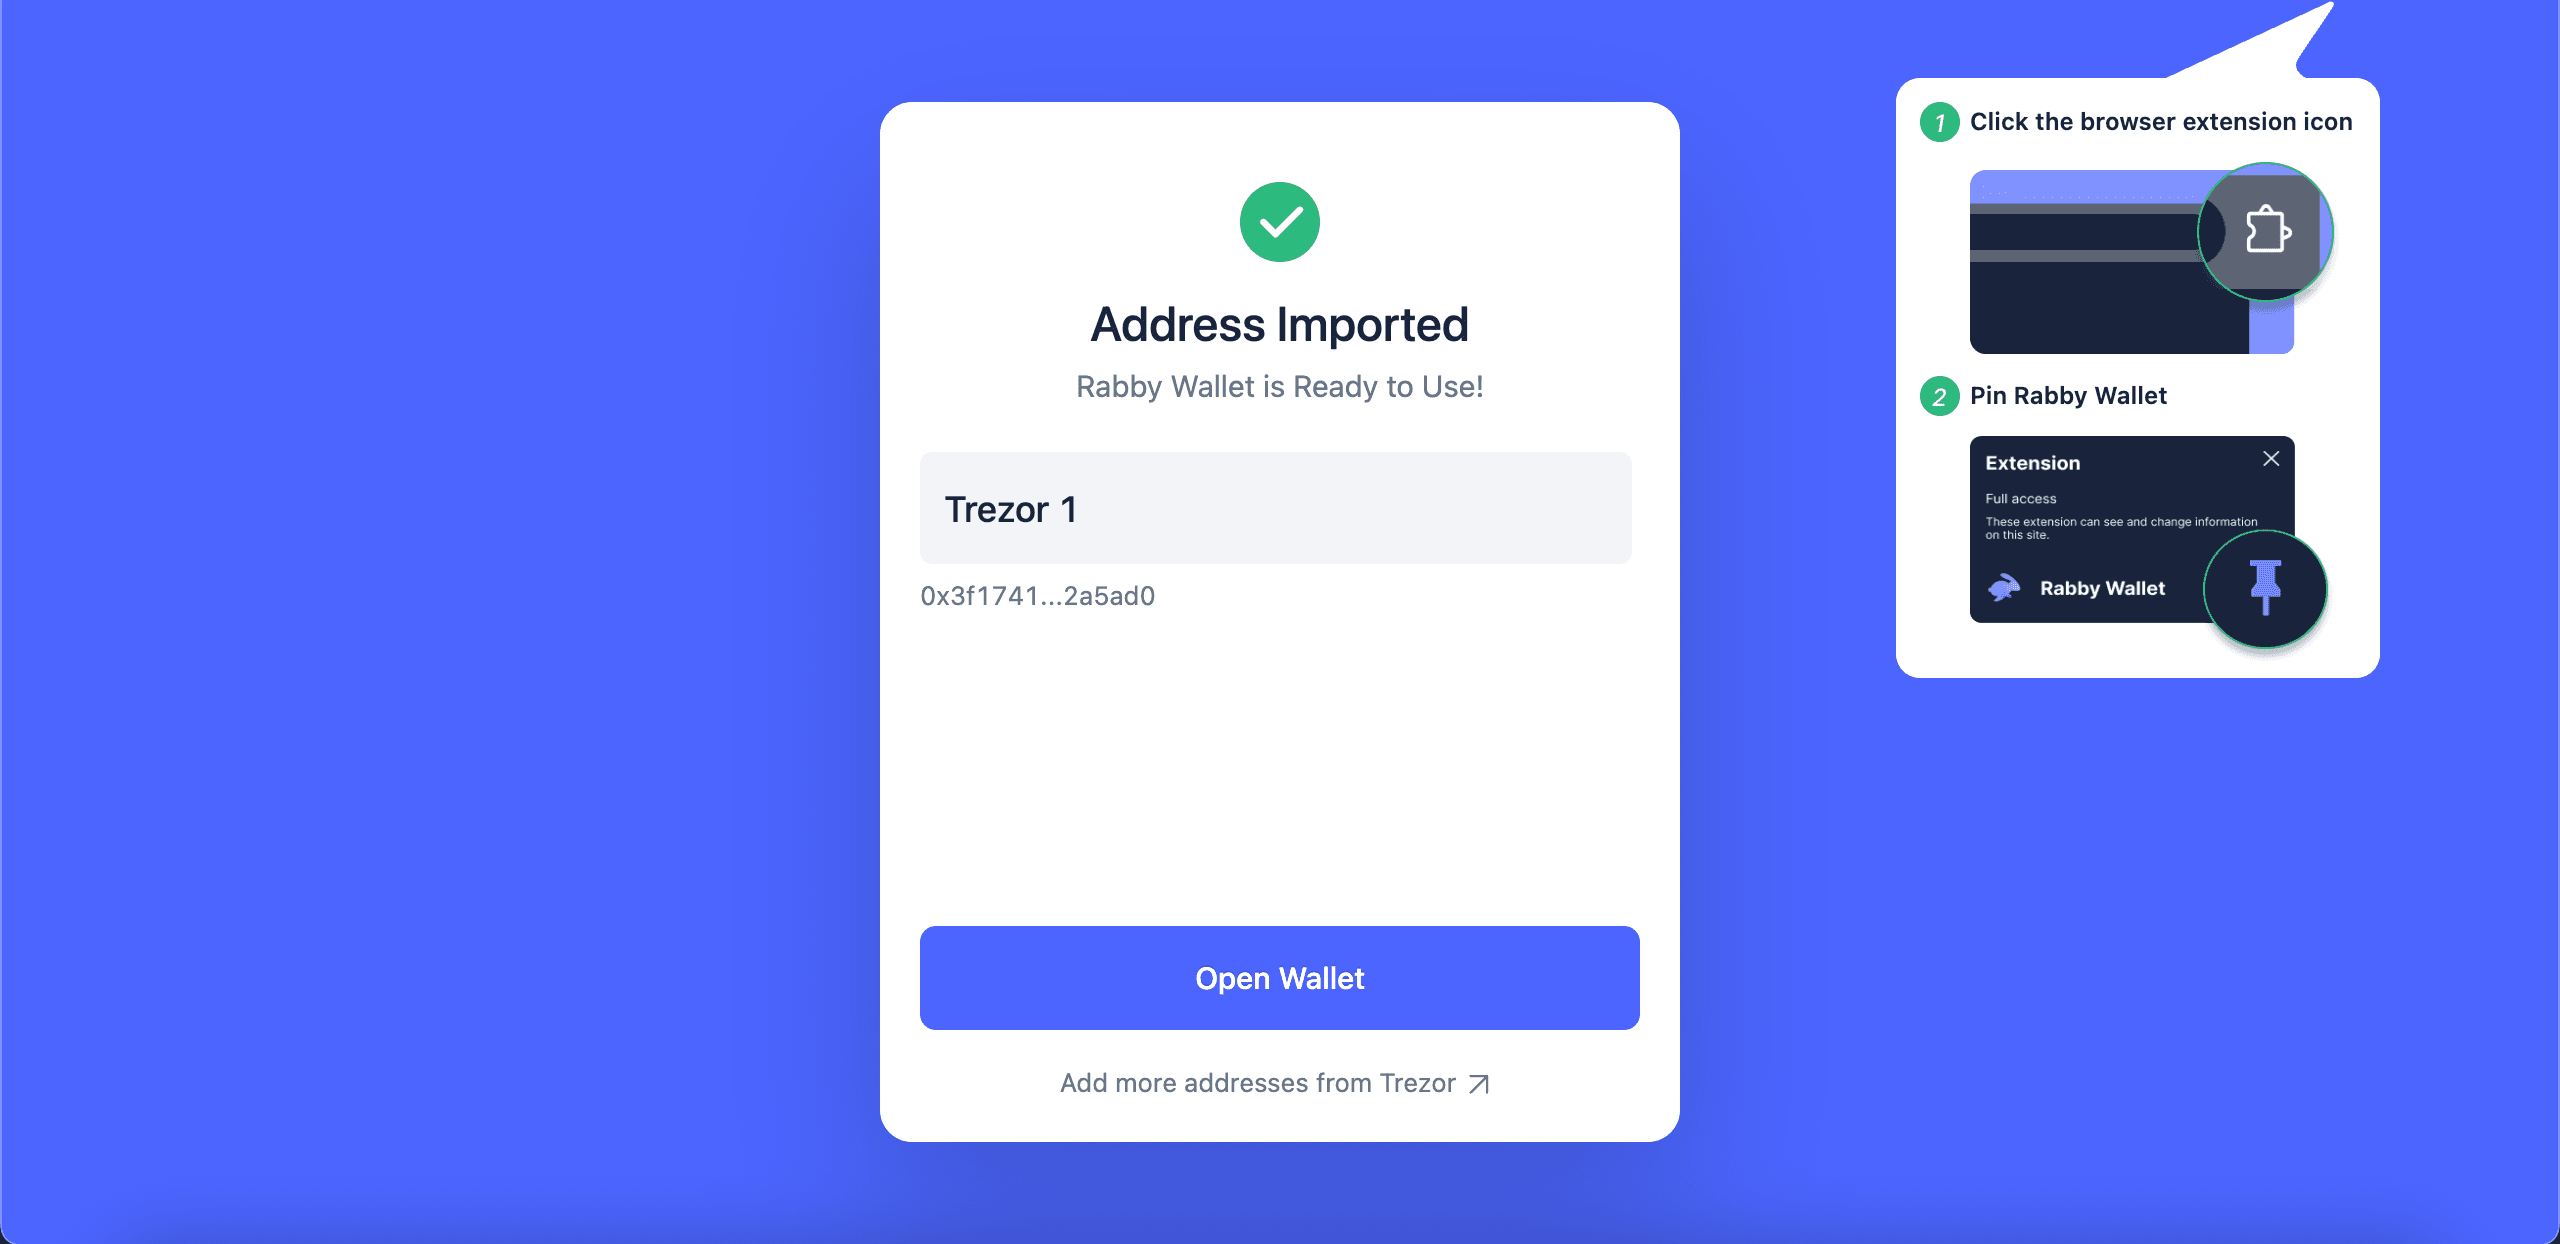
Rabby Wallet adds the first address from your Trezor and names it Trezor 1. To use more addresses, select Add more addresses from Trezor and choose them from the list. When you're done, select Open Wallet.
Accounts, addresses, and what shows in Trezor Suite
Rabby adds the first address from your Trezor by default. You choose any others with Add more addresses from Trezor.
If an asset is supported by Trezor Suite, it will also show there. Assets on networks that Trezor Suite does not support are visible only in Rabby Wallet.
Addresses are shared in order, so if you pick the third address, it will not appear in Trezor Suite until you have used the second one.
Different derivation paths exist so you can match addresses created in other wallets. Each path shows different addresses, and they all belong to the same Trezor. You can switch paths in Add more addresses from Trezor. Keep the default path unless you need to match addresses from another wallet.
If your accounts or balances do not look right, the most common cause is a different passphrase or wallet than the one used to create them. For more help, contact Chatbot Hal.
Which Trezor devices work with Rabby Wallet
All Trezor devices work with Rabby Wallet. What differs is which coins each device supports. Some networks are not available on Trezor Model One.
Check that your device supports the coins you want to use at trezor.io/coins.
Trezor Model T, Safe 3, Safe 5 and Safe 7 show supported smart contract transactions in plain language on the device screen. This is called clear signing. Trezor Model One does not support clear signing, so it shows raw transaction data instead.
To learn which transactions show in plain language, see Clear Signing on Trezor.